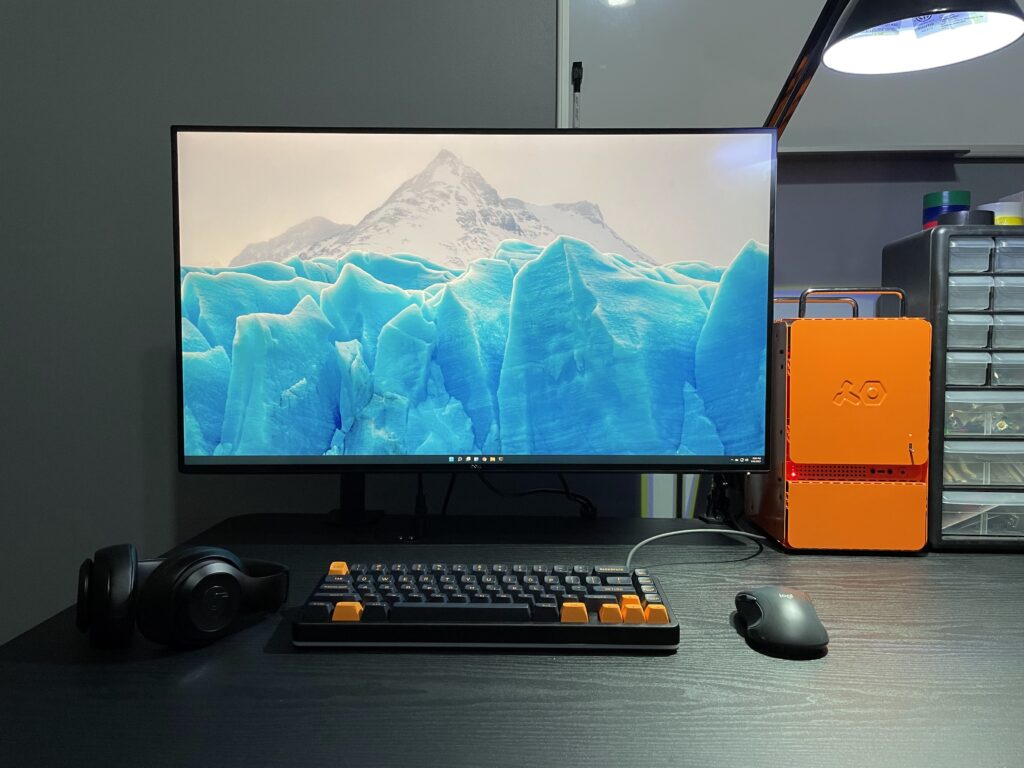
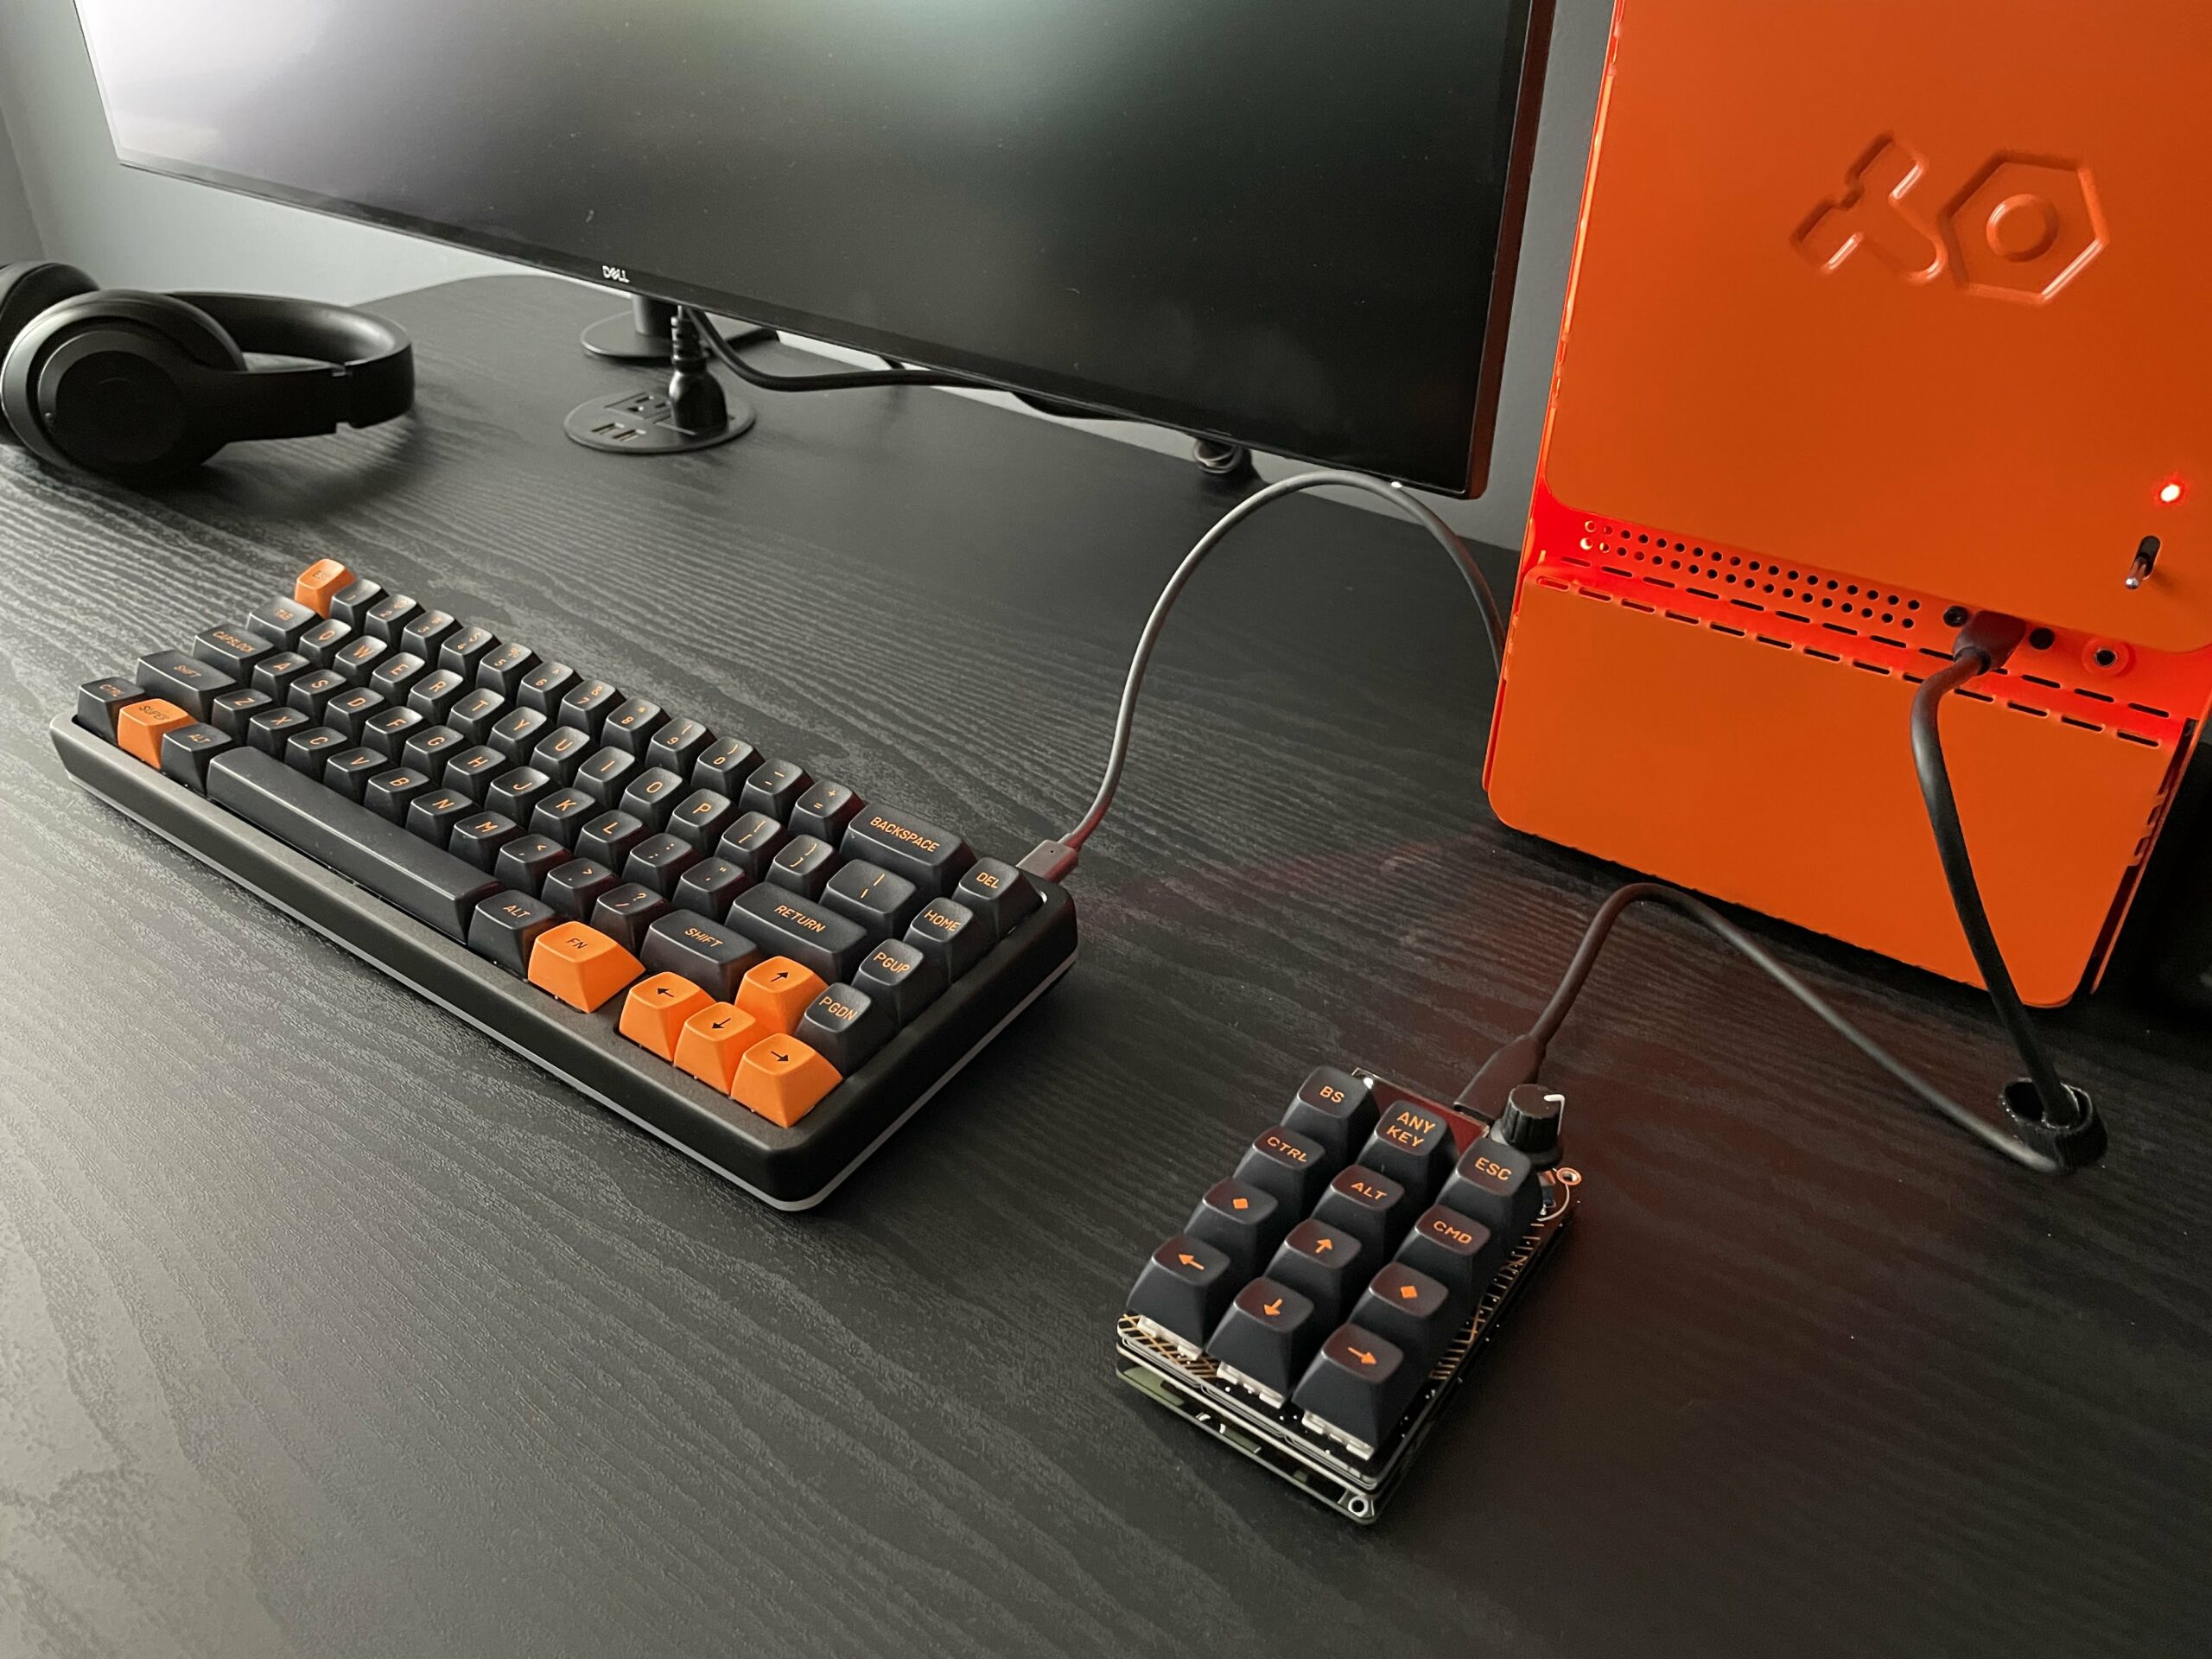
Much like the first time I laid eyes on flip dots, when I learned of the computer-1 Mini-ITX case by Teenage Engineering I knew I had to get my hands on it. Maybe I have a thing for bright orange objects.
It’s been a few years since I built my previous PC and the Mini-ITX form factor has always been appealing to me for a workstation, so the hankering to do a new build was strong.
Though I’m a long time nerd it may be surprising that I’ve really only built one custom PC until now. This is mostly due to living in Mac-land and not being a hardcore gamer. My Linux servers have either been in the cloud or a leftover prebuilt that was “good enough” because Linux will pretty much run on anything (and that’s part of the fun).
Specs
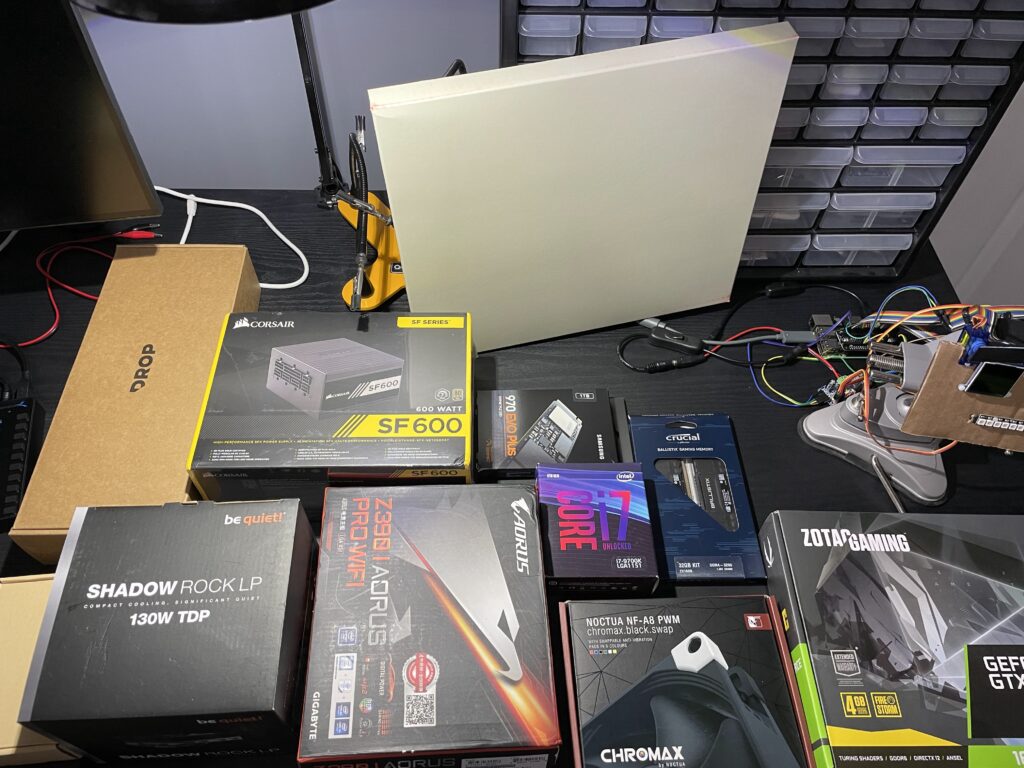
The parts I went with are modest and didn’t need to be the latest and greatest. The goal for this build was a dependable workbench machine that won’t be my daily driver (iOS development pays the bills), nor replacing my gaming PC.
| CPU | i7-9700K 3.6 GHz (9th gen Intel 8 core) |
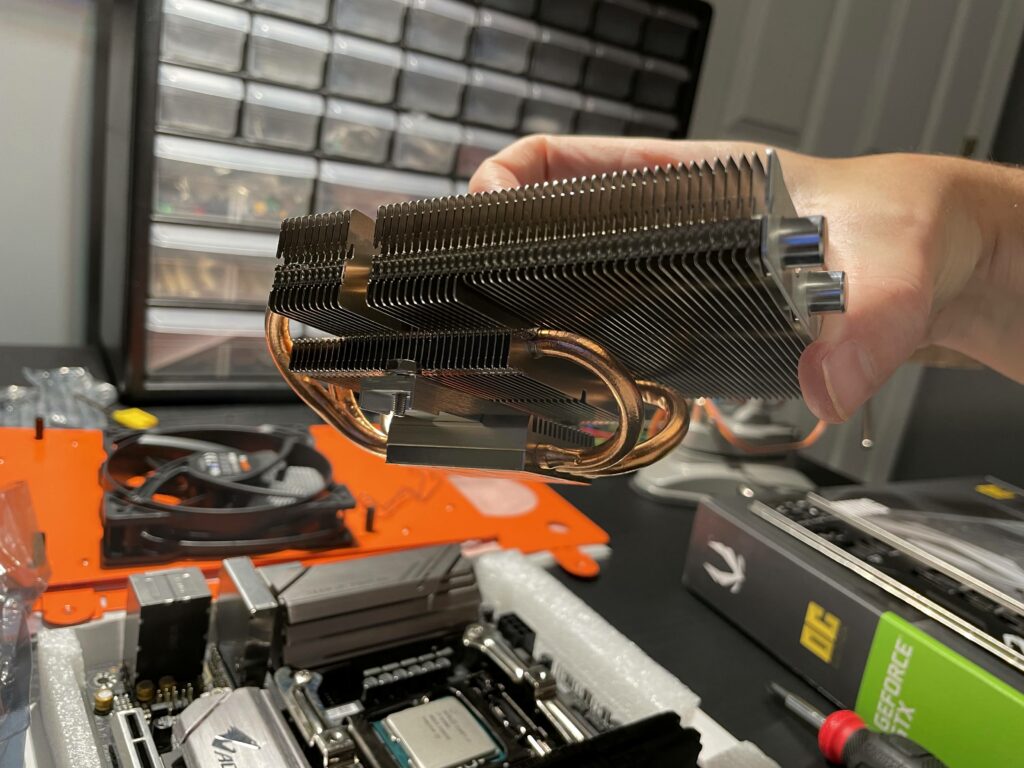
| CPU Fan | be quiet! Shadow Rock LP |
| Mobo | Z390 I AORUS PRO WIFI |
| SSD | 1TB 970 EVO Plus NVMe |
| RAM | 32GB Crucial Ballistix DDR4 |
| PSU | Corsair SF600 600 Watt |
| GPU | ZOTAC GAMING GeForce GTX 1650 OC 4GB GDDR6 |
| Case Fan | Noctua NF-A8 PFM chromax.black.swap |
| Case | computer-1 by Teenage Engineering |
| Keeb | Drop ALT high profile* with MX Browns and MT3 Skiidata Keycaps (*later swapped with Drop CTRL high profile) |
| Monitor | Dell U3219Q 32″ 4K |
The build
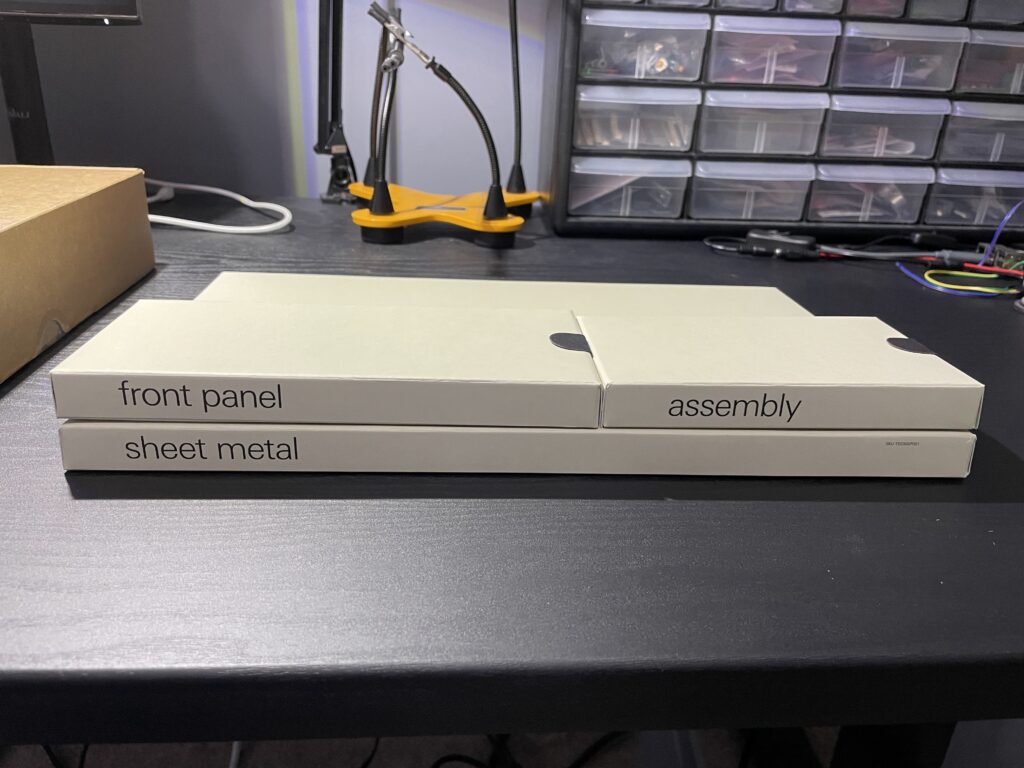
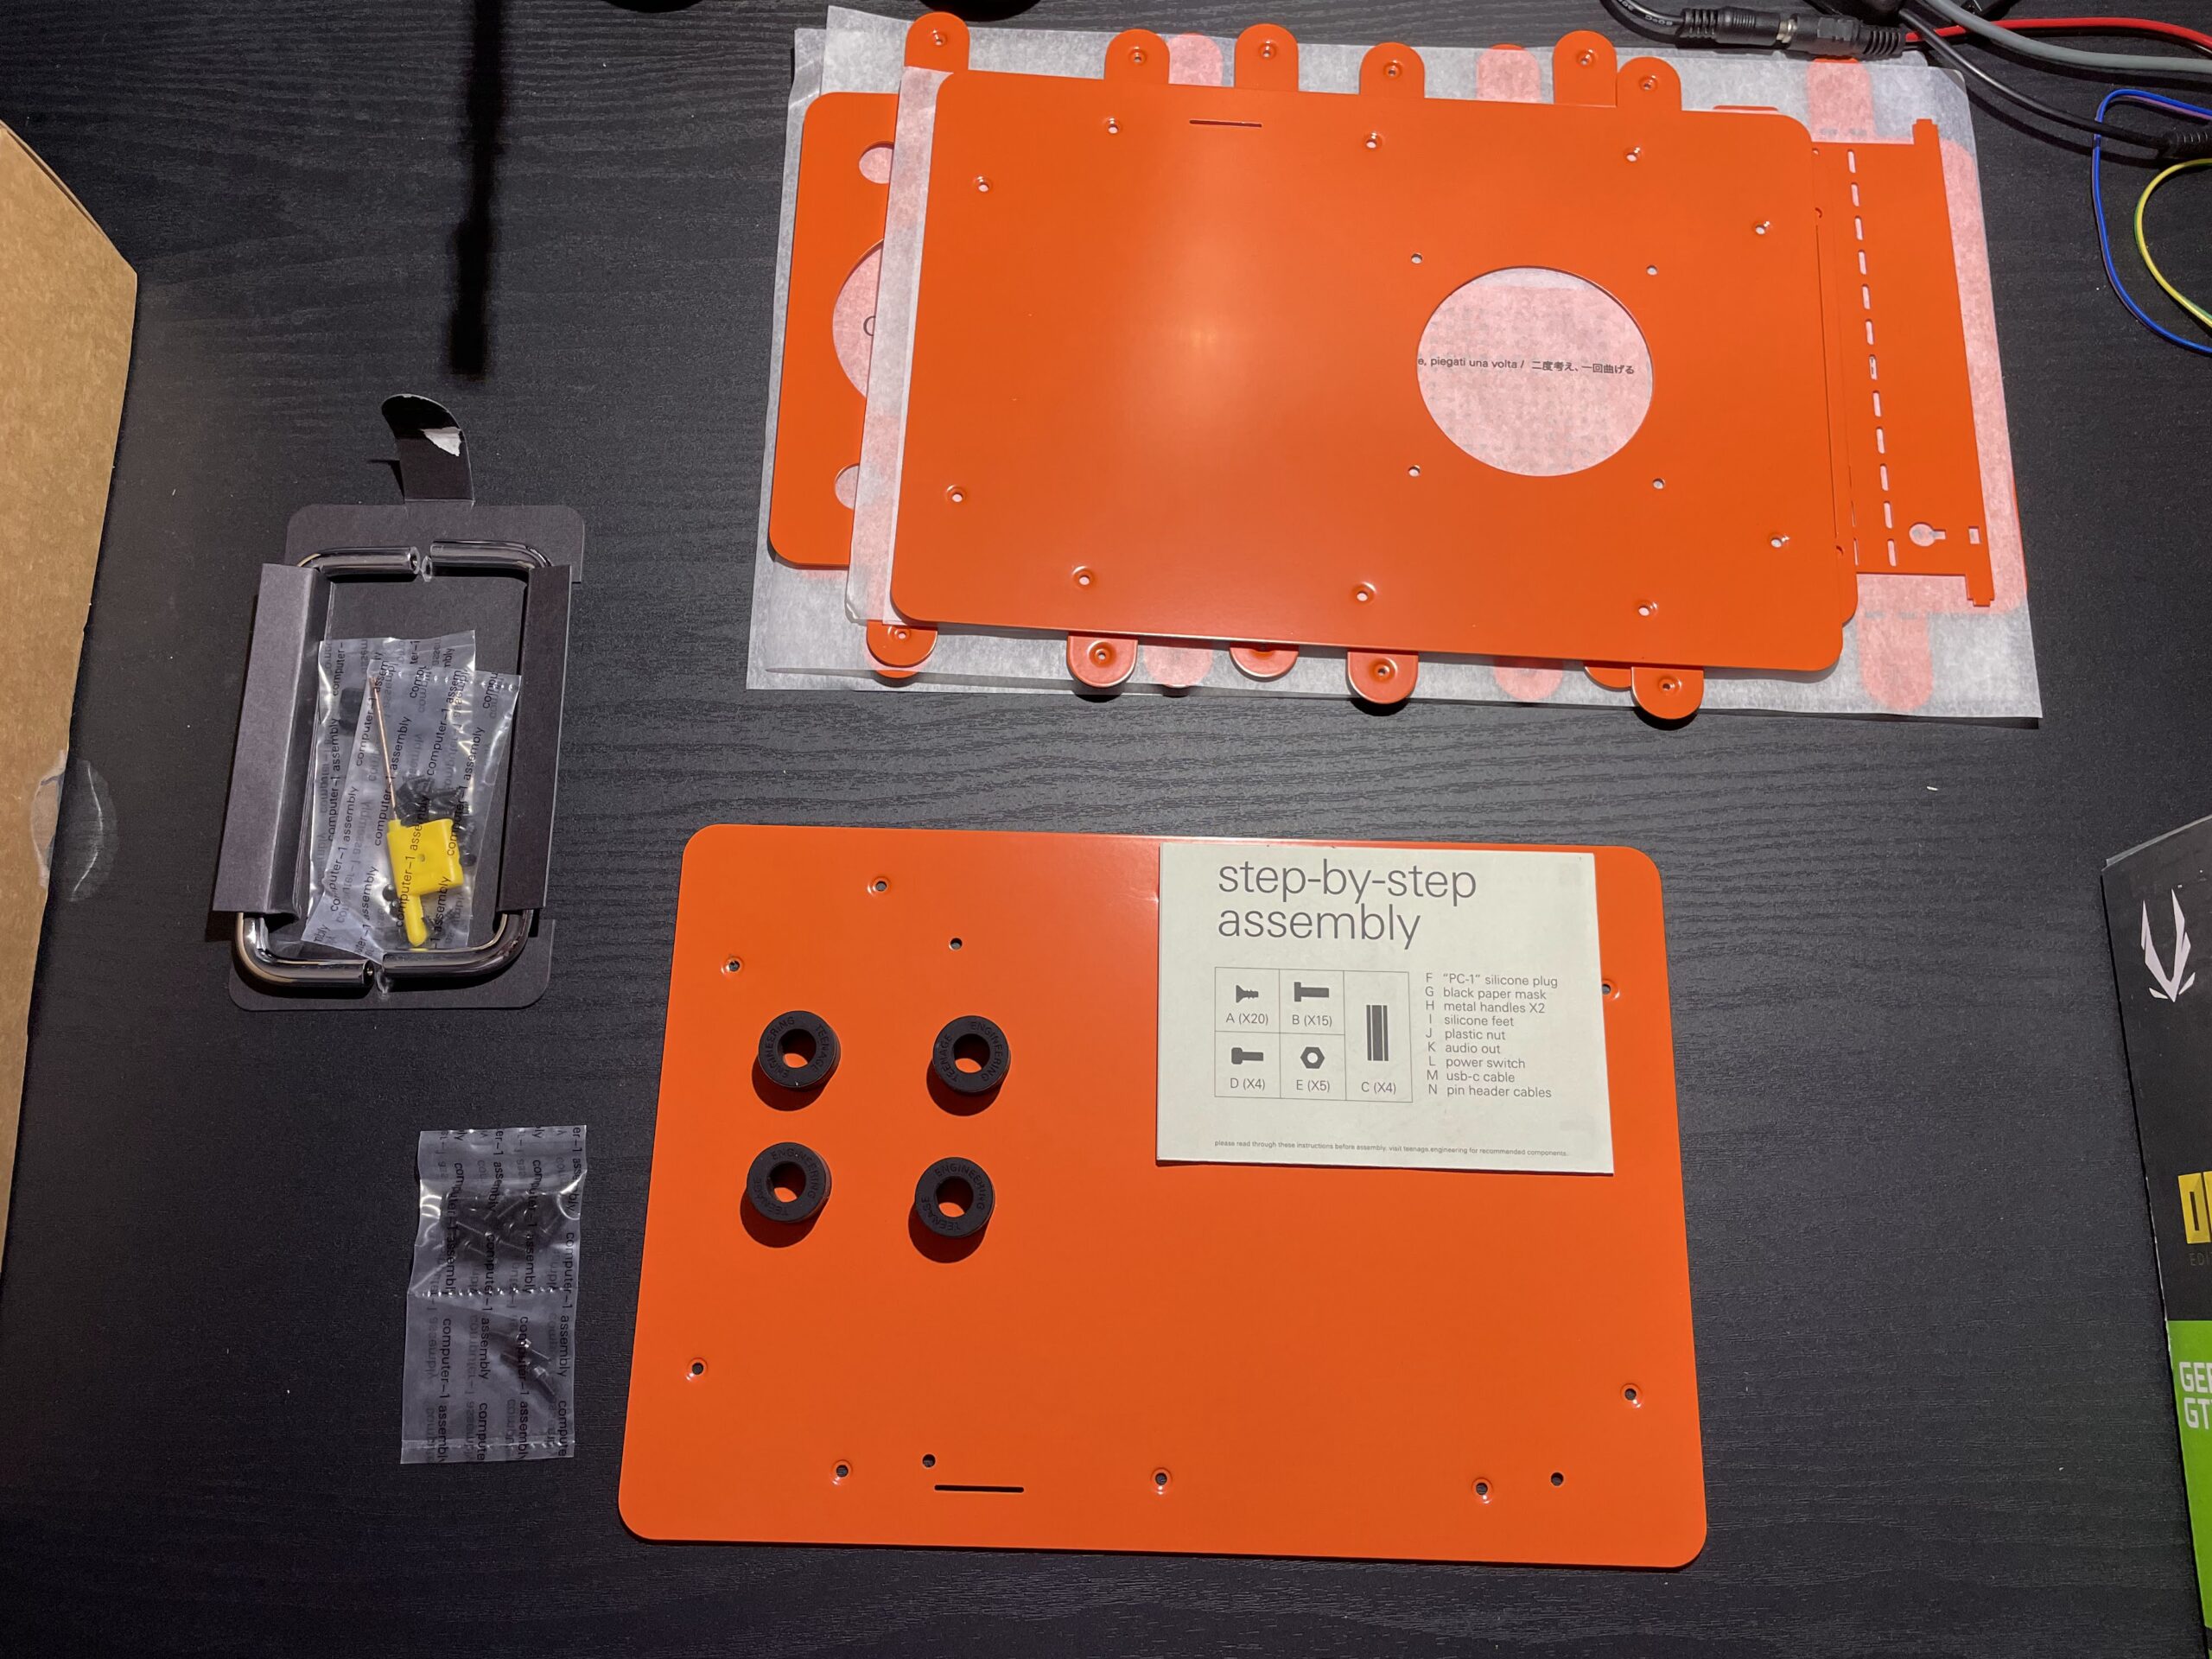
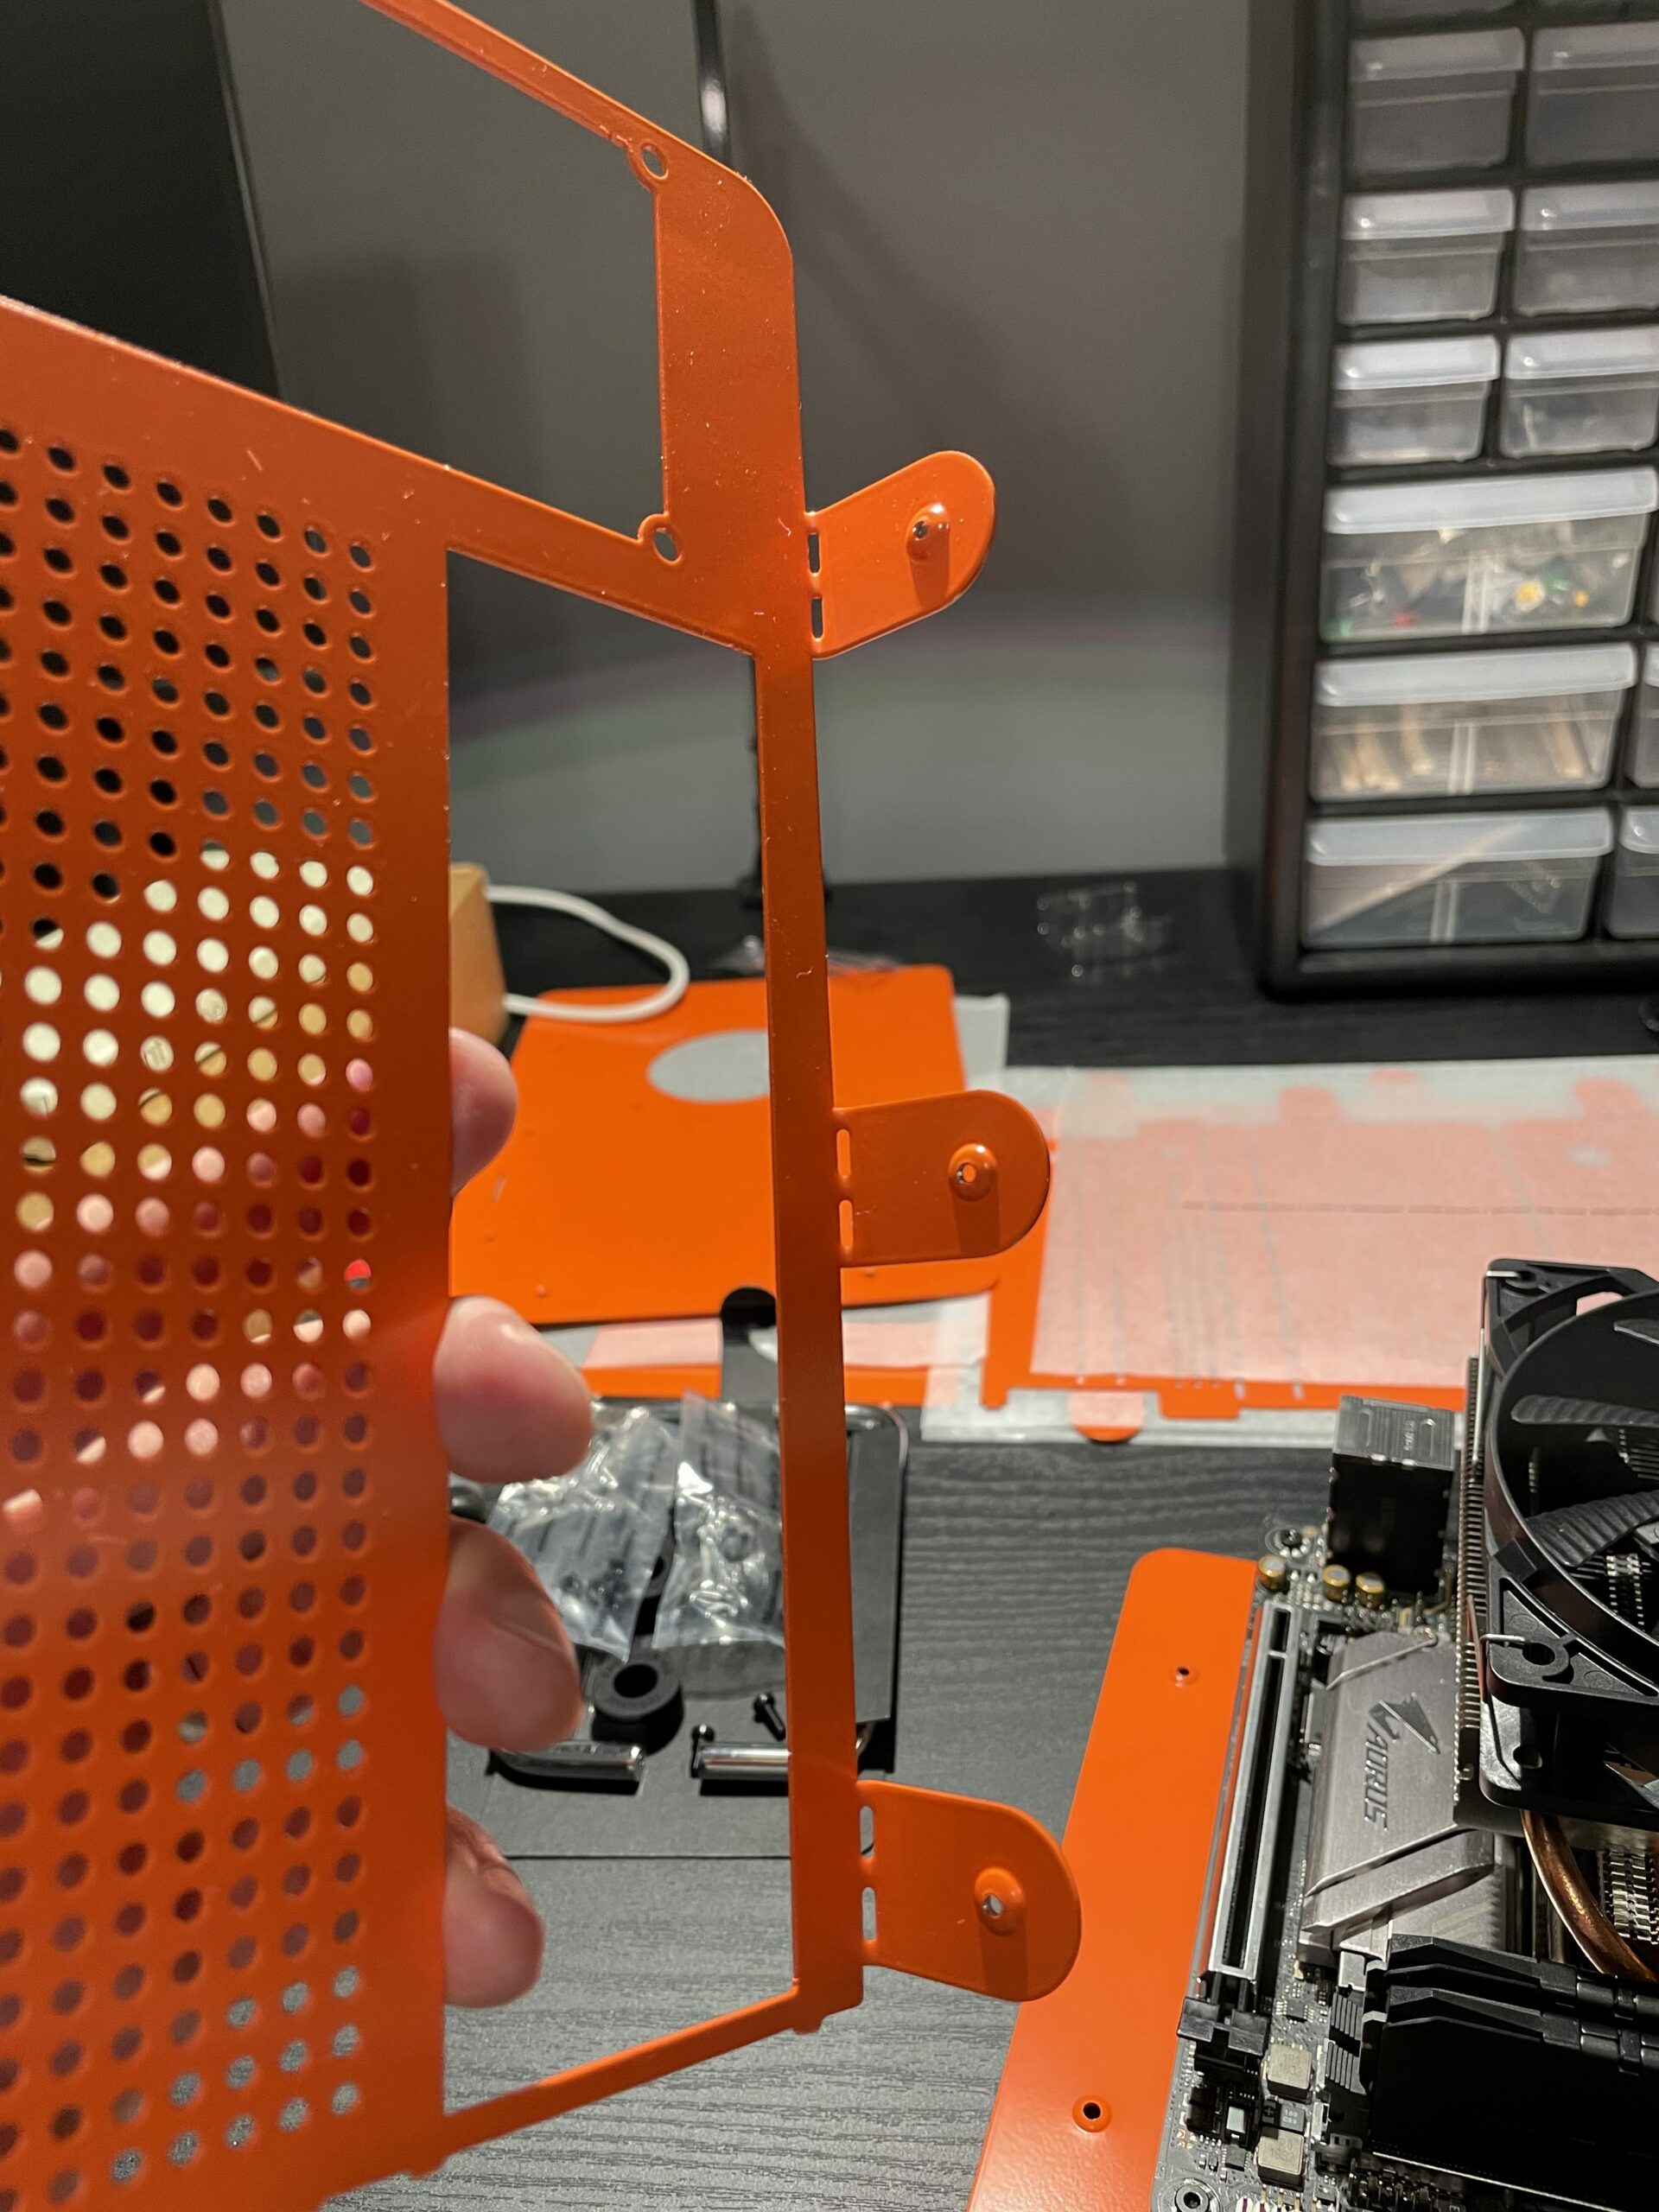
The build started out like most standard builds – bending the case into shape from flat pieces of sheet metal! </sarcasm>
Yes – this is what’s required for the computer-1. In their IKEA-esque instructions they are sure to tell you to “think twice, bend once” and it’s good advice. So, I got to bending.

First hitch: This isn’t a new motherboard
Sigh. Though the Newegg listing said this was a new item, it clearly wasn’t. The box had been opened and there was evidence of thermal paste on the CPU socket. At this point I had to make a choice to either keeping trucking and hope that this motherboard worked, or start the return process and delay the build even more.
I go to Newegg, find my order, and click on the vendor I purchased the motherboard from to look up their return policy: They didn’t exist anymore.
It was at this point I decided to keep trucking.
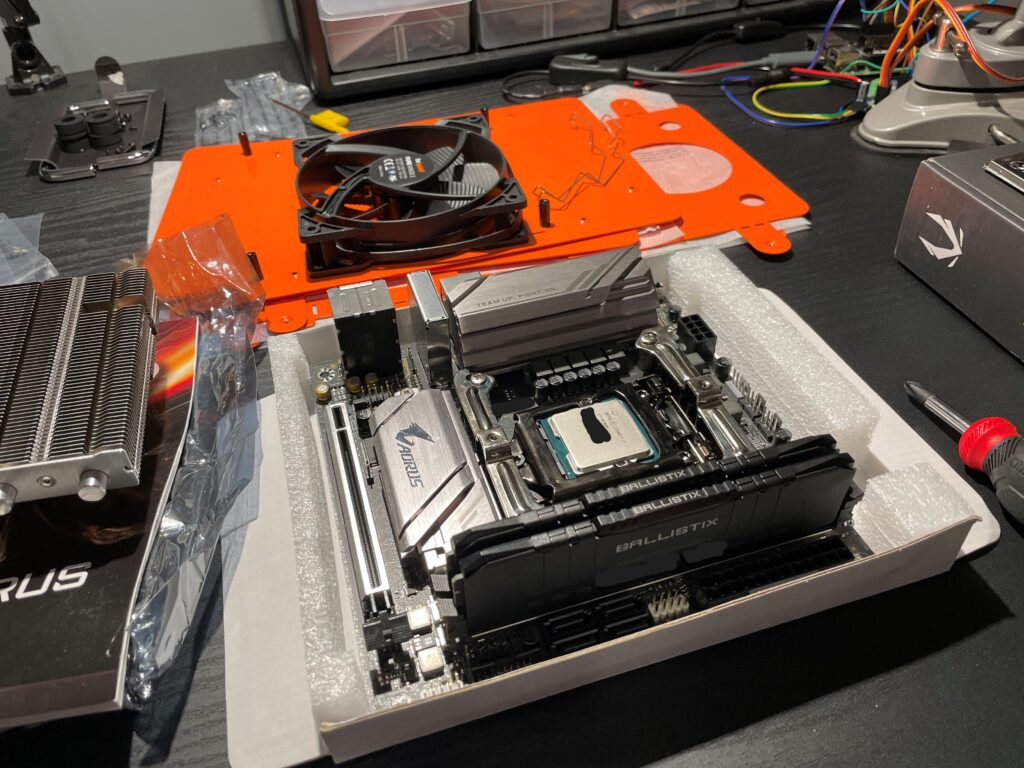
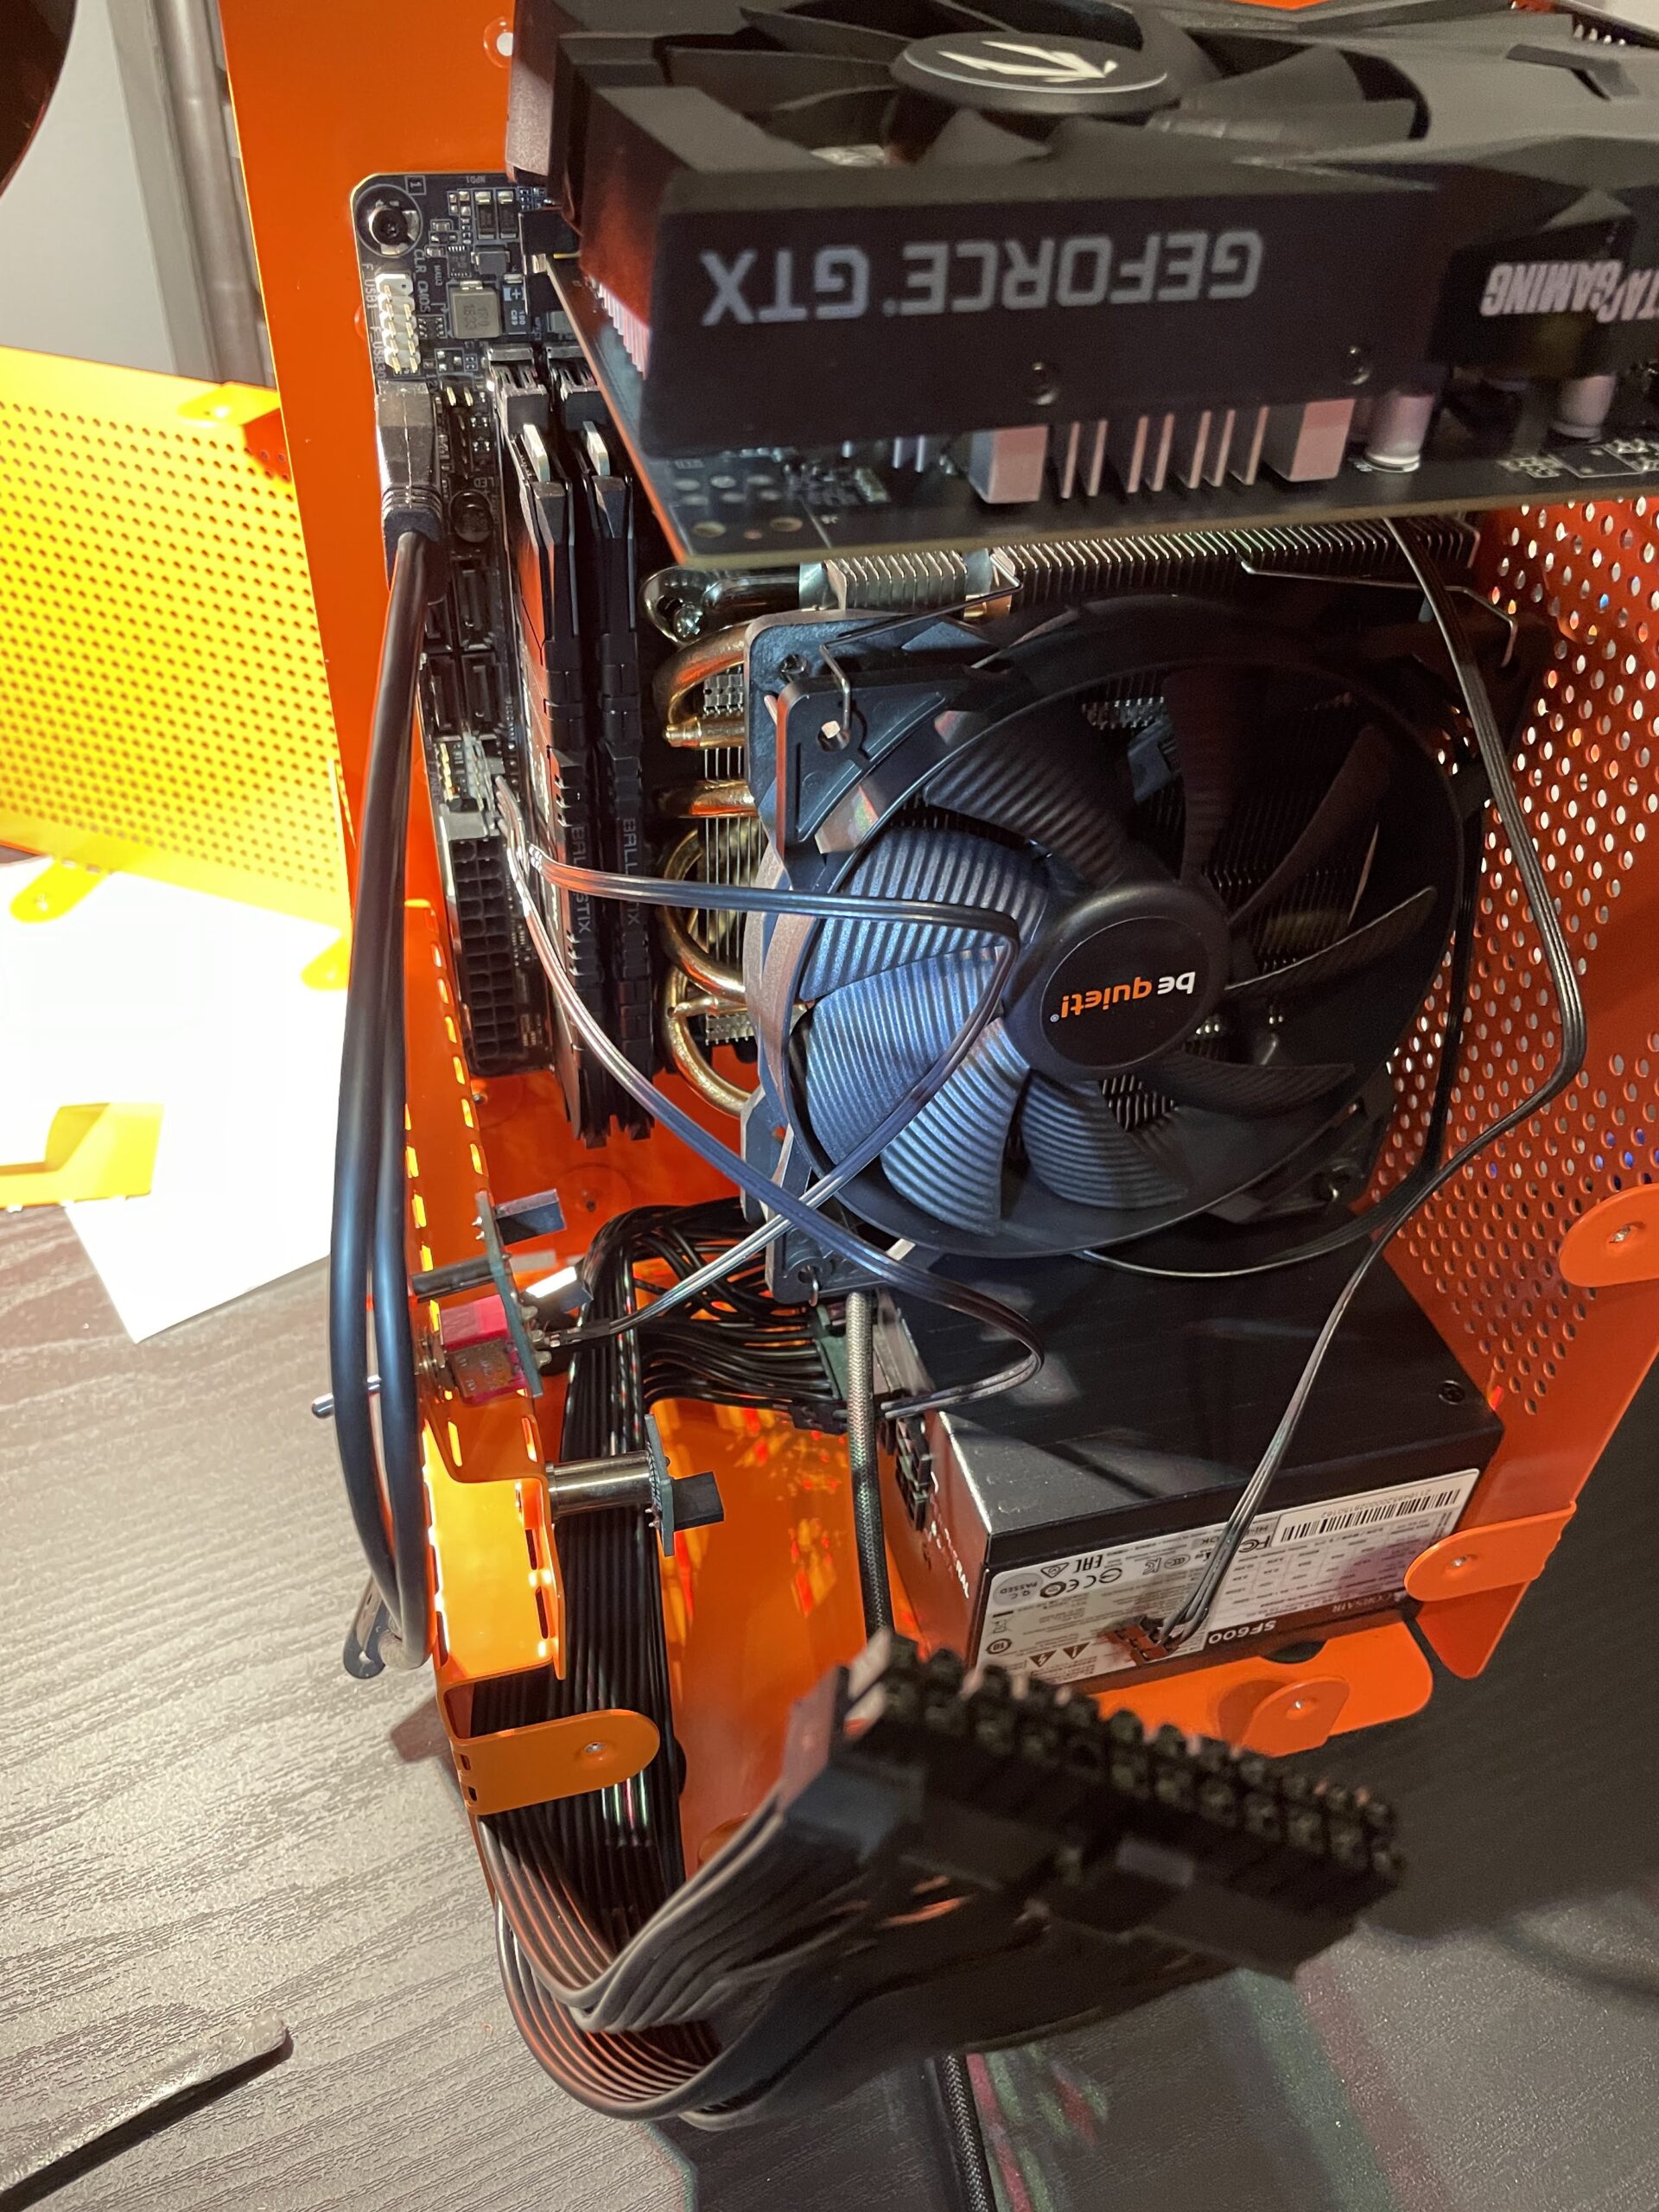
Second hitch: I installed the CPU cooler backwards
I never said I was good at this. I made the mistake of following the installation instructions too closely and didn’t factor in that for the Mini-ITX we have to be a lot more strategic with space.
At first glance I thought my RAM was too tall and I’d ordered the wrong kind. Maybe I needed to get “low profile” versions so that it’d give enough clearance.
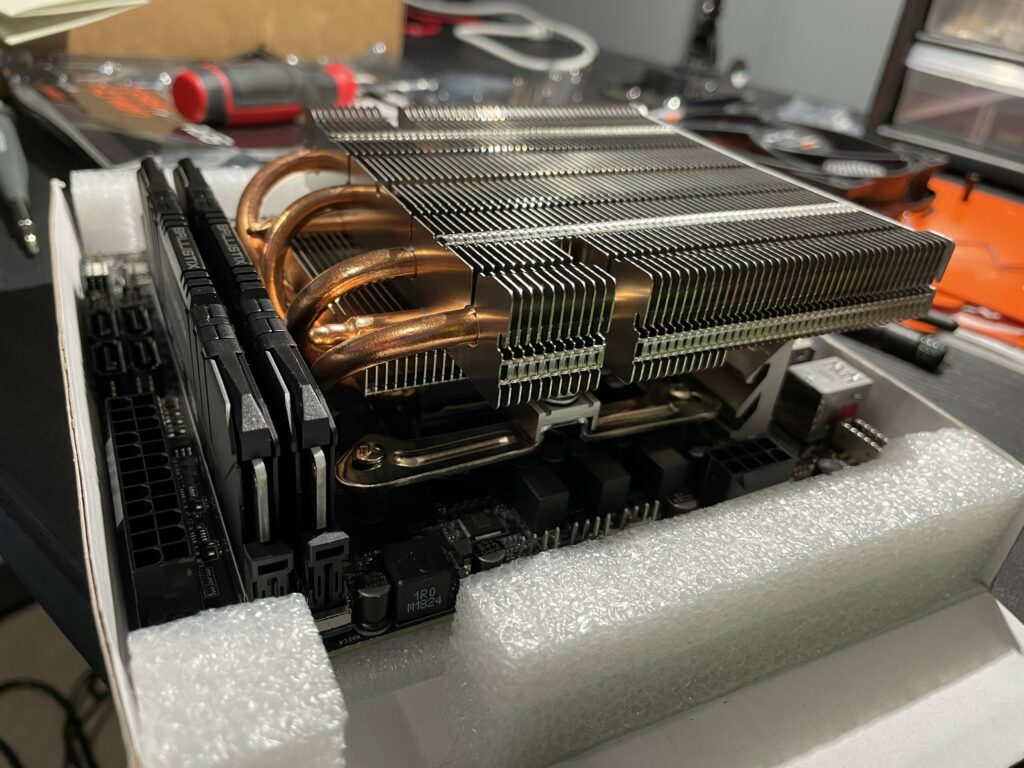
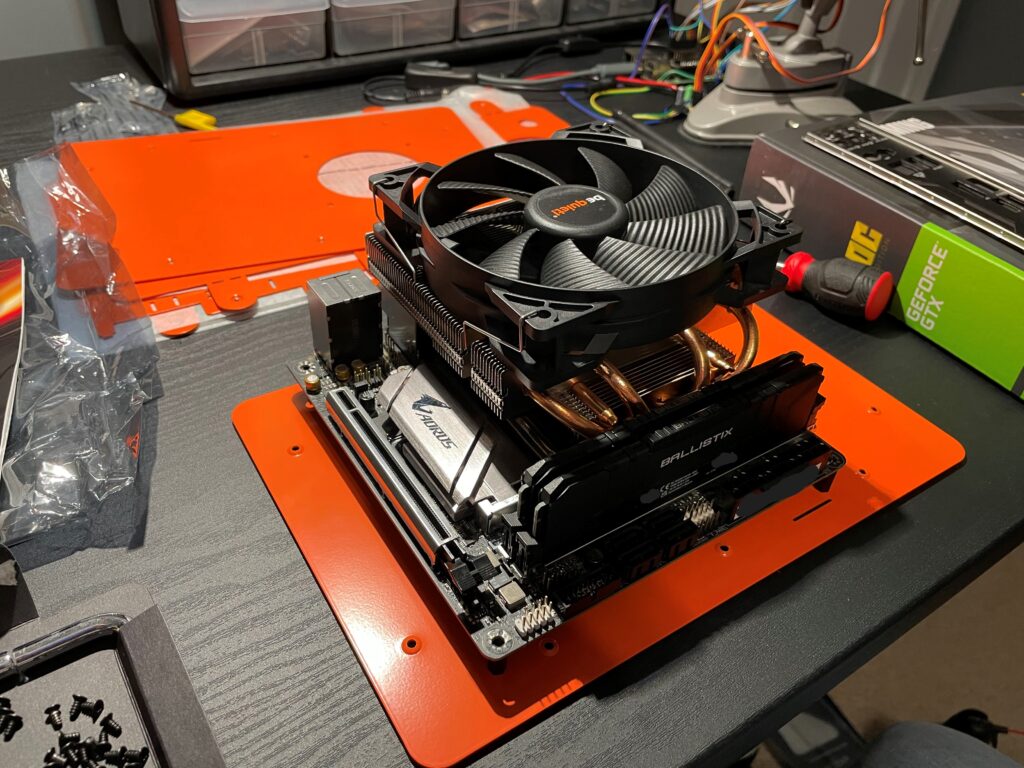
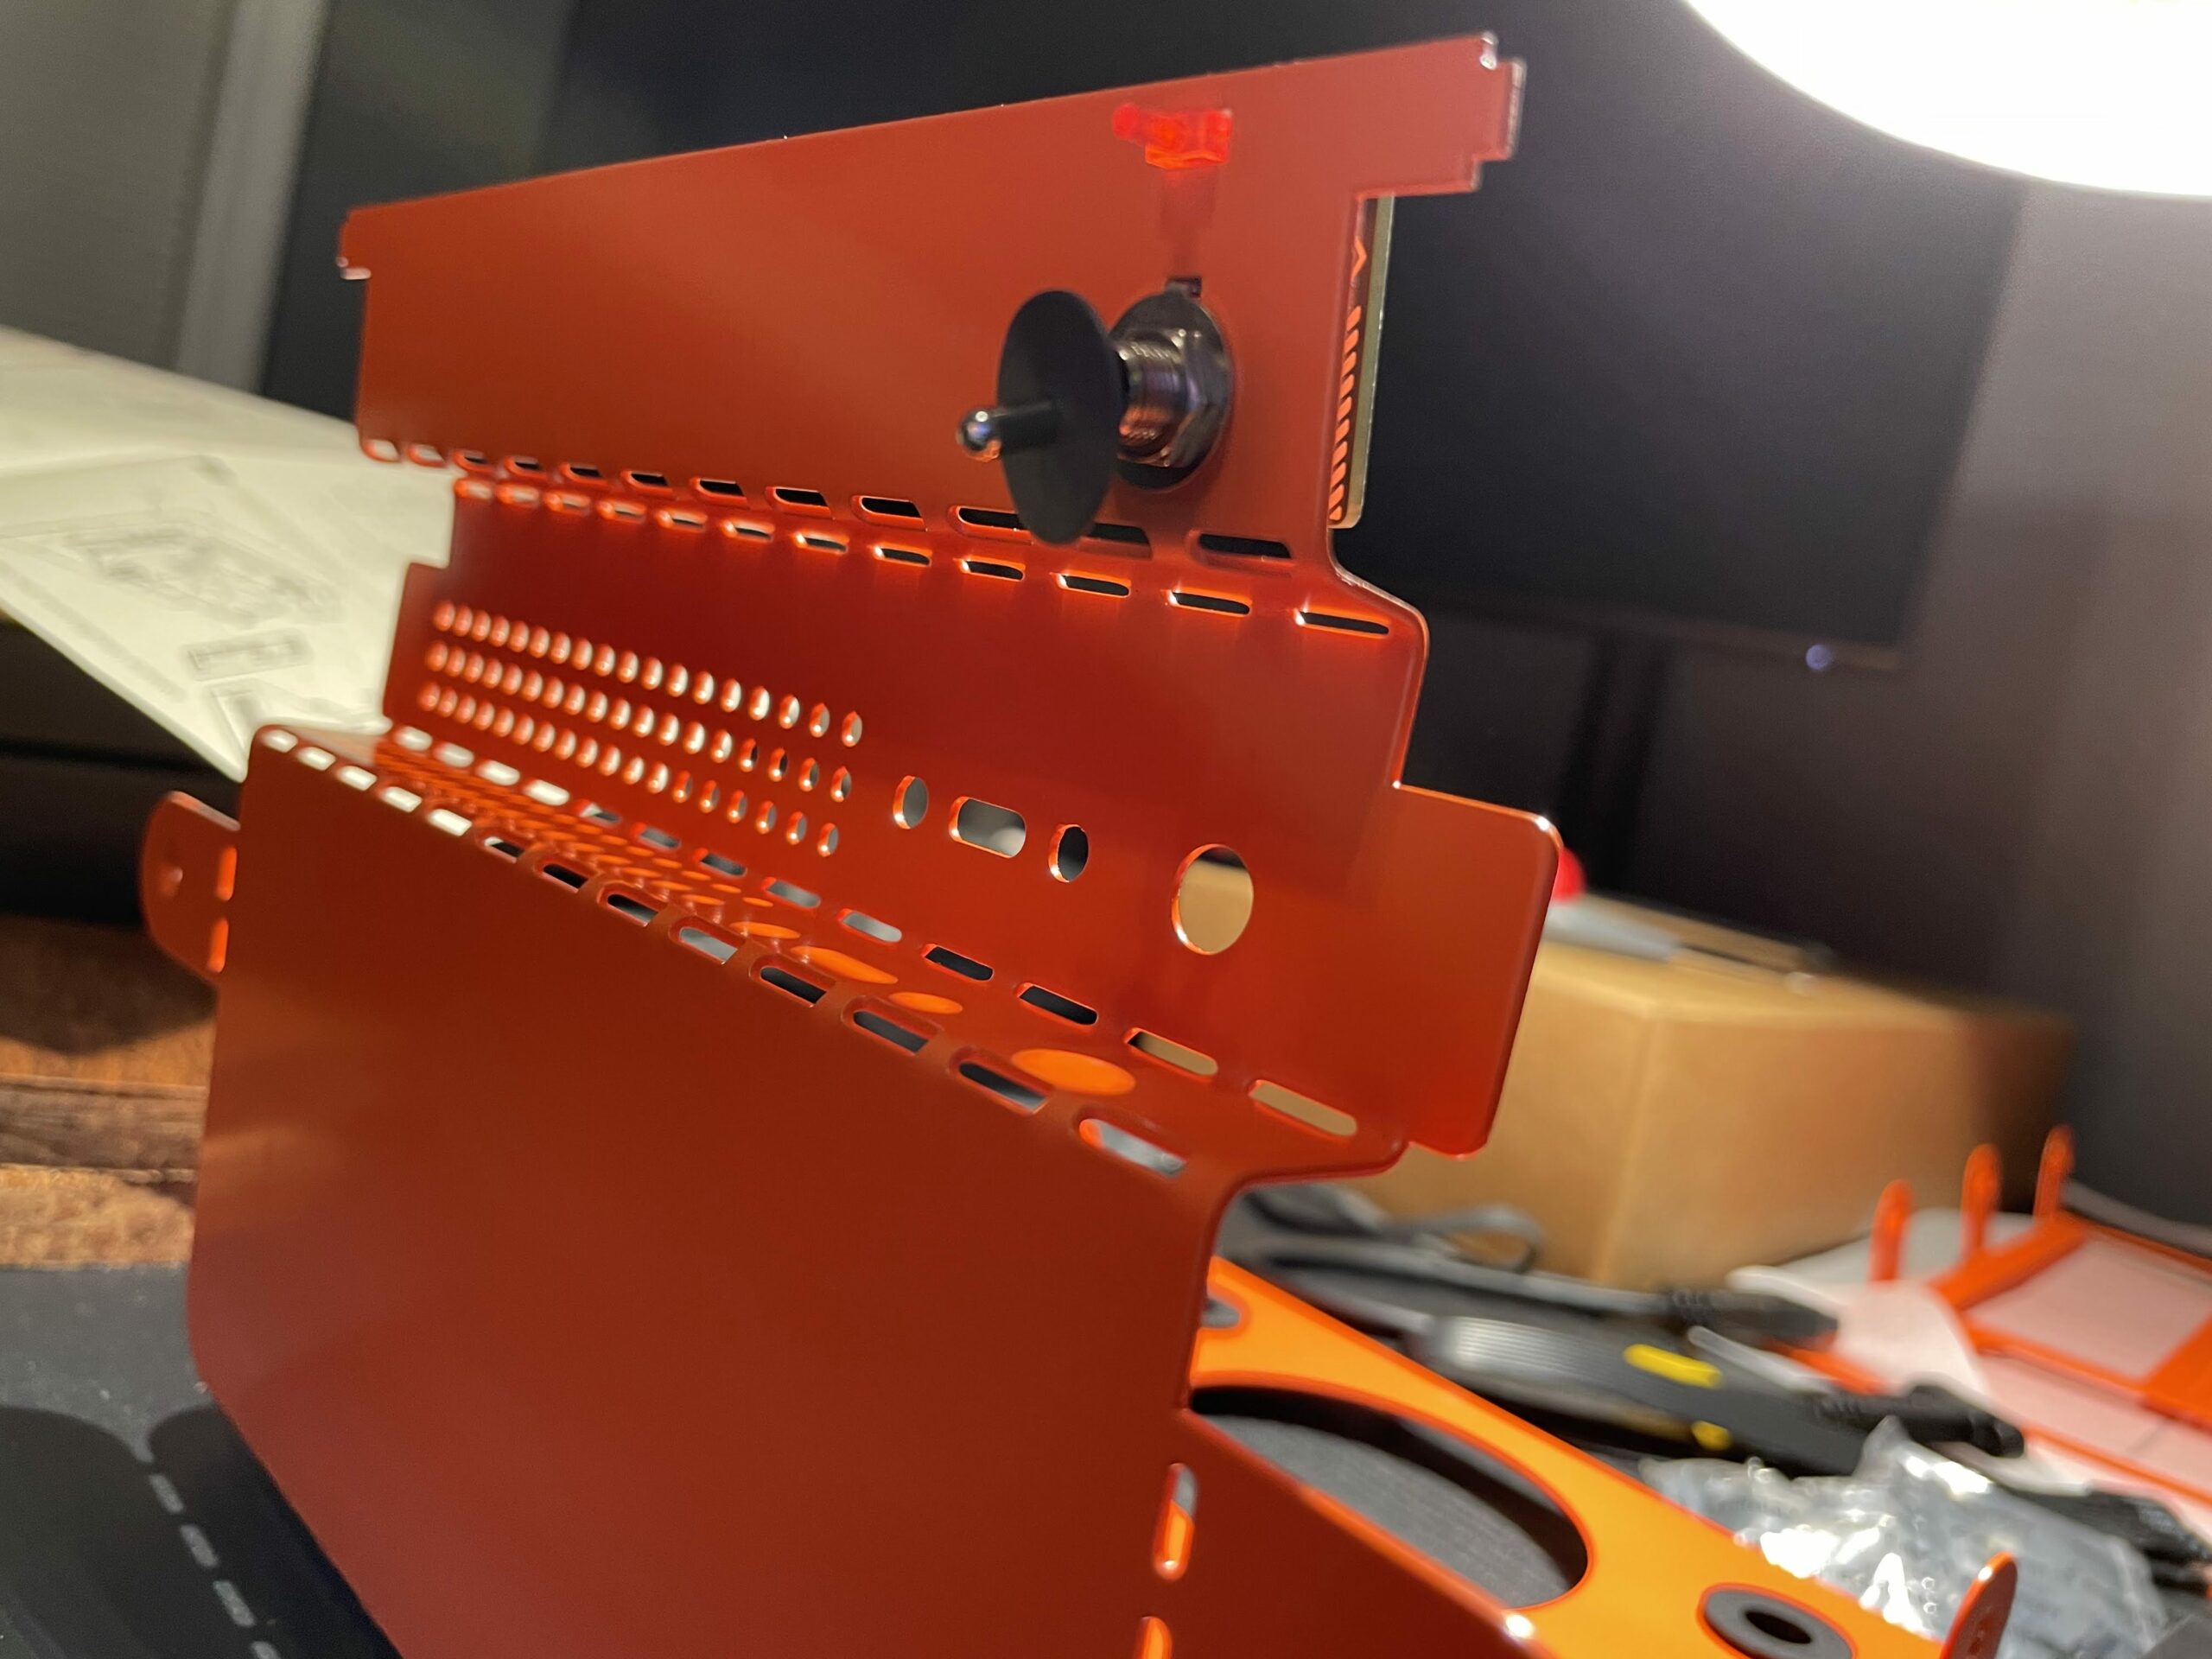
After more bending and cramming, it started to look like a computer!

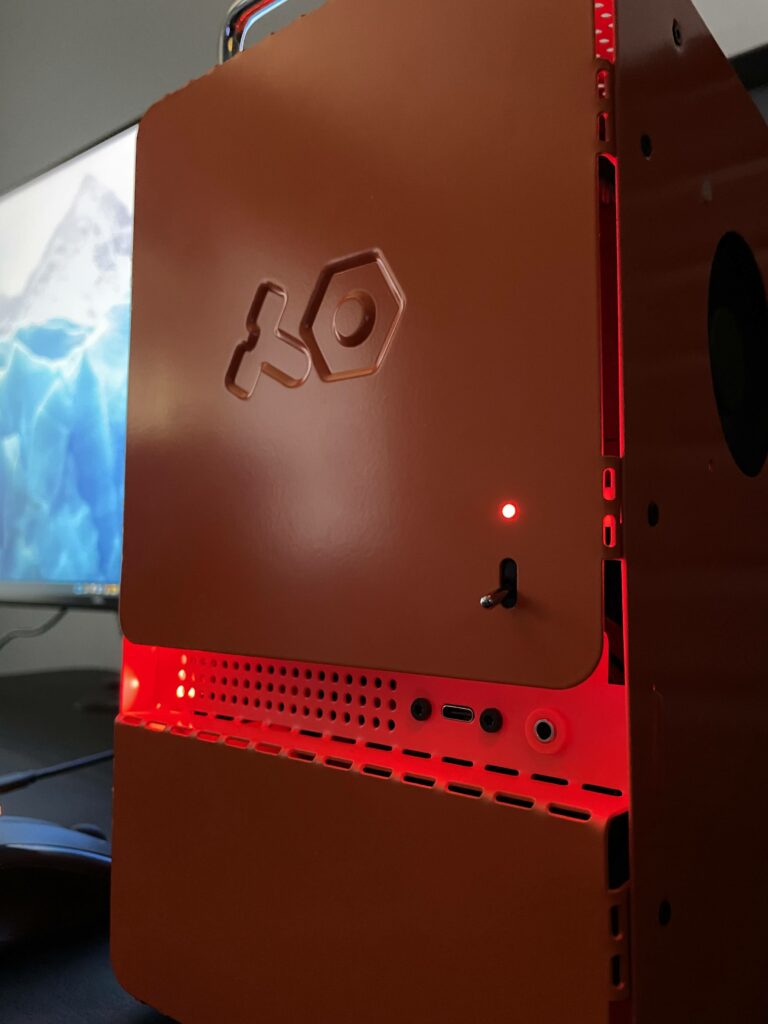
Mini hitch: There’s a thin plastic piece that extends from the power LED to the hole on the front panel, and I broke it while trying to get it aligned. It’s pretty easy to do when you don’t have the rigidness of a normal case. Thankfully I don’t think it compromised the case’s appearance.
Third hitch: It doesn’t POST
With everything but the side panel installed, it was time to do a quick power-on test to make sure we could reach the BIOS. This is typically a formality as “building” a standard computer is often no more complex than building a LEGO set. You push components into sockets, turn a few screws, and give it power.
I did all of the above to find that the BIOS wouldn’t load. I knew there would be a risk that the used motherboard was DOA, so at this point I’d concluded that I’d lost the gamble and was dreading removing every single piece I’d just delicately installed.
About an hour went by before I decided to scan the motherboard manual one more time and that’s when I spotted it:
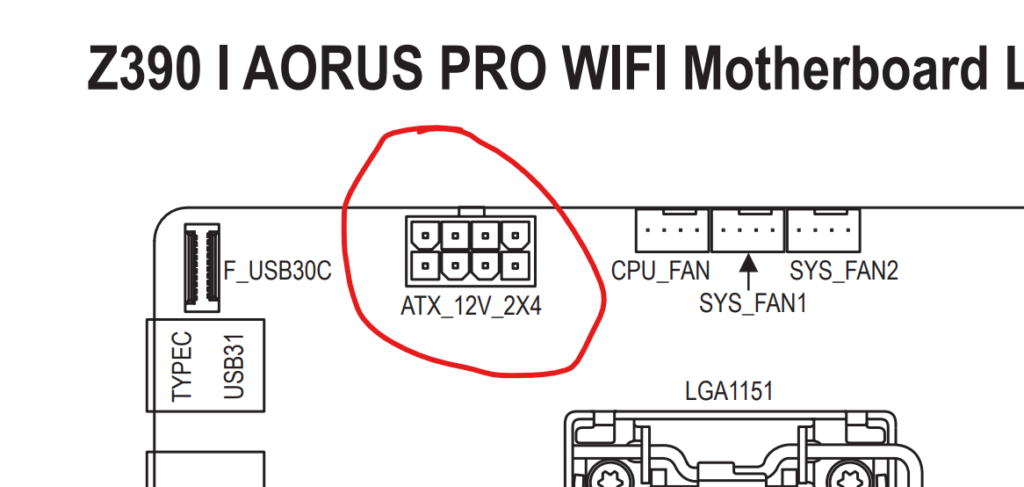
I’d missed the 8-pin ATX 12V power connector.
In my defense:
- I thought that surely Mini-ITX motherboards only needed the 1×24 pin power connection, so I incorrectly assumed there wasn’t a second one.
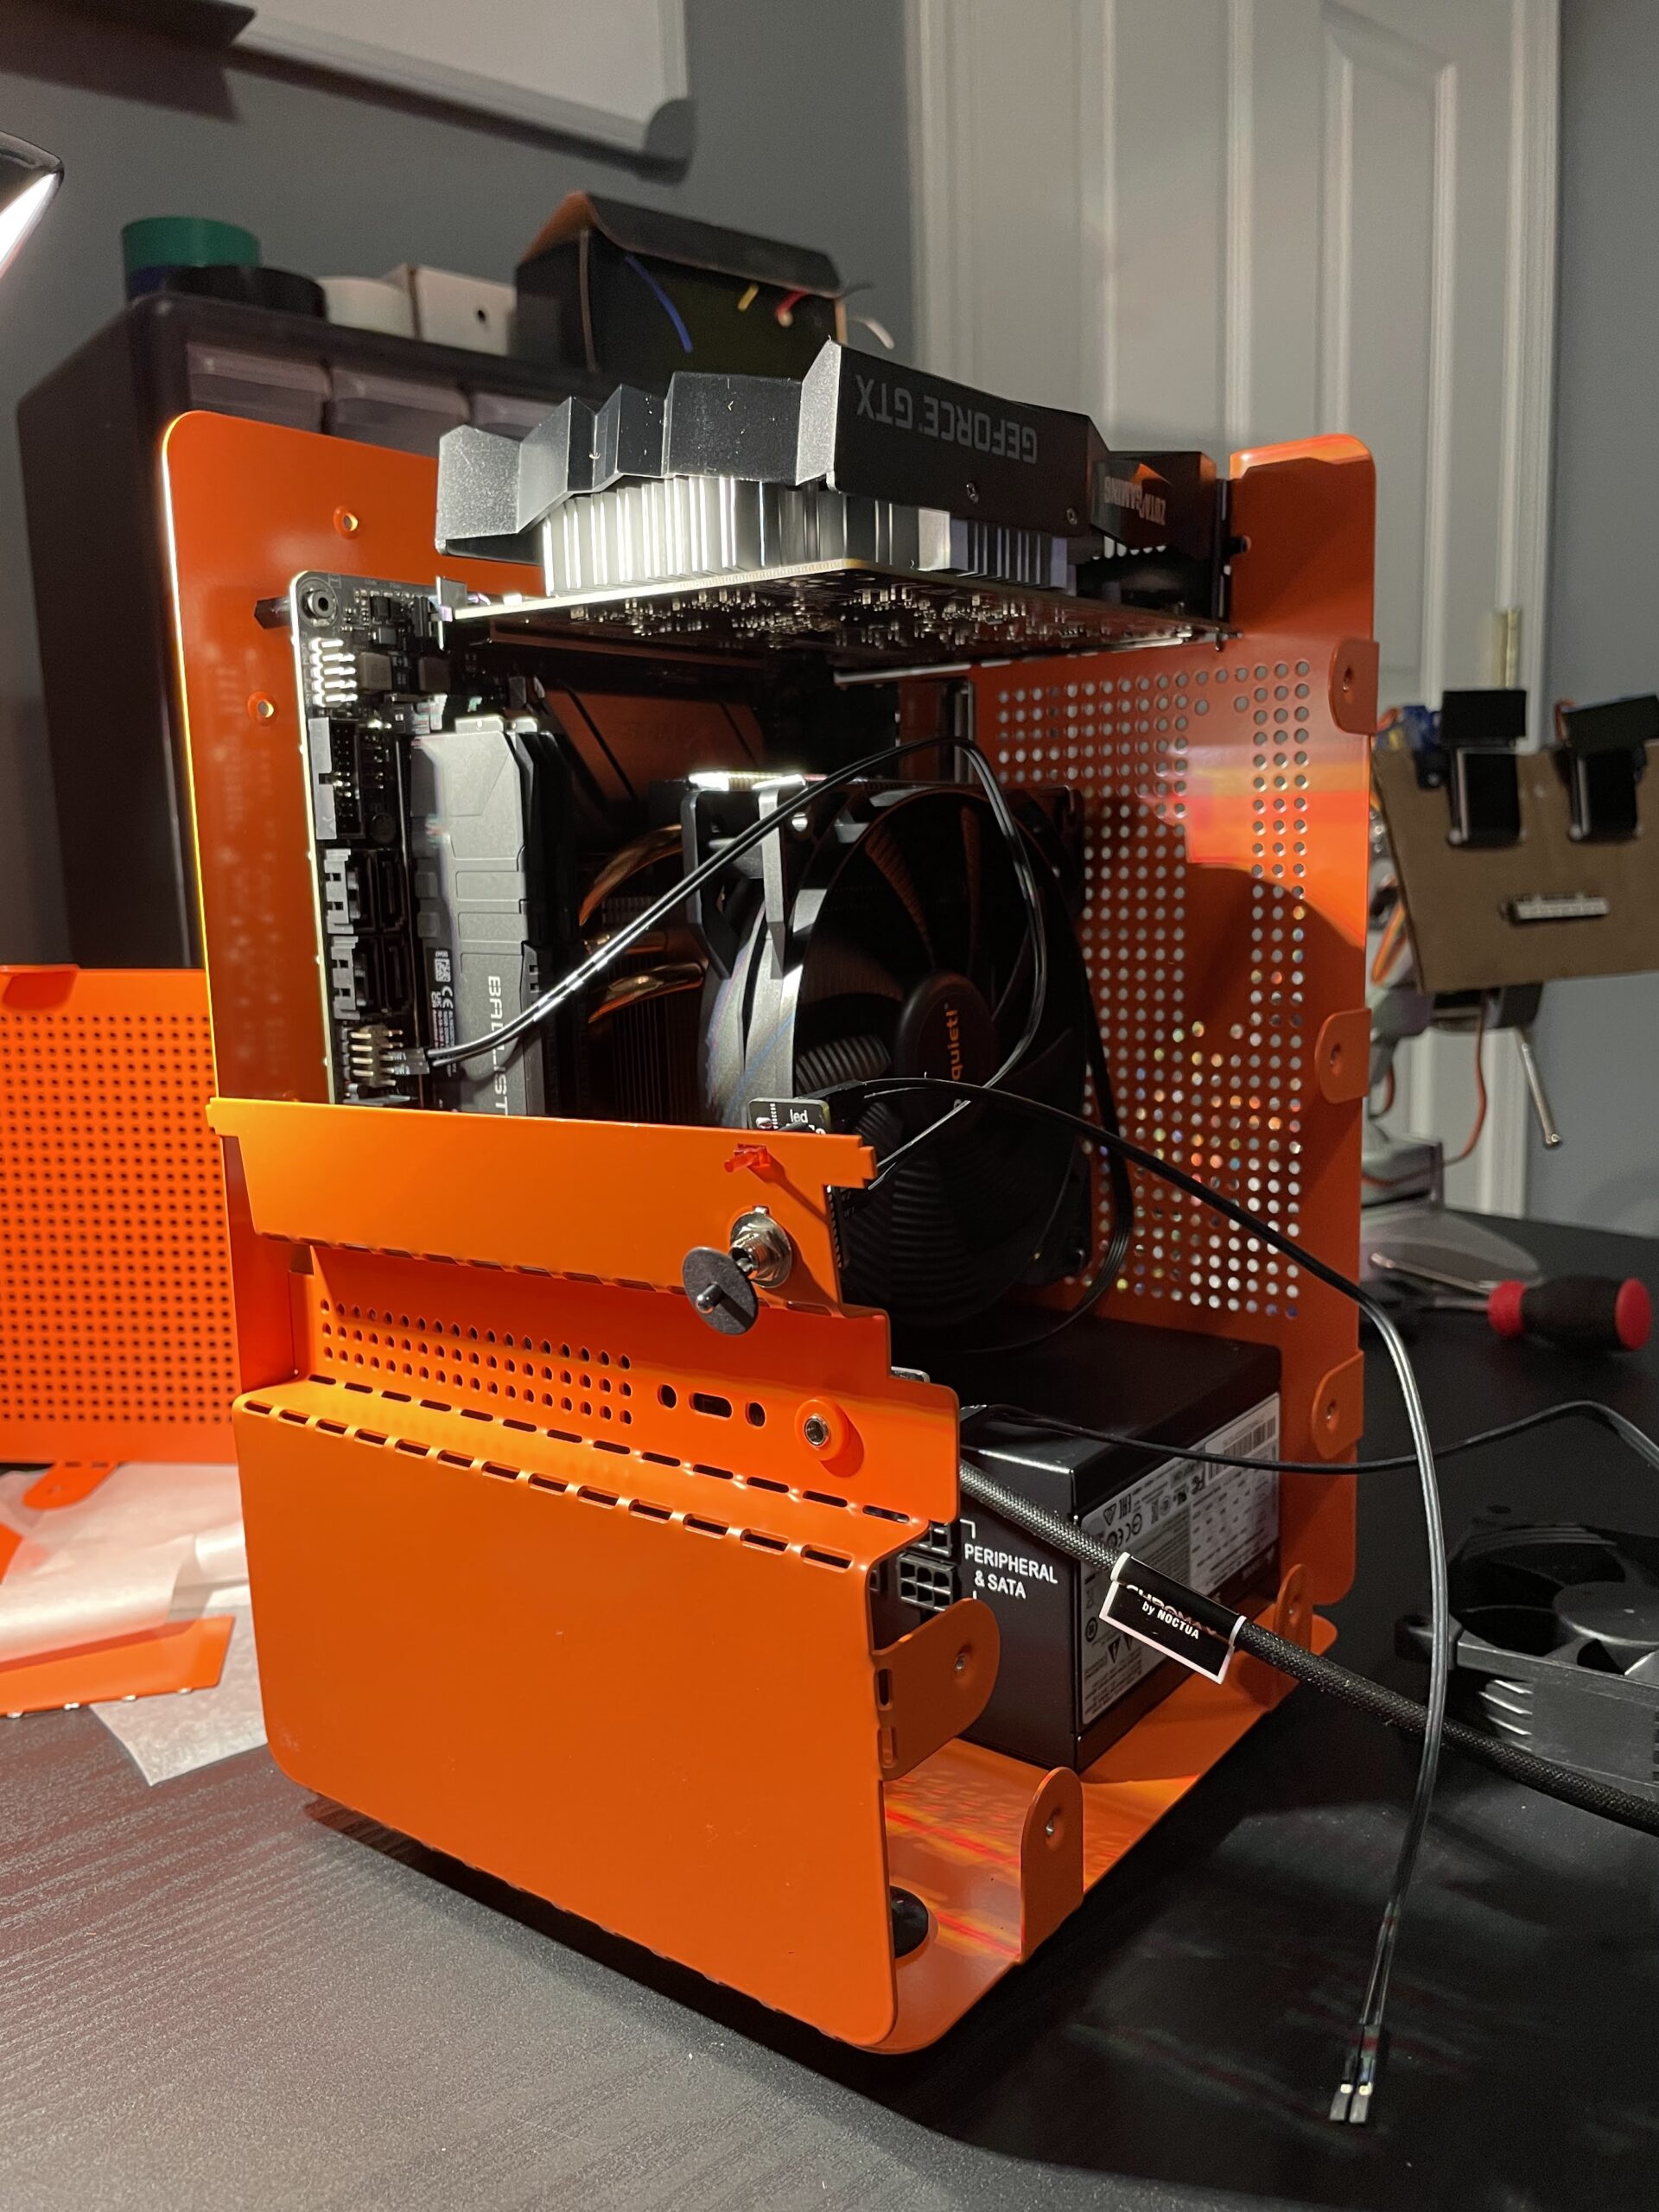
- It’s almost invisible once the power supply is in place (see picture below) so I missed it when initially troubleshooting.
- I have no defense.
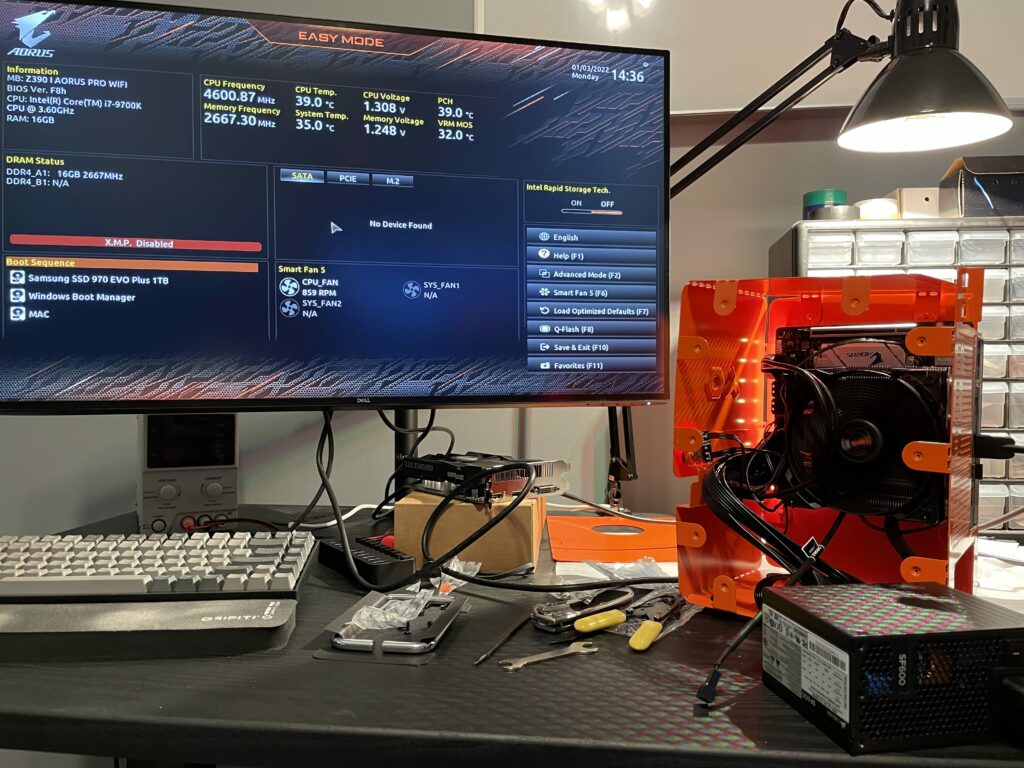
And now at 12:59 a.m. we had a successful POST. It all worked.
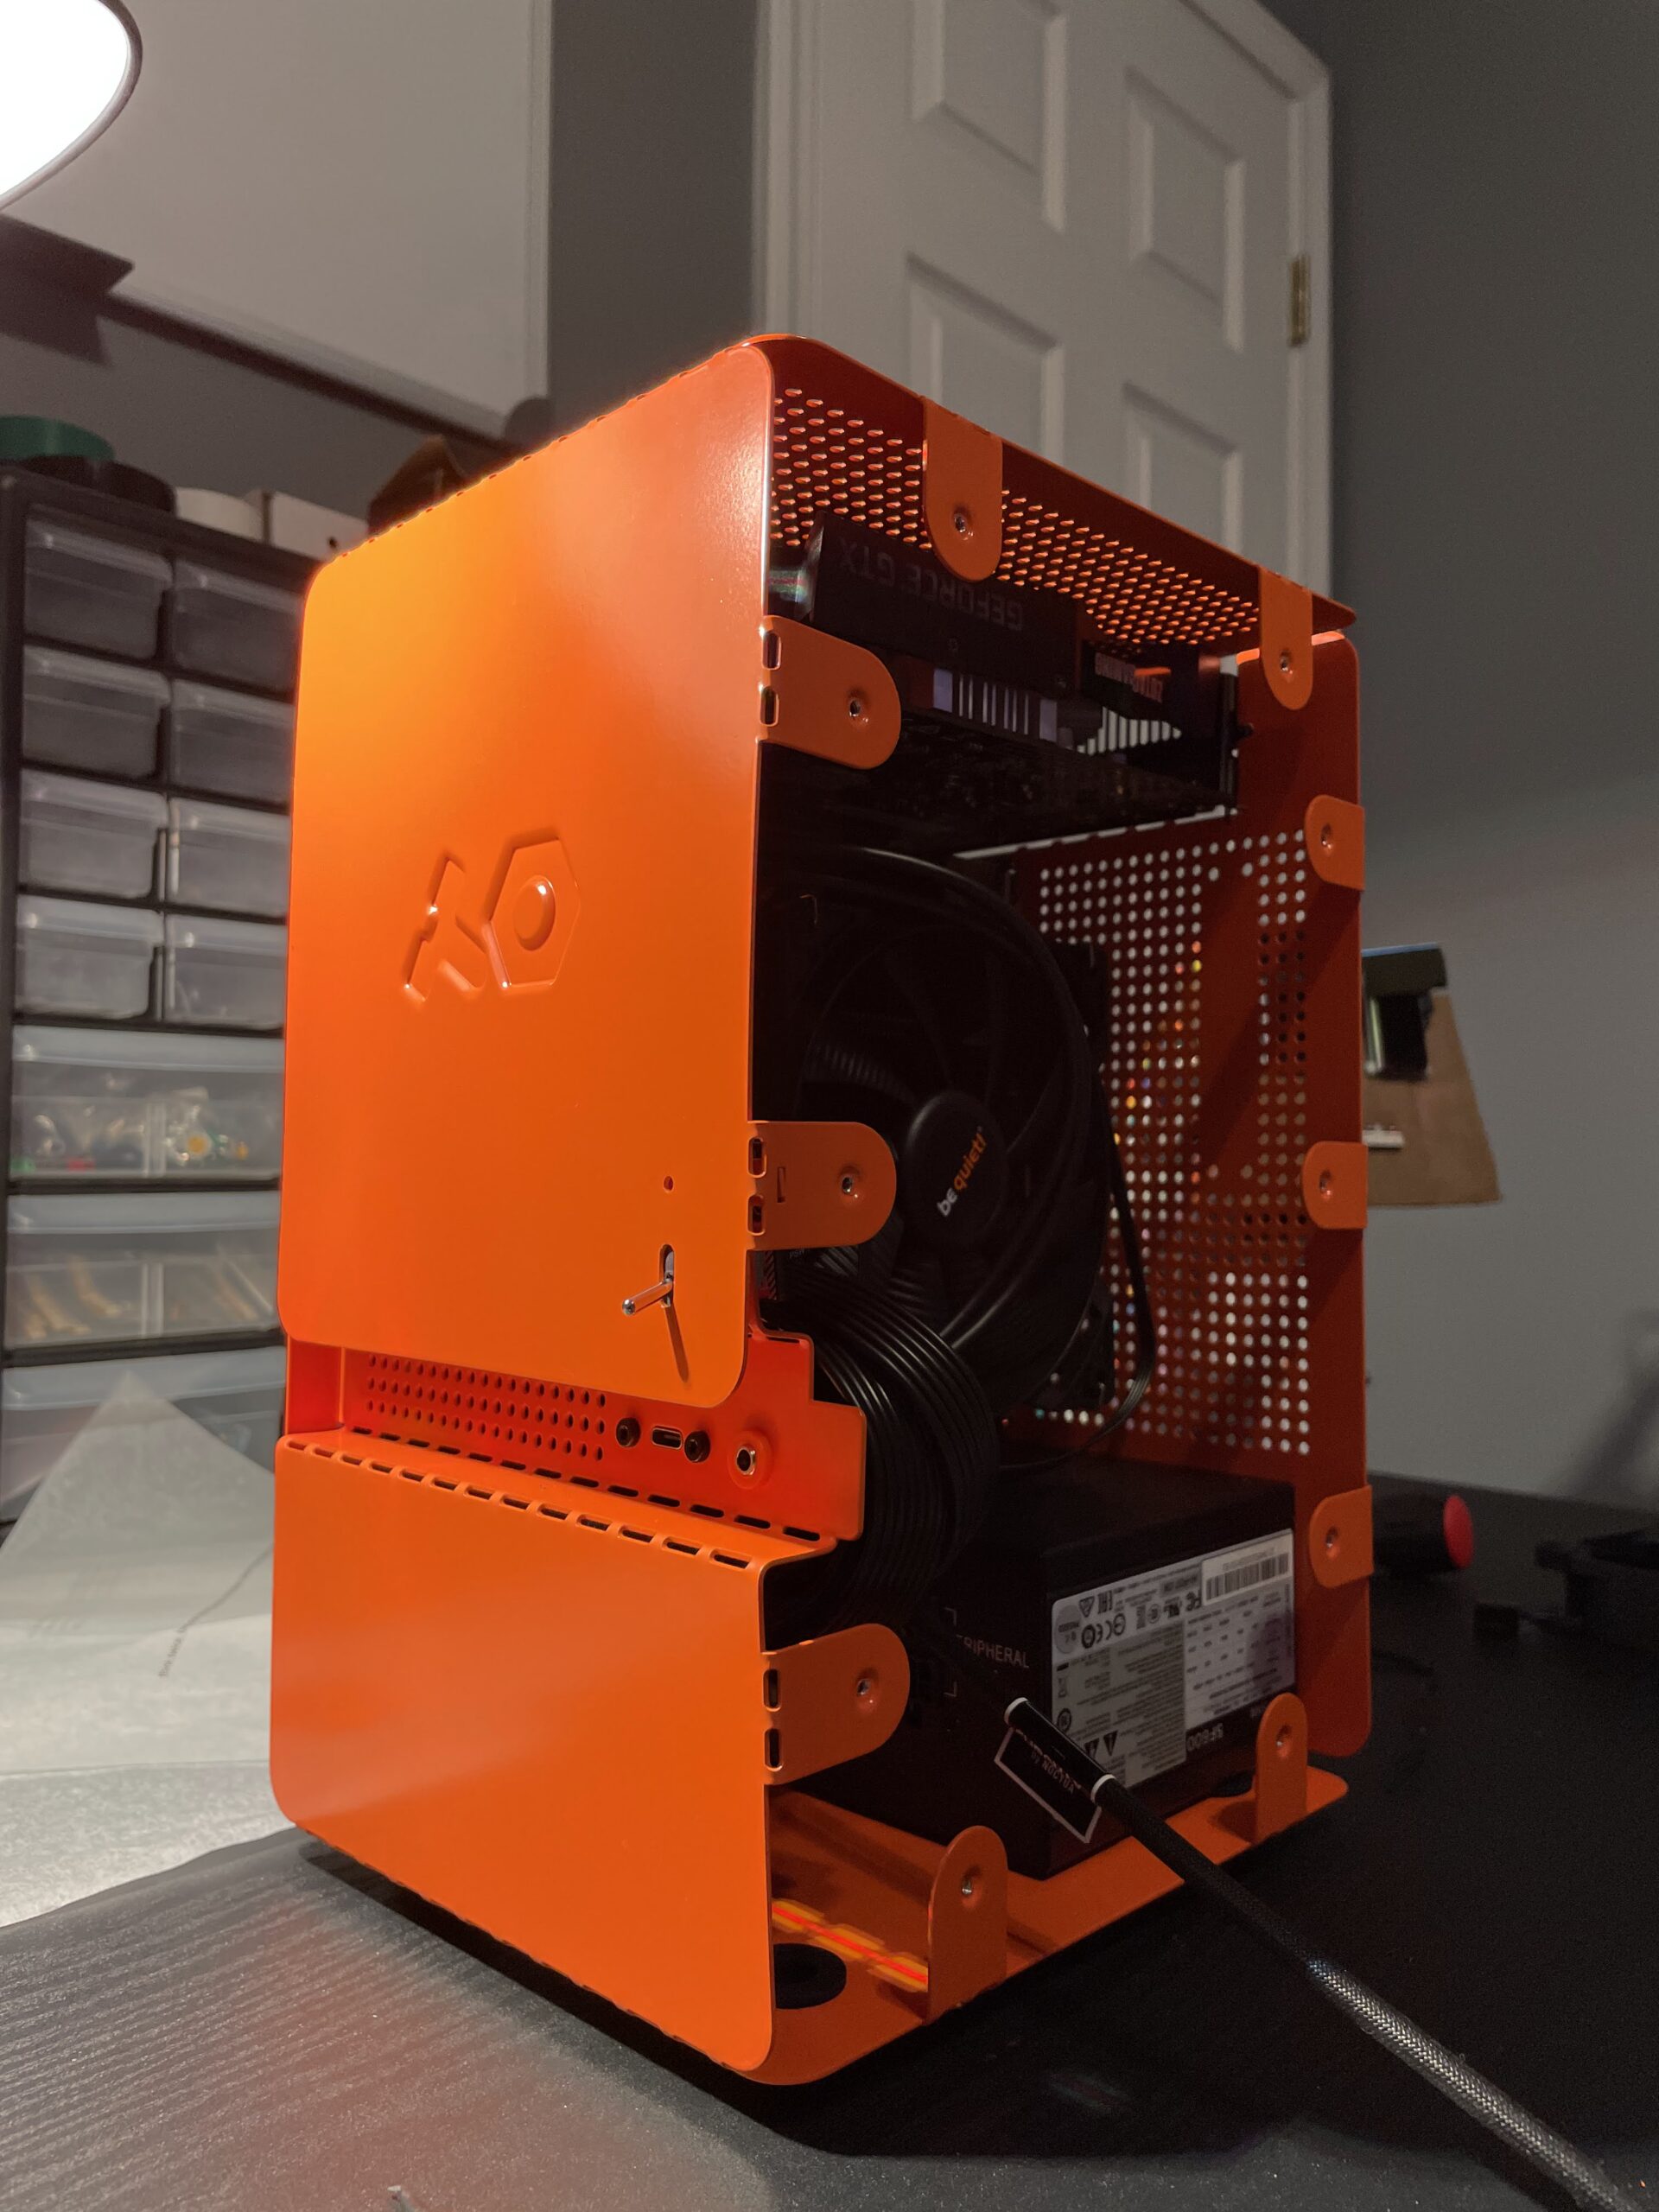
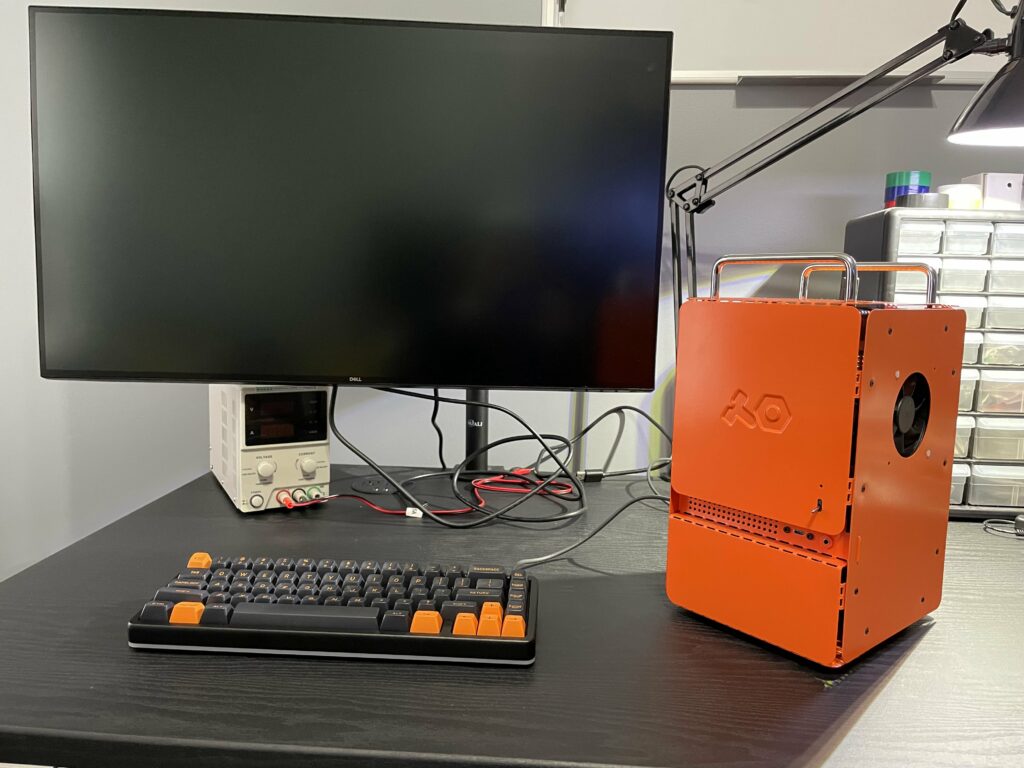
Buttoning it up
The case can feel wobbly and flimsy until the last panel is installed, then it becomes quite rigid. I have complete confidence in lifting it from its handles.
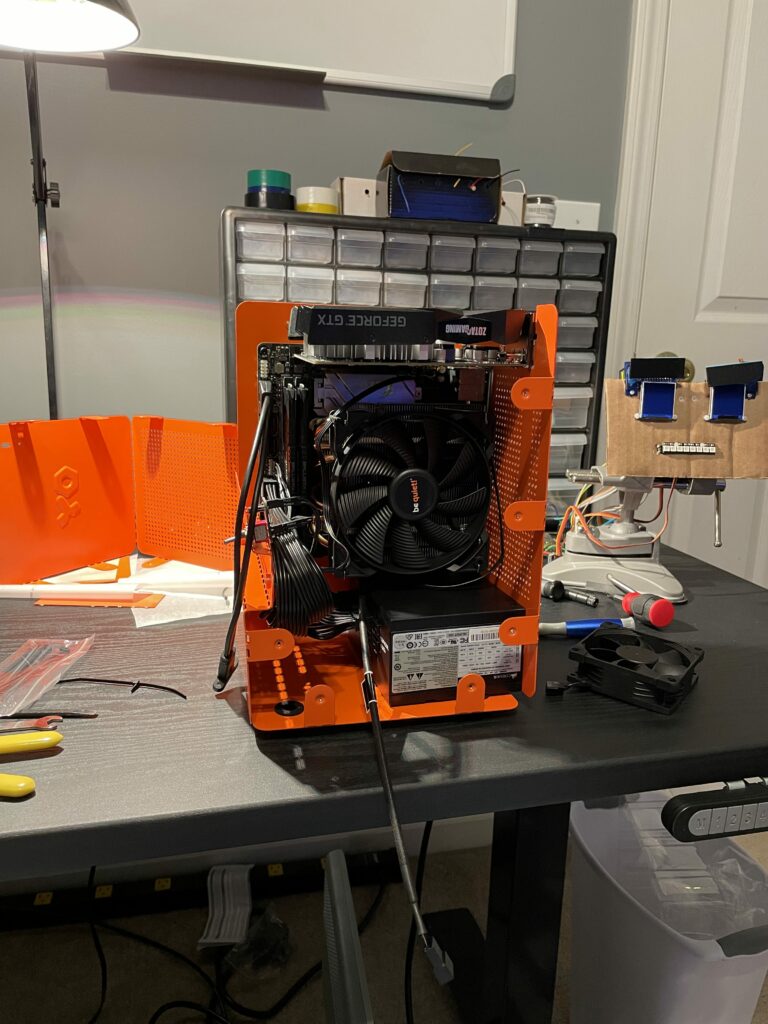
Mini hitch: The screws for the side fan weren’t long enough so I had to substitute them until I got proper replacements.

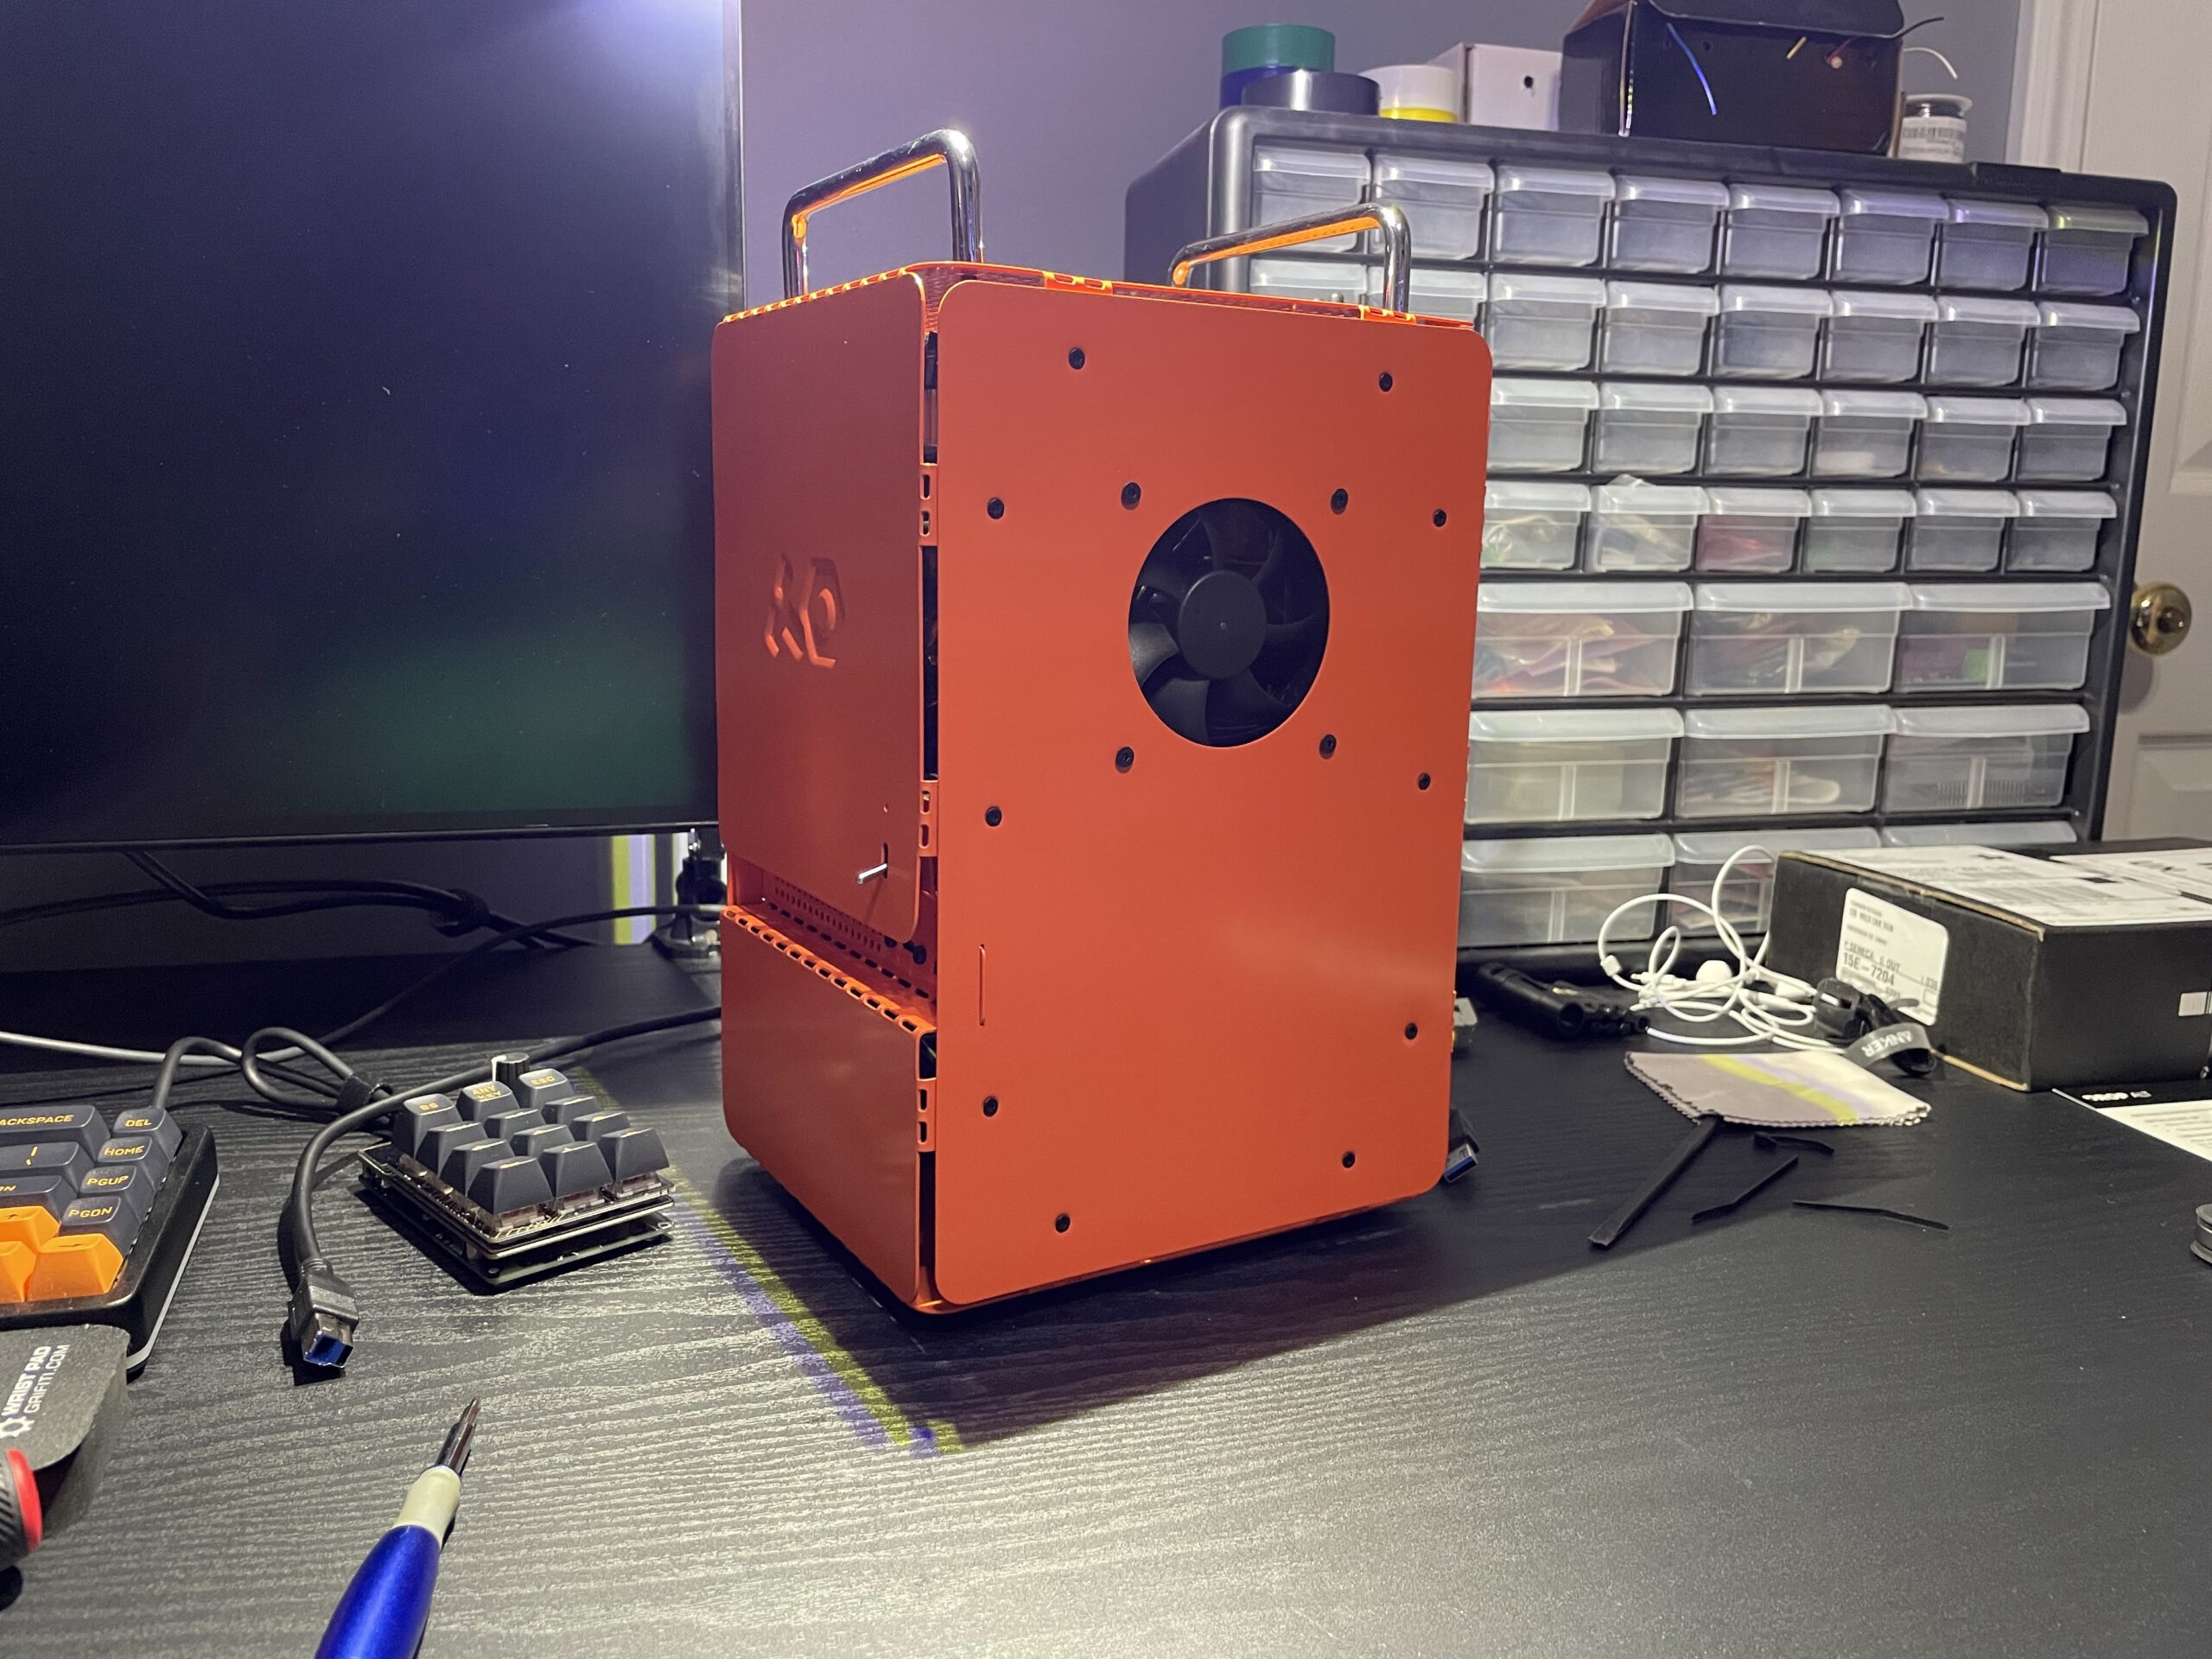
I ordered this kit of assorted hex screws from Amazon and they seem to work well. They aren’t perfectly flush with the side of the case but they get the job done.
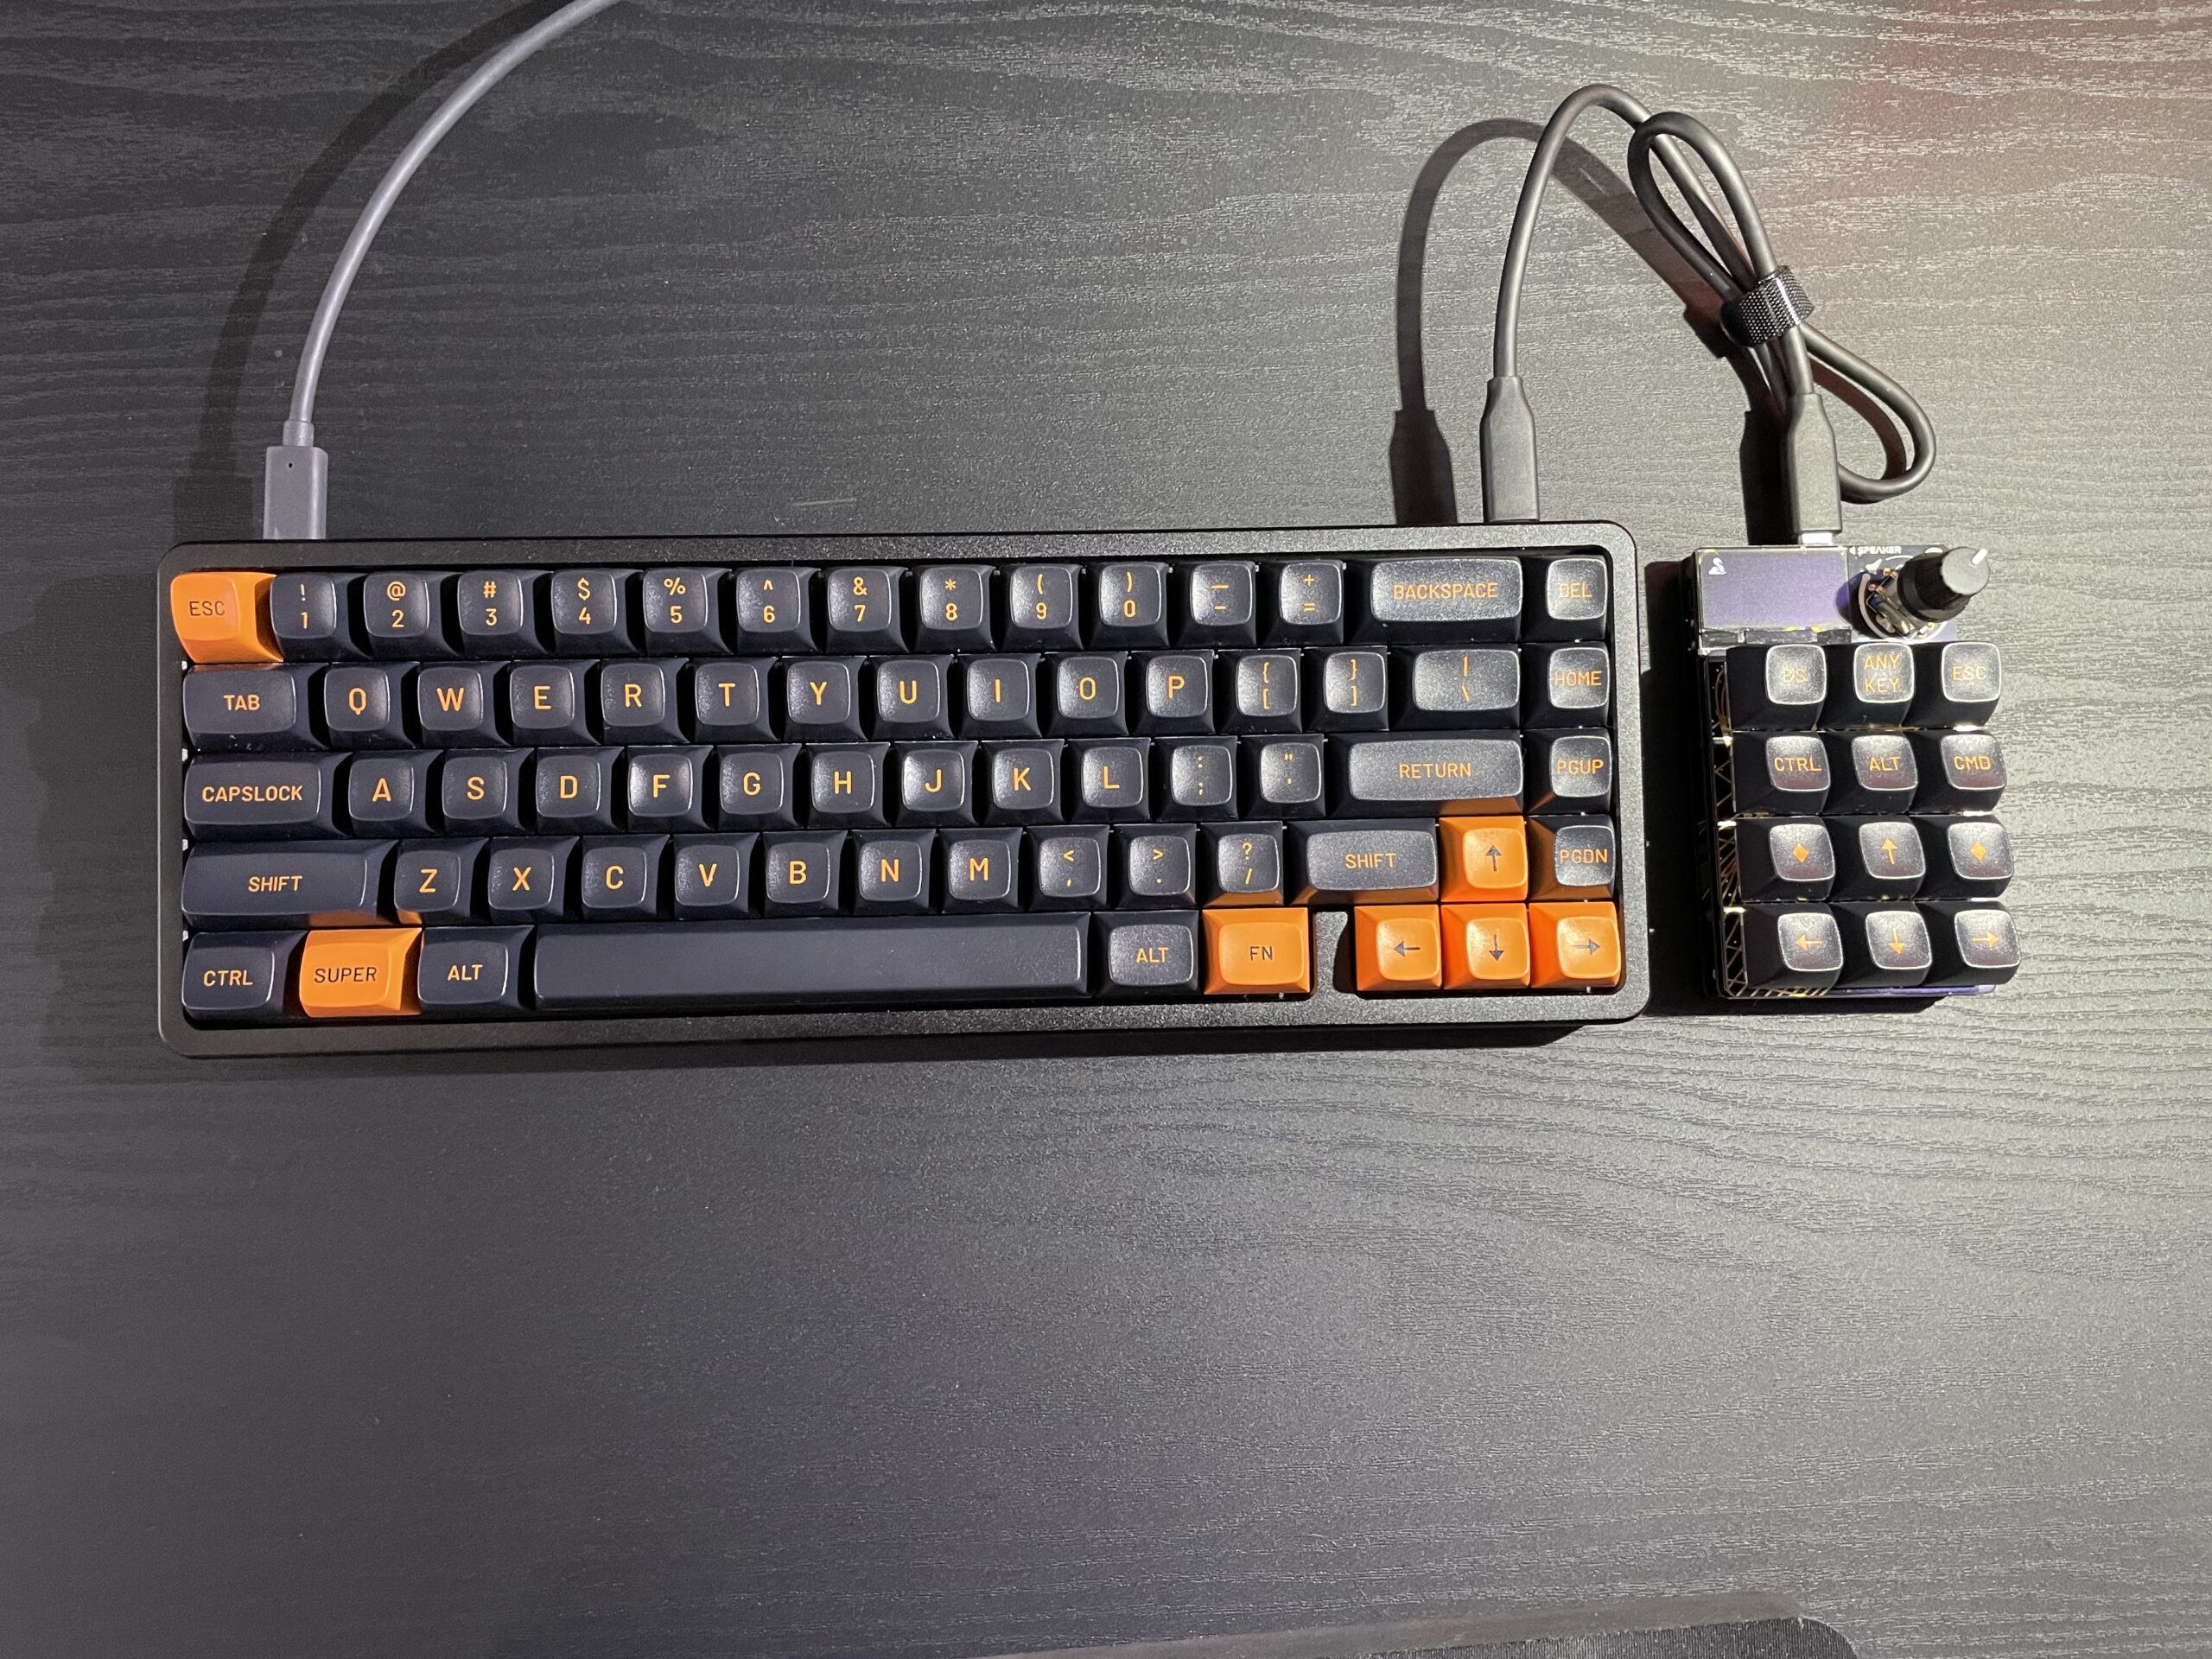
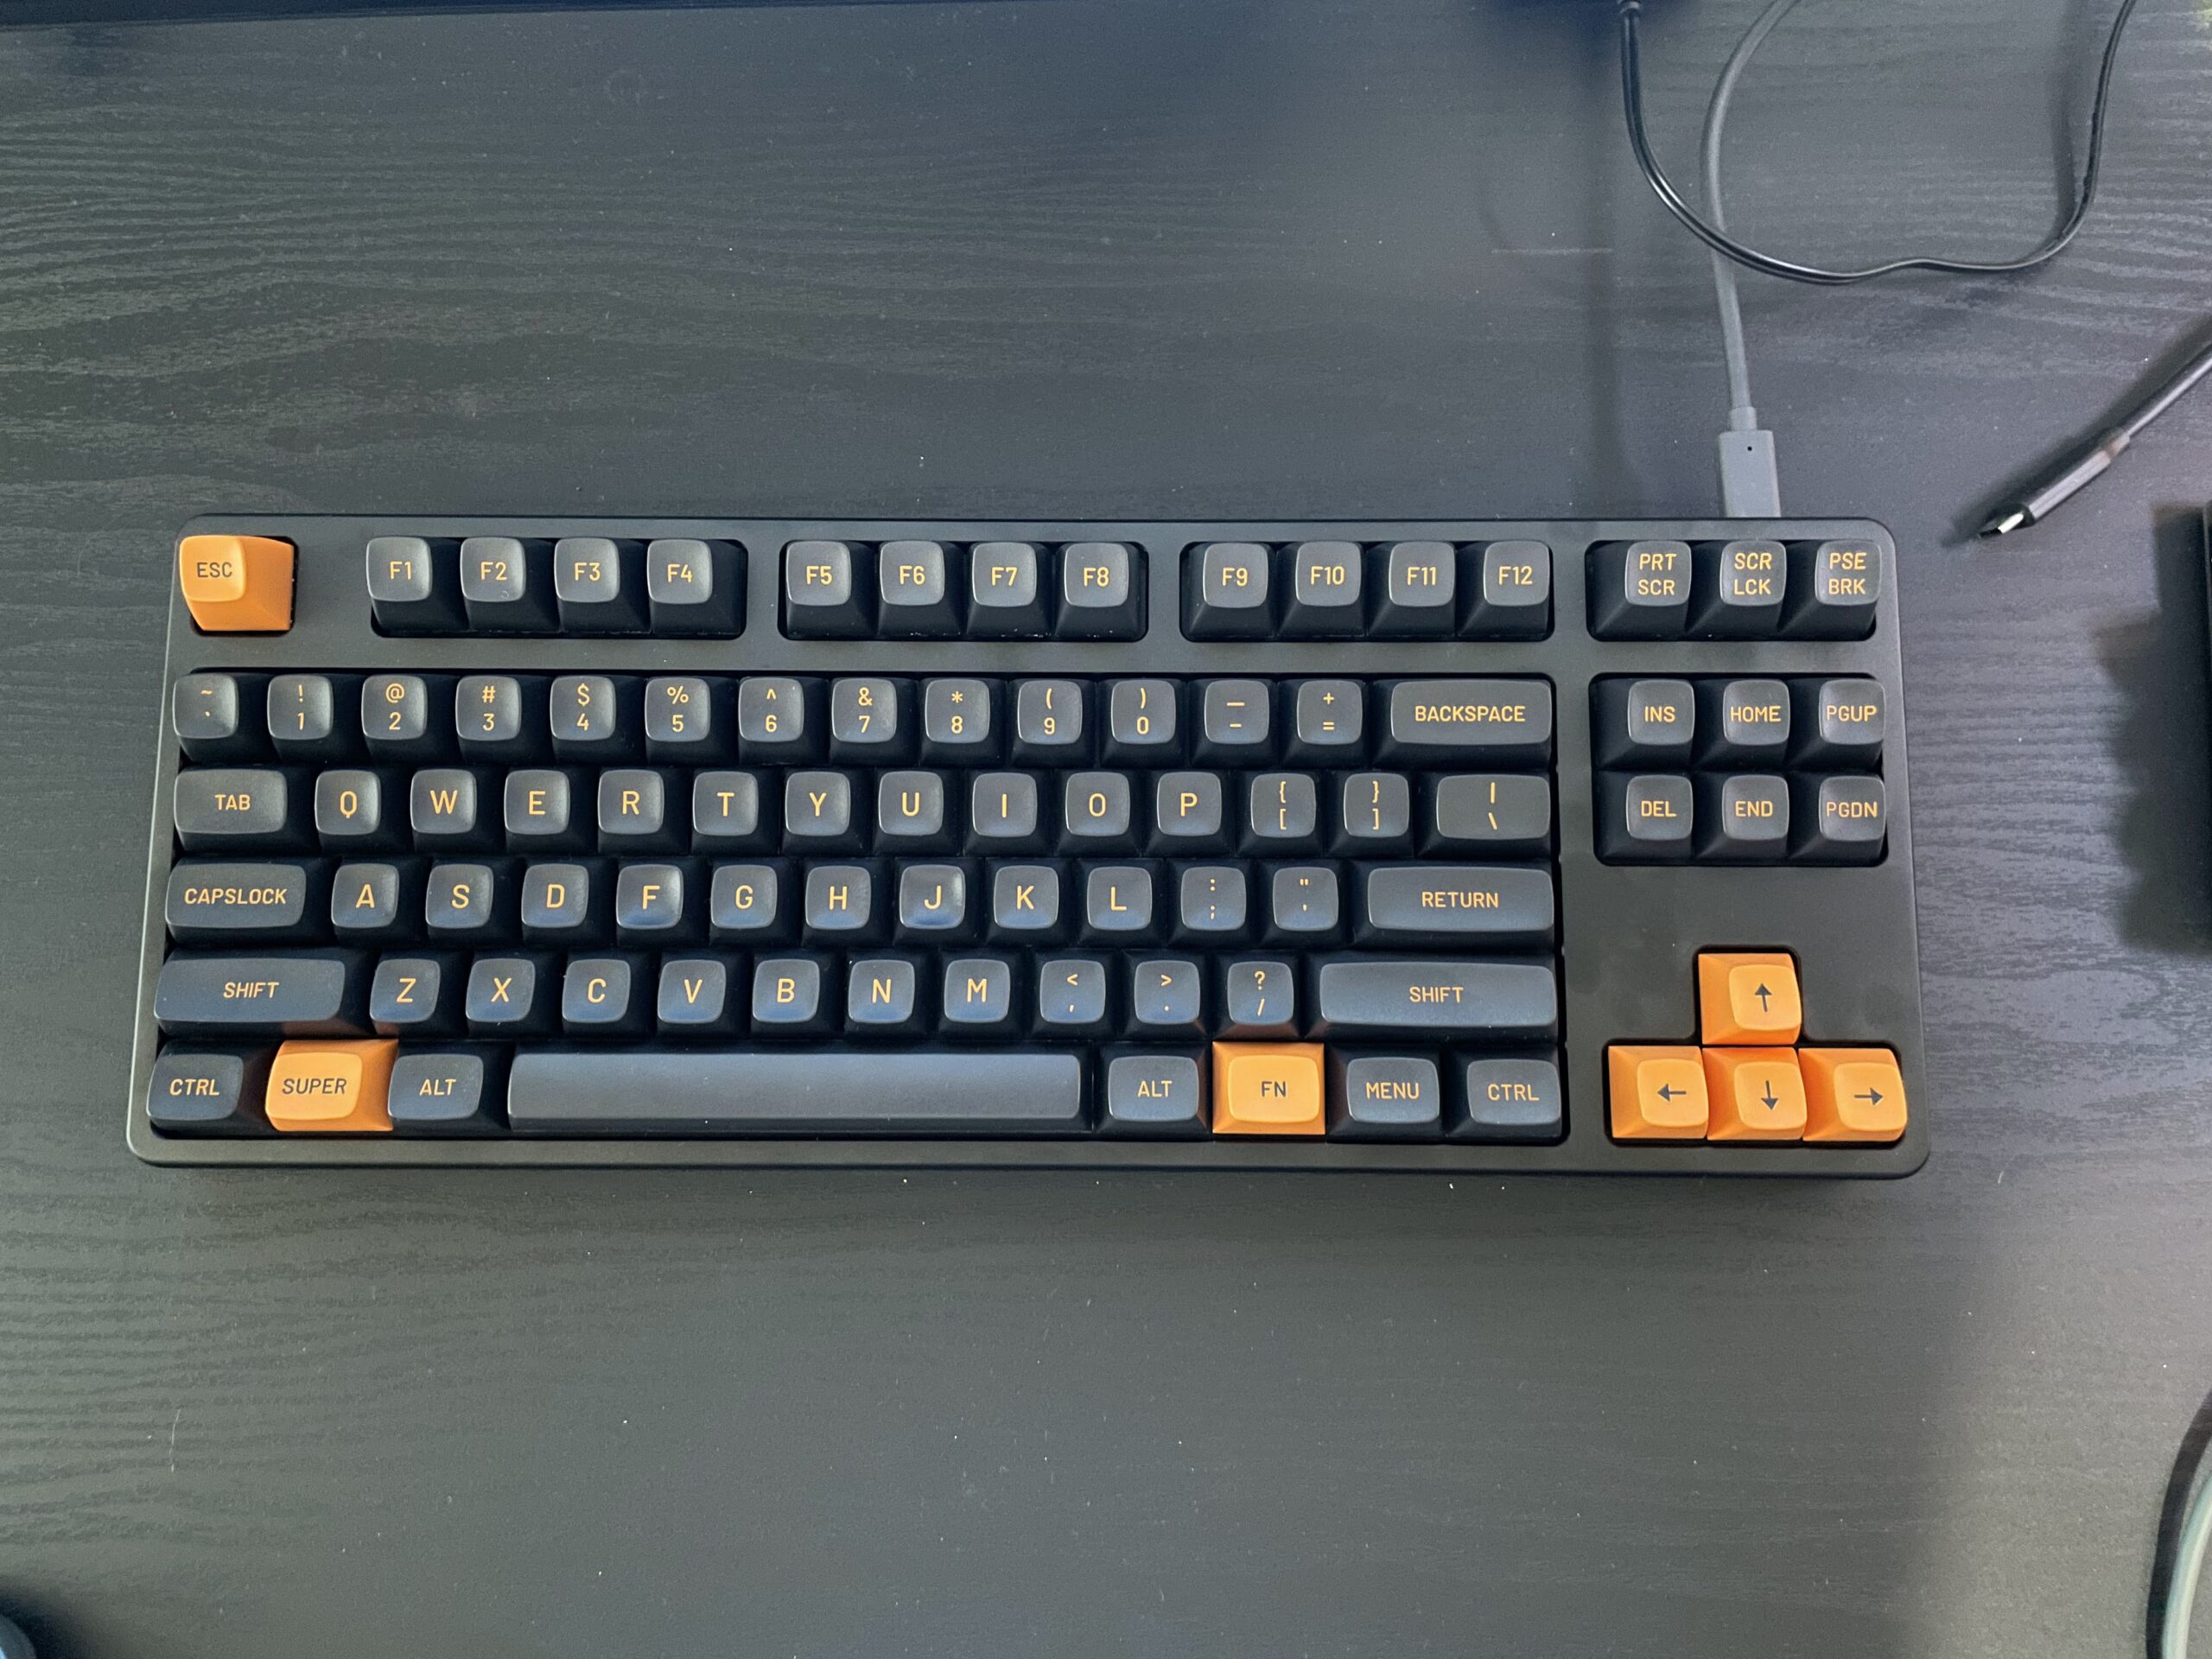
The Keeb
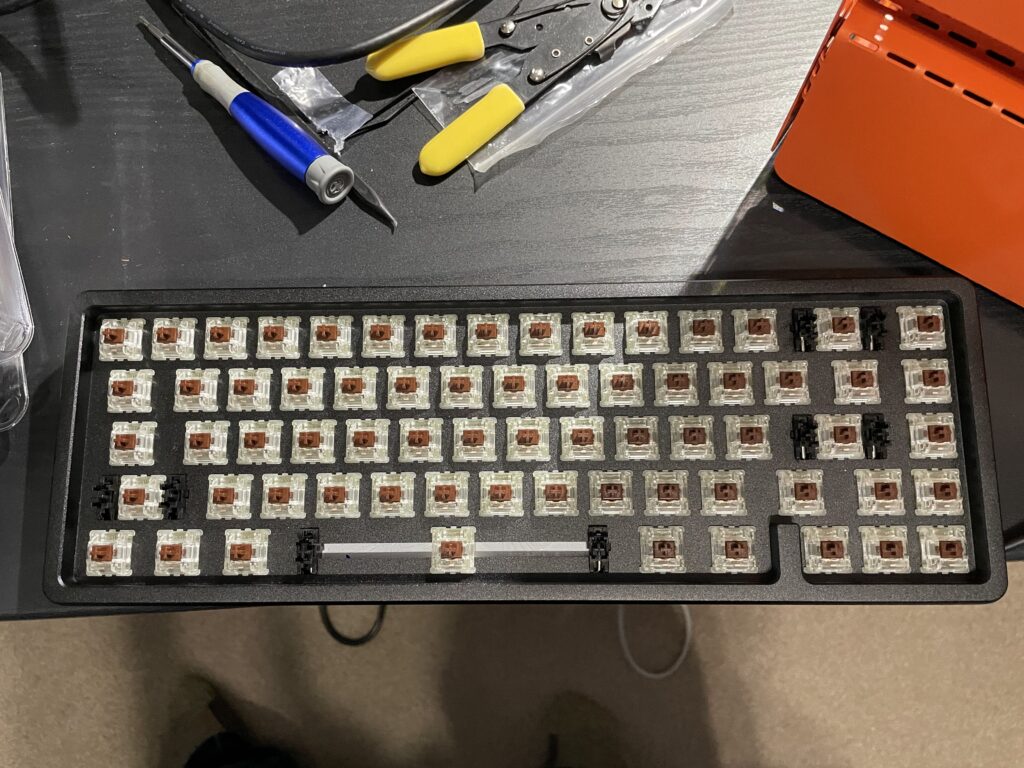
To complete the look I wanted I ordered the Drop ALT high profile with MX Browns and MT3 Skiidata Keycaps which I later swapped out for the Drop CTRL. Though the Drop ALT is beautiful, I decided that I need my ~ and ESC keys and remapping capslock wouldn’t cut it.
The keycaps aren’t the exact shade of RAL 2004 Pure orange, but they match depending on the lighting conditions and in my office they often do.

The good:
- It’s metal, heavy, and feels like it could be used as a weapon.
- The keys are hot swappable.
- There are key LEDs (though these caps aren’t shine-through) as well as ones running along the base, and they’re highly configurable.
- Two USB-C connectors.
The not-so-good:
- Pricey
- The surface-mount stock stabilizers are pretty bad! I had to replace mine with some Cherry stabs to remove rattling.
- One of my Drop keyboards came with a single defective (stock) cap and Drop couldn’t replace the single key. They just offered an entire keyboard replacement, partial refund, or store credit.
- I’m baffled why a keyboard this expensive would have some basic QC problems.
Fourth Hitch: We’re Running Hot
Like putting a car on a dyno or running it around a race track, new PCs need to get benchmarked and stress tested. Overclockers want to see how much performance they can squeeze out while others may just want a quiet, stable machine that will last a long time.
Before I installed the operating system I upgraded the BIOS for the Z390 and set everything to defaults. I figured that would give me a balanced configuration that erred on the side of quietness, moderate performance, and low temperatures. Looks like I was wrong again!
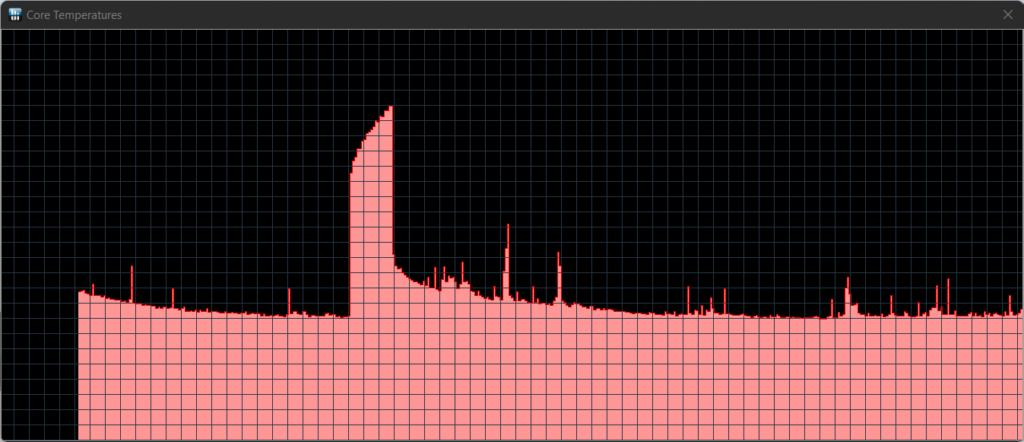
I was quite surprised when I ran Prime95 and saw the CPU core temps skyrocket towards throttling temperatures (~100C) in a matter of seconds while the fans were maxed out.
My first thought was that I messed up the thermal paste when I rotated the CPU cooler, so an hour or so later I’d disassembled much of the PC, cleaned off the processor, applied new thermal paste, and put the CPU cooler back on for the third time. No change – temperatures were still dangerously high.
After some reading I ultimately learned that the motherboard is aggressive with this unlocked (i.e. overclockable) CPU and its defaults were the culprit. I had to tweak the vCORE setting to be “normal” and manually set the clock. Now we’re (not) cooking.
Temperatures are wonderfully stable – normal computing floats around ~35C and under stress there’s no more skyrocketing – we get a nice, safe, flat line well before anything remotely concerning.
Final Thoughts
Even after all the issues along the way, I’m happy with this little orange computer. It’s been running great for weeks now and hopefully it will continue for years to come.
The good:
- I love the way it looks. I wish that Apple had gone with a similar style for the Mac Studio.
- The case’s cooling is good.
- I trust the case’s handles.
- The CPU fan is nice and quiet.
- The case fan is nice and quiet.
The not-so-good:
- Opening up the side panel requires unscrewing ten screws.
- The fan on the side panel is exposed.
- The screws for the fan weren’t long enough.
- Everything felt flimsy until the last panel was installed.
- It’s really easy to end with up misshapen metal if you bend incorrectly.
- It’s easy to shear off the power LED plastic.
- The GTX 1650’s fan is audible and not a pleasant sound.