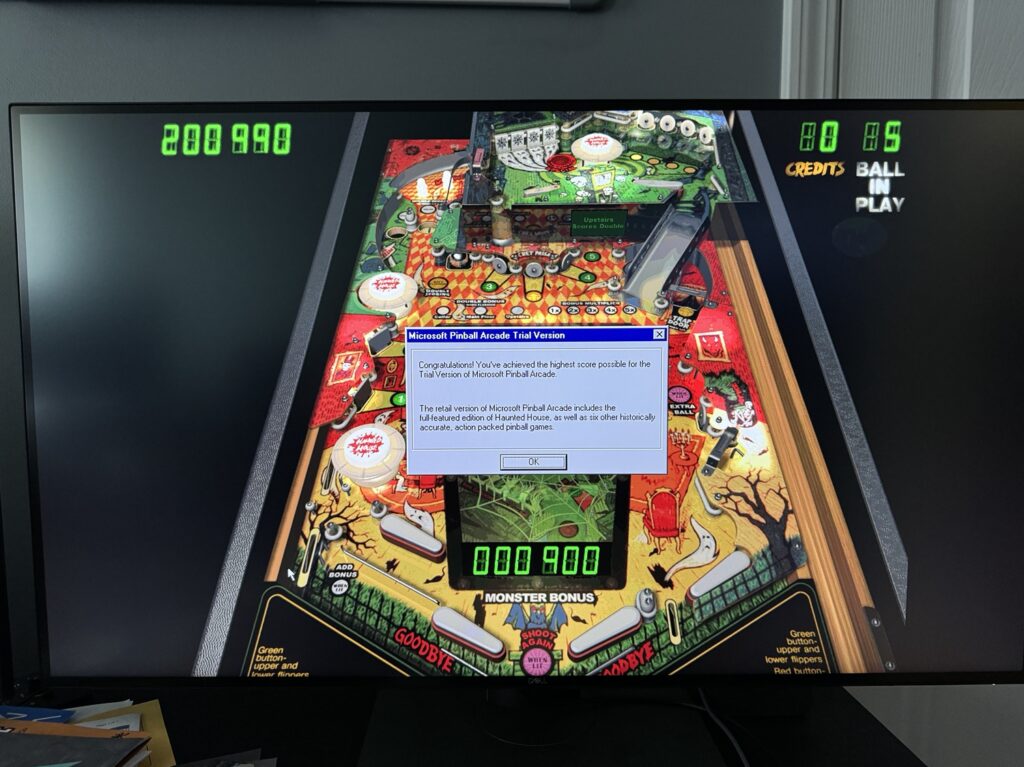
I mentioned in my previous post about the Juicy Crumb DockLite G4 that there were two shortcomings with the product:
- Their software to control the brightness of the display was macOS only.
- The display doesn’t support sleep, so you’re required to press a physical button to turn off the backlight.
Thanks to some USB packet snooping and GPT, both of these problems were solved quickly. 😎
I wanted Linux software control
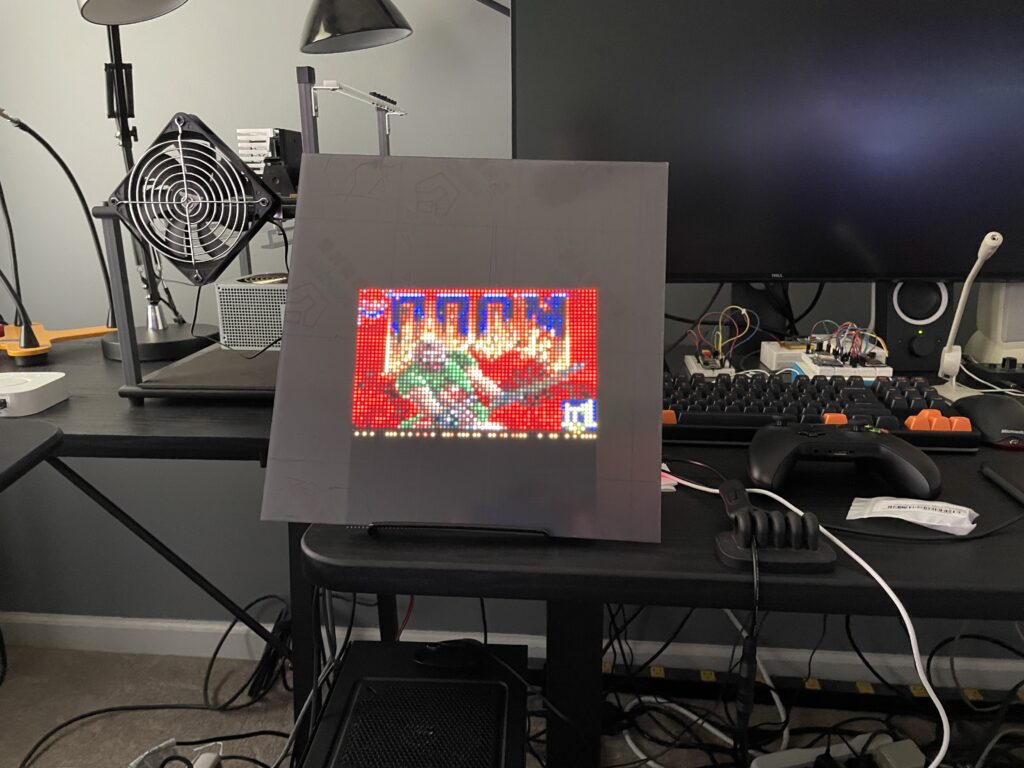
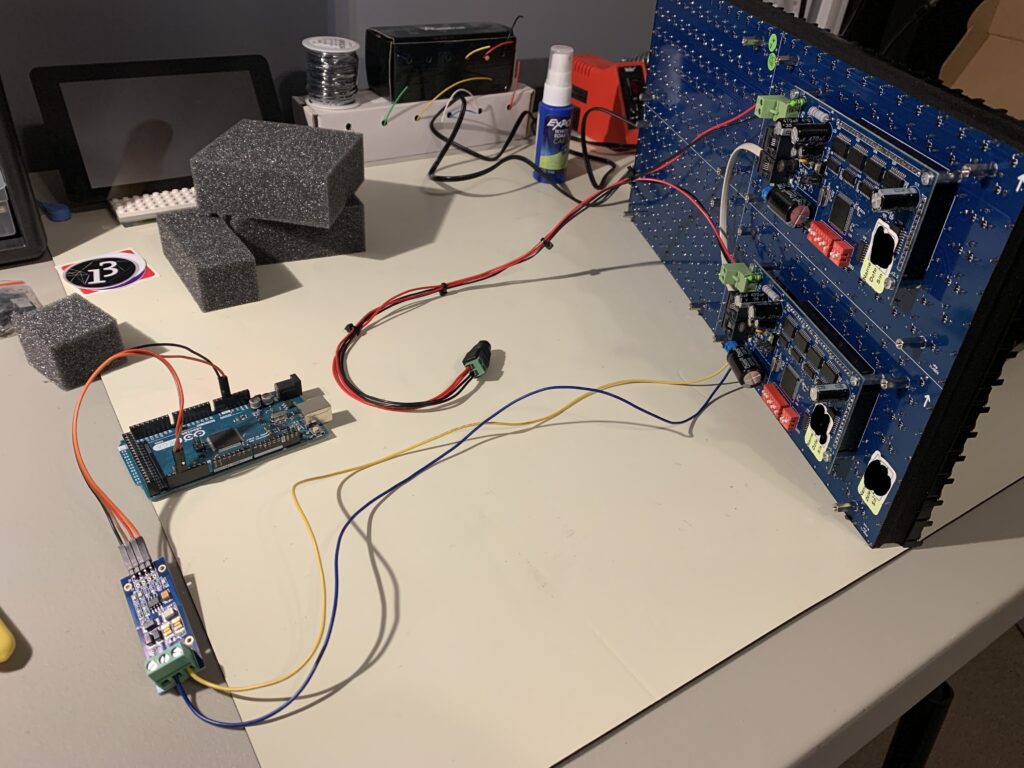
What started this exploration was that I wanted to control the display from Linux because it’s currently connected to a Raspberry Pi, not a Mac.
Step 0: Check for an open source repo
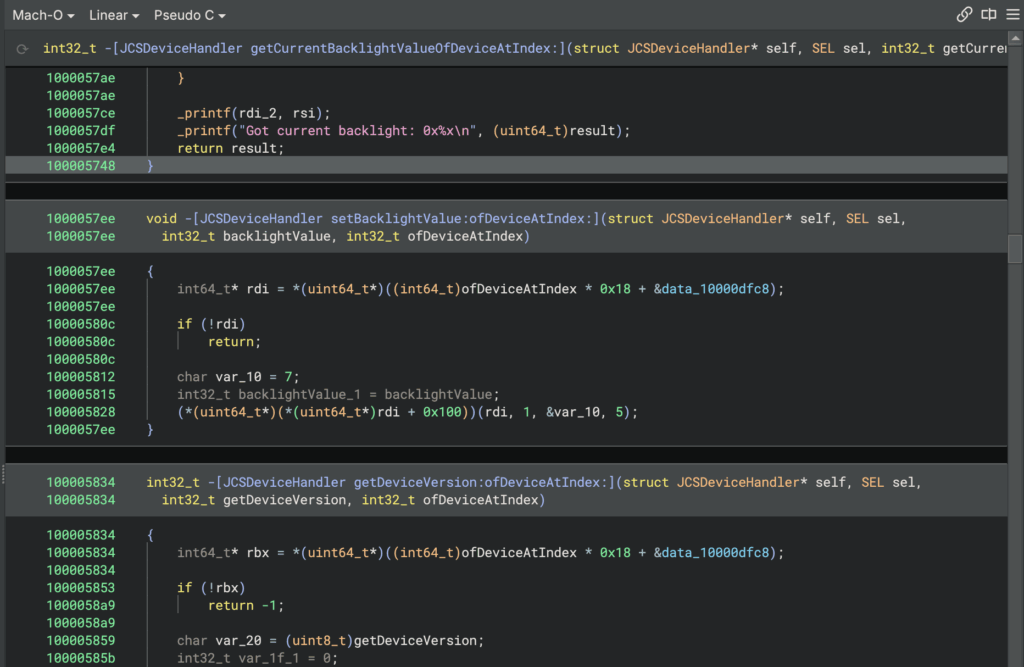
Negative. I didn’t spot anything, so it’ll take a little more grunt work. I did run their helper app through a disassembler and spotted functions like getting and setting the backlight via IOKit which were all expected. It wasn’t necessary to go this far, it just confirms that we have some USB packet snooping to do.
Step 1: Get lsusb output
Running lsusb with the display connected to the RPi showed:
Bus 001 Device 009: ID 4a43:1d8a Juicy Crumb Systems DockLite
So I grabbed the output of lsusb -v -d 4a43:1d8a to feed it to the LLM later to provide more details about its USB specs.
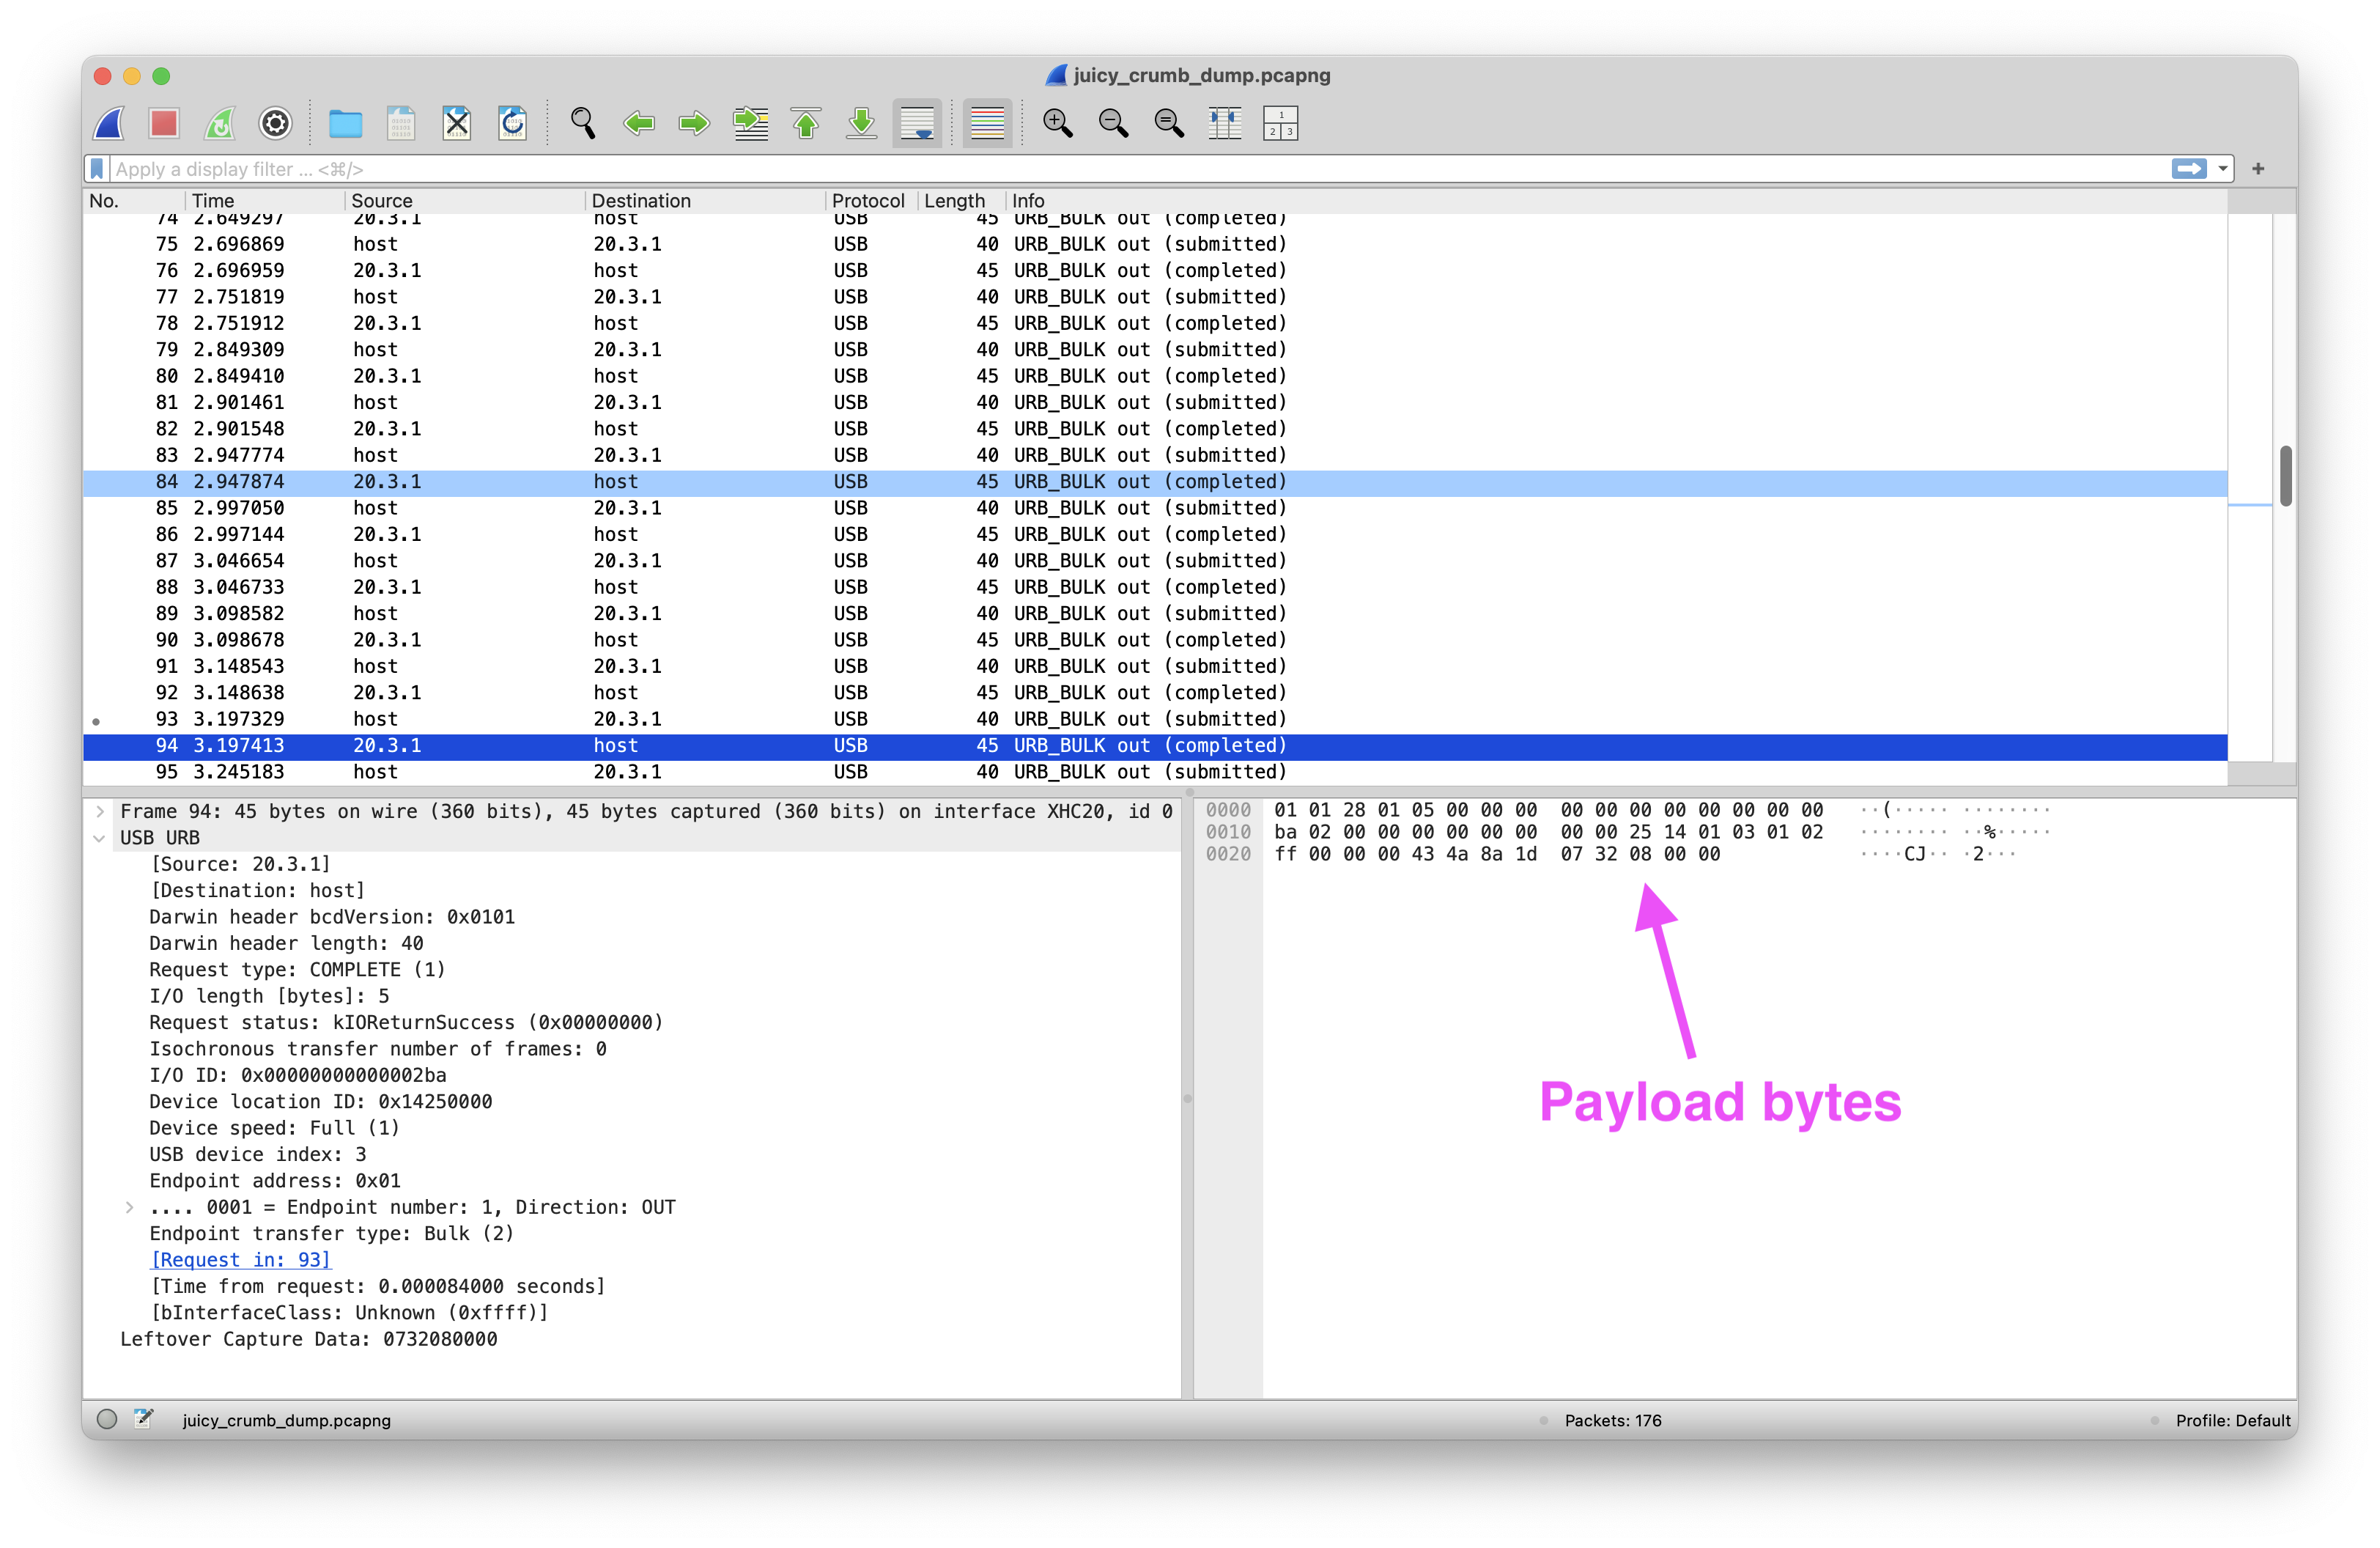
Step 2: Capture USB packets on the Mac
The double-edged sword of Apple’s security is that it introduces all sorts of challenges for devs who need to get to lower level functionality, like capturing raw data from interfaces.
To successfully USB capture packets on a Mac I had to:
- Disable SIP
- Bring up the USB controller interface (in my case there were a couple, so through trial-and-error I found the right one)
- Tell Wireshark to capture on that interface
- Change the brightness using the Juicy-Link app to generate packets
- Save the capture to a file
Step 3: Feed the LLM
With the data from steps 1 and 2 I:
- Fed them to ChatGPT
- Mentioned that the capture was from a utility setting the brightness
- Asked for an equivalent Python script
Step 4: Run the script in Linux
After installing the pyusb module I could run python set-brightness.py 700 and it worked from Linux! The range from lowest backlight brightness to highest is around 700 – 5000.
The extra bonus (which I’m most excited about) is that sending a value of 0 will truly turn off the backlight! This isn’t even (currently) possible with their software. (Obligatory “do this at your own risk”)
Now I can hook into something like D-Bus signals to potentially toggle the display depending on the desktop’s locked state.
Success
✅ The display’s brightness can be set from any OS, not just macOS.
✅ The display’s backlight can be turned off via software.
Thanks GPT! 🤖