Categories
Commodore 64 Fun Retro Computing

My C64 Setup

I haven’t spent as much time on my Commodore 64 as my other retrocomputers (which can seem modern in comparison), but my explorations over time are trending towards older hardware. I can only assume that my final stop will be an abacus.

I have three C64s all passed down from my dad. One had been devoted to a home alarm system (of course we still have the schematics), but by the time I came around it was only used for playing half-working totally not bootlegged games.

A sampling of some favorite software from my childhood:

Retrocomputing plans

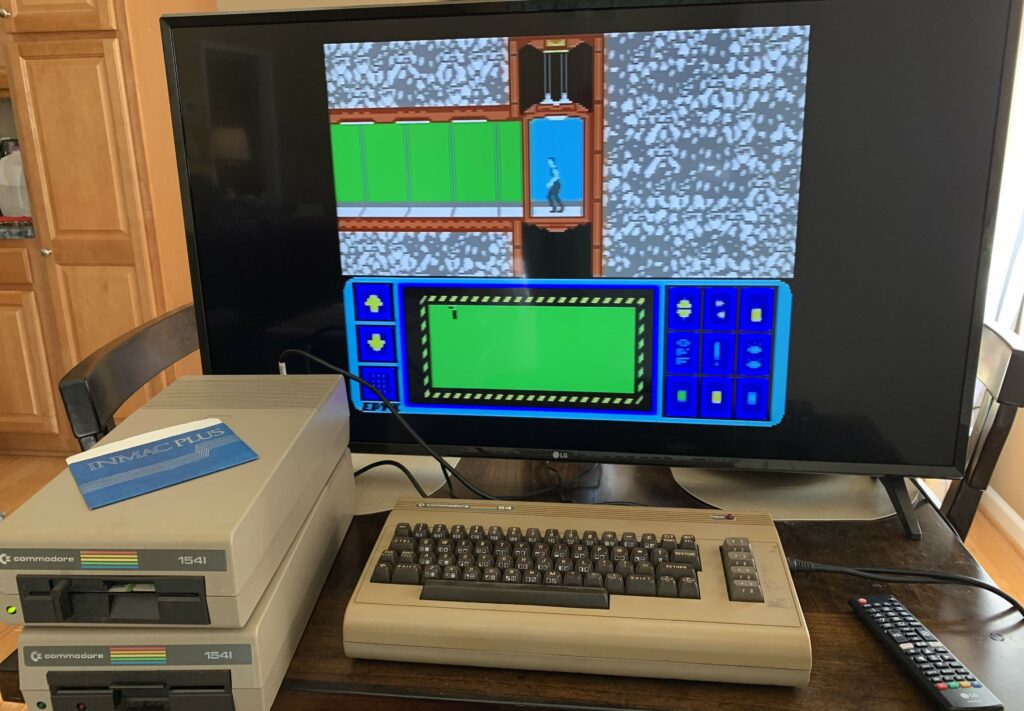
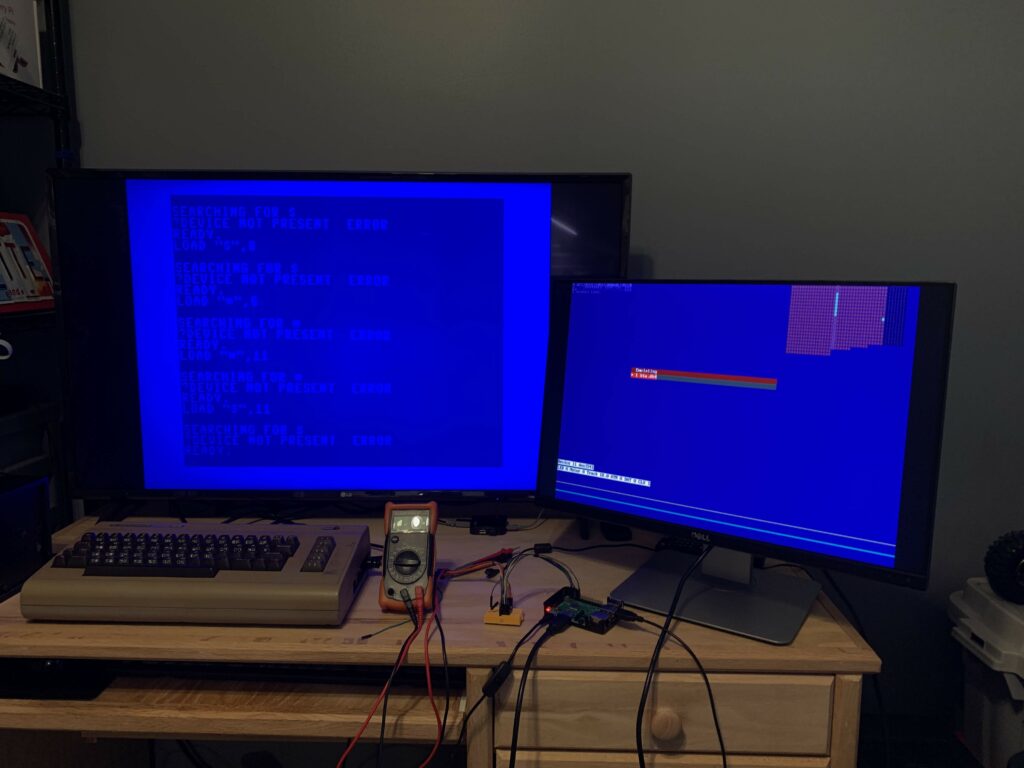
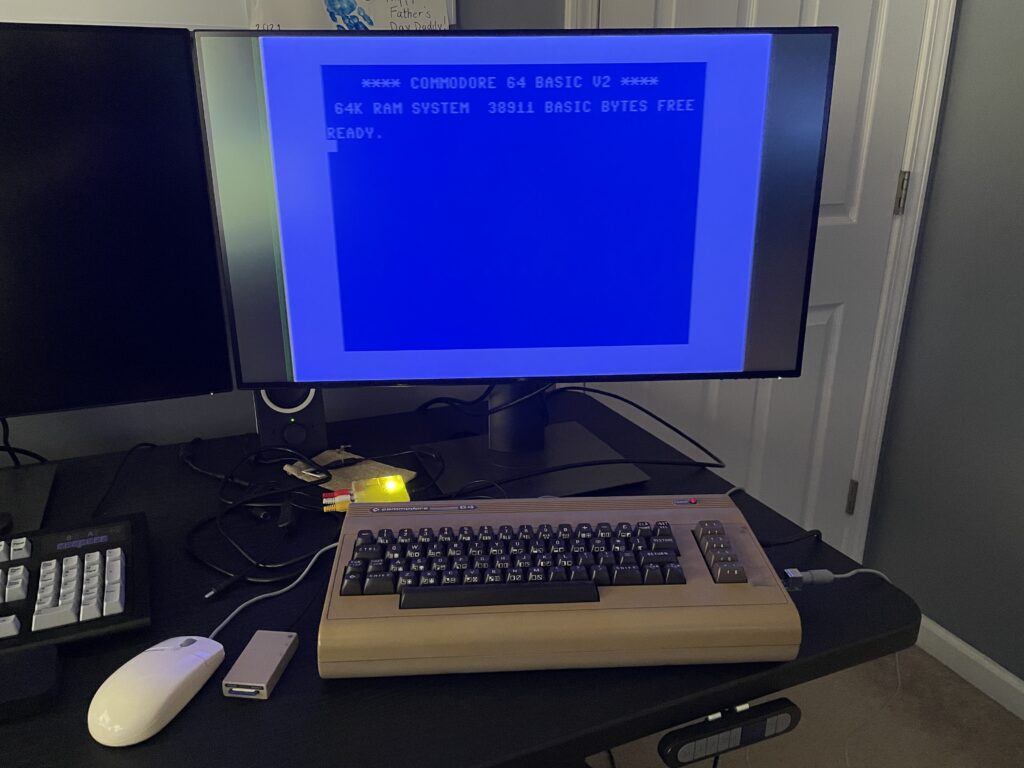
I hope to be able to fully restore at least one of these machines this year. The one pictured above powers on and is fully functional, but some flakiness at startup tells me that it’s overdue for a recap.

One not-so-smart thing I did when I unpacked all of this equipment was powering it up with the original C64 power supply. That’s a risky move and likely to damage the C64 with bad power, so I’ve since replaced it with a new modern one (see the parts list).

I’m not interested (nor do I have the space) to use these machines in the “pure way” with a CRT and 1541 drives, although I have both. Maybe down the road that would be fun, but for now I’m utilizing modern gadgets from the wonderful C64 aftermarket community.

Current parts list

Next steps and ideas

  • Restore one or more C64s by recapping / adding heatsinks
  • Fix my joysticks / get new ones
  • Play with the WiModem232 and connect to the Internet
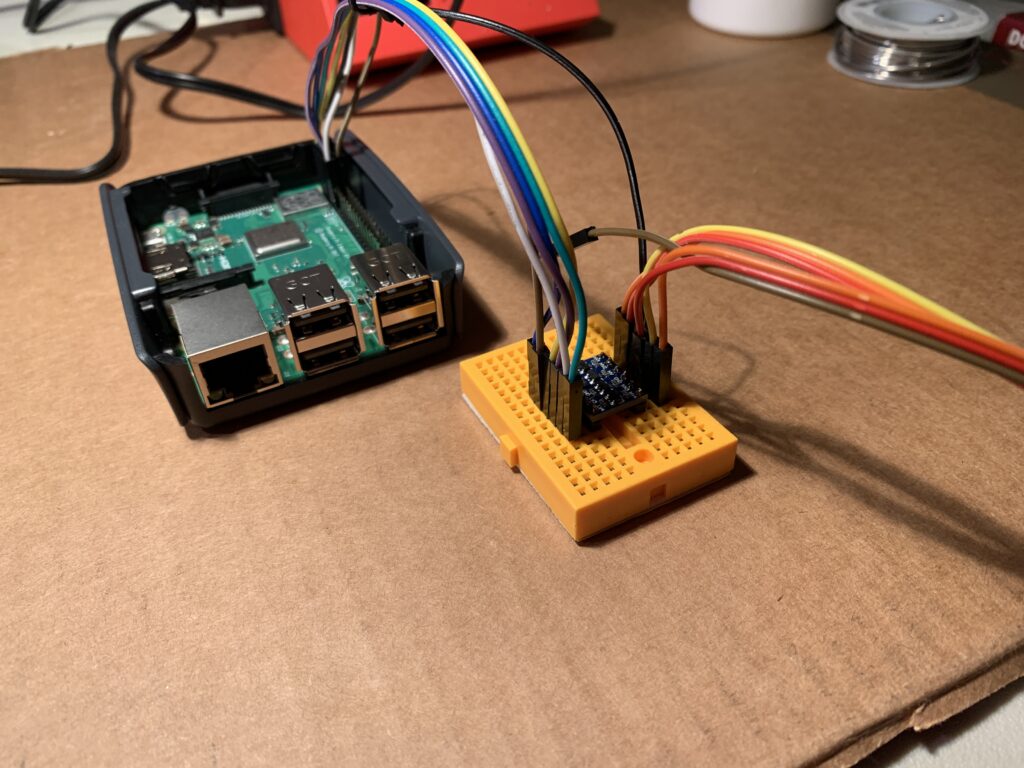
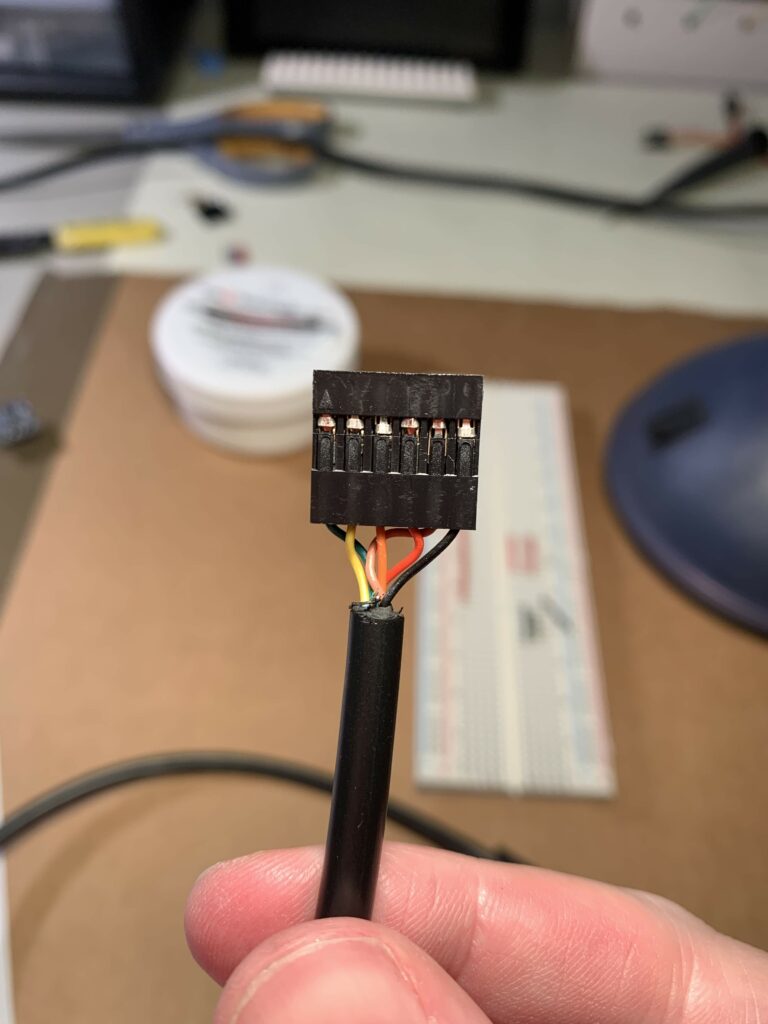
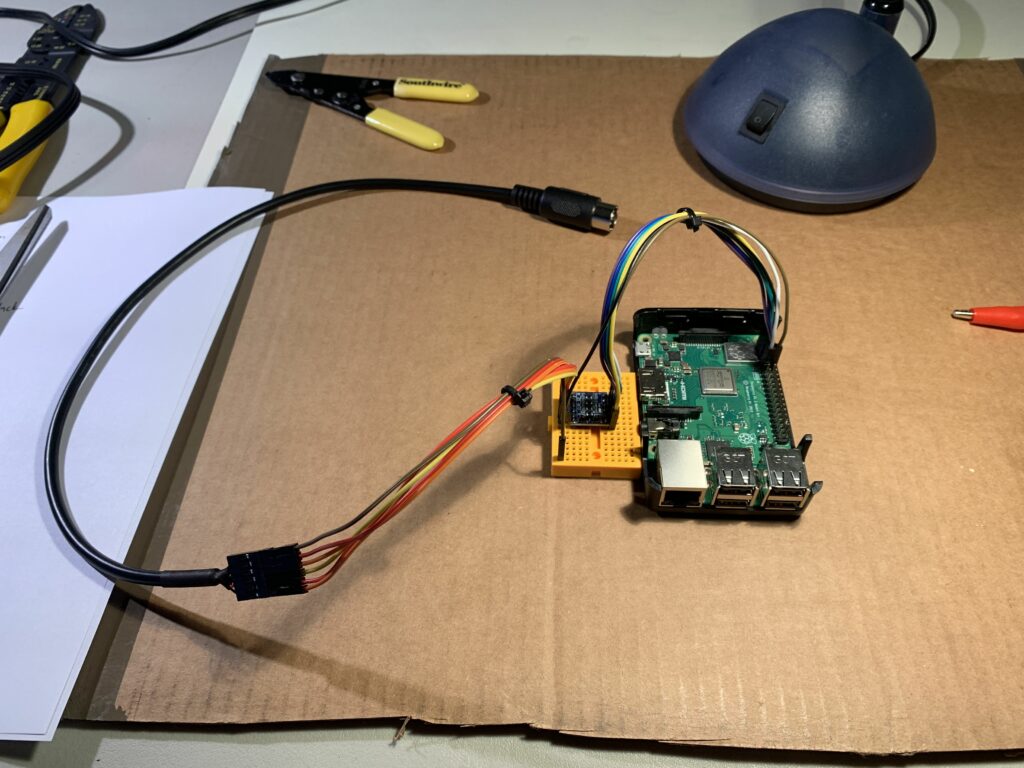
  • Play with the user port breakout and connect it to an Arduino
Categories
Commodore 64 Projects Raspberry Pi

Pi 1541 – it works!

After some initial struggles, we’re good to go!

Categories
Commodore 64 Projects Raspberry Pi

Pi1541

The Commodore 64 in all its glory!

After the fun and nostalgic experience of pulling our C64s out of storage, I wondered how someone could add new software in this day and age. It didn’t take me long to find Pi1541, which is:

a real-time, cycle exact, Commodore 1541 disk drive emulator that can run on a Raspberry Pi 3B, 3B+ or 3A+

https://cbm-pi1541.firebaseapp.com/

All I needed to do was provide an RPi 3, load some stuff to an SD card, make a cable, and I would magically have an emulated 1541!

Making a cable

I bought a high quality DIN 6 pin cable, some Dupont headers, and a crimping tool from Amazon to get it built. This guide (also linked from the Pi1541 page) set me on the right track.

Crimped and ready to go. This was only my THIRD time cutting them all off and starting over.
Header attached. I chose to order the cables by pin order – 1 through 6.
Assembled, wired up, and ready to go… so I thought.

The process to construct the cable was straightforward after teaching myself how in the world one crimps these tiny Dupont connectors. The trick is to line up and fasten the wire with some needle-nose pliers first, then carefully insert the connector in your crimp tool so you don’t destroy the “box end” where the male connector is received.

Connecting things up

I followed the “Option A” on the Pi1541 site for wiring since I wouldn’t be including any other peripherals. An important piece of this schematic is the bi-directional logic level converter. The RPi speaks 3.3V logic while the C64 speaks 5V.

I loaded up the SD card, connected everything, fired up the C64, and plugged in the RPi. Everything worked perfectly, right? Nope.

Trouble

At first the RPi didn’t boot at all – I had just a solid red light, so it was time to troubleshoot:

  • Did I fry something on the Pi?
  • Was the SD card bad?
  • Did I load the software incorrectly to the card?

Good news: The Pi wasn’t dead. I confirmed this by booting from a spare SD card that had Raspbian loaded to it. Whew.

I then found the Pi would boot with the Pi1541 firmware, but only if the cables on the header pins were disconnected.

The culprit: The cheapo “bi-directional logic converter” I had lying around didn’t work at all like I assumed it did. Instead of supplying 3.3V and 5V to it (like it properly should), it only wants 5V. Turns out I was sending 3.3V to an output. Ouch.

Now we had a booting Pi with everything connected up, but still no disk drive:

The emulated device can’t be found by the C64.

Now we wait

After much troubleshooting I’ve come to the conclusion that I’ll just need to use a proper logic level shifter before proceeding. I’ve ordered some of these and will have to wait patiently as their expected arrival is the end of the month…