The time has come: My 2009 Mac Pro has been retired and replaced with a 2016 MacBook Pro. Not only has the temperature in my home office dropped about 4°F, but I can now run the latest macOS, Xcode, and Docker, which I need for work (for that money stuff). I held on to the Mac Pro as long as I could, though, and I can confidently say that the “cheese grater” desktop is the best machine I’ve ever purchased.
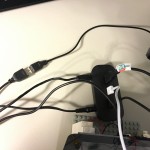
A new setup presents new challenges. One issue I’ve found is switching states between “docked” and “undocked”. I put this in quotes since Apple doesn’t have a true docking station solution. Because of this it’s way too easy to rip out the USB connectors when “undocking”, which could lead to a dirty removal of a volume (e.g. something hasn’t been flushed out of cache to the actual hardware yet and data is corrupted / lost). Since I have a Time Machine drive connected at my desk, this can happen if I don’t remember to eject it from Finder.
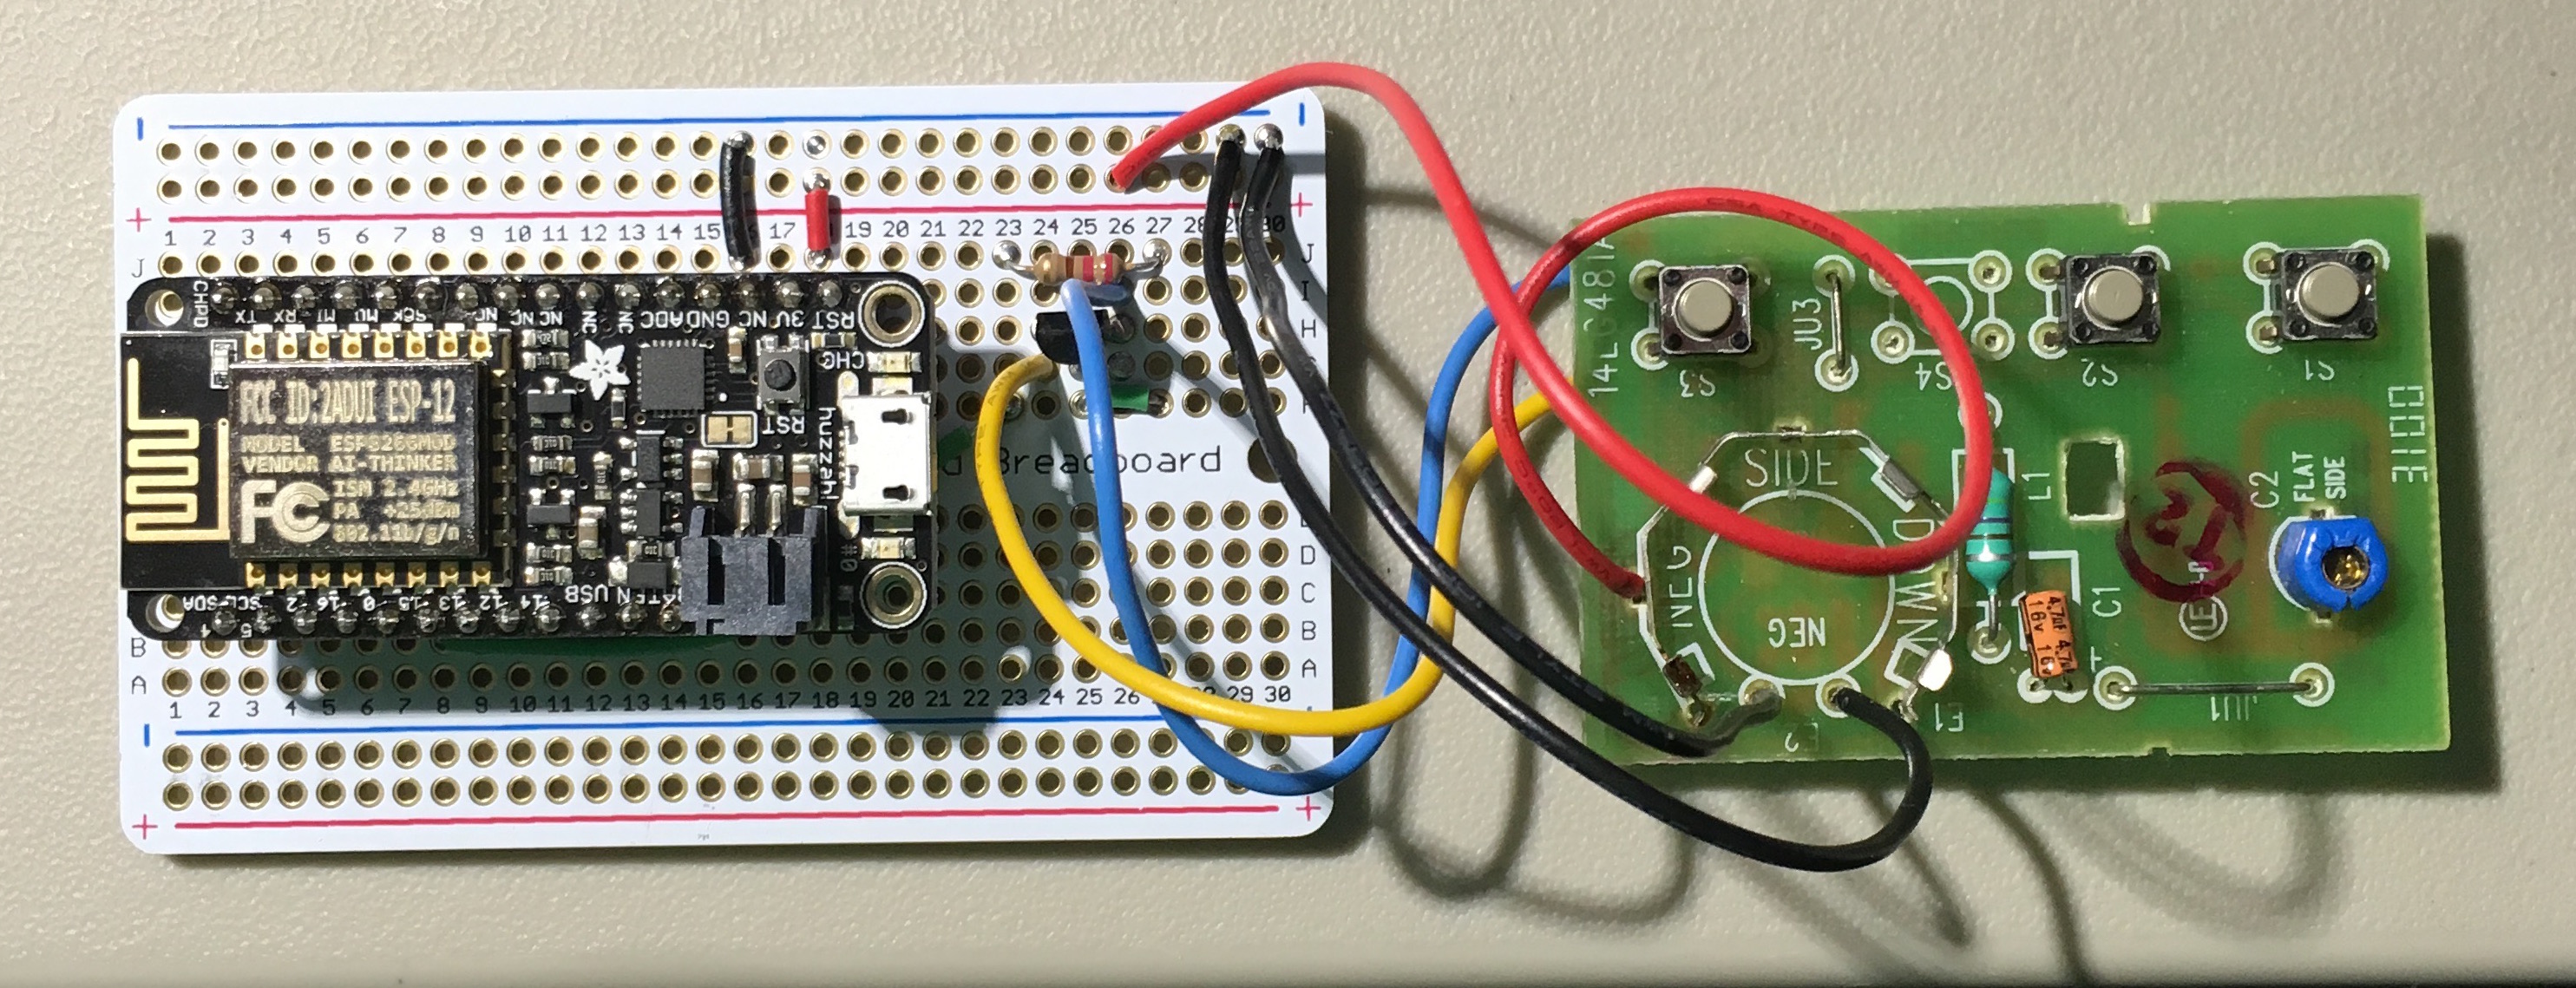
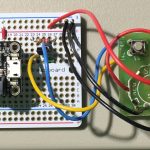
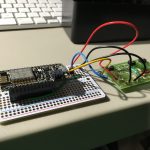
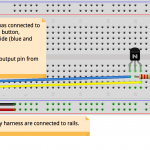
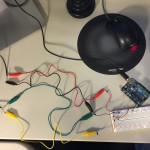
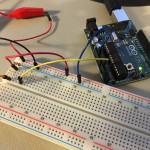
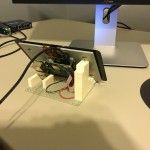
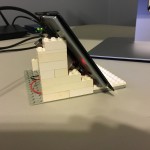
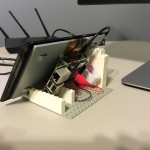
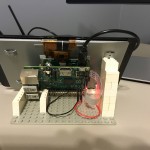
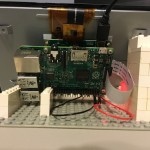
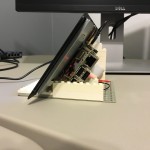
I think this process would be easier with an external button to do the work for me before disconnecting the laptop. Currently in the hack phase, I’ve wired up an Arduino with an RGB pushbutton that communicates to a macOS app. When it’s time to undock I simply press the button to unmount all volumes and get visual feedback that it’s safe to pull the plugs…