I had the privilege of talking to first graders at the local elementary school about coding and robots for STEM Day! This was extra special because one of them happens to be my kiddo. 😀 I used Dash robots (graciously provided by the engineering teacher) to demonstrate how we communicate with computers and instruct them – one command at a time – to accomplish tasks.
Dash drove around, played a Xylophone, drew on paper, played sounds, catapulted a ball, and more. Using the drag and drop programming interface of the Wonder app was a great tool for this age range, and I think they had as much fun as I did.
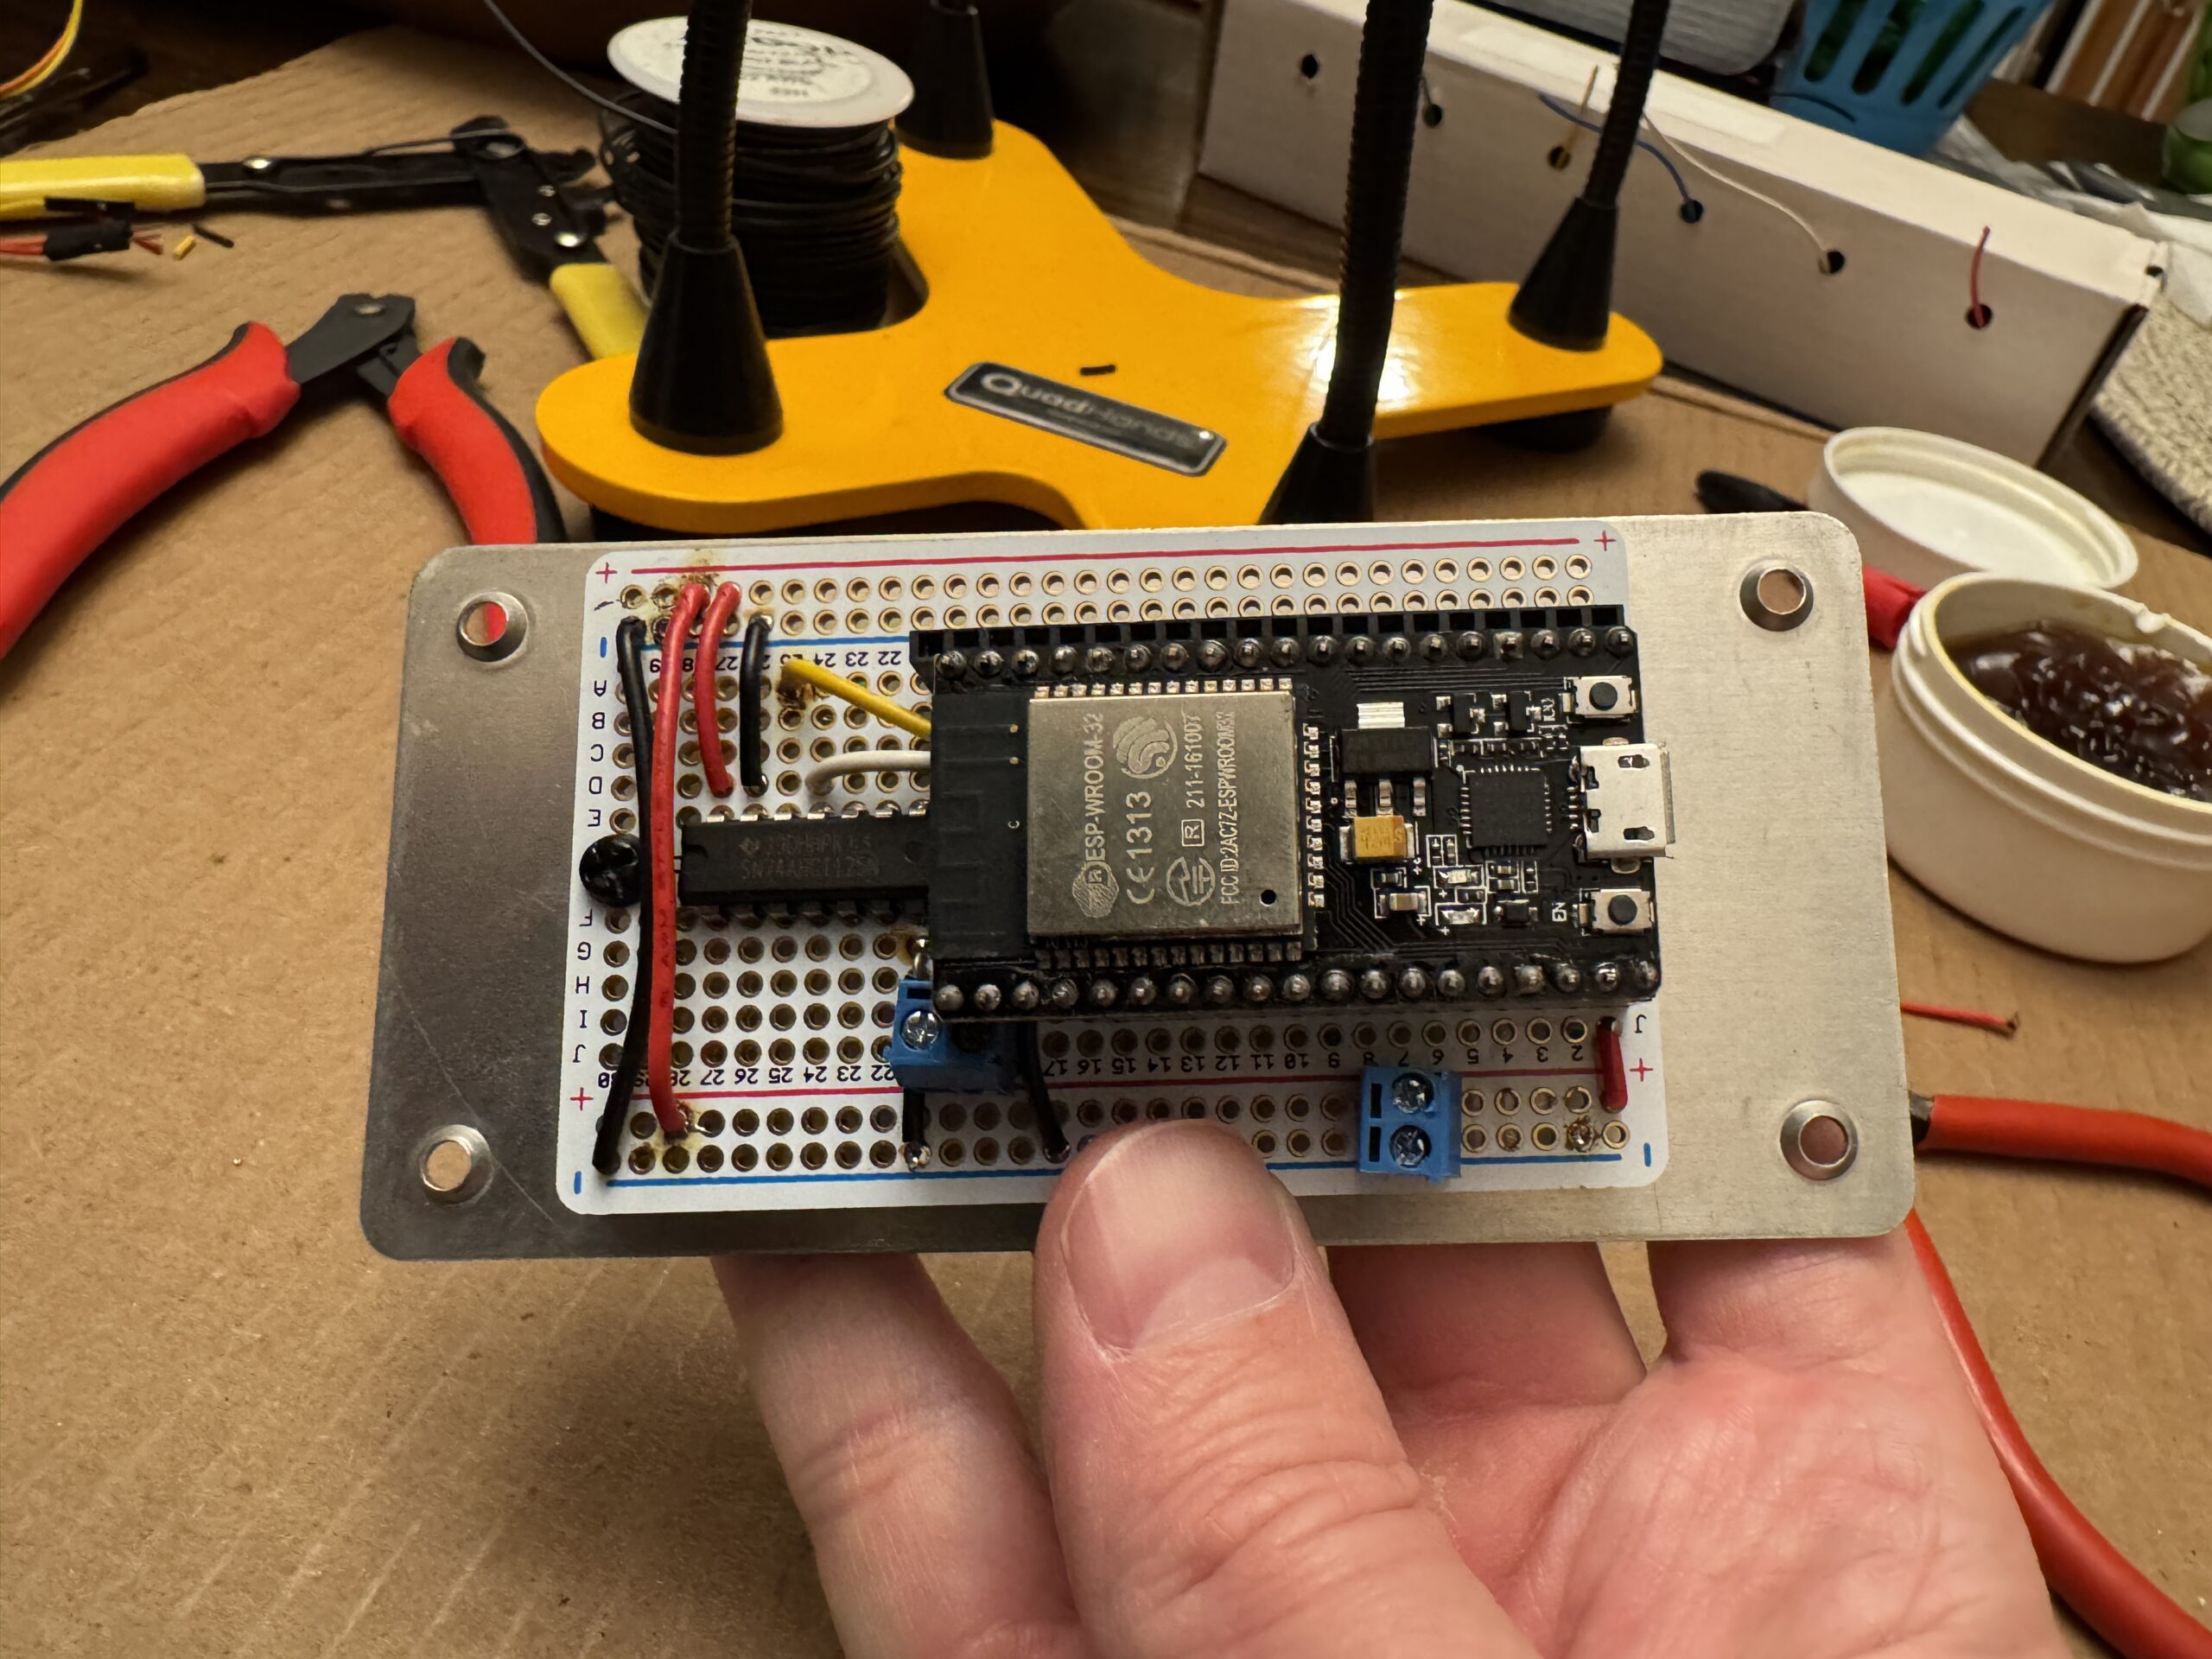
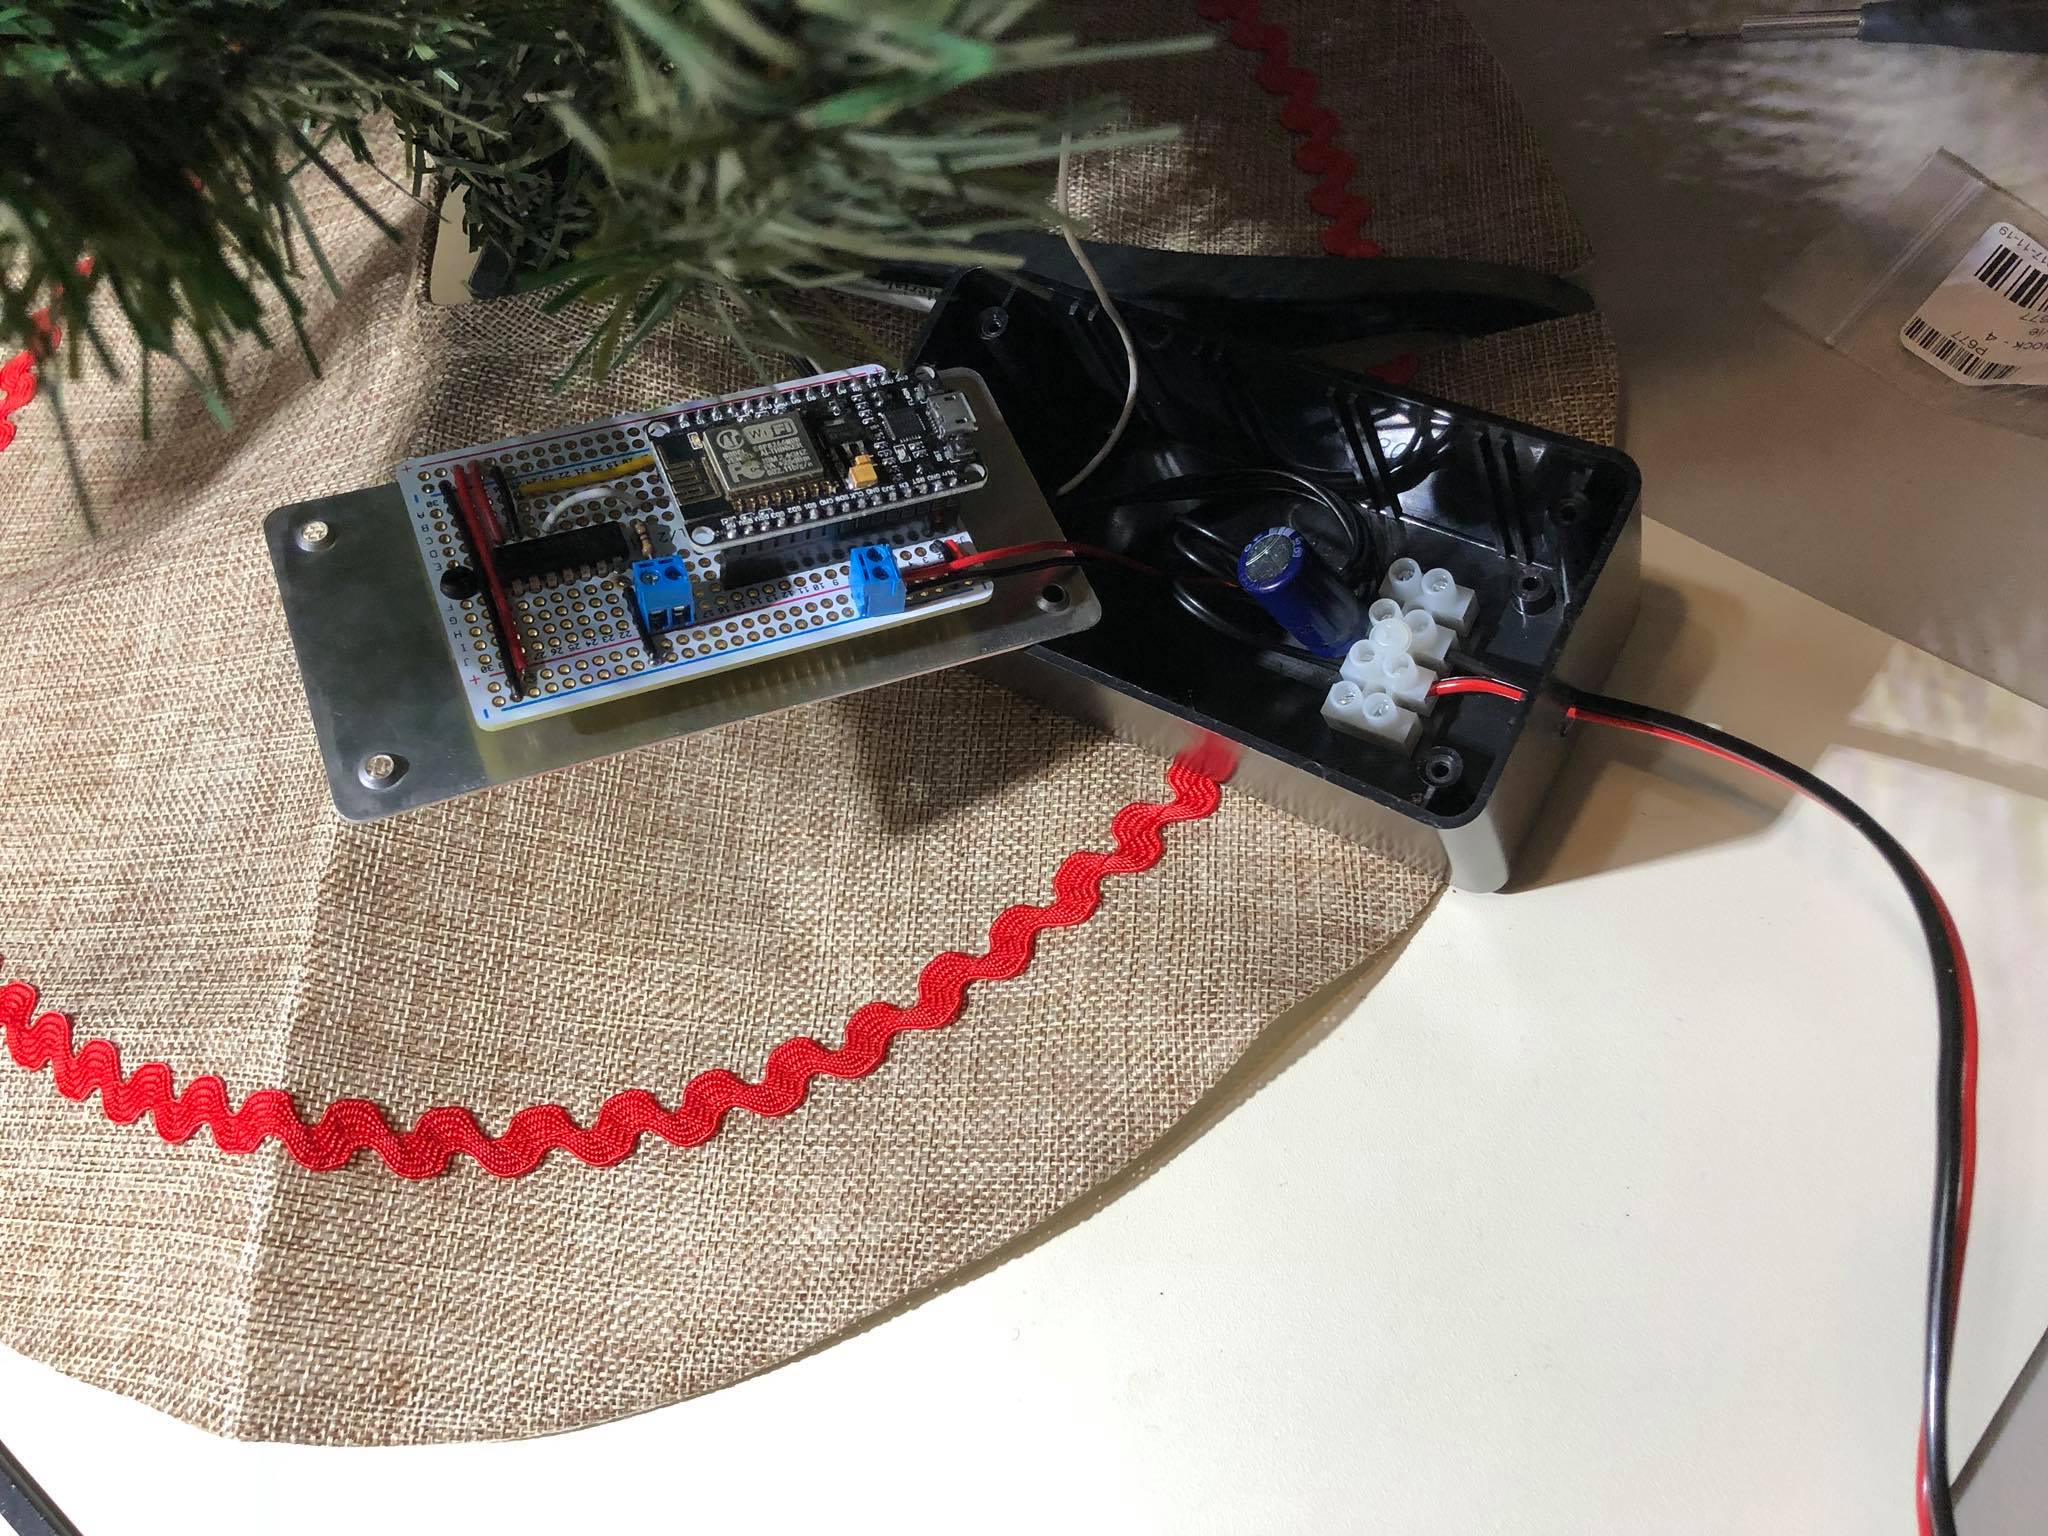
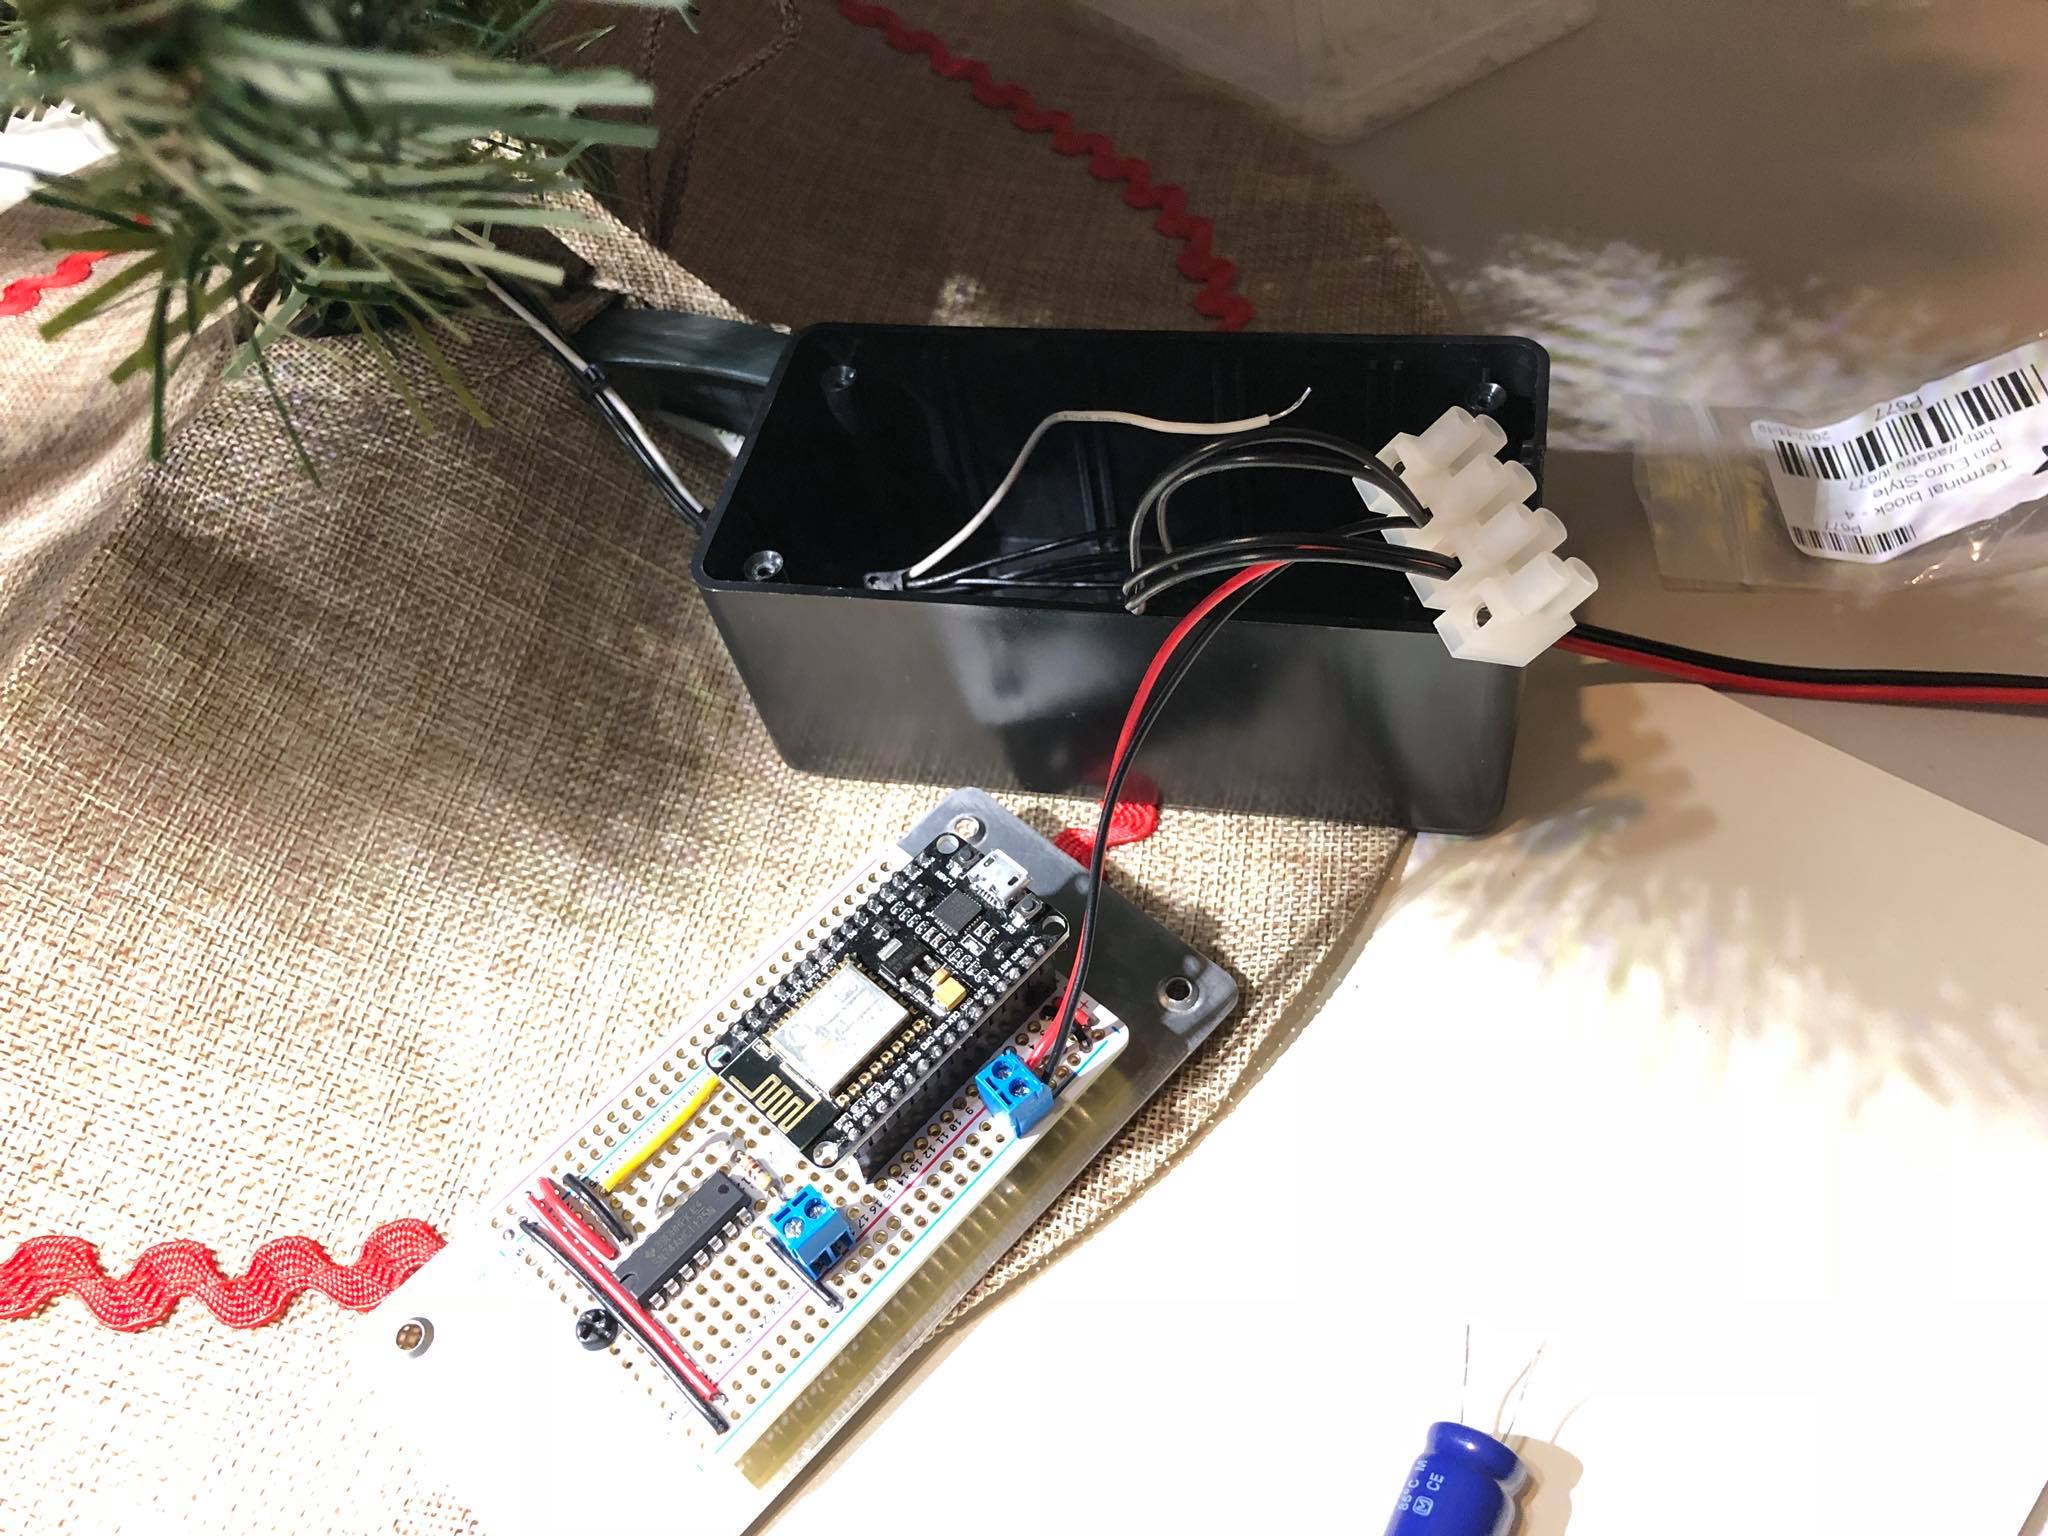
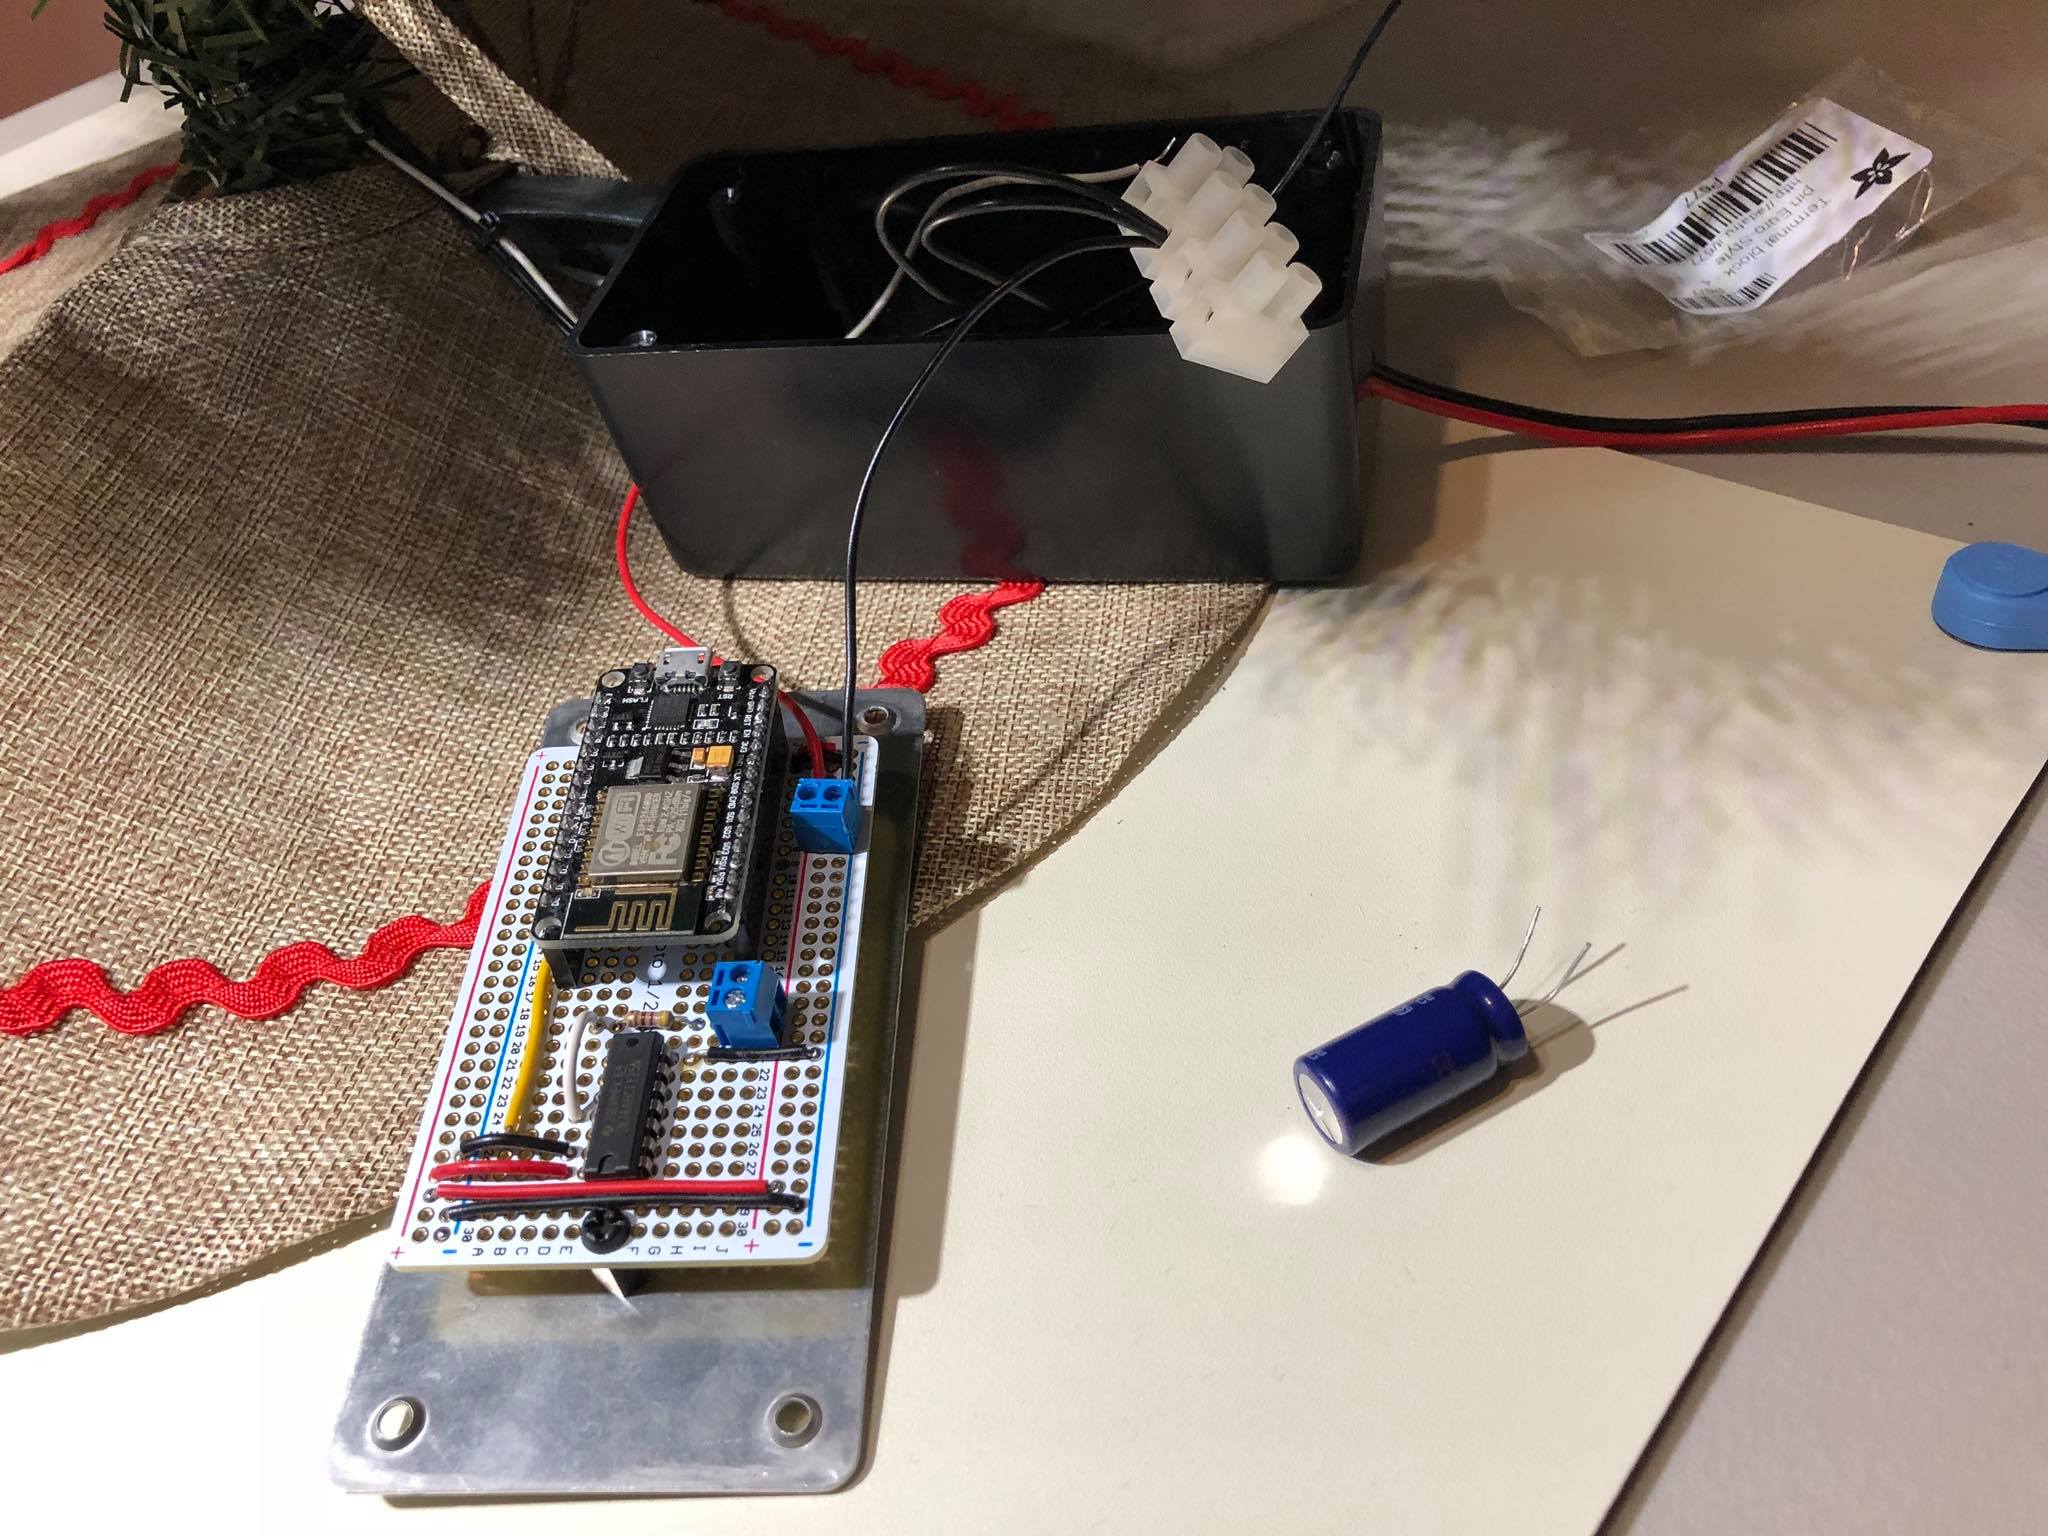
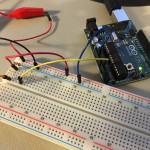
The ESP8266 was swapped for an ESP-WROOM-32 with dual cores
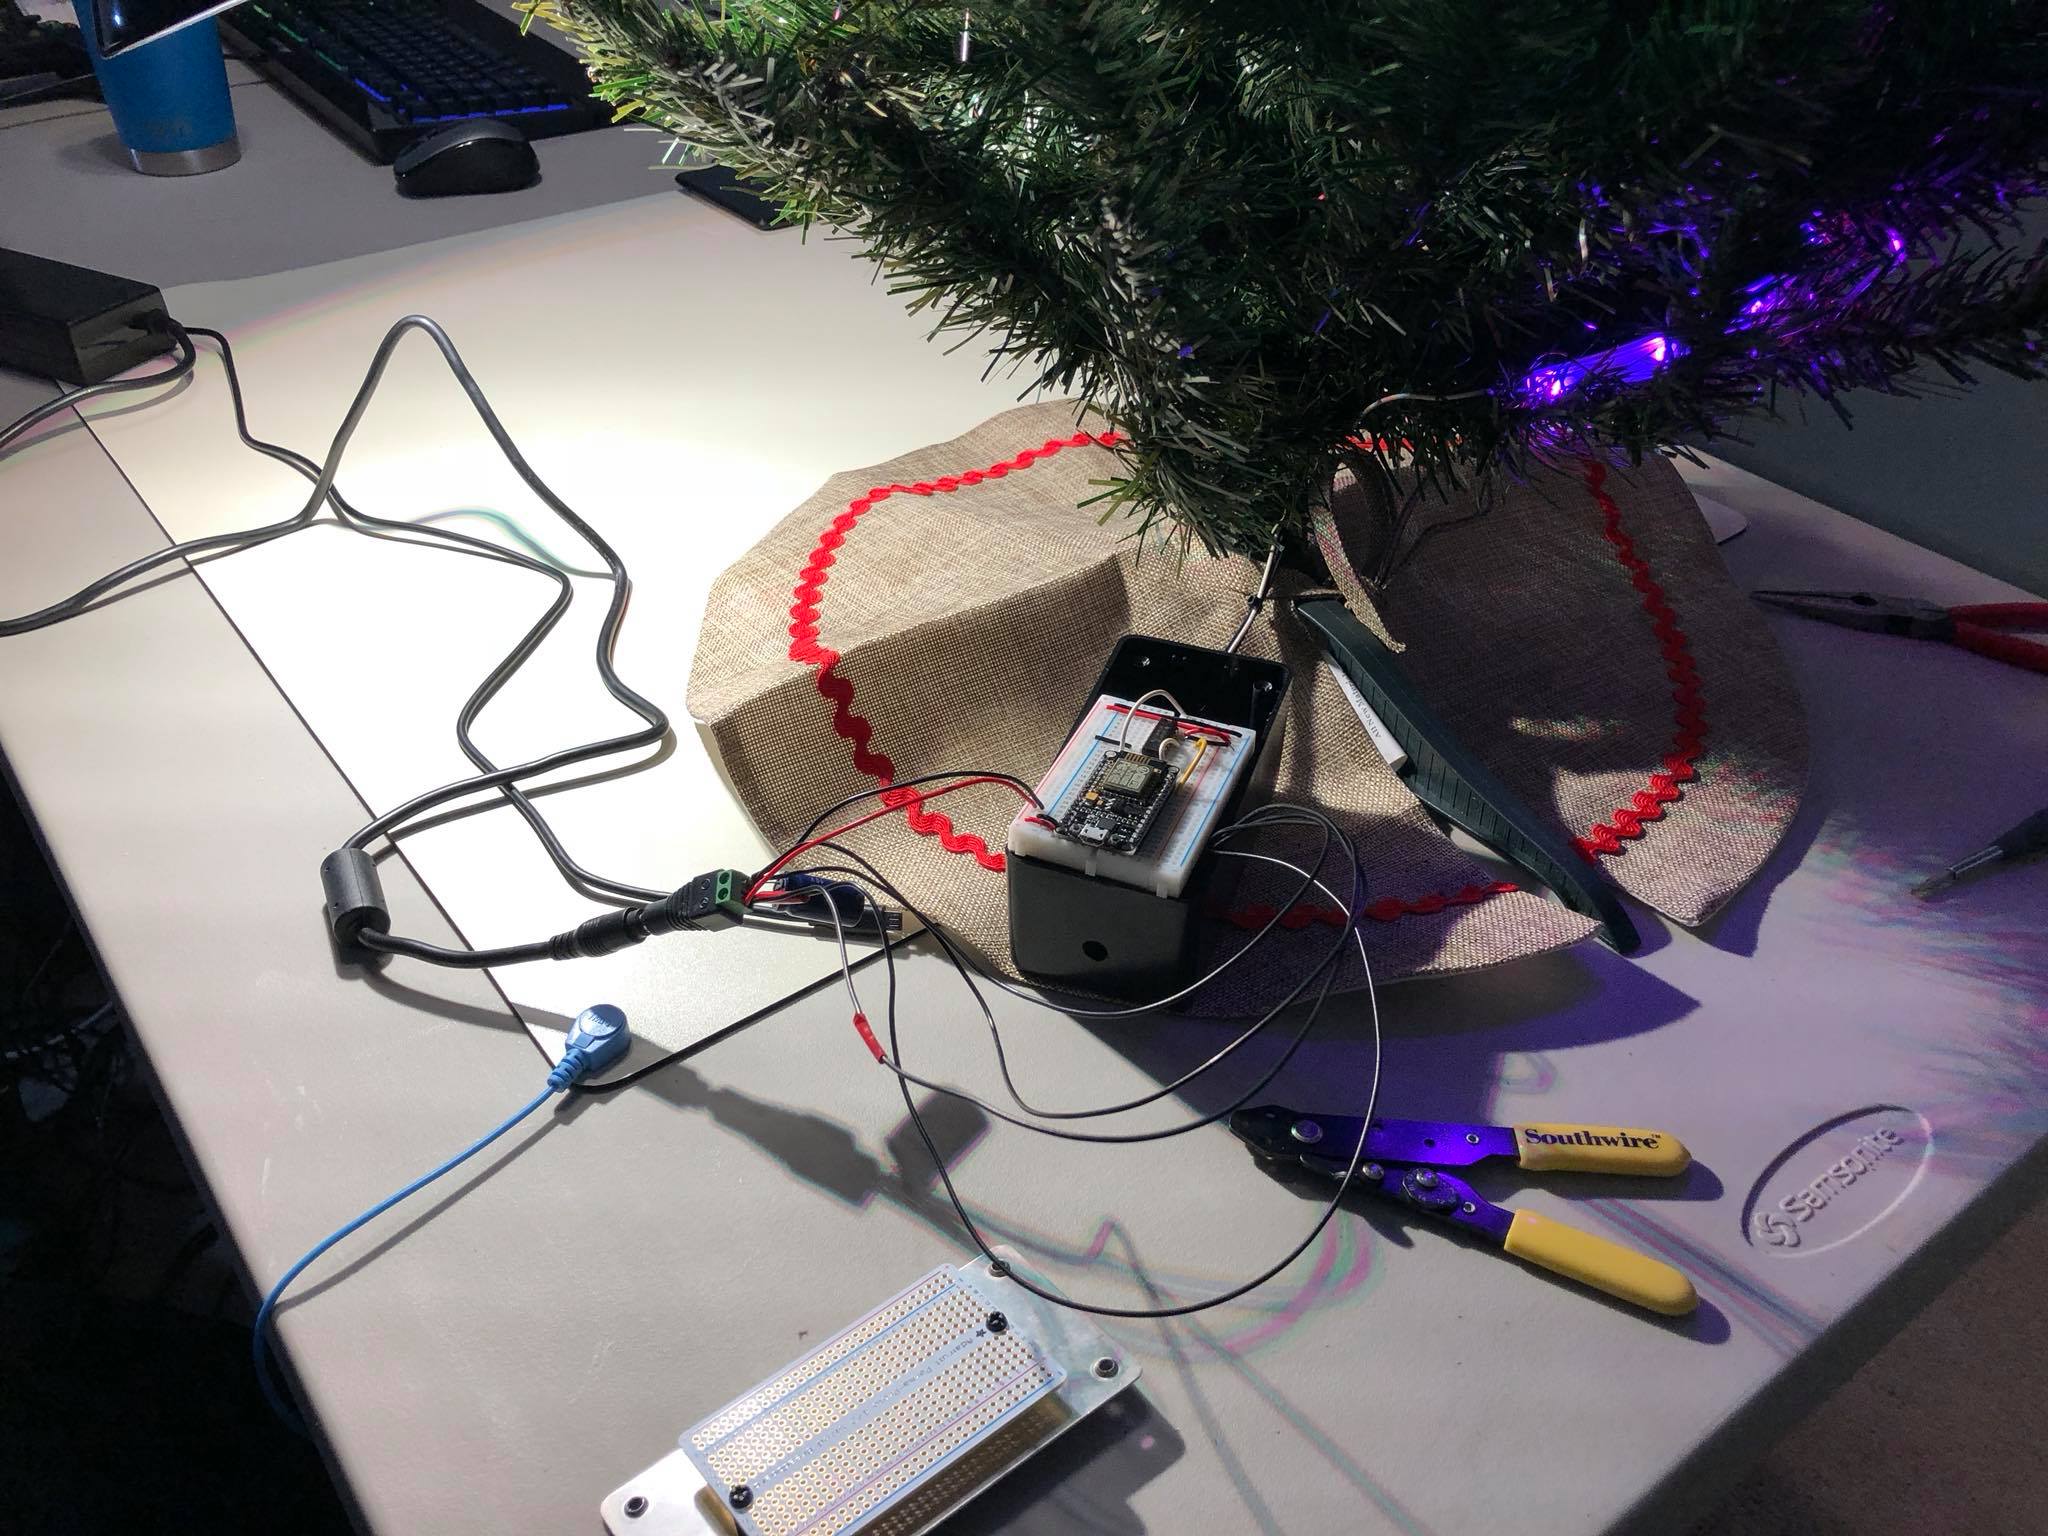
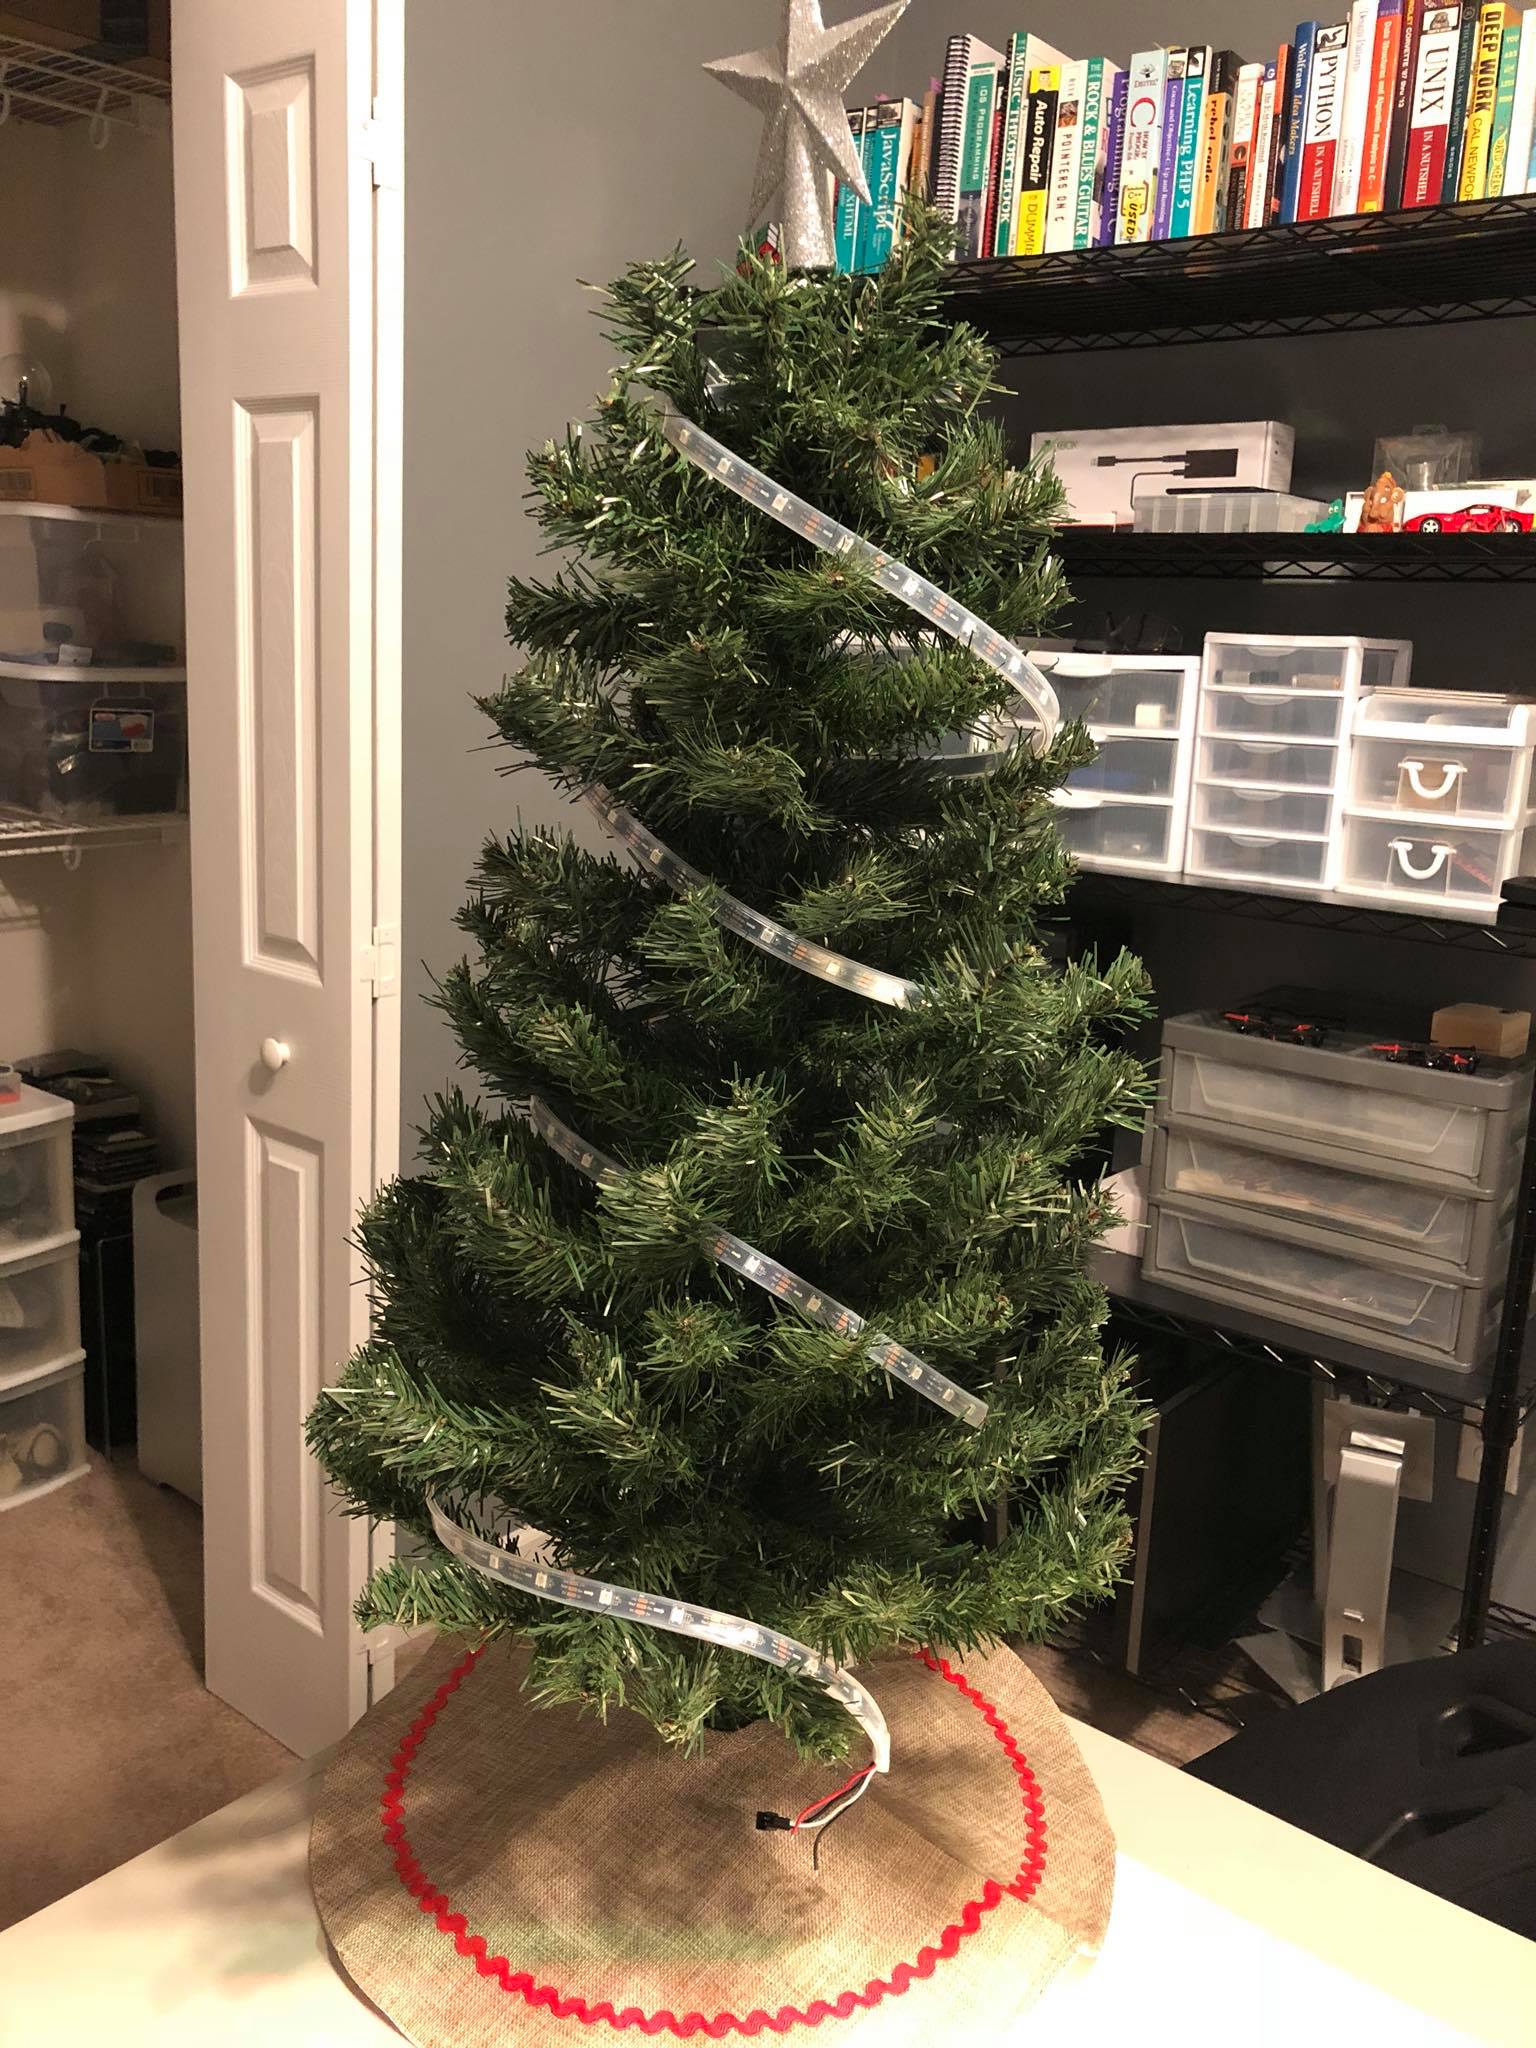
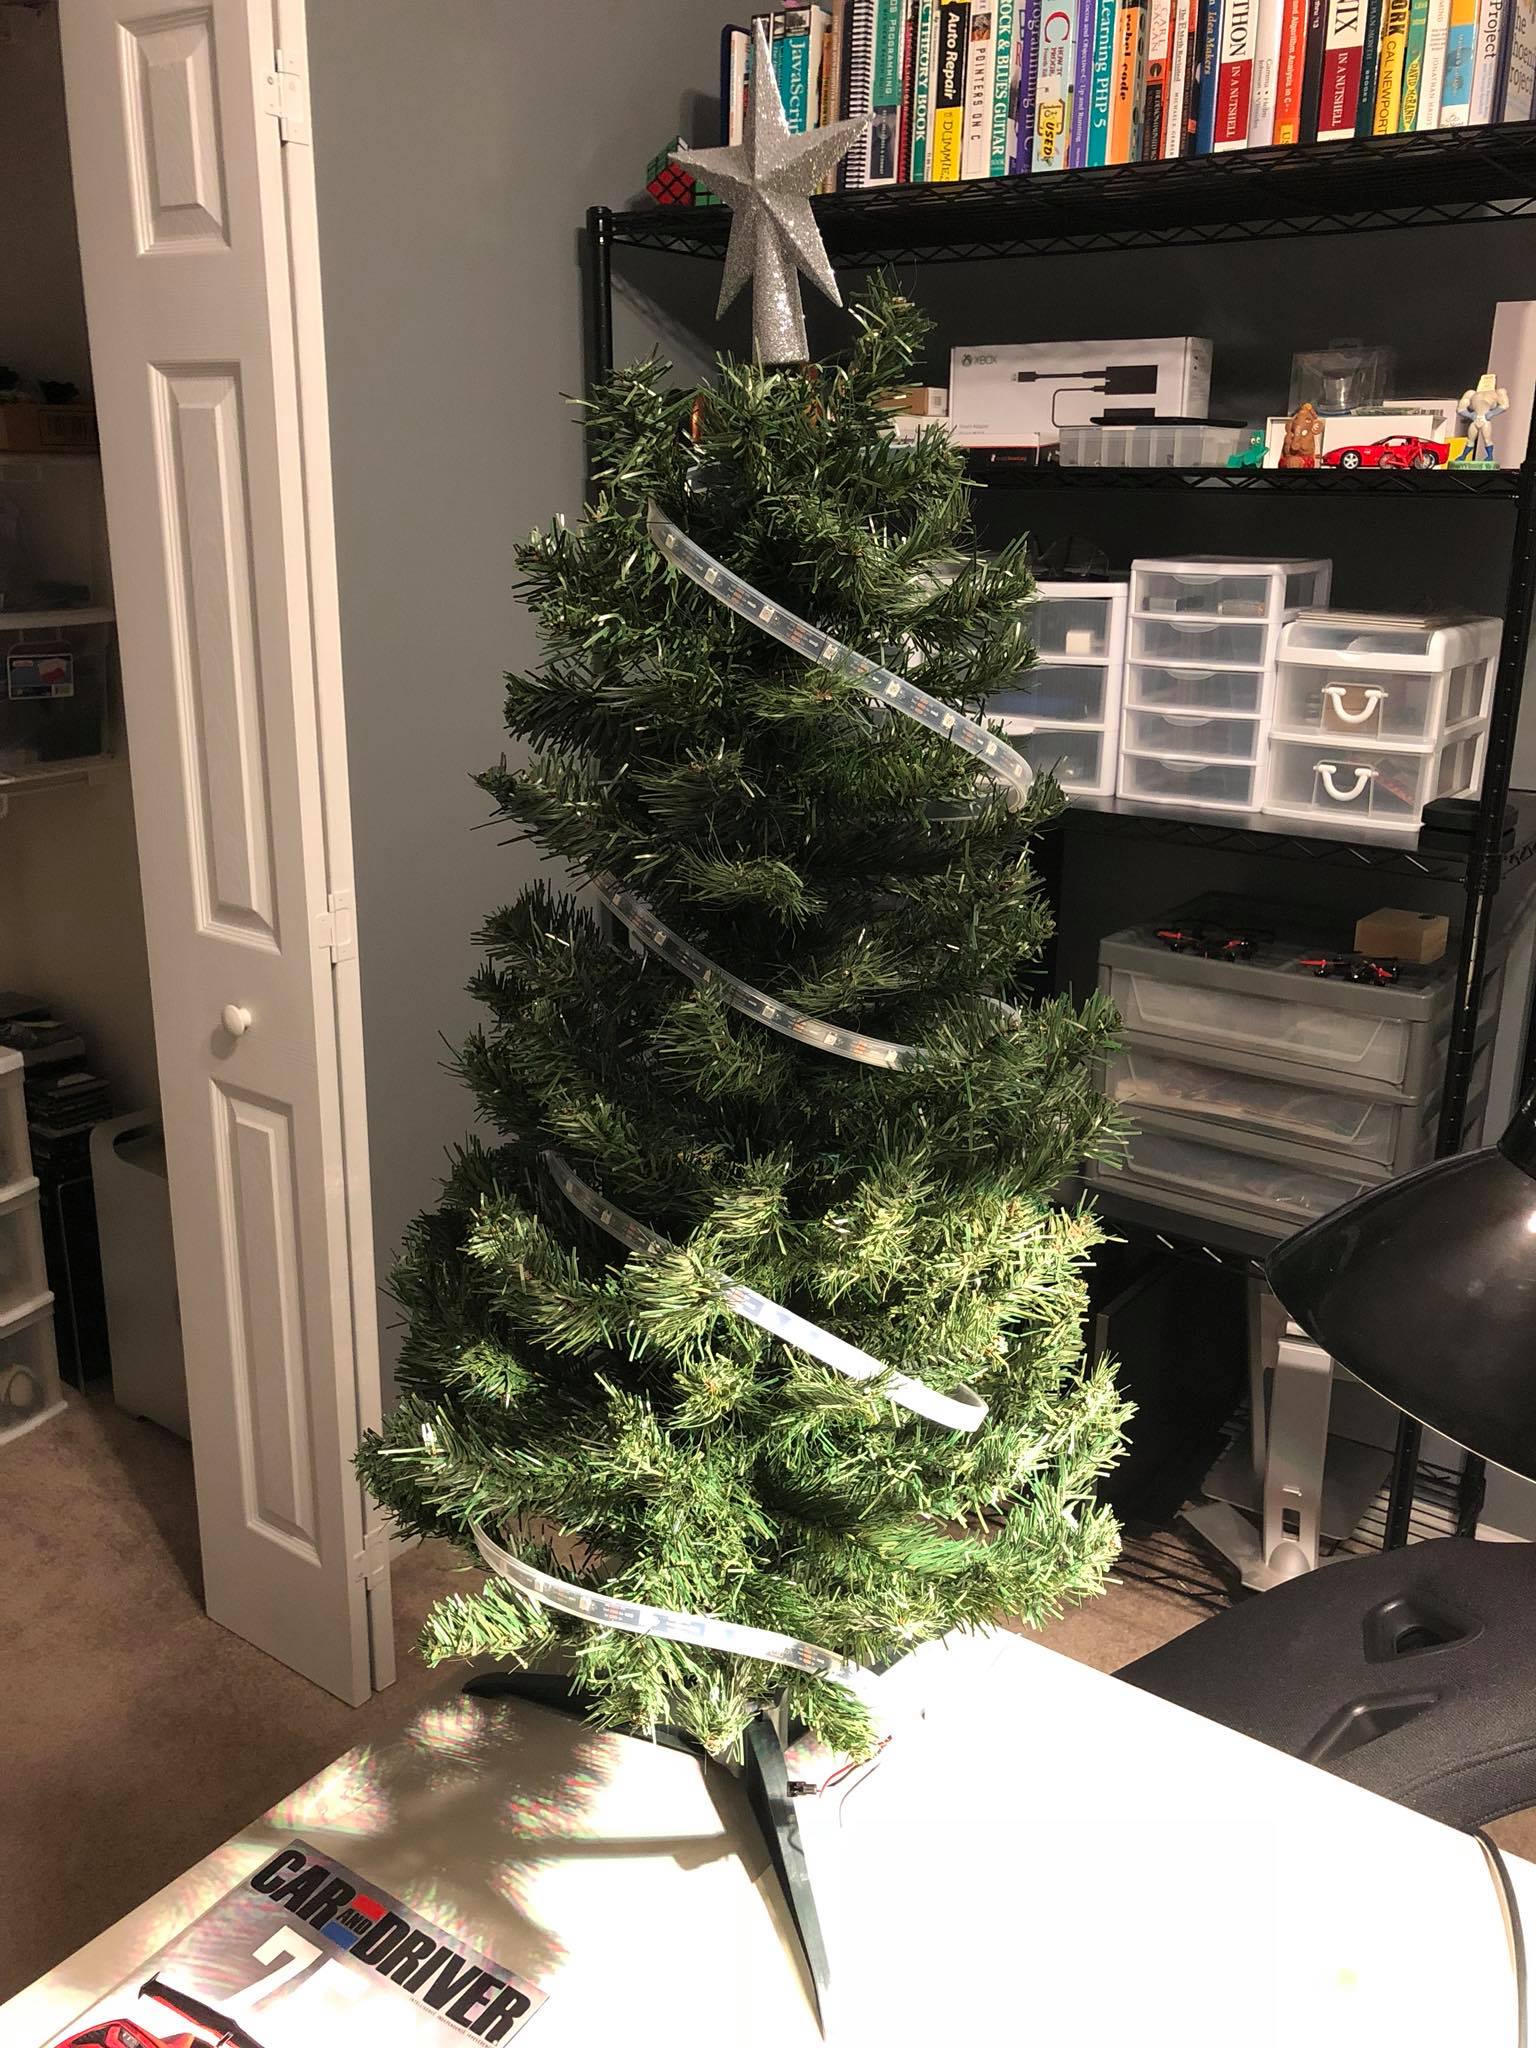
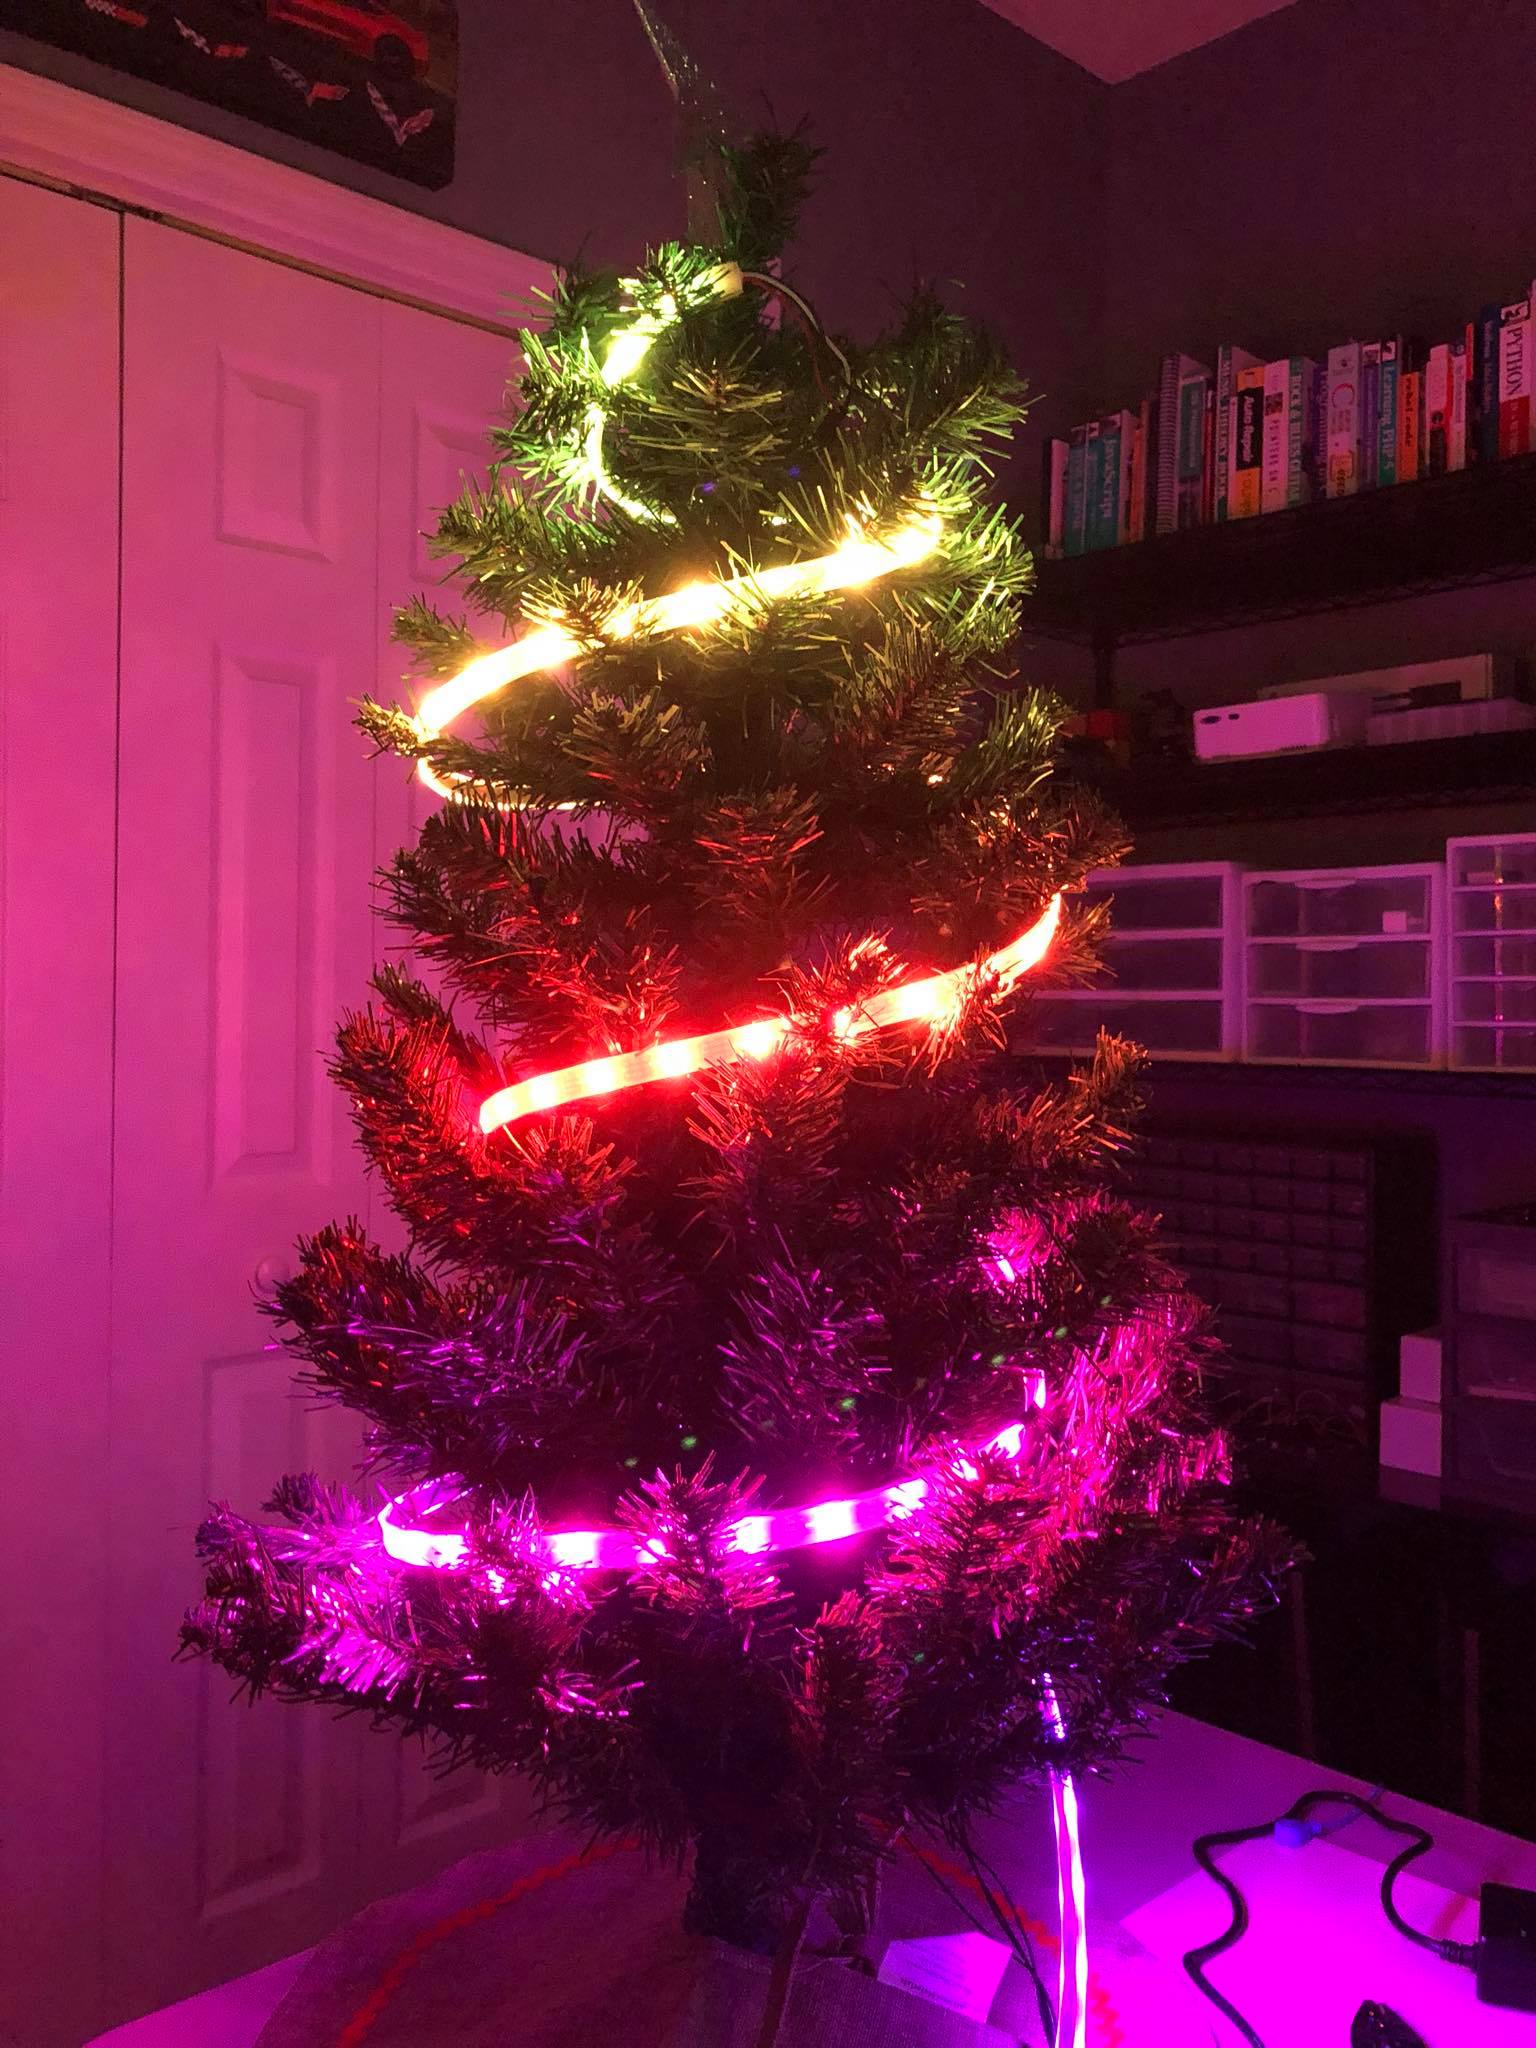
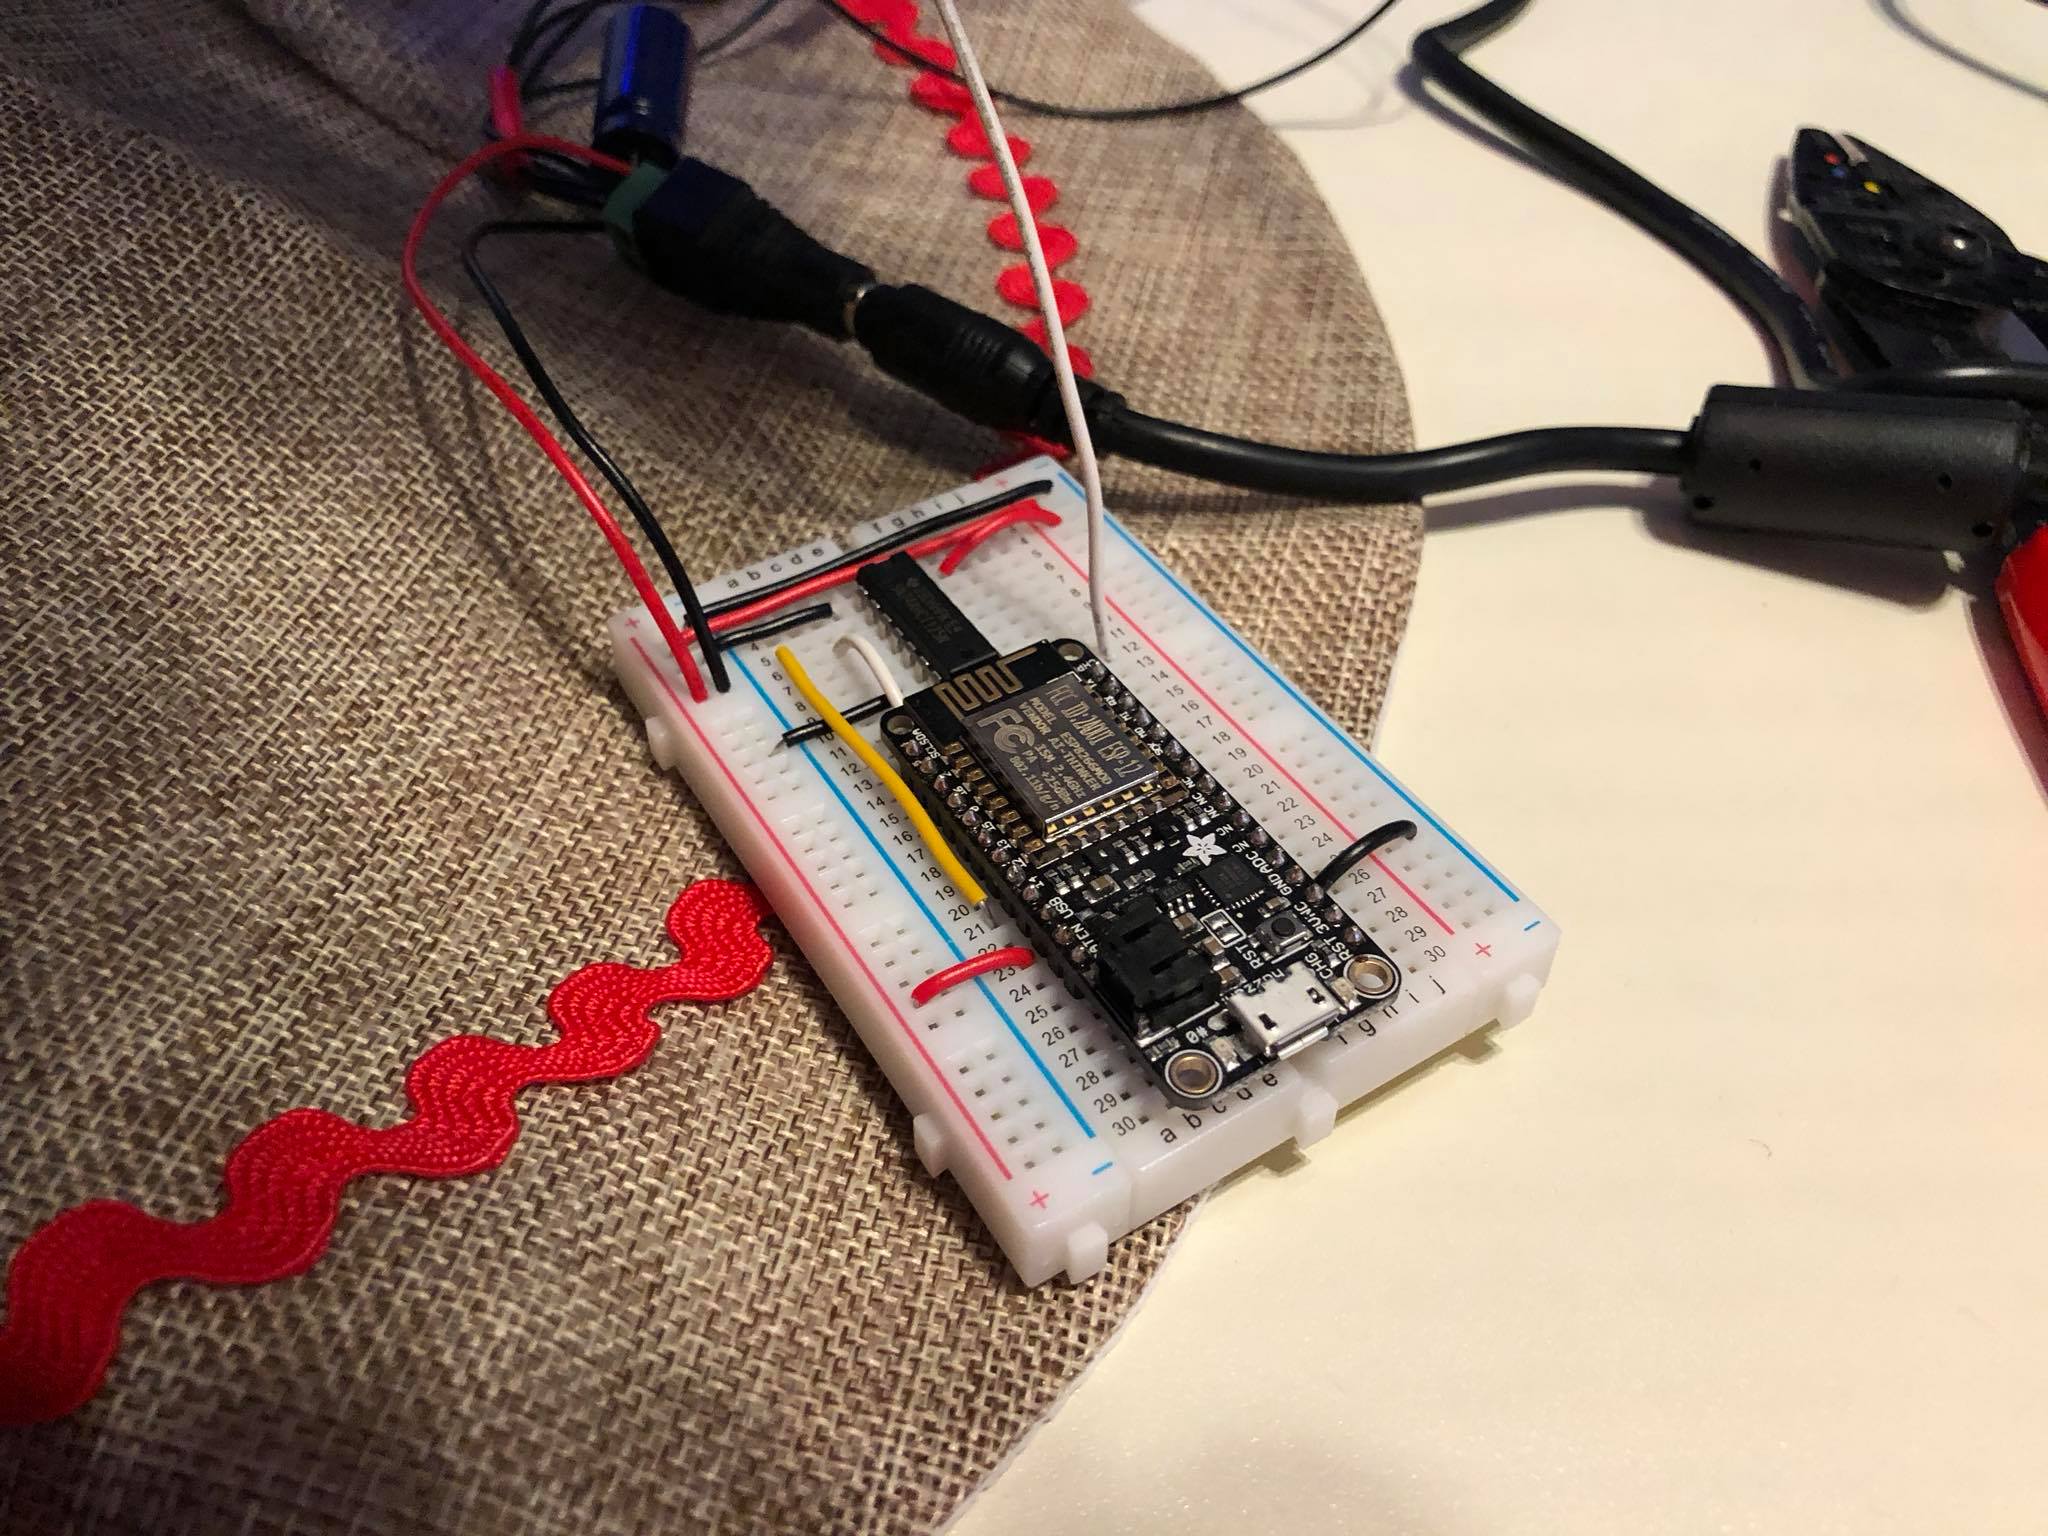
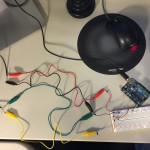
At the end of 2024 I experienced stability issues when updating many LEDs rapidly, e.g. a looping rainbow effect with a really low delay set. After some indeterminate amount of time the tree would crash and restart itself. I initially assumed it was bad C code on my part, but failed to spot anything and eventually put the tree away sometime in January of 2025 because it just got awkward. Now that we’re back to a socially acceptable time to have a Christmas tree out I’ve had a chance to do some deeper digging.
I added a new command to have the ESP return the reason it reset which was really helpful in confirming my suspicion that the ESP8266 just didn’t have enough oomph to drive pixels and run WiFi concurrently:
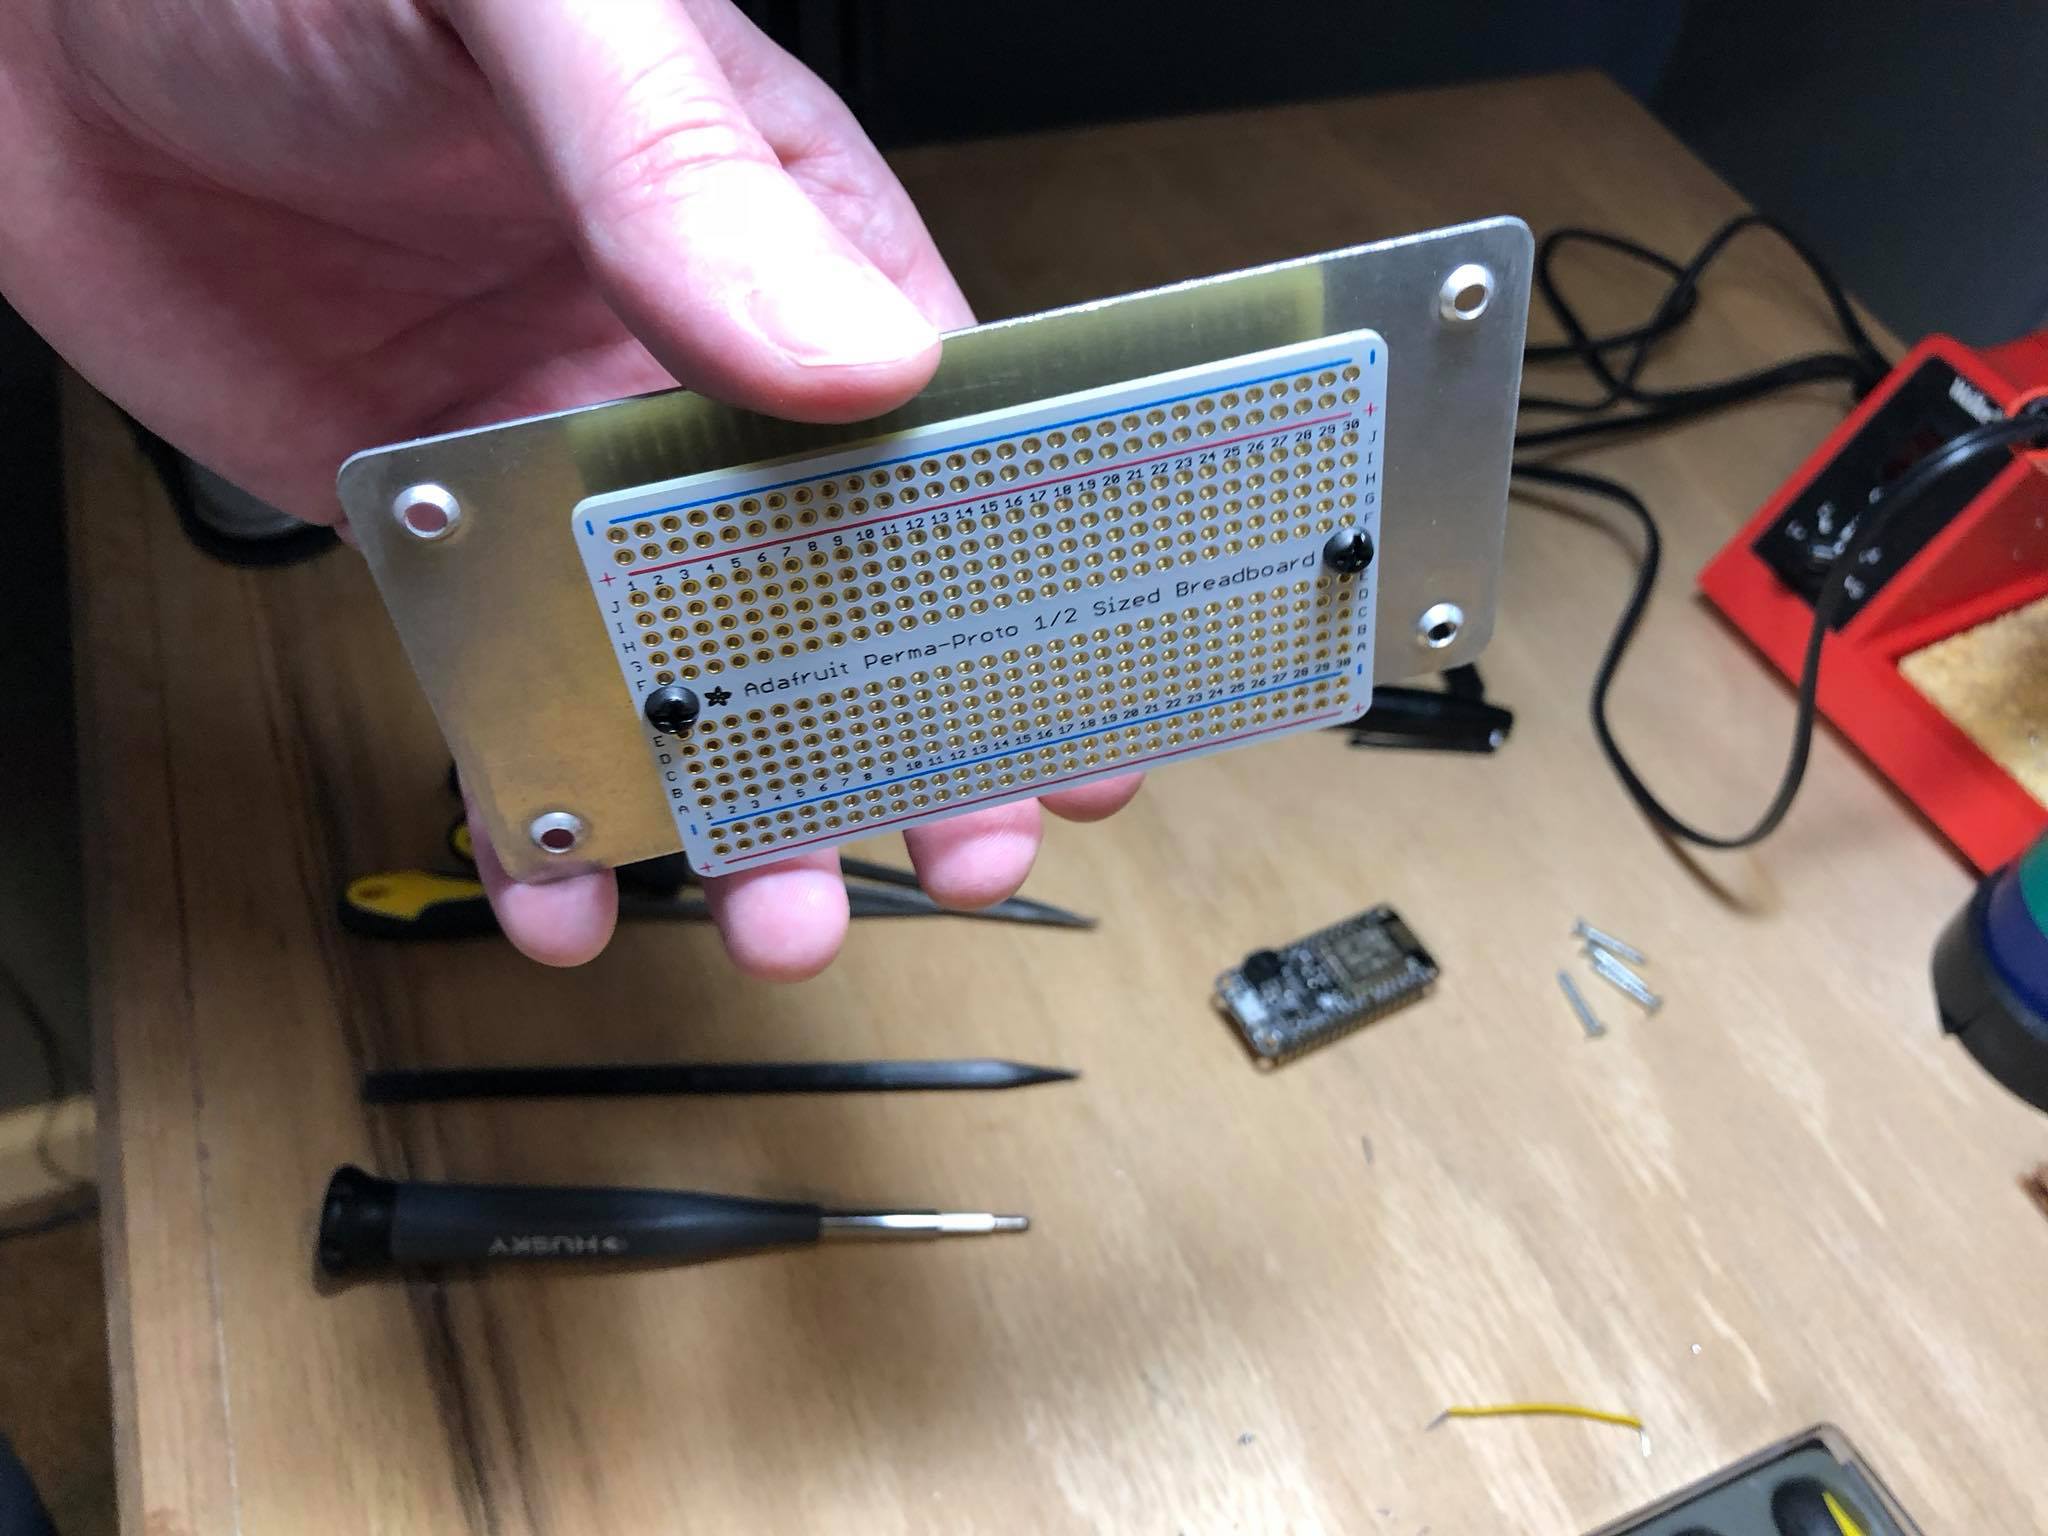
Long-ish story short I upgraded to an ESP32 with two cores (note: number of cores is model-dependent) and this provides the necessary headroom to bit bang LEDs and run WiFi stably. It required some re-soldering of the Perma-Proto board (since the pin layouts are different) as well as some code changes, but overall it was a relatively quick and straightforward upgrade. The tree hasn’t crashed since!
This weekend I vibe coded a tribute to ’90s Gateways, 3Dfx, and DOS with DJGPP, Glide, and Allegro. I originally set up my build environment in DOSBox-X, but then moved to cross-compilation from Linux.
From there I dropped the game into 86Box, which I already had configured with an emulated Voodoo3 3000, for quicker testing.
Finally, I ran it on my Pentium 3 machine with Windows 98 and a real Voodoo3 3000. ChatGPT gets most of the credit for the C code that runs the game, I get credit for the cow voiceover work. 🐄
I’m really happy that most modern monitors support DDC so that we can programmatically change settings rather than go through clunky OSDs.
The problem
At my desk I have my Mac Studio and my latest gaming PC and they both share a triple monitor setup. When I want to switch the monitors between the two, I either need to:
Turn on auto-switching mode
Manually change the input x 3
Auto-switching kinda worked, but has quirks I can’t live with. One is when I’m playing a game on the PC and the Mac wakes up for whatever reason, the PC receives a signal that hardware has been connected or disconnected and the screen freezes. It seems like a firmware bug to me – if an input is being actively used the others should be ignored.
The manual route is pretty bad as well. The M32U‘s input switchers are on the back of the monitor, which is pretty much the worst spot possible. Only the far right monitor is slightly more convenient to access.
How DDC solves it
By using m1ddc on the Mac we can easily script a way to switch between the two machines. 🎉 This means I can create a keyboard shortcut to toggle the inputs, a physical button, or even run it from an external computer. Hooray!
Edit: Now with web appi-ness!
I threw together a quick Flask app that can be accessed from any device on my network to switch inputs. Neato!
Note: Once I connect the left monitor the same way I connect the other two, the transition should be more in sync. Currently it’s a little slower due to the HDMI connection.
What about audio?
For those who use desktop speakers there’s a similar dilemma for audio: sharing one output for multiple inputs. The M32U (like many monitors) has a mini-jack that outputs audio from the currently selected video input. You then can plug your desktop speakers into that jack and you’re good to go – switching to another video source also means switching to its audio.
Considerations
If that’s your only option there’s no problem, but do know that audio quality may be subpar as the DAC chip inside the monitor most likely isn’t great. I also found that I had no volume control in macOS for this setup, but was able to work around it using MonitorControl which – you guessed it – uses DDC.
Another option would be a powered stereo mixer like the Rolls MX51S that would let each system handle its own analog output. That should give you better quality, but introduces complexity via a new box to power and extra cables. You also may have to fight noise and hums. One upside to this setup would be that you could play audio from multiple machines at the same time – maybe the Mac plays music while the PC plays a game.
The solution I landed on is my favorite: A speaker system with USB input. The same way I share my keyboard input (via the monitor’s USB hub) I share the audio output. There’s no interference or noise, and quality is superb because the speakers are made for digital input.
Since restoring a couple Mac OS 9 machines and playing with them, I’ve noticed some nice touches in various places.
One is that when you have the Platinum Sounds enabled and drag a window, the sound effect will pan in stereo with the window’s horizontal location.
I probably didn’t pick it up very well by recording with my iPhone, but just imagine it gets louder on the speaker the window is closest to. Pretty cool!
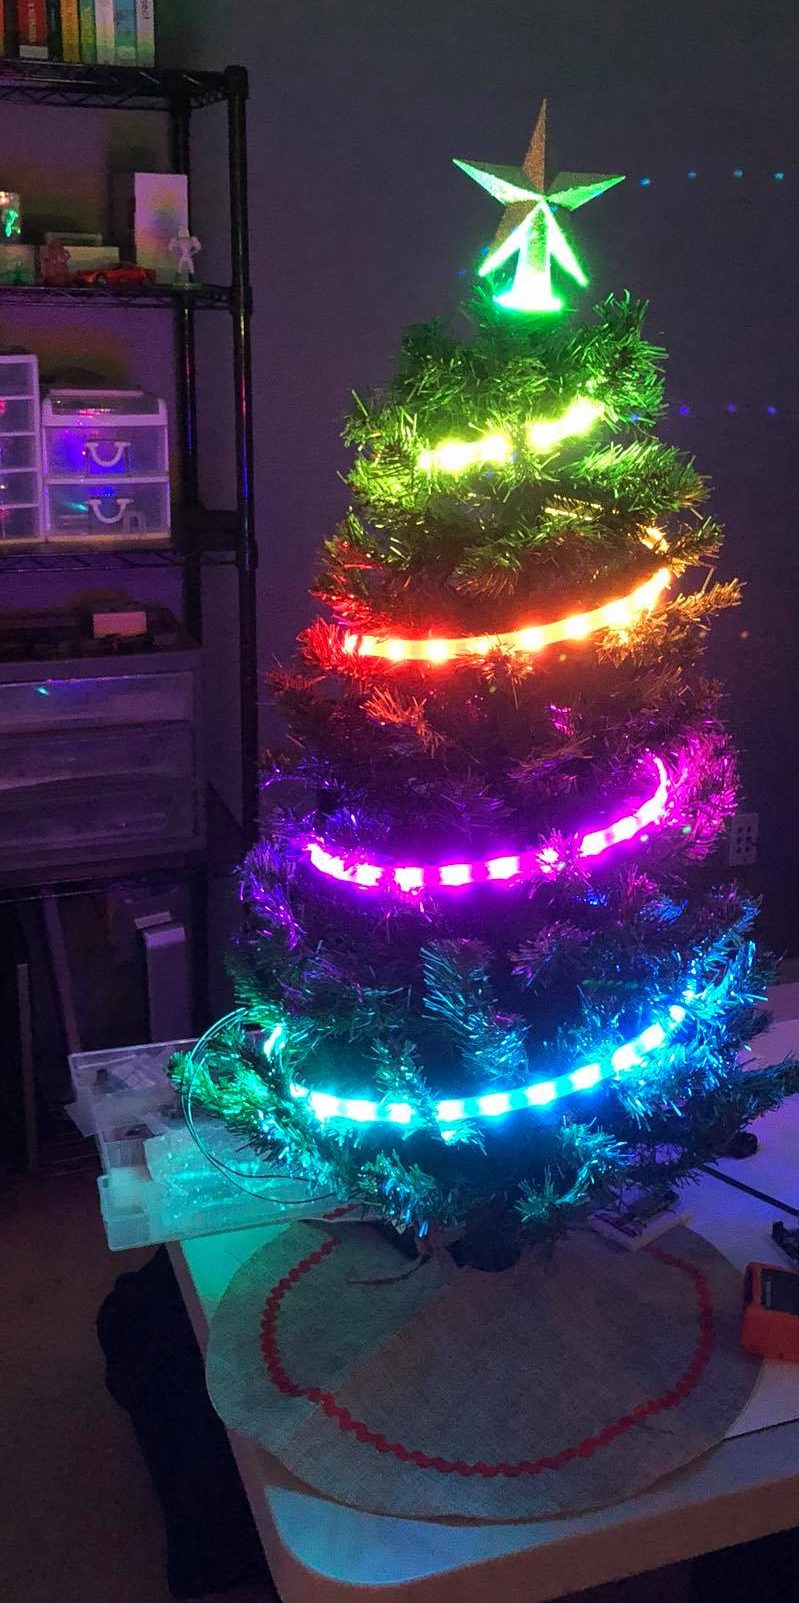
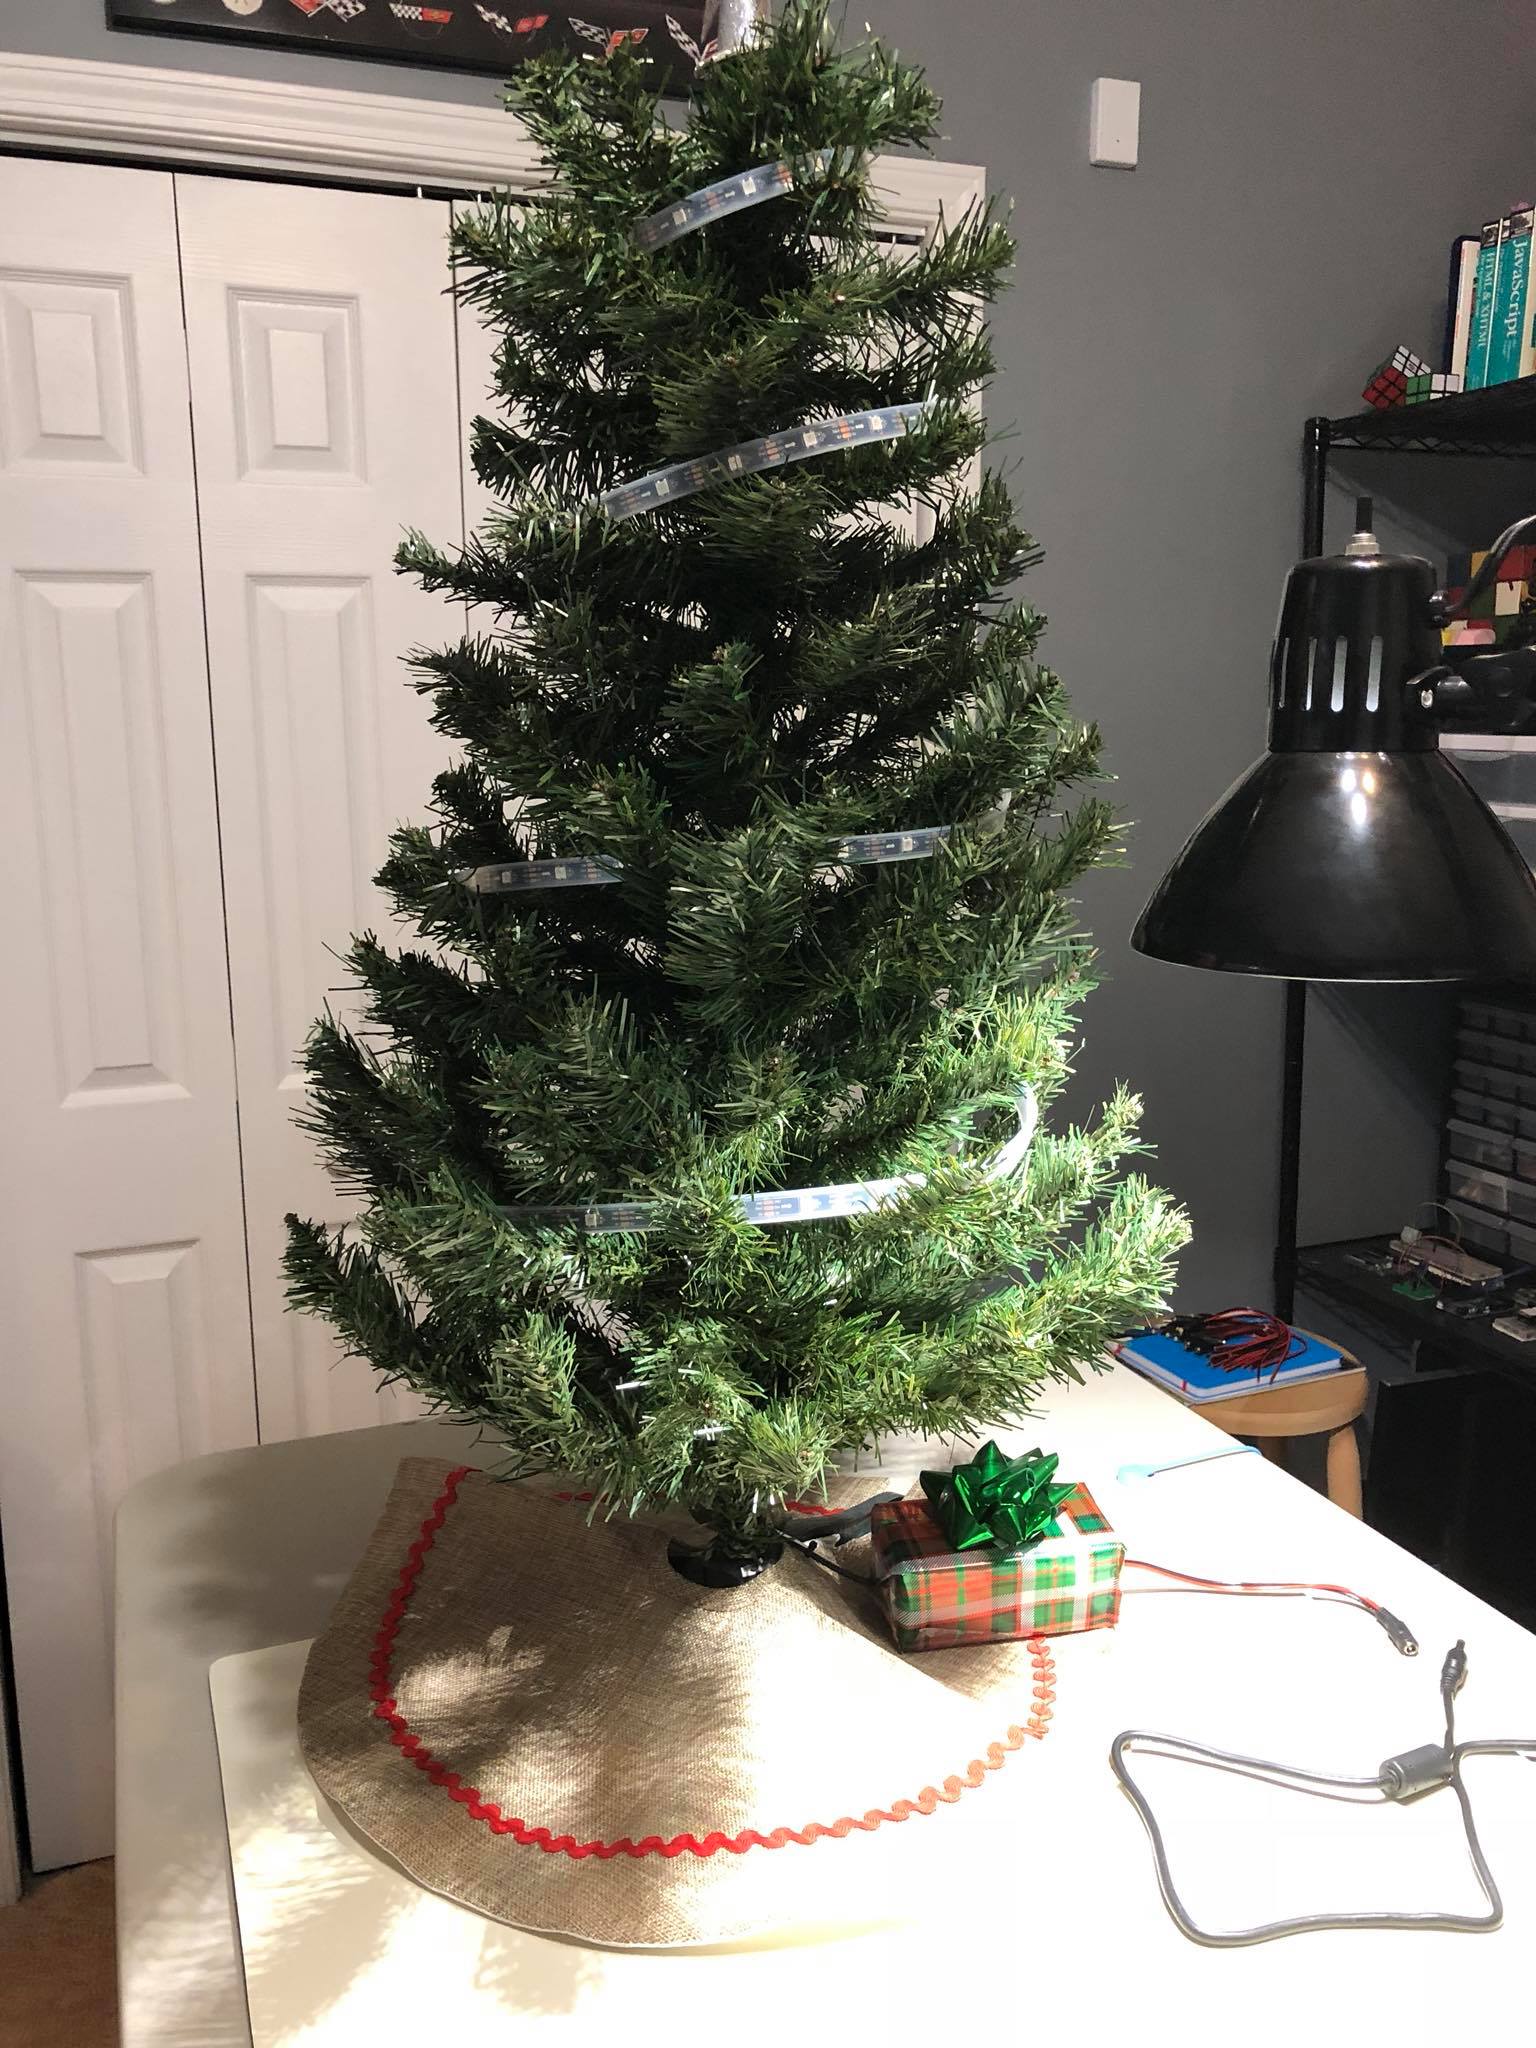
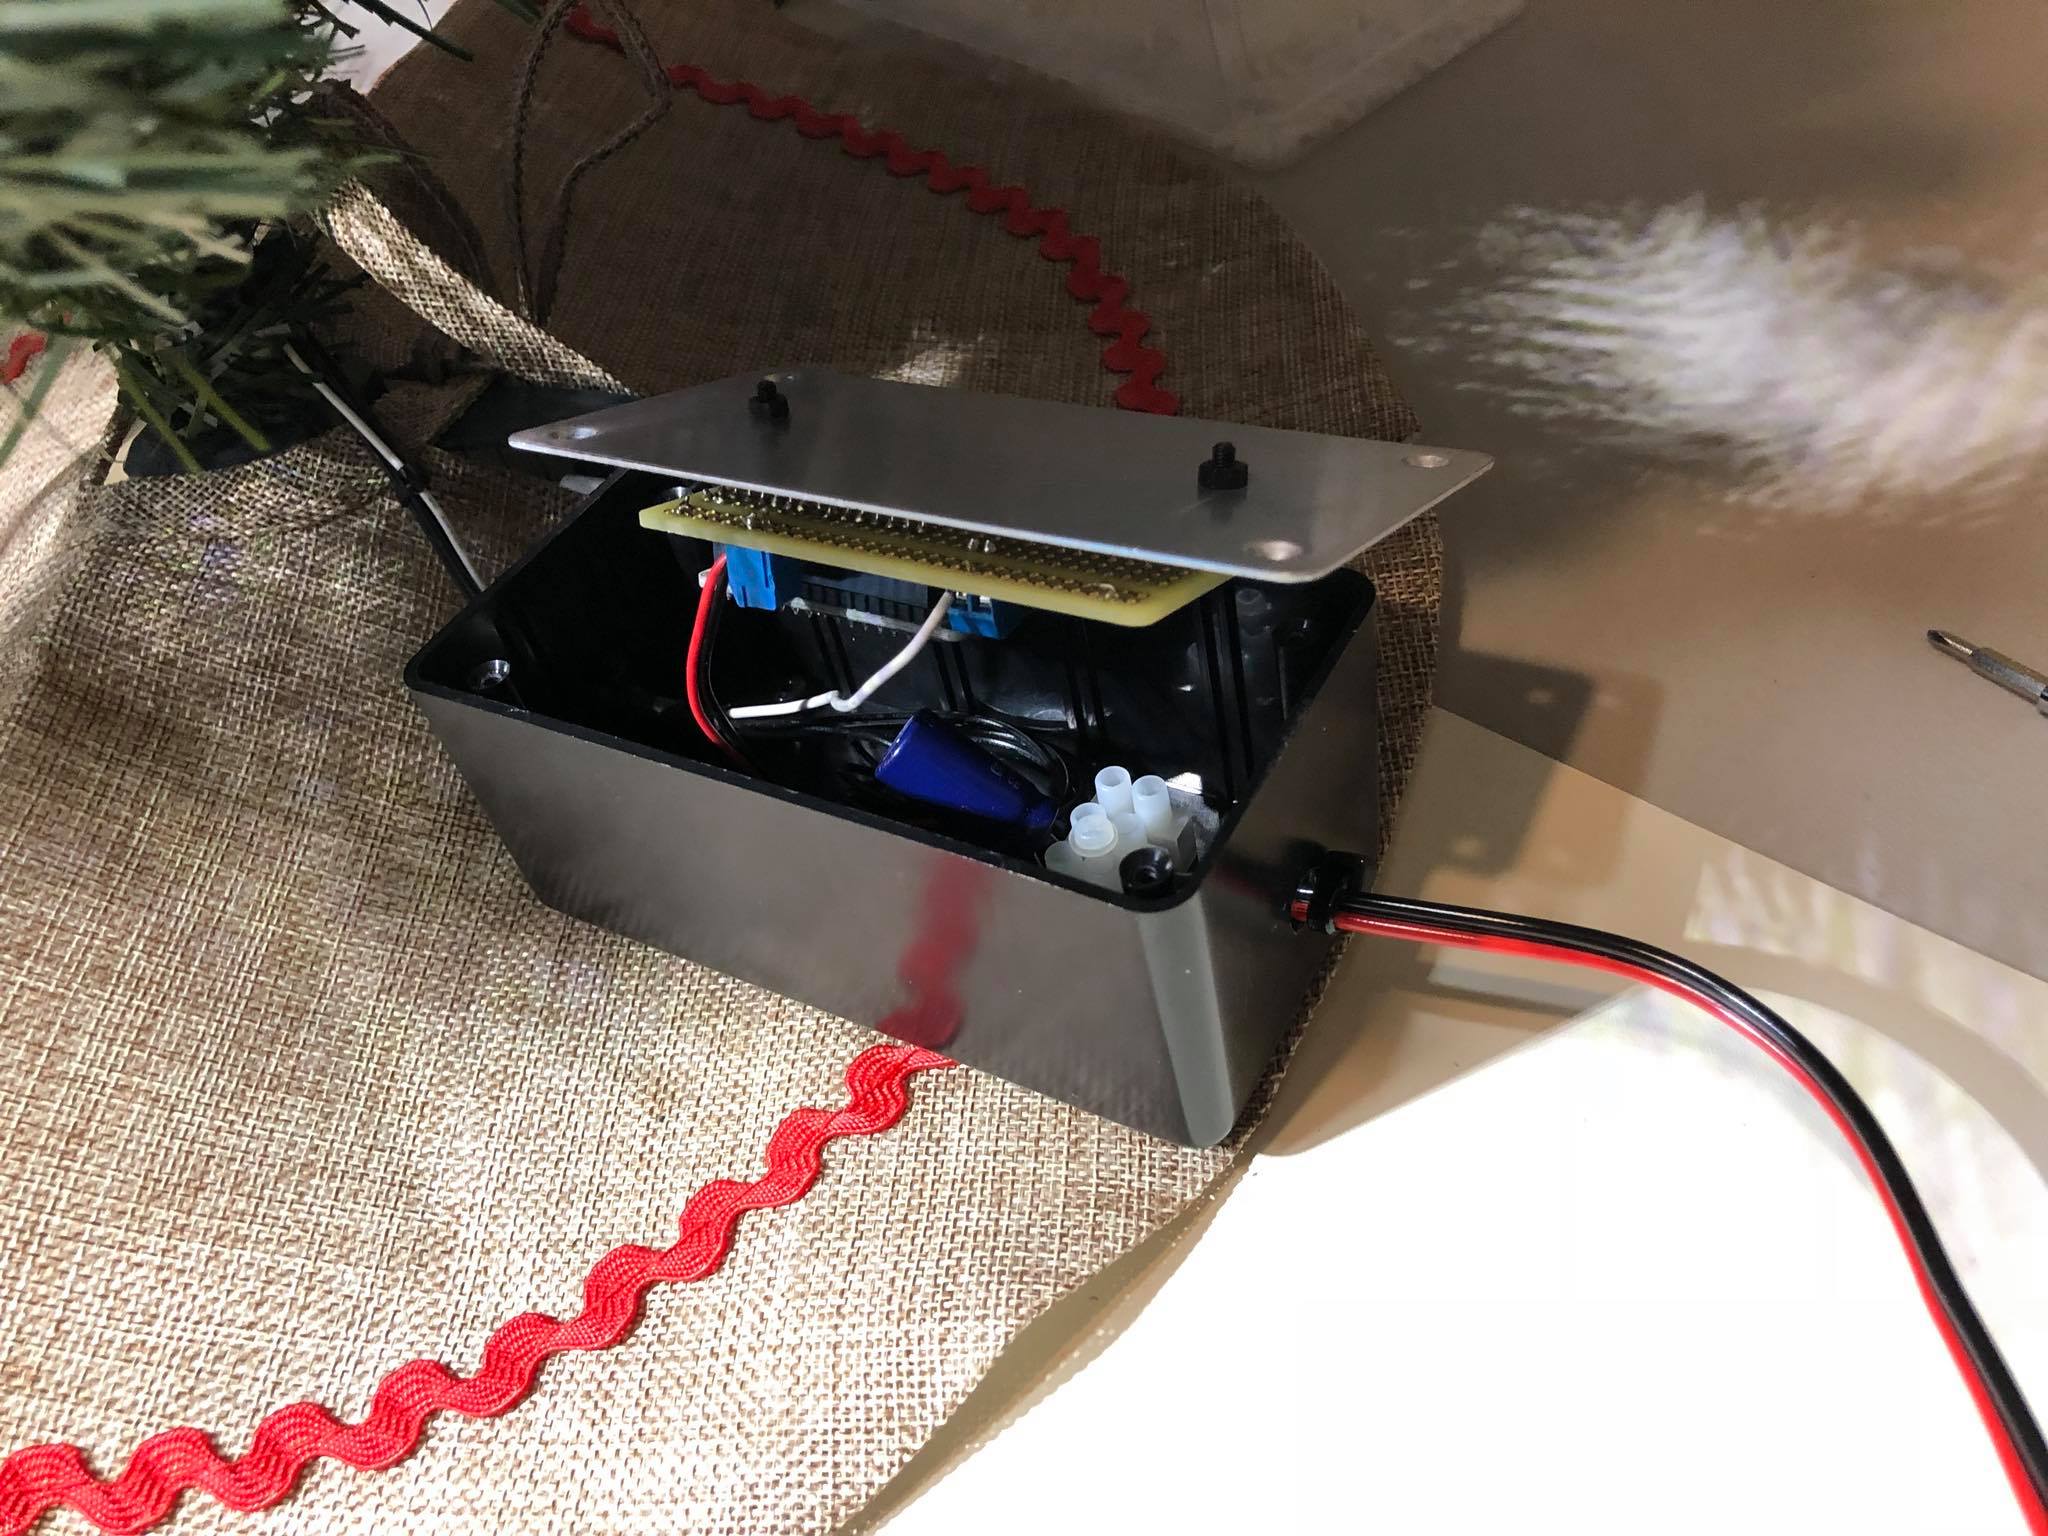
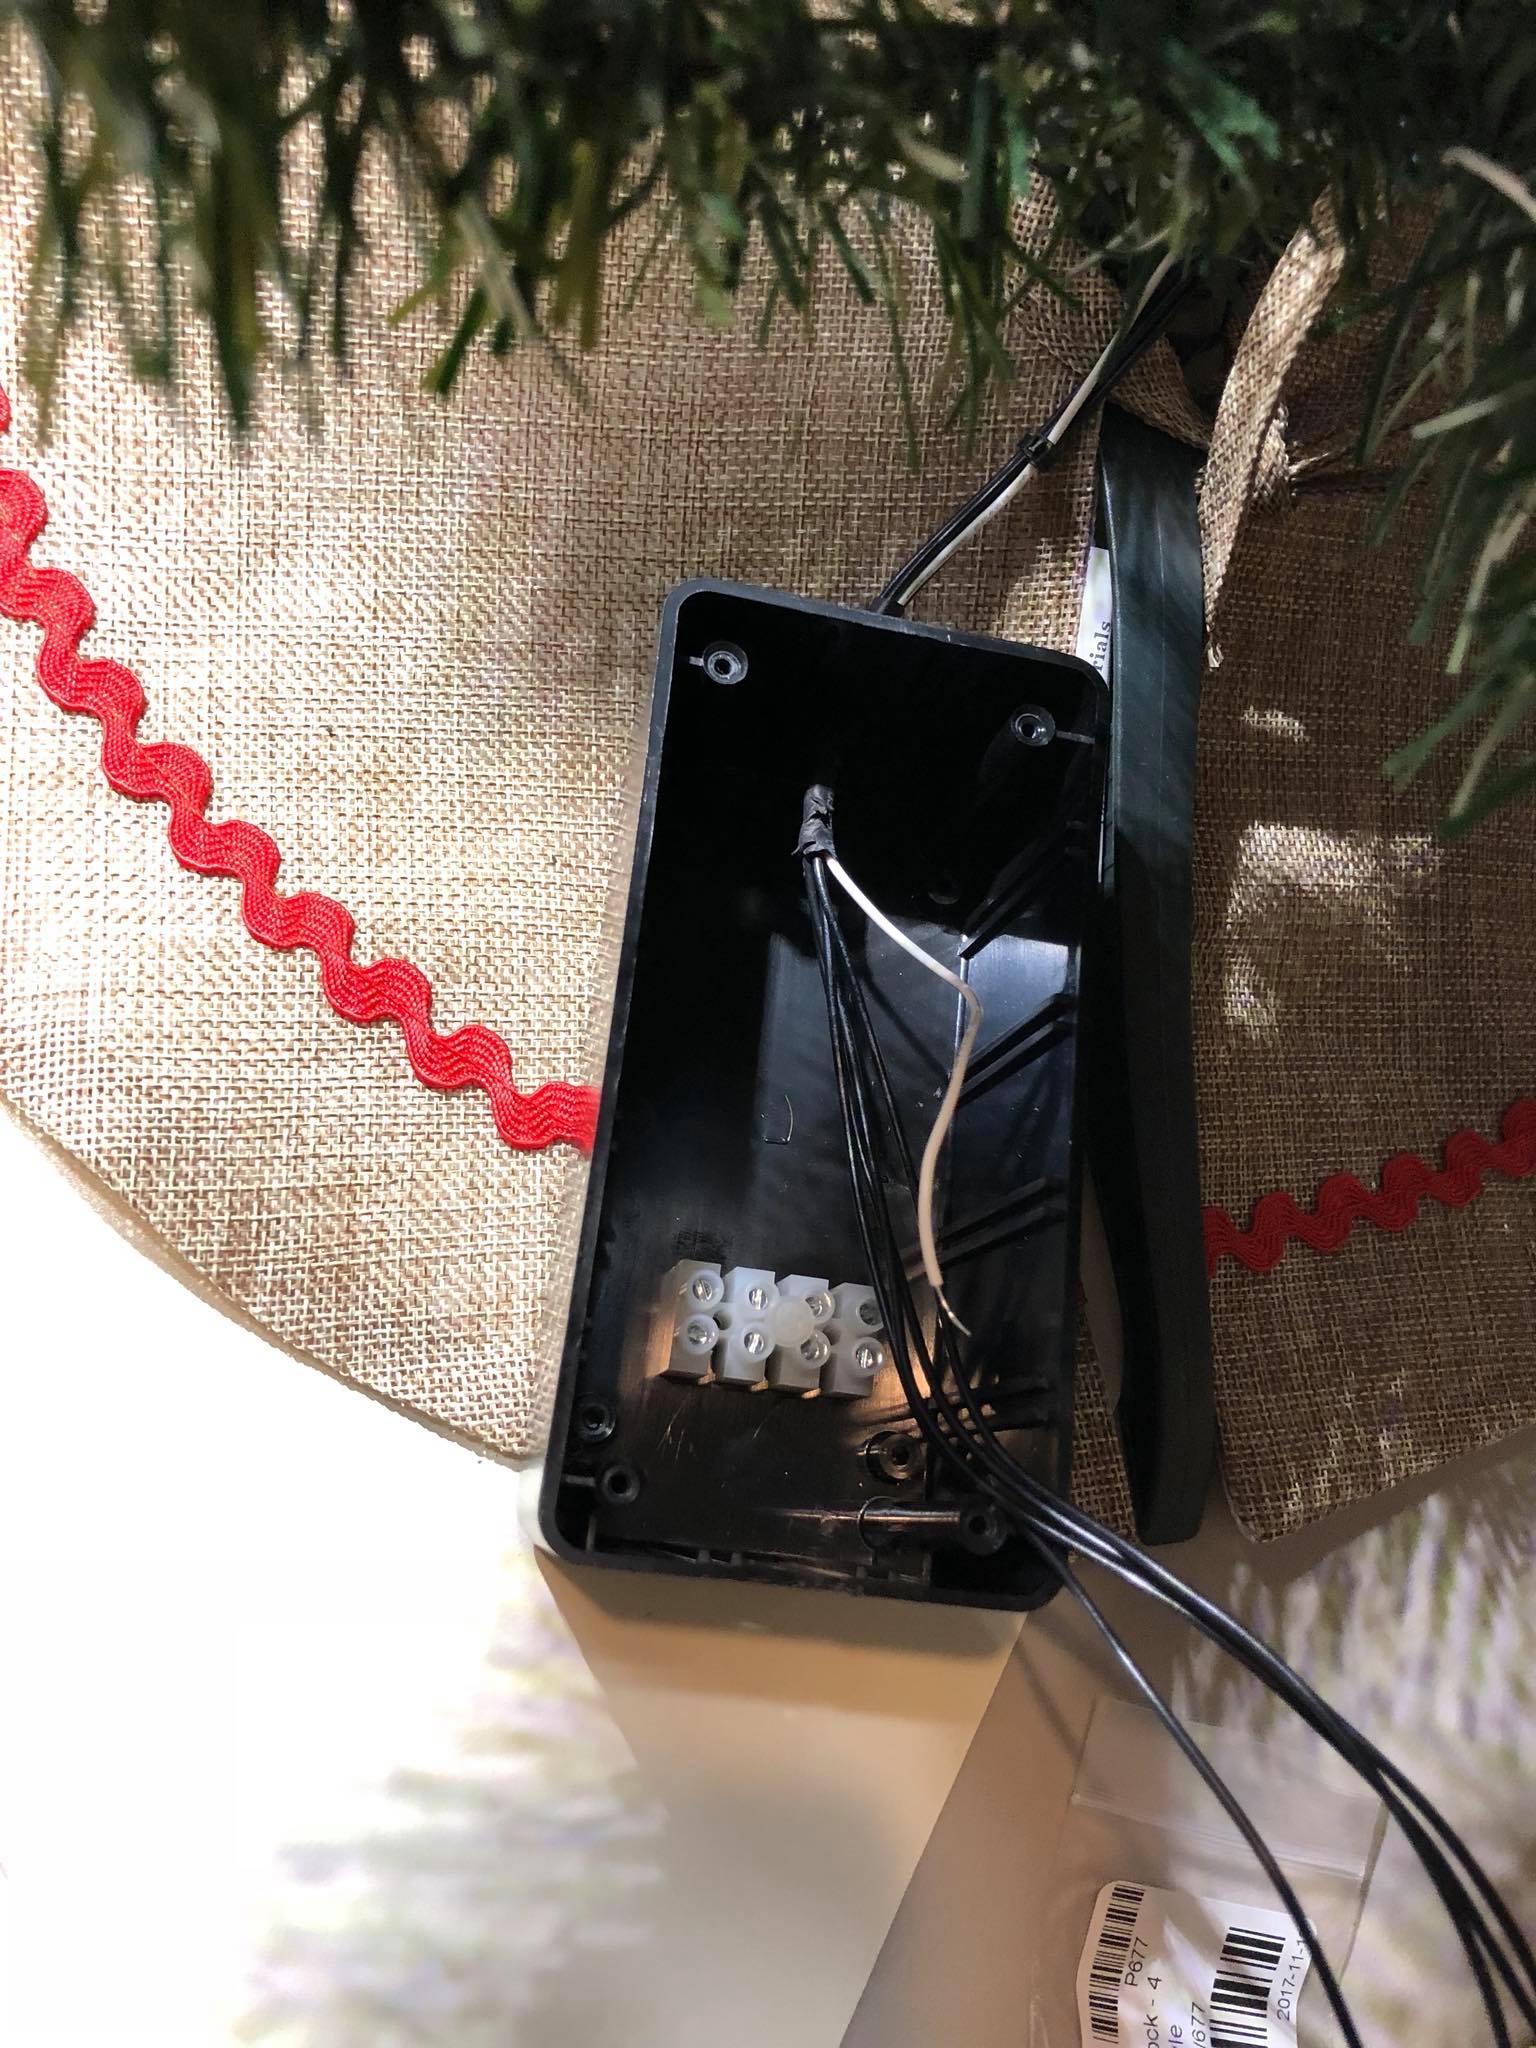
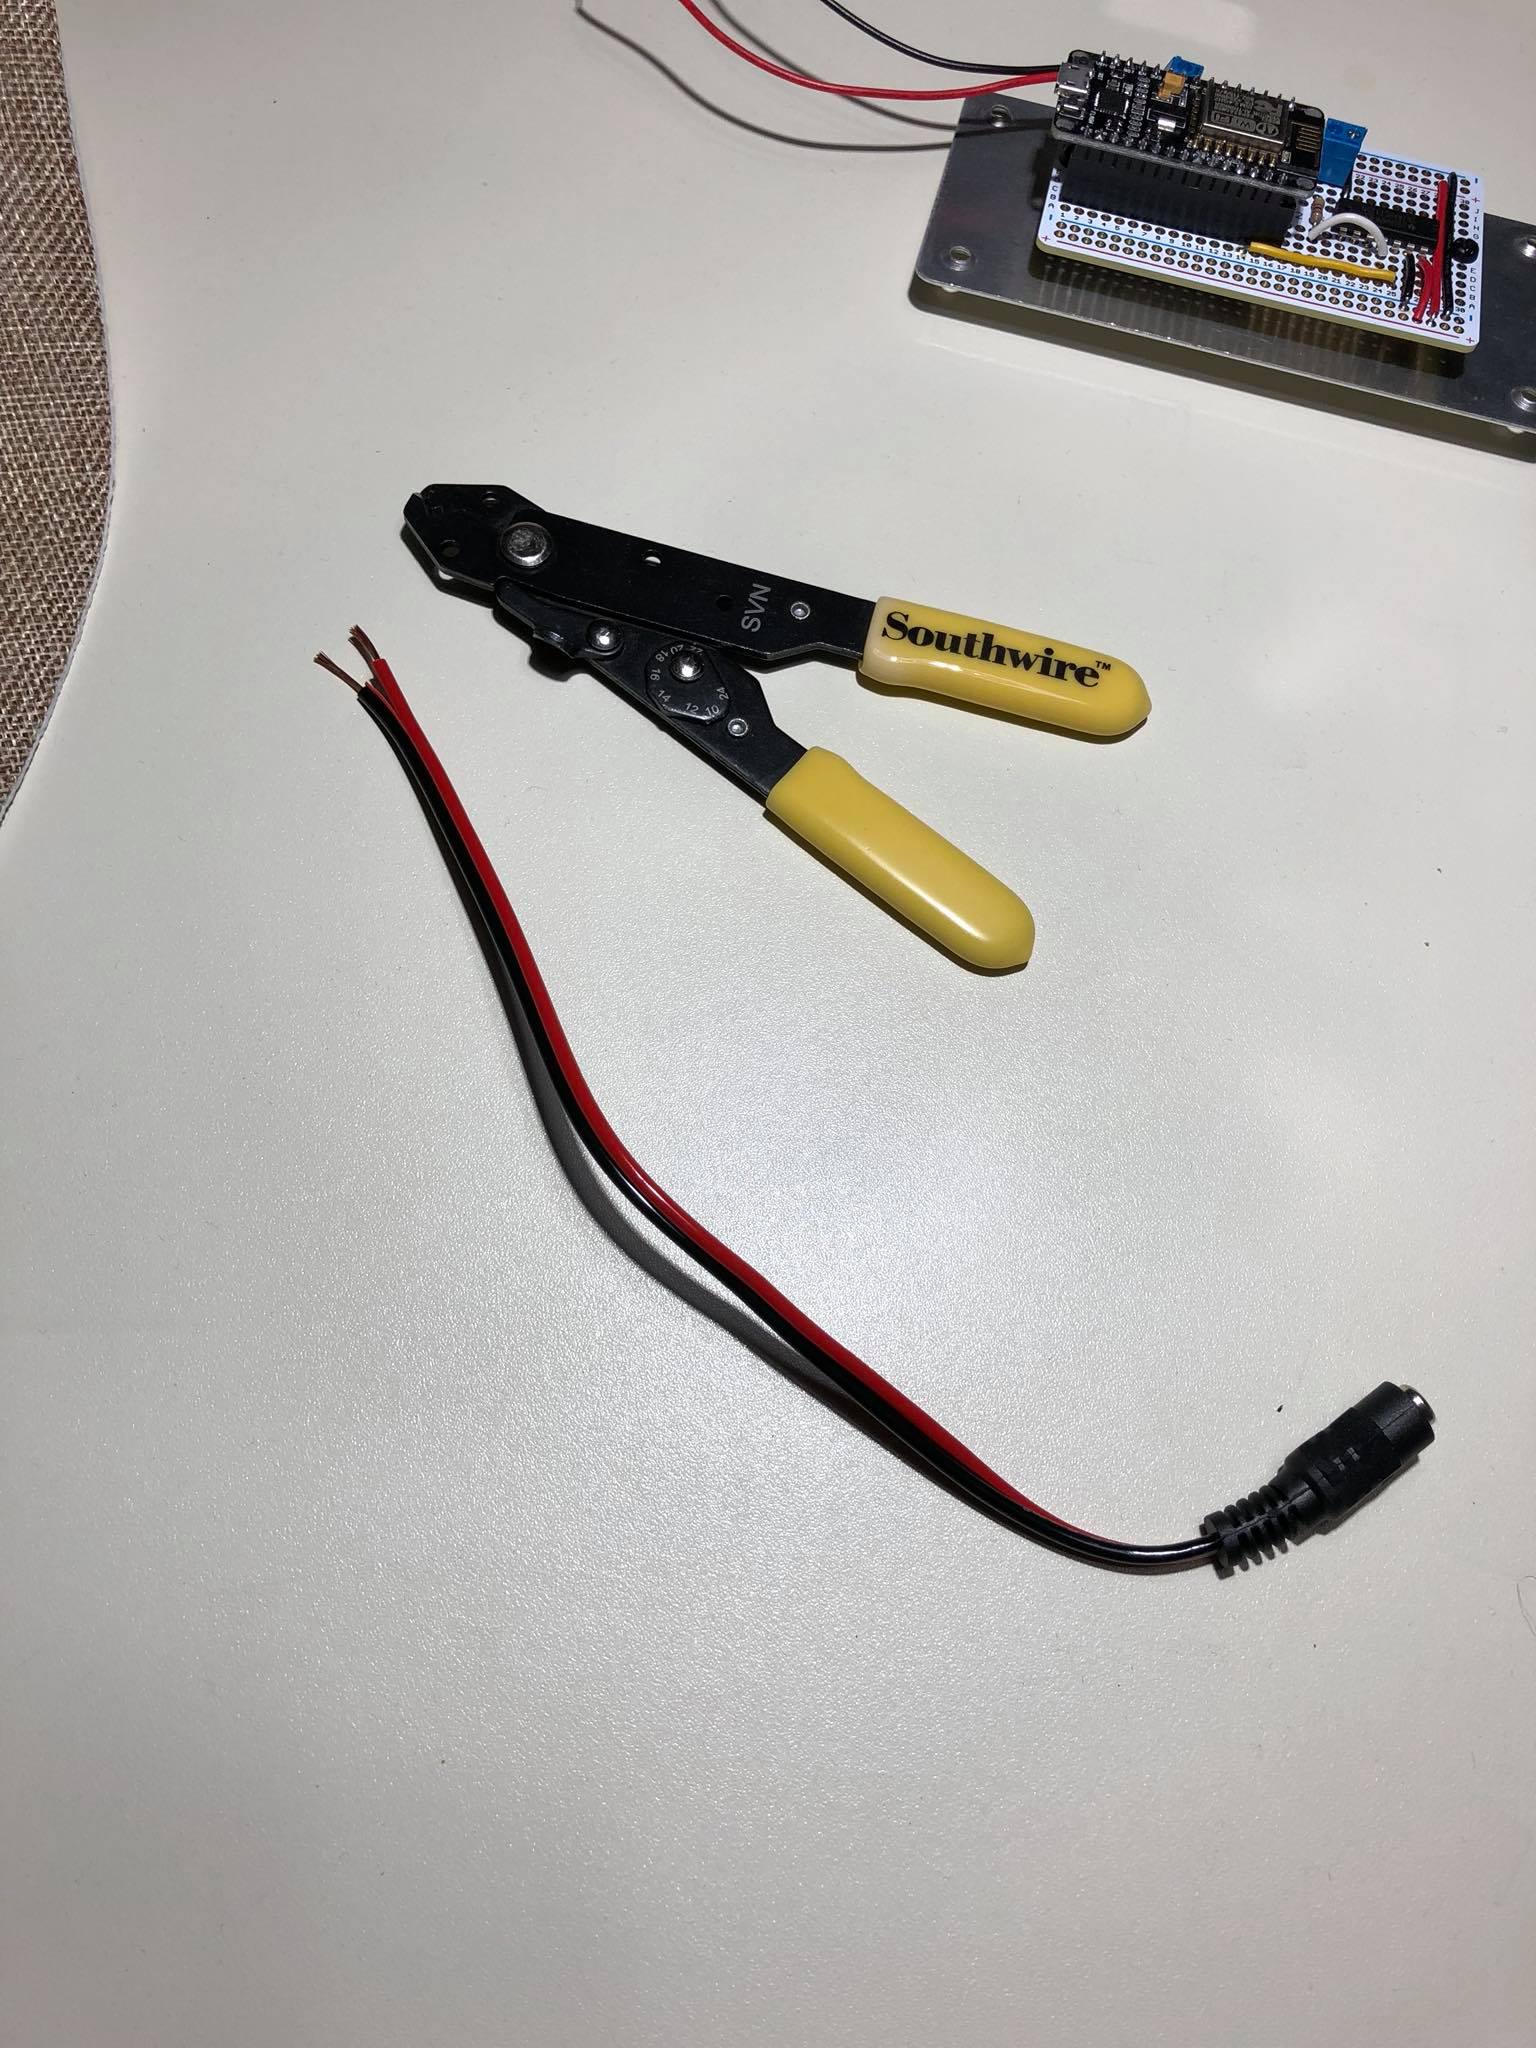
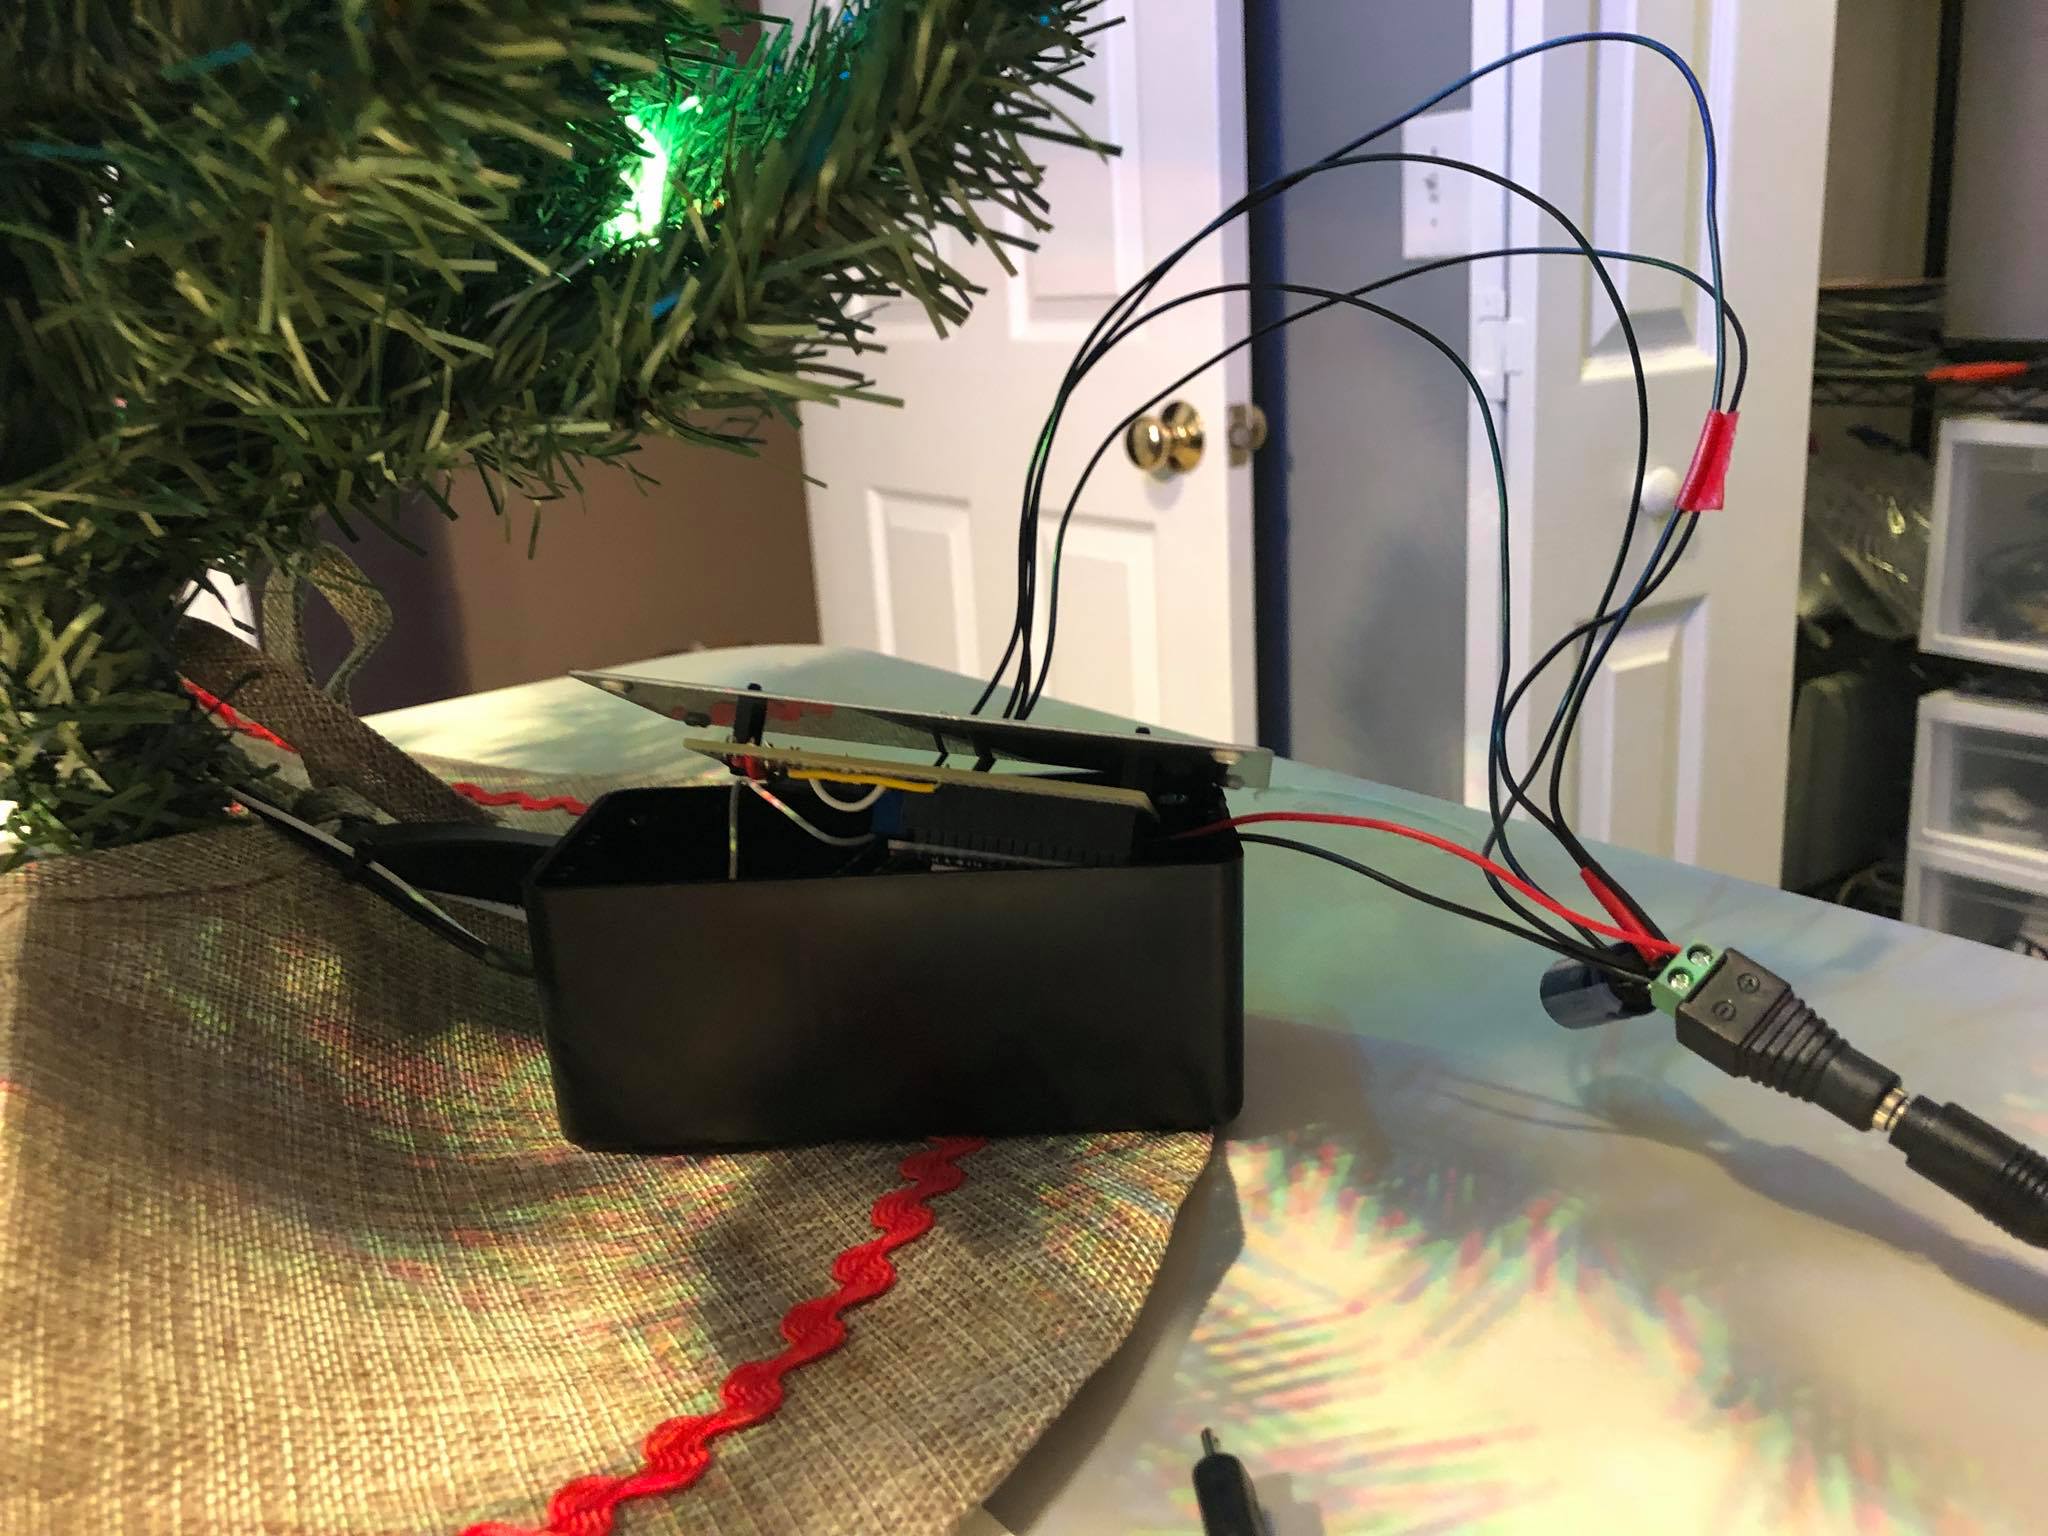
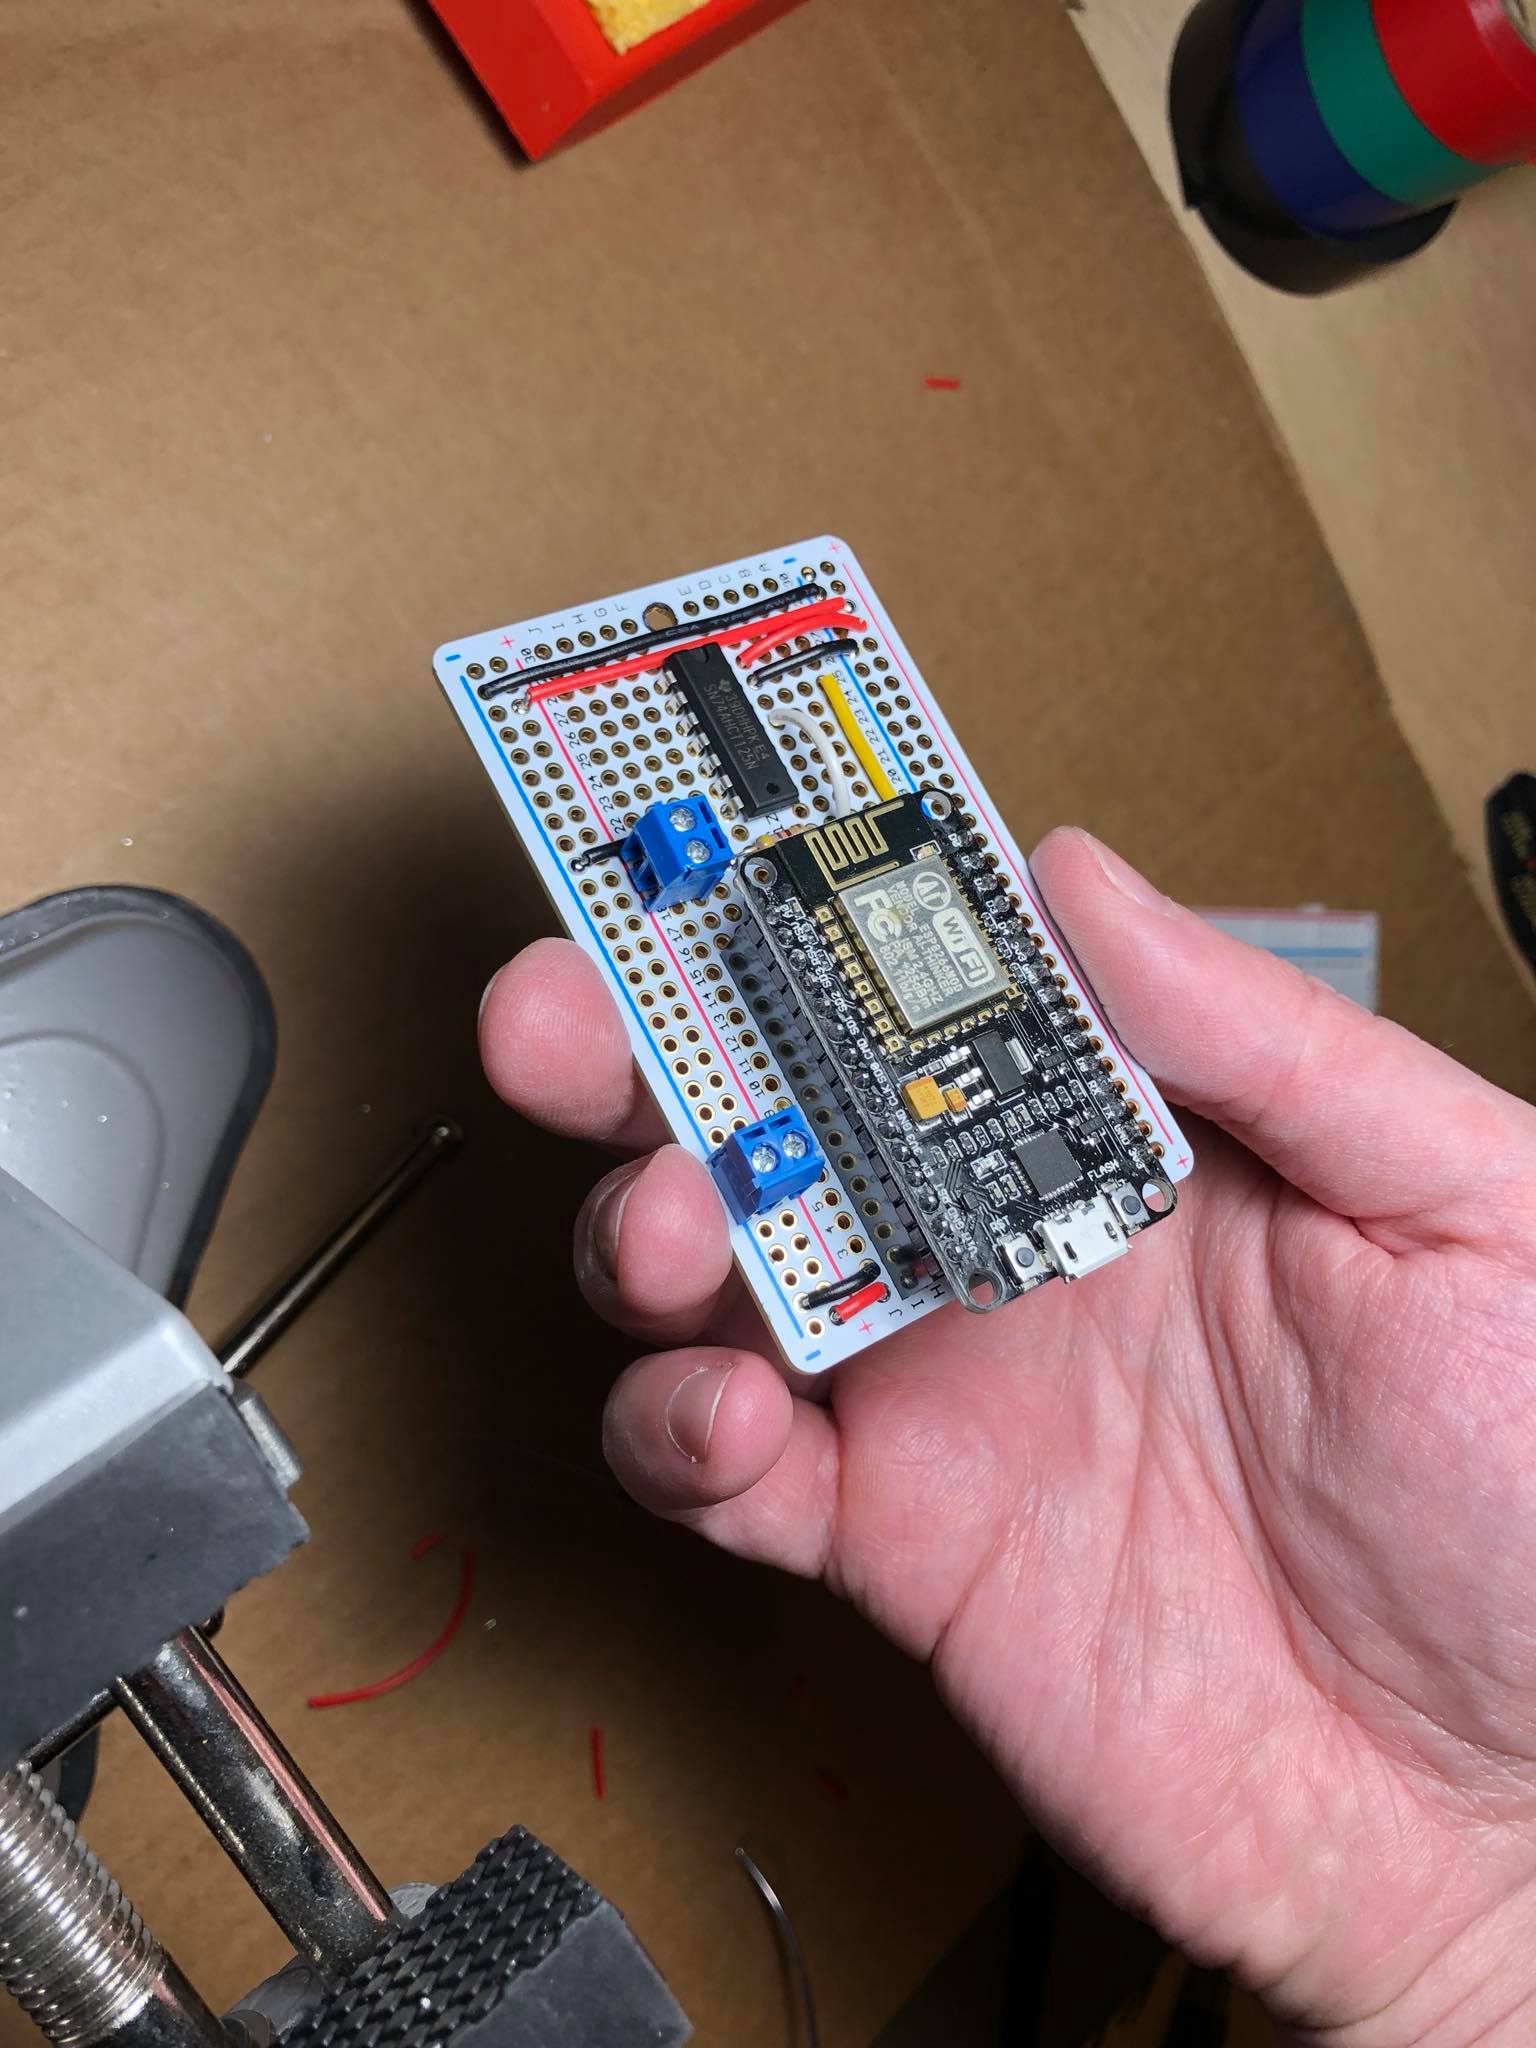
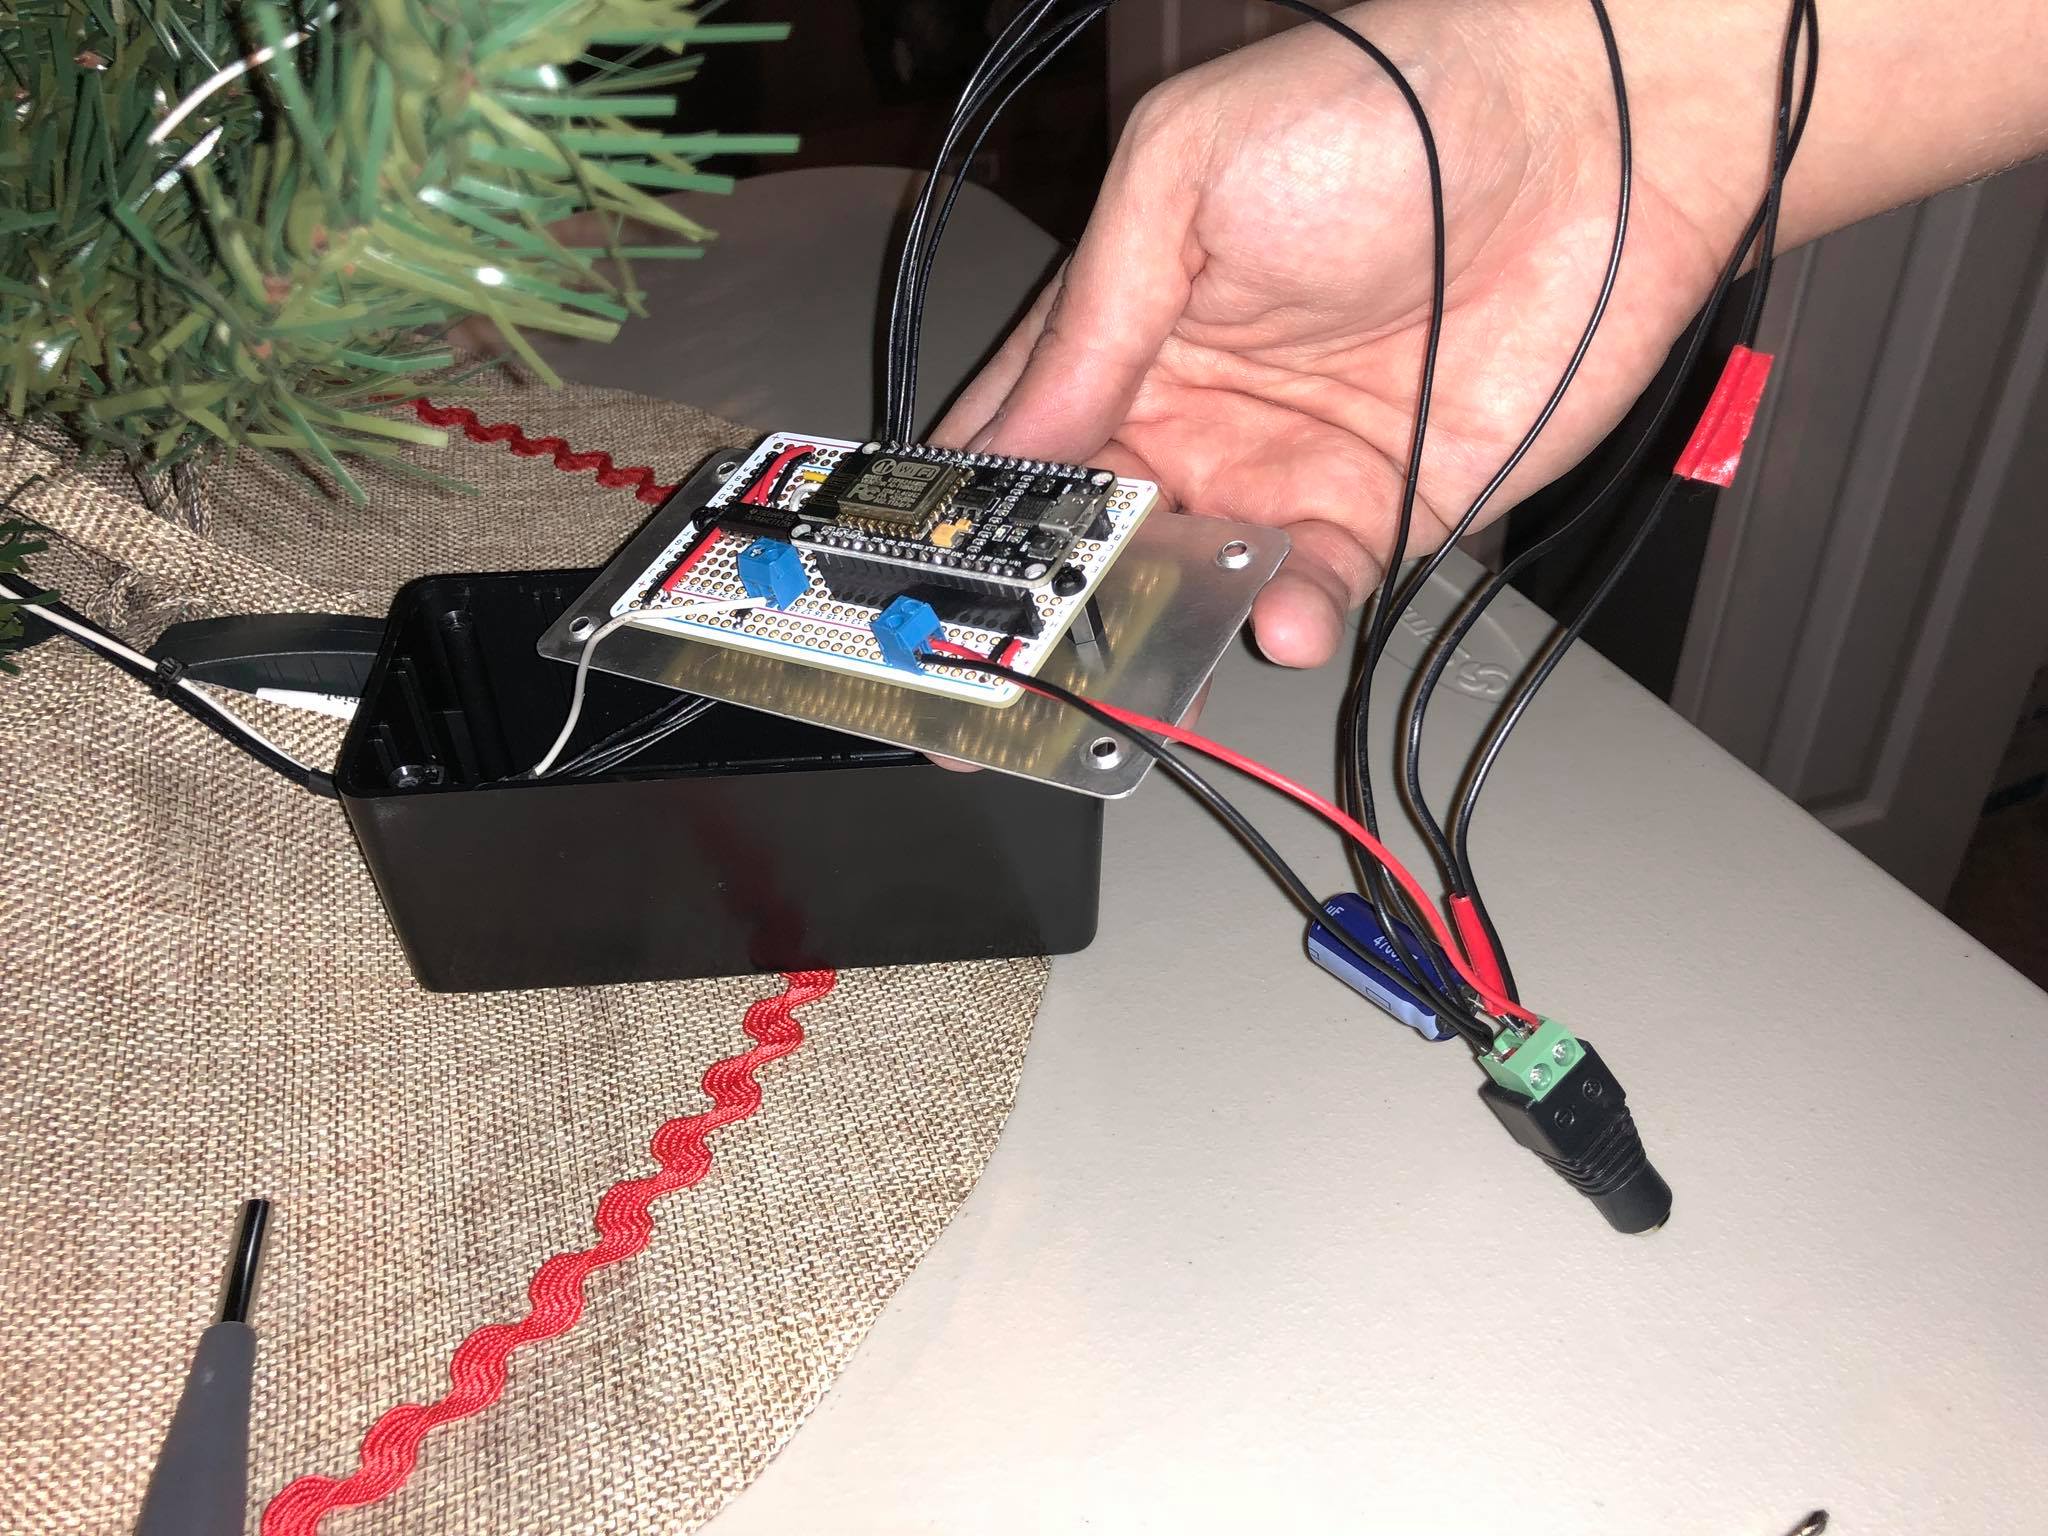
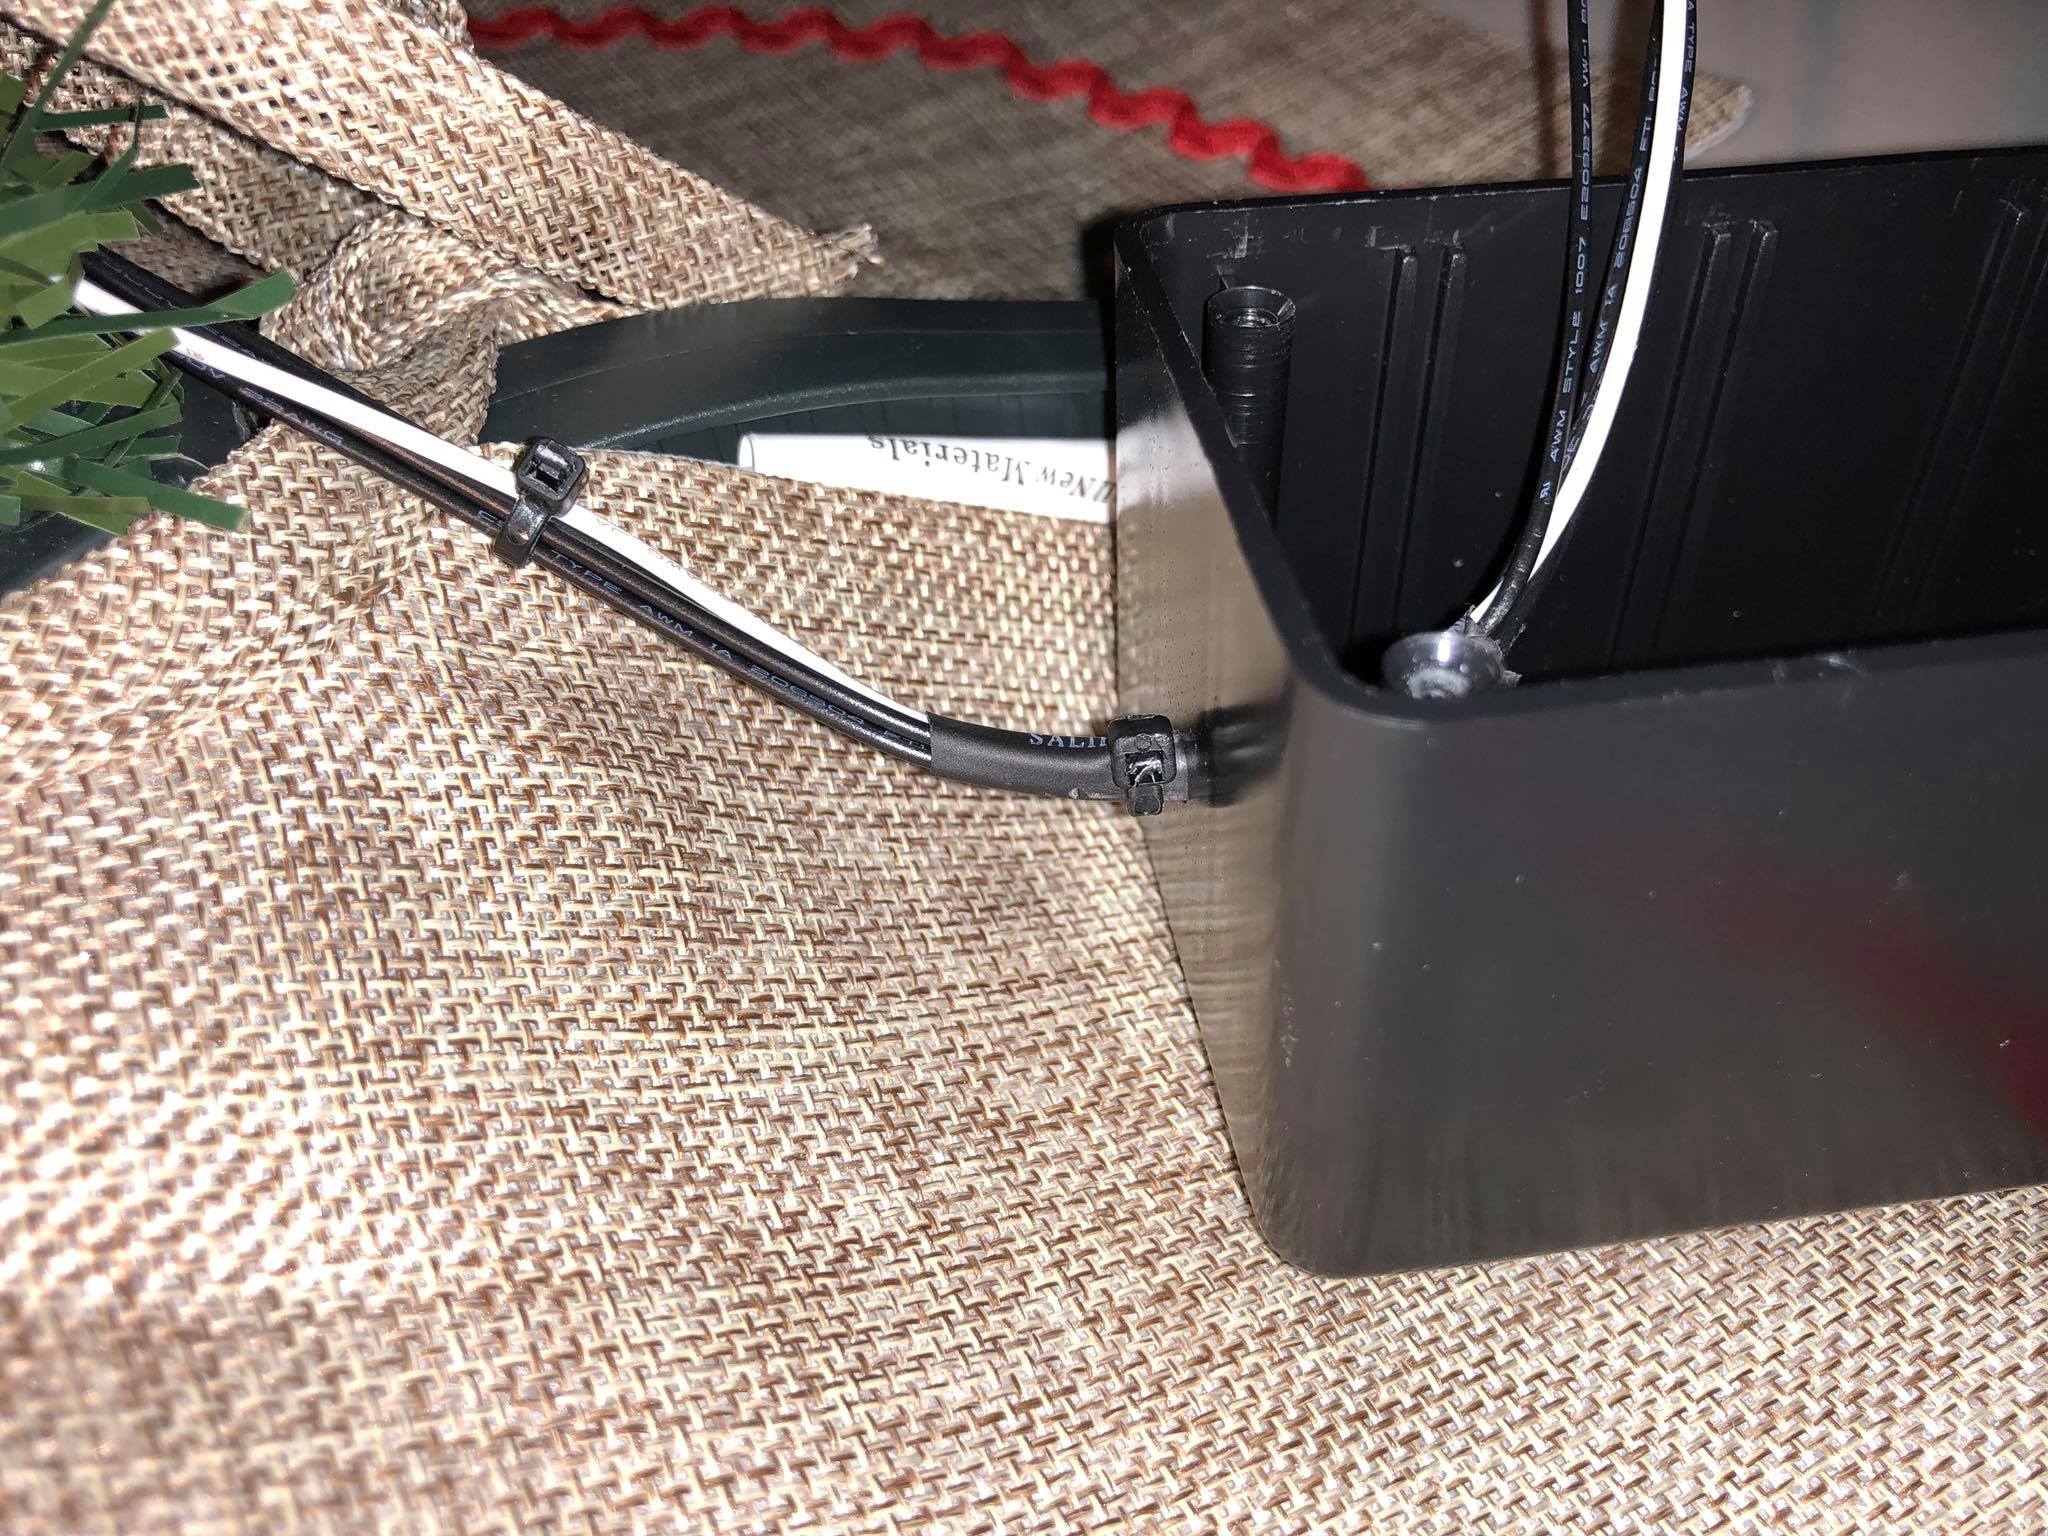
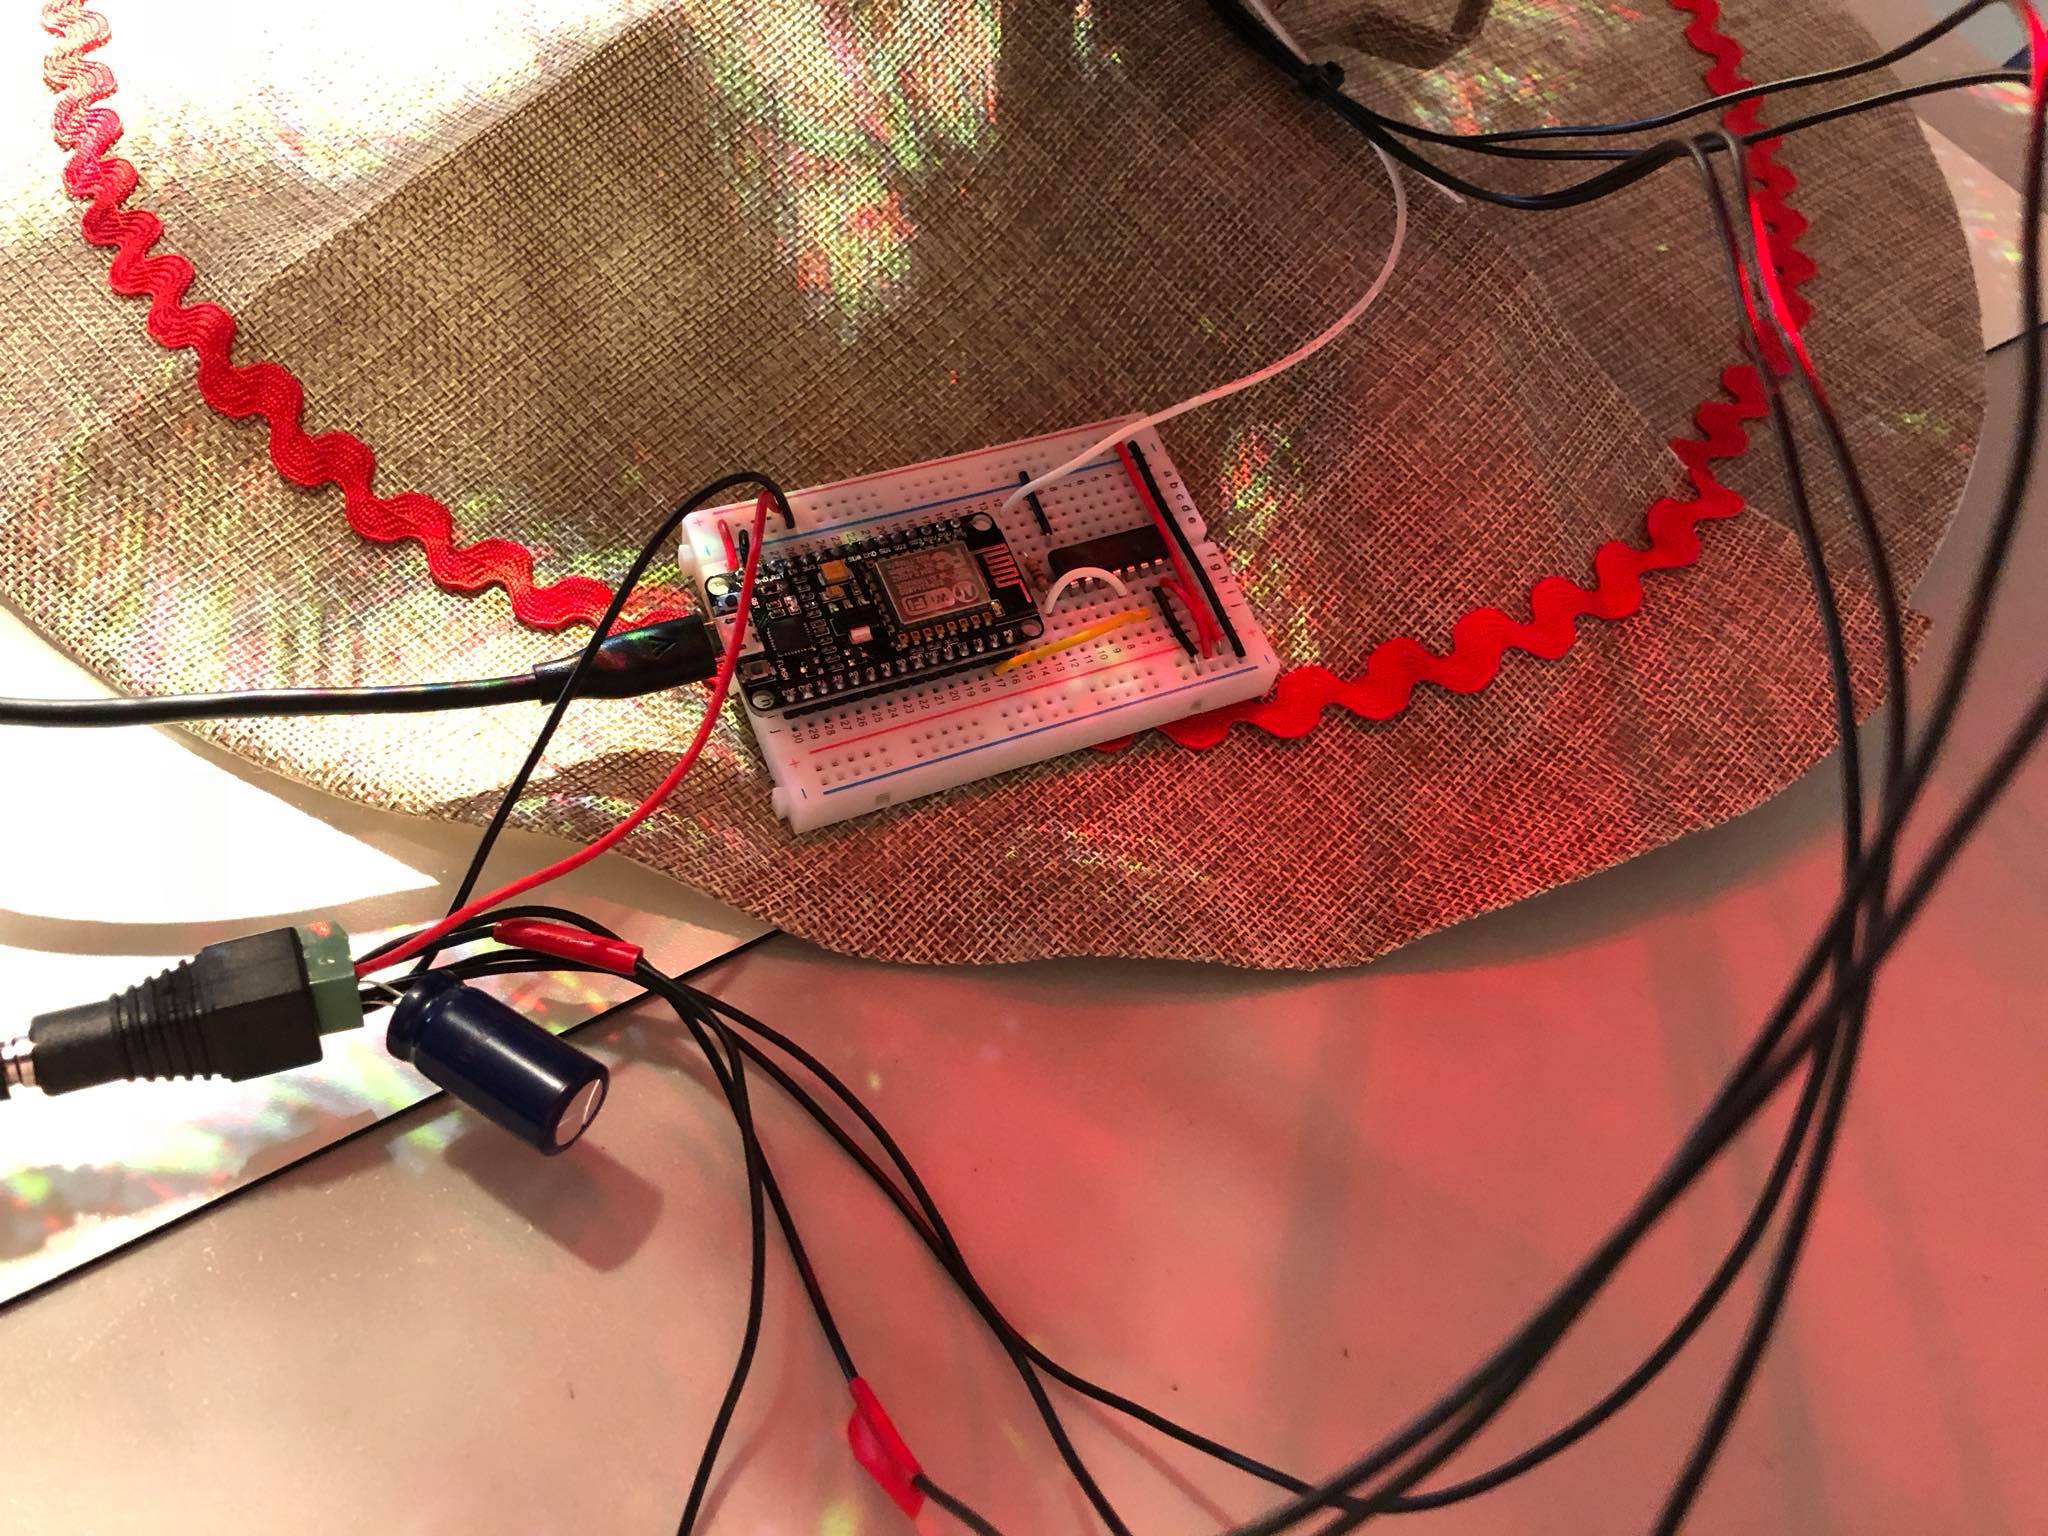
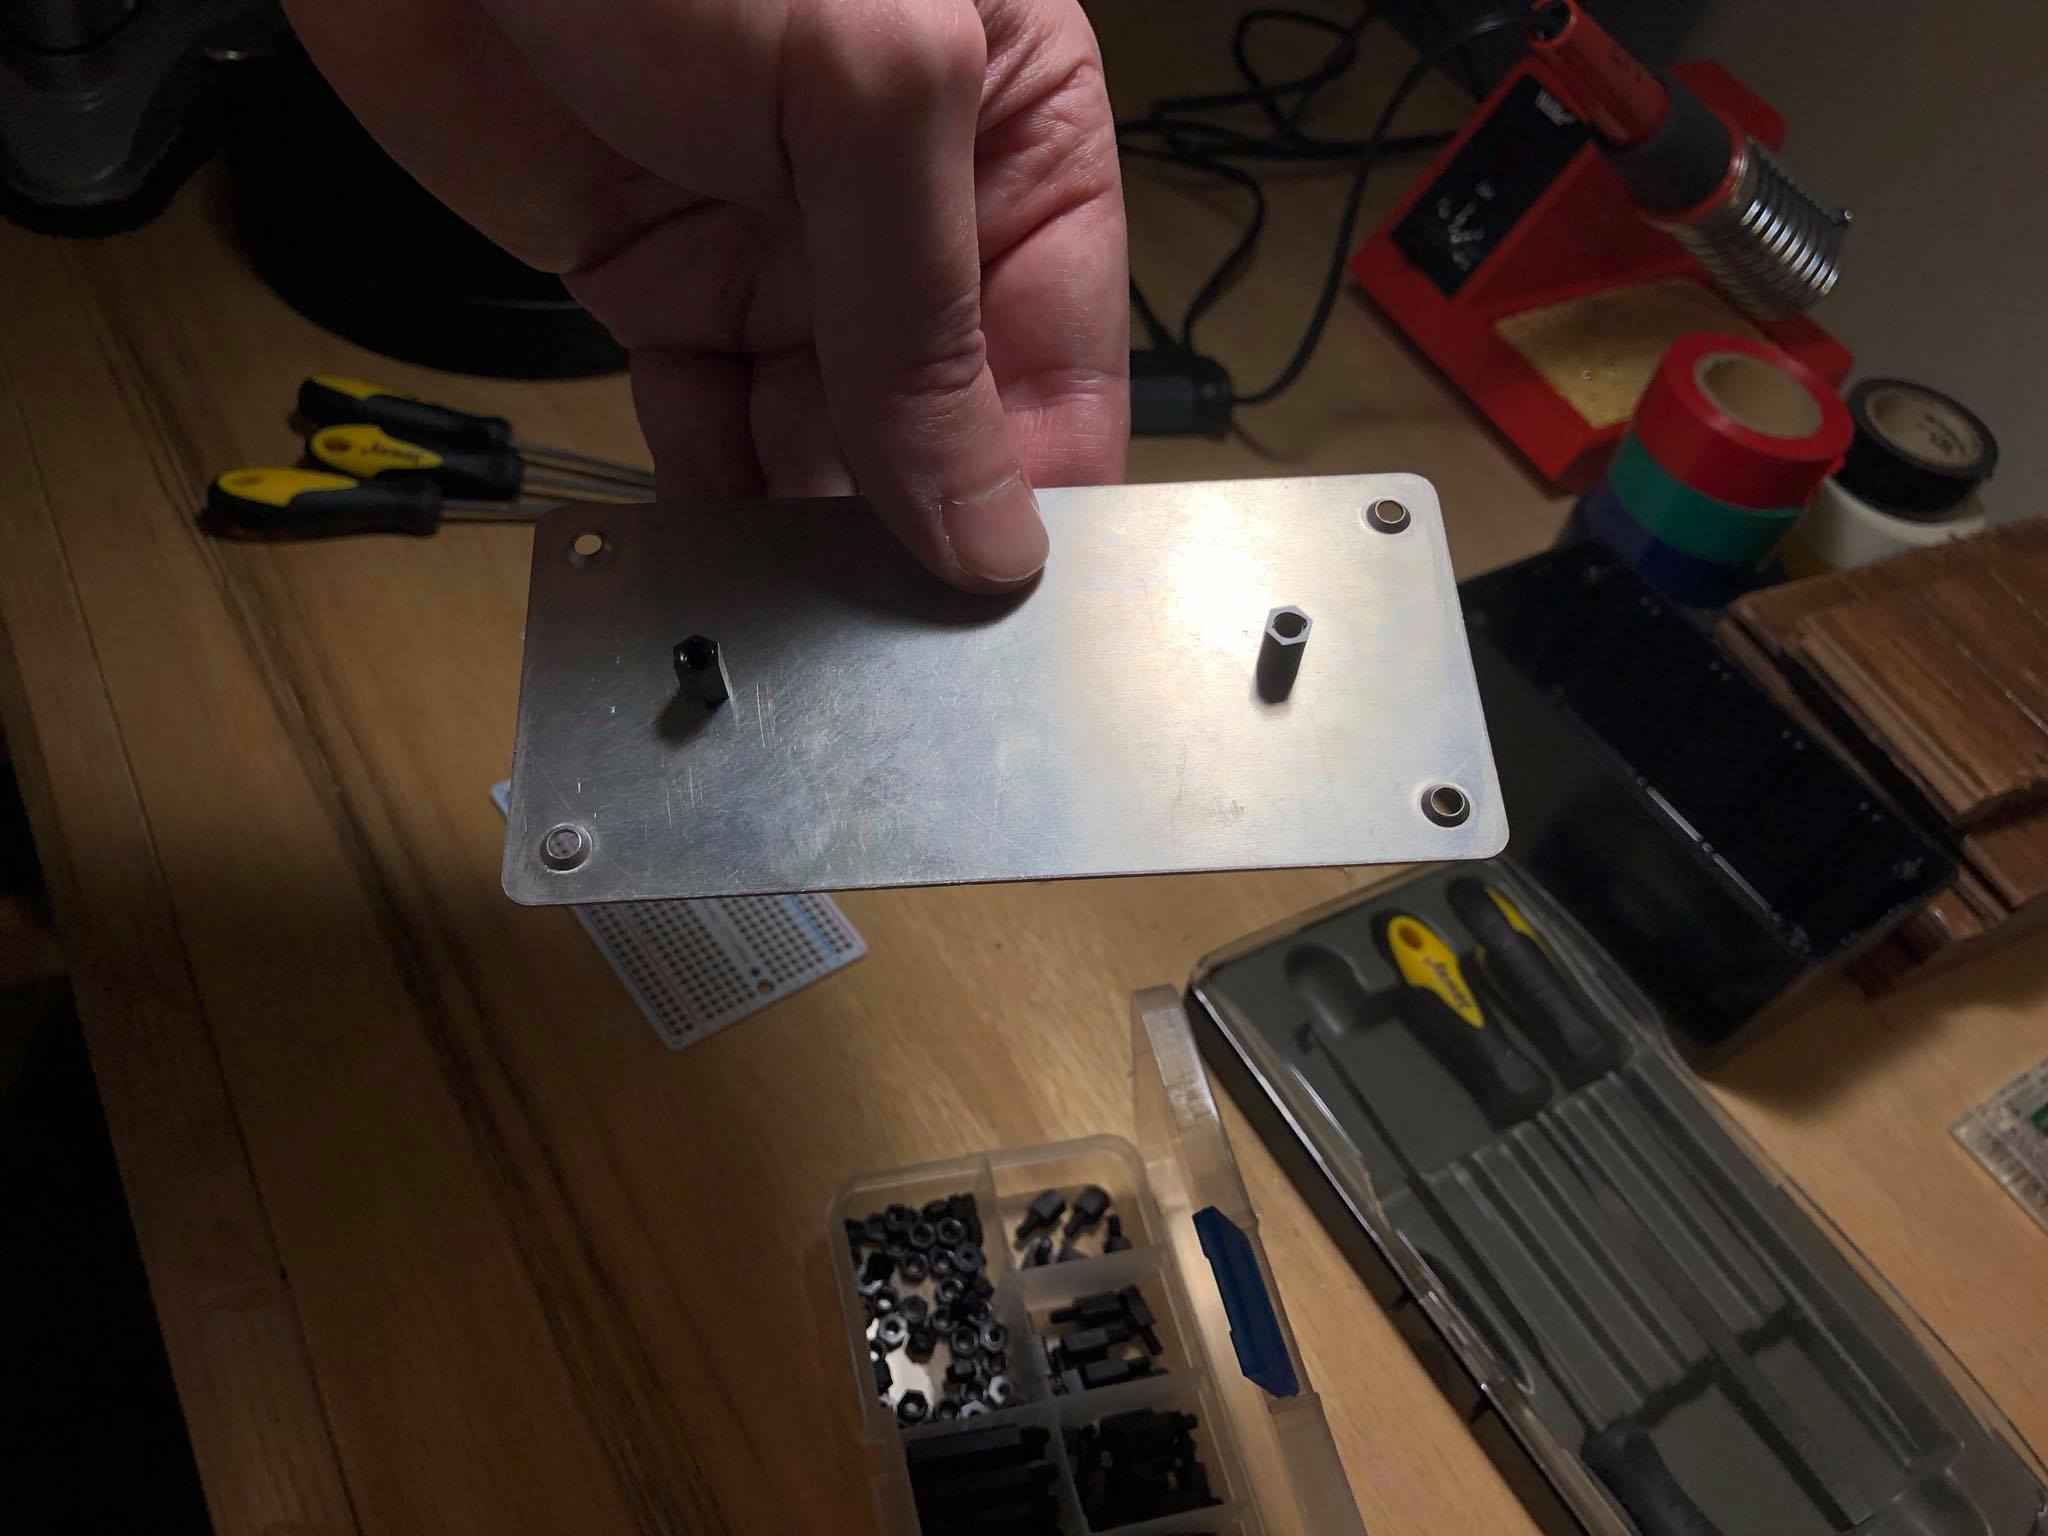
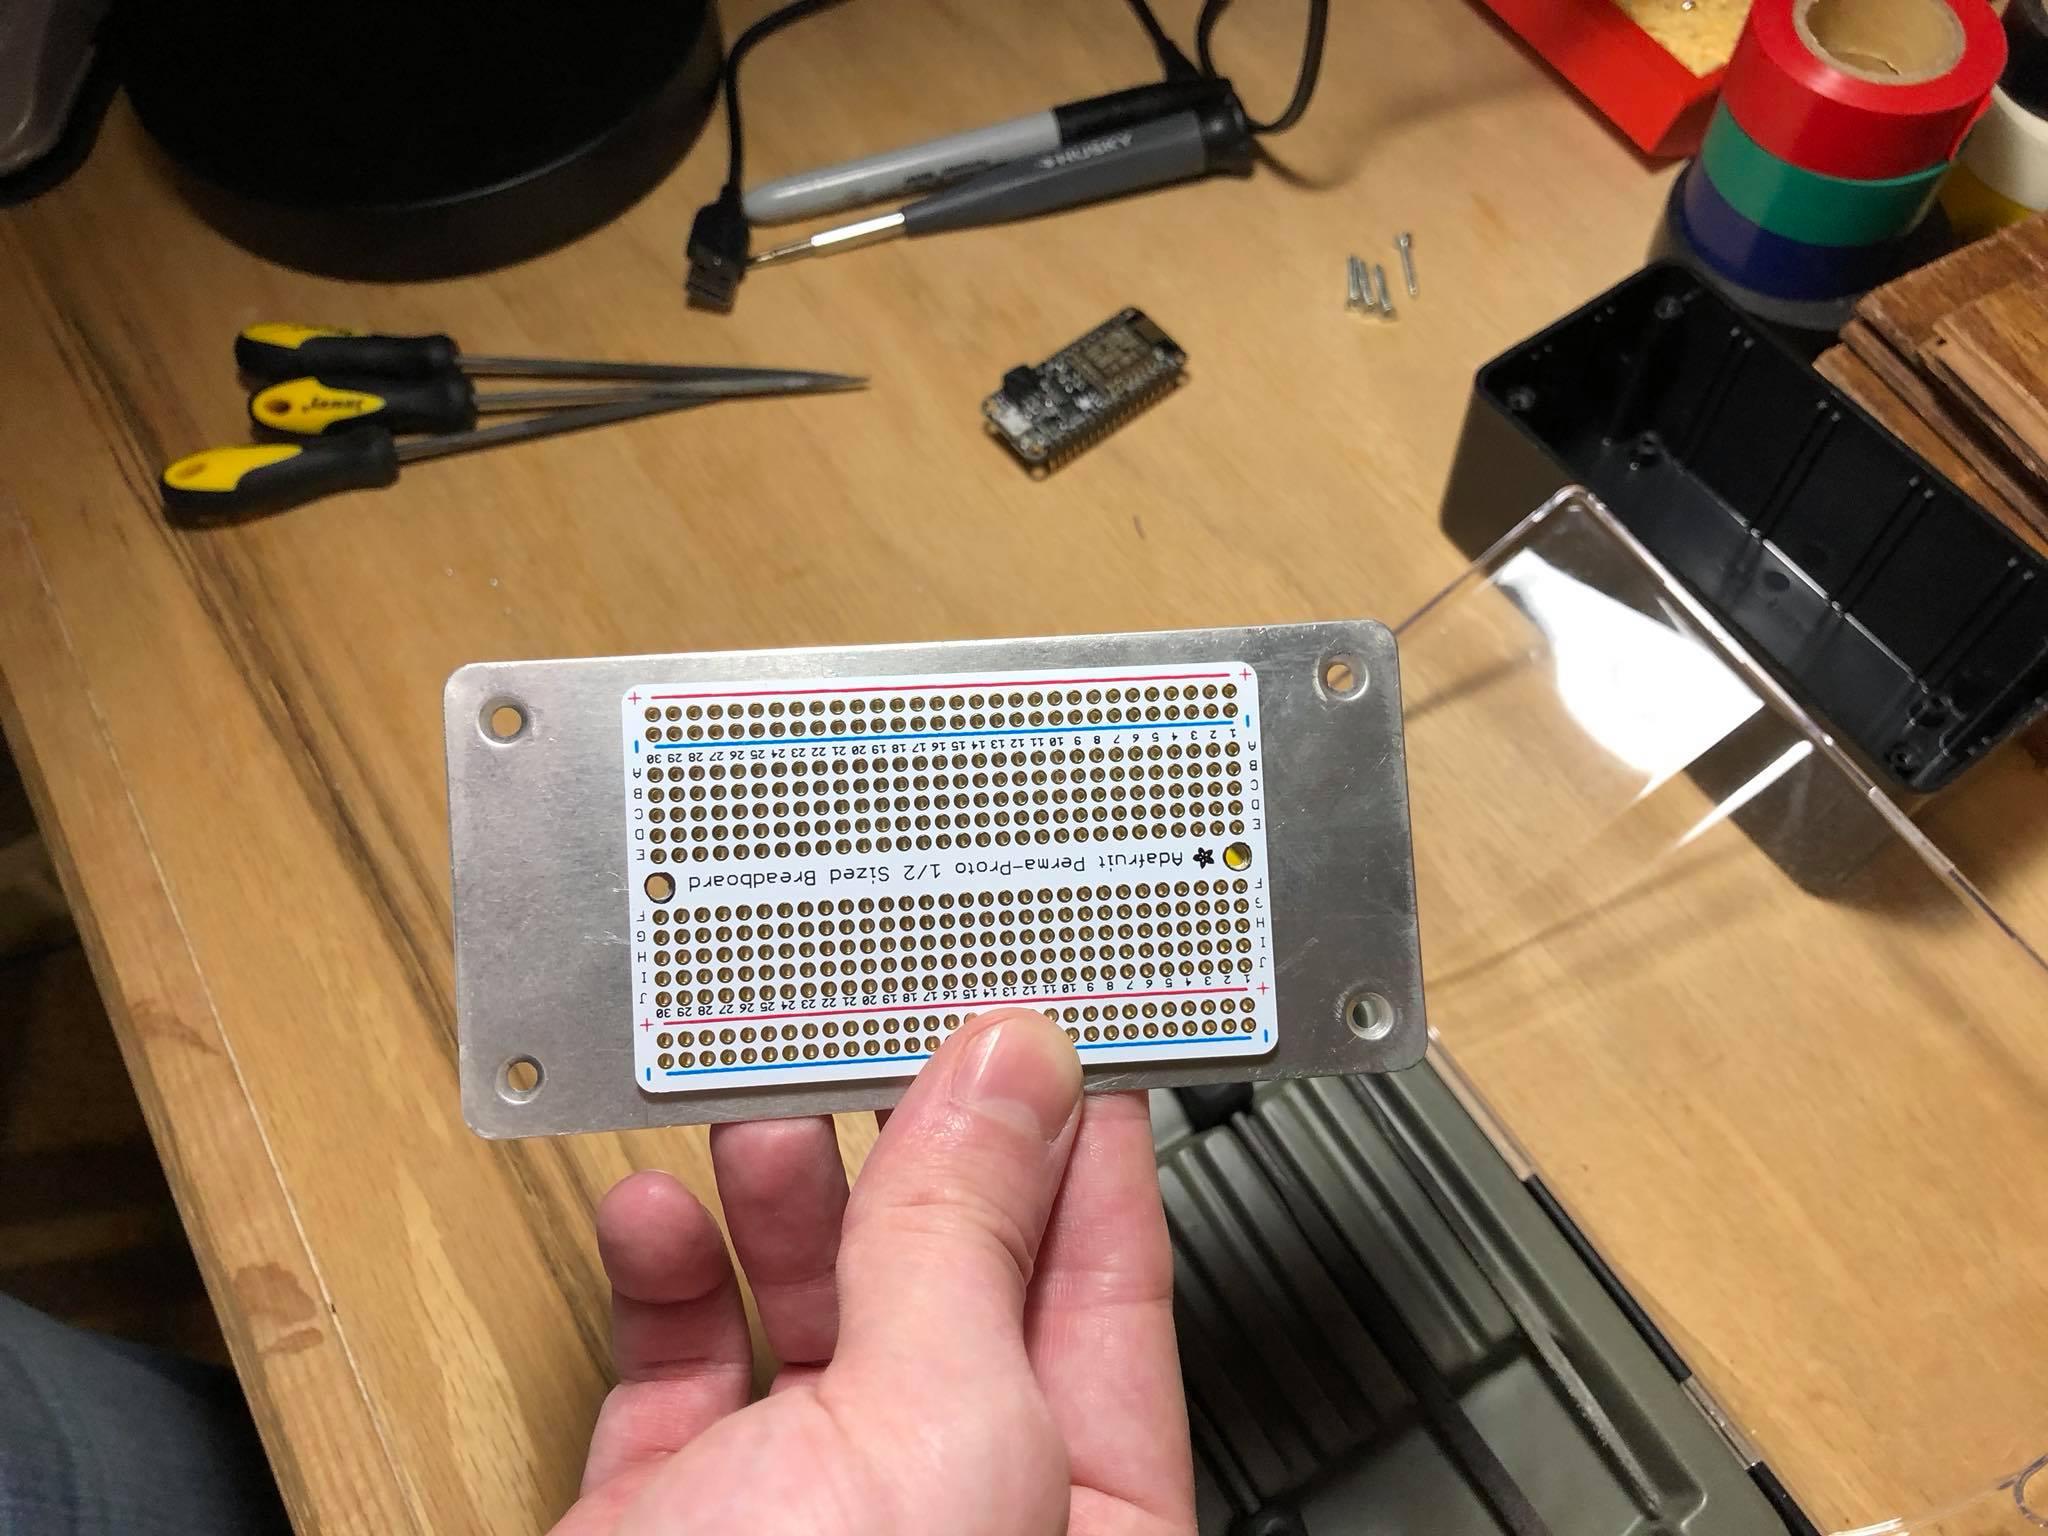
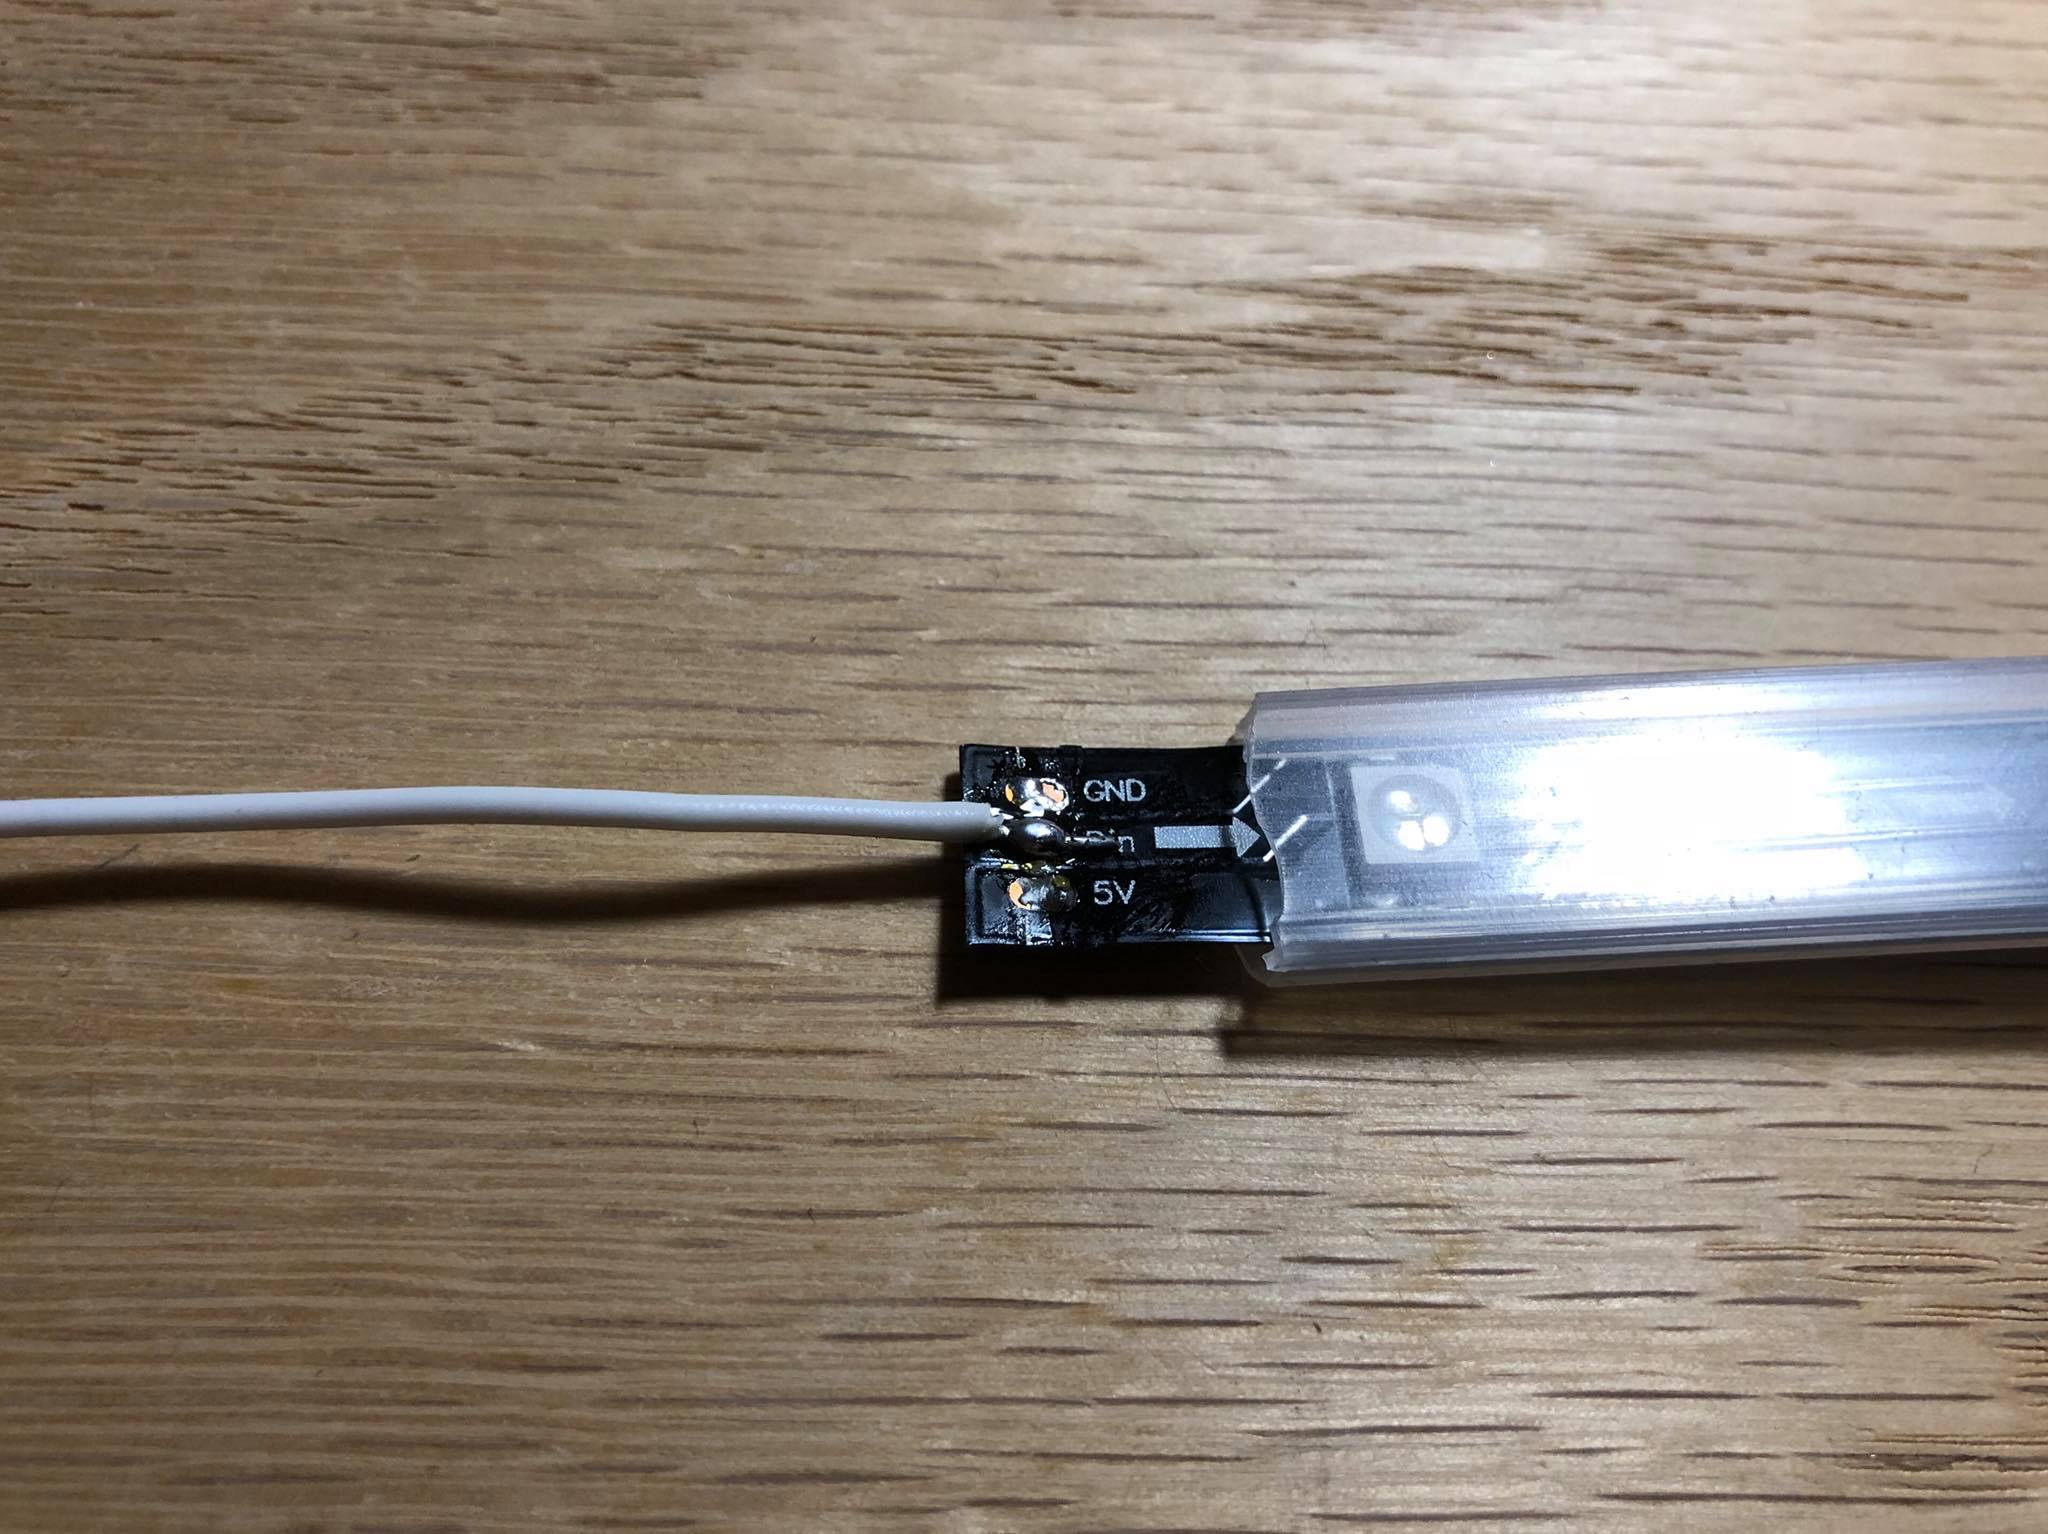
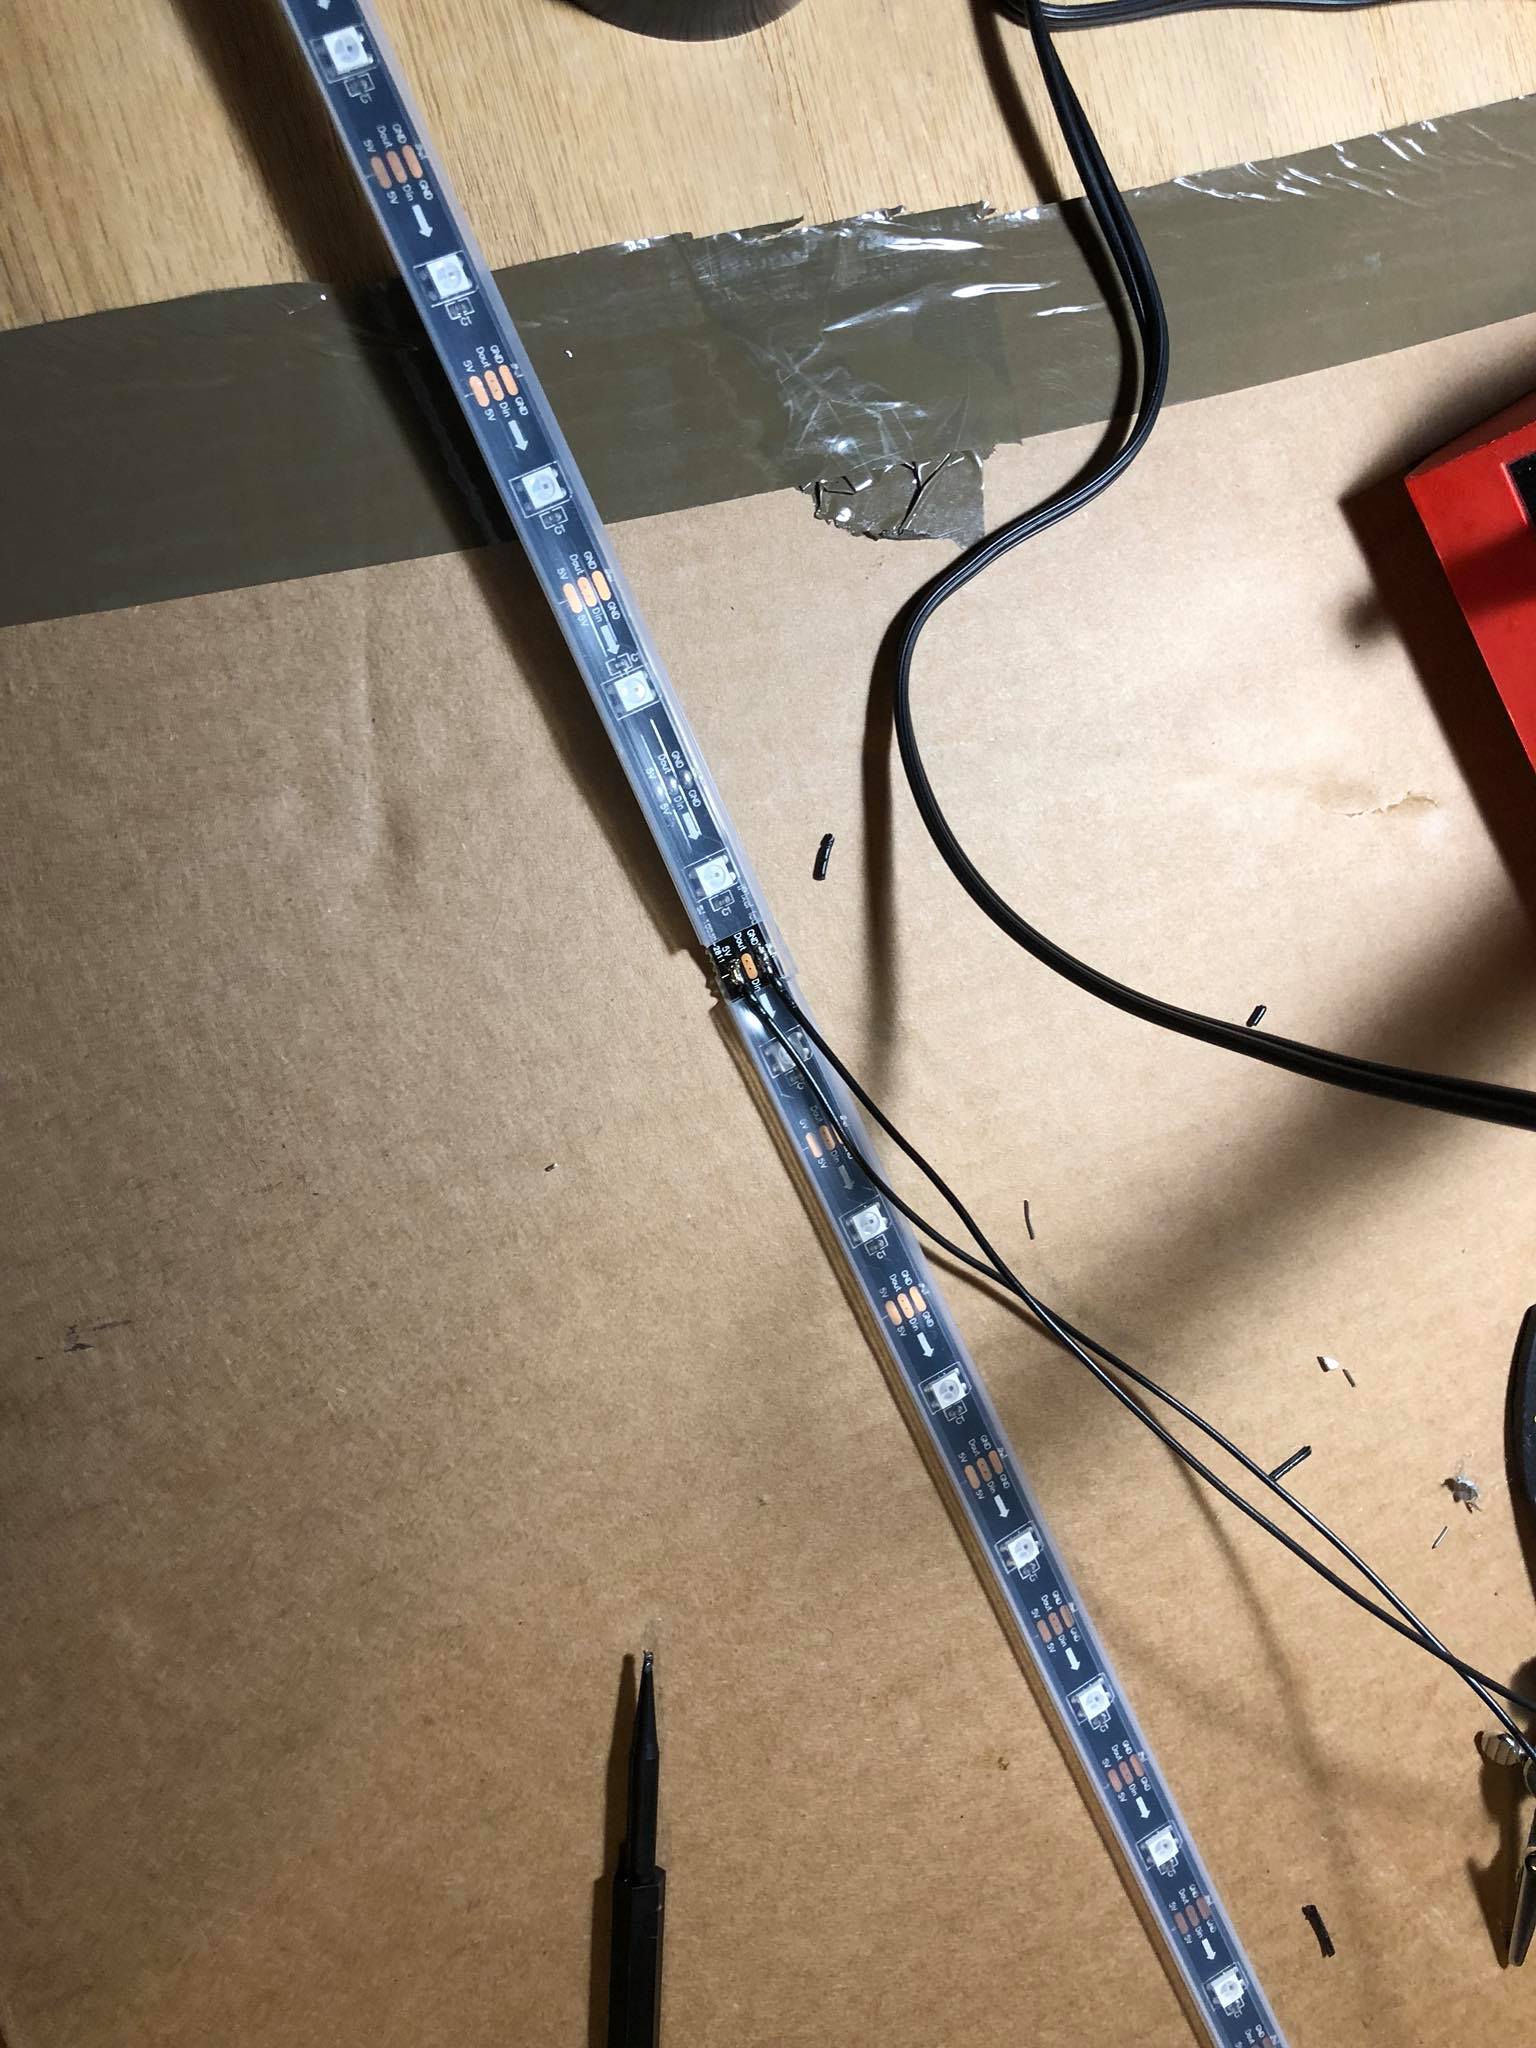
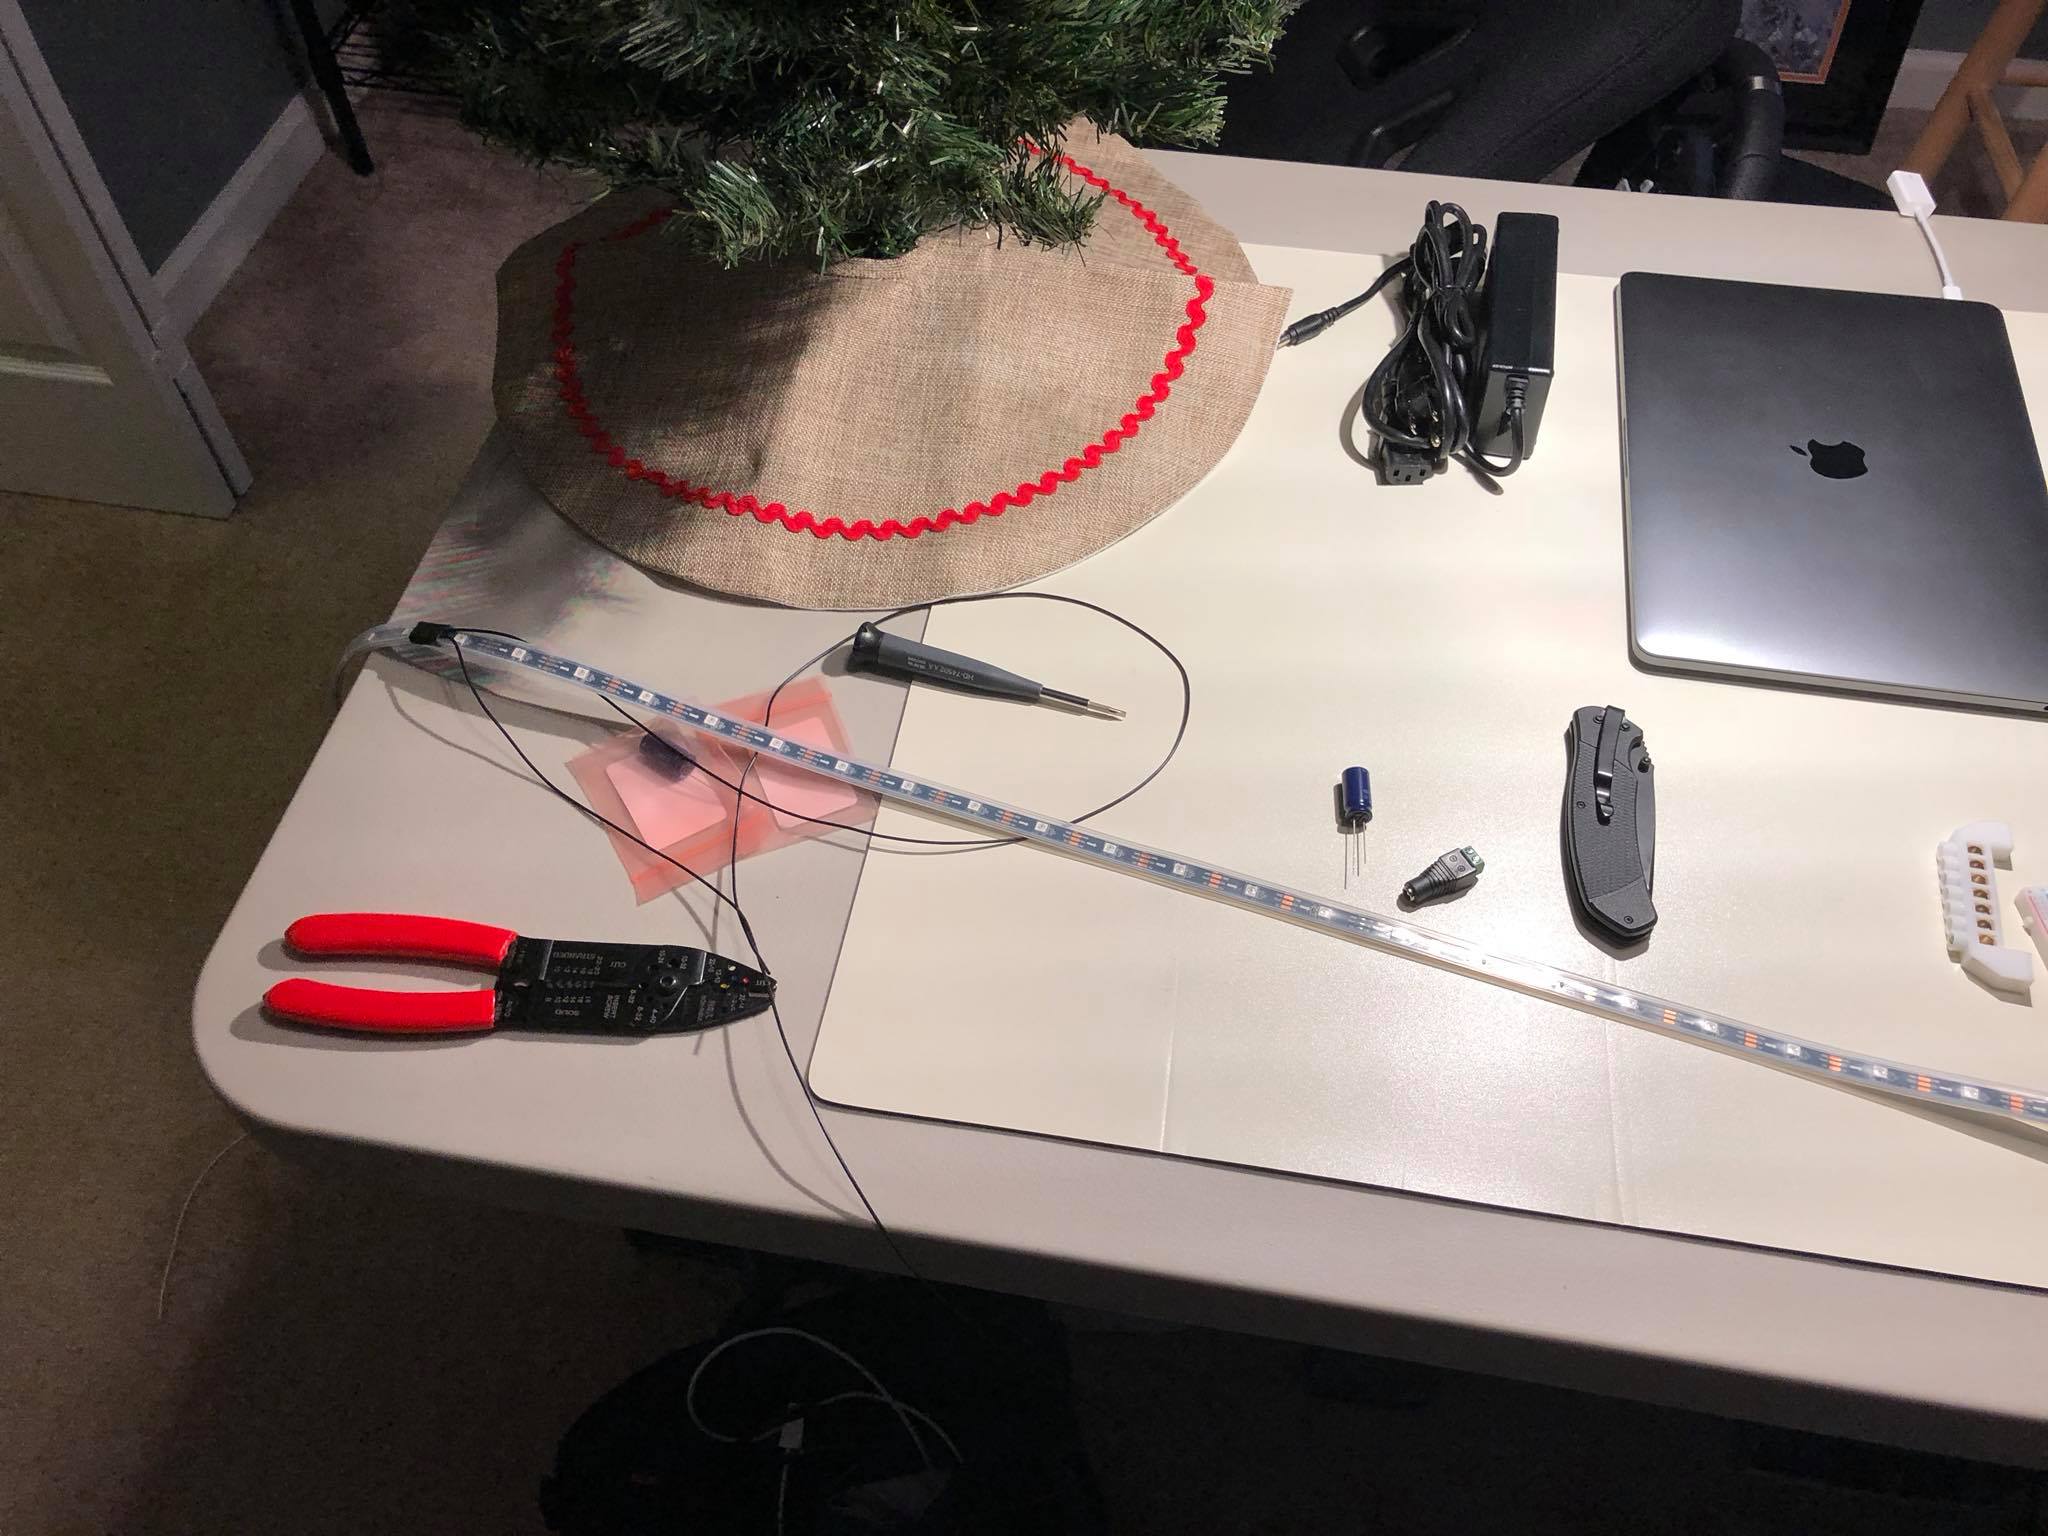
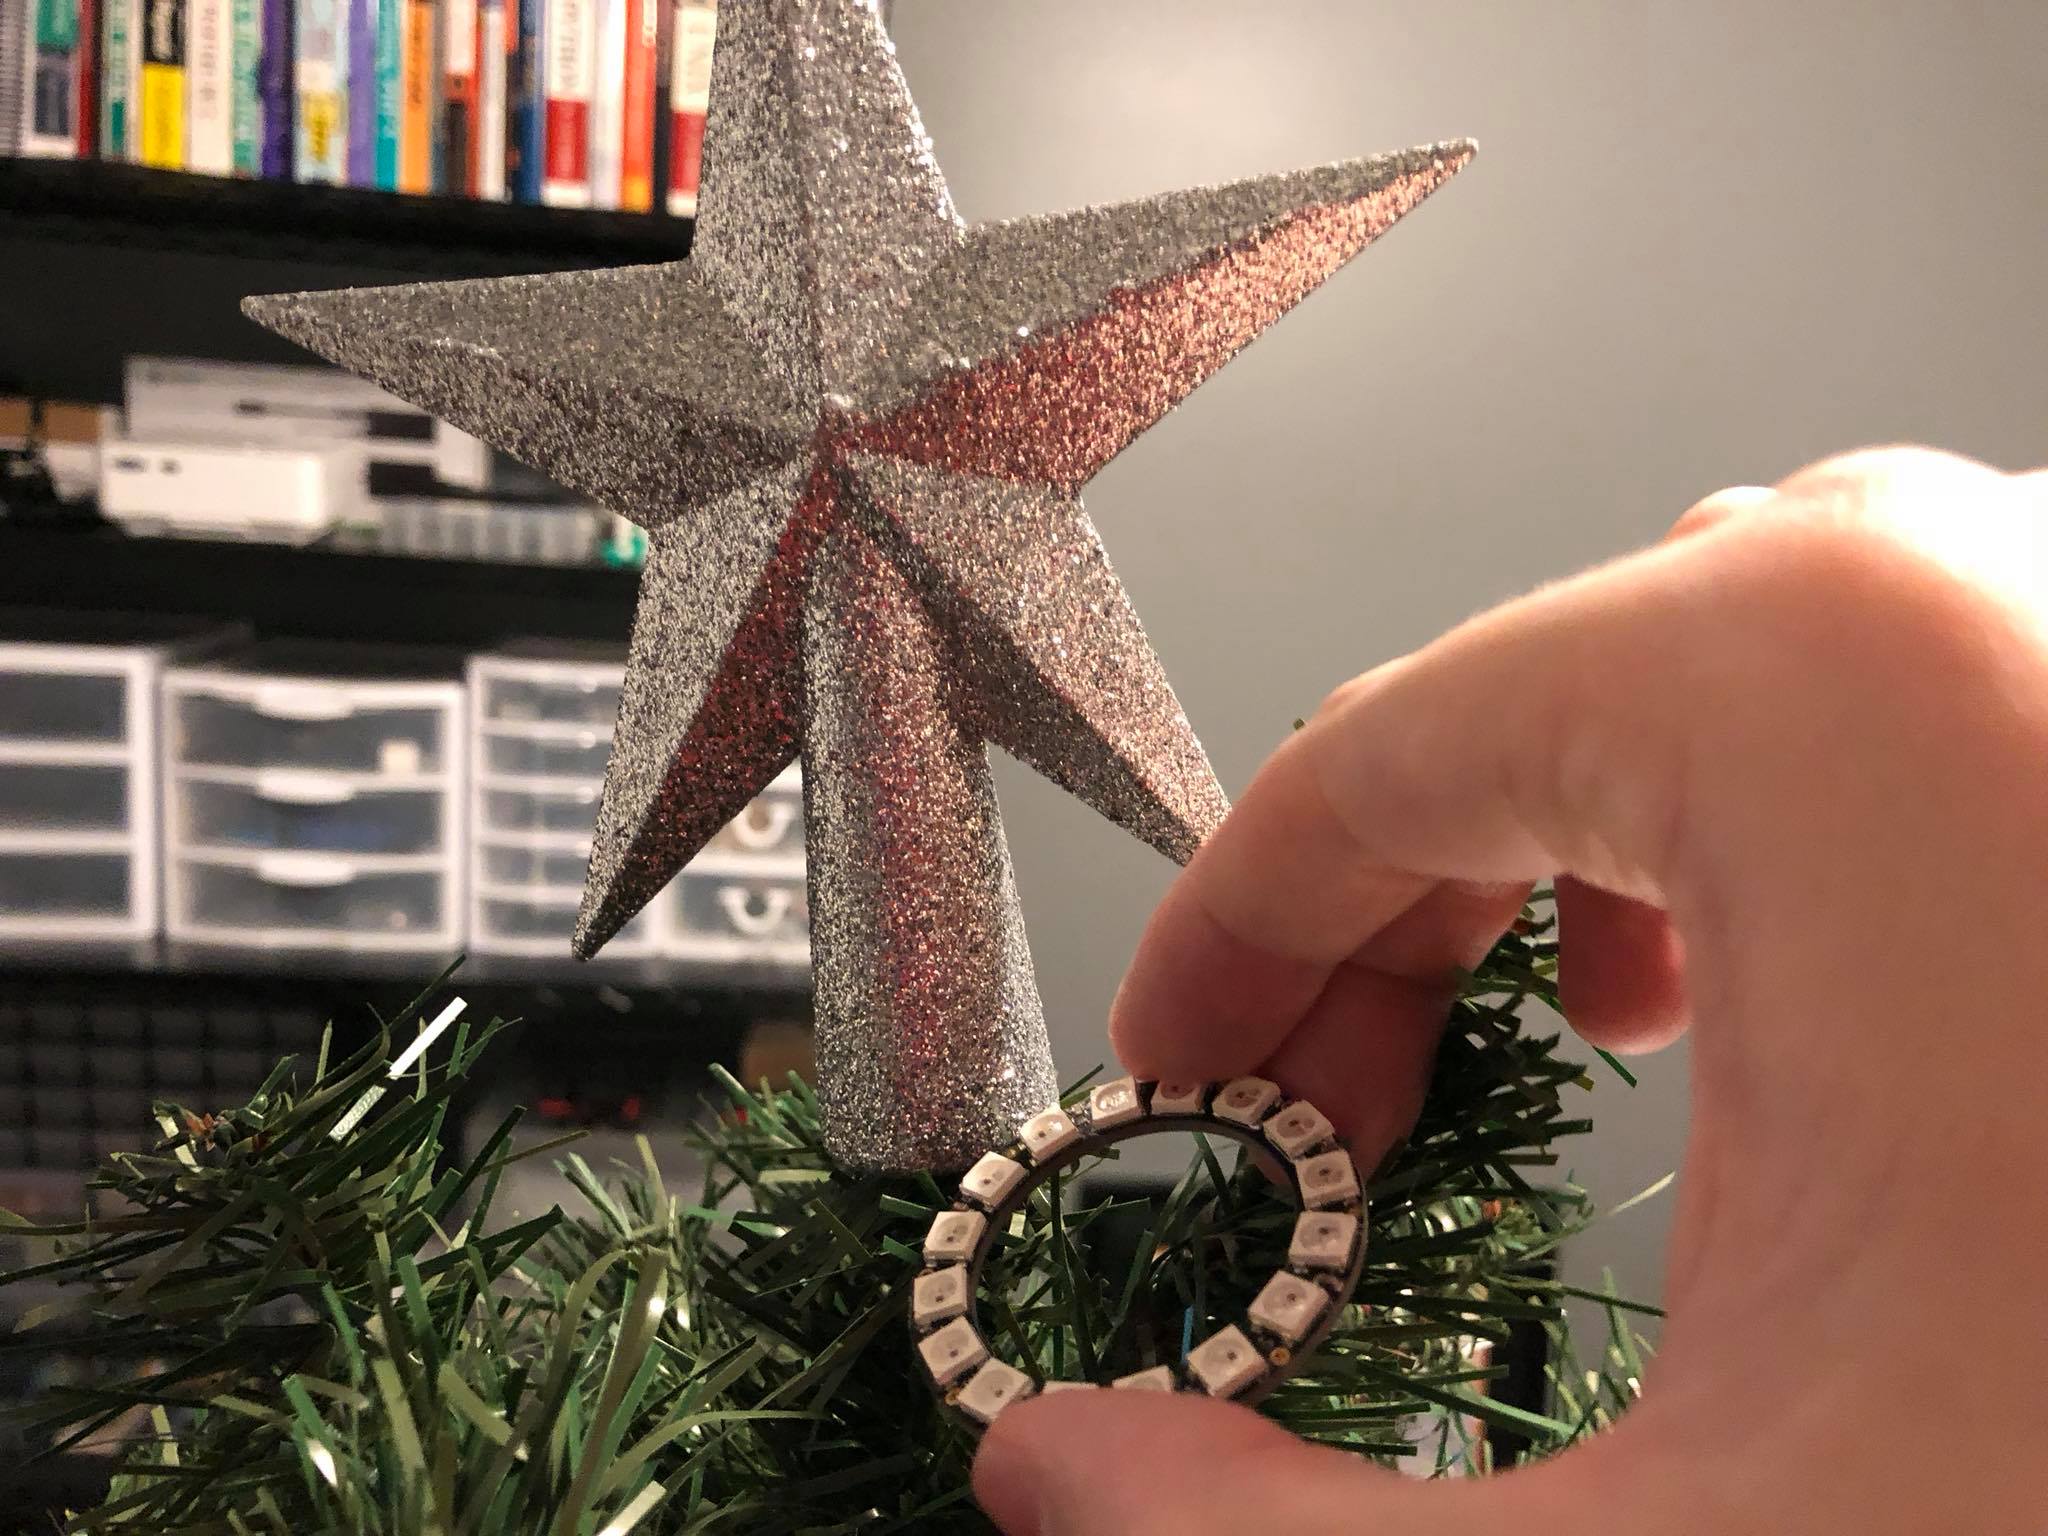
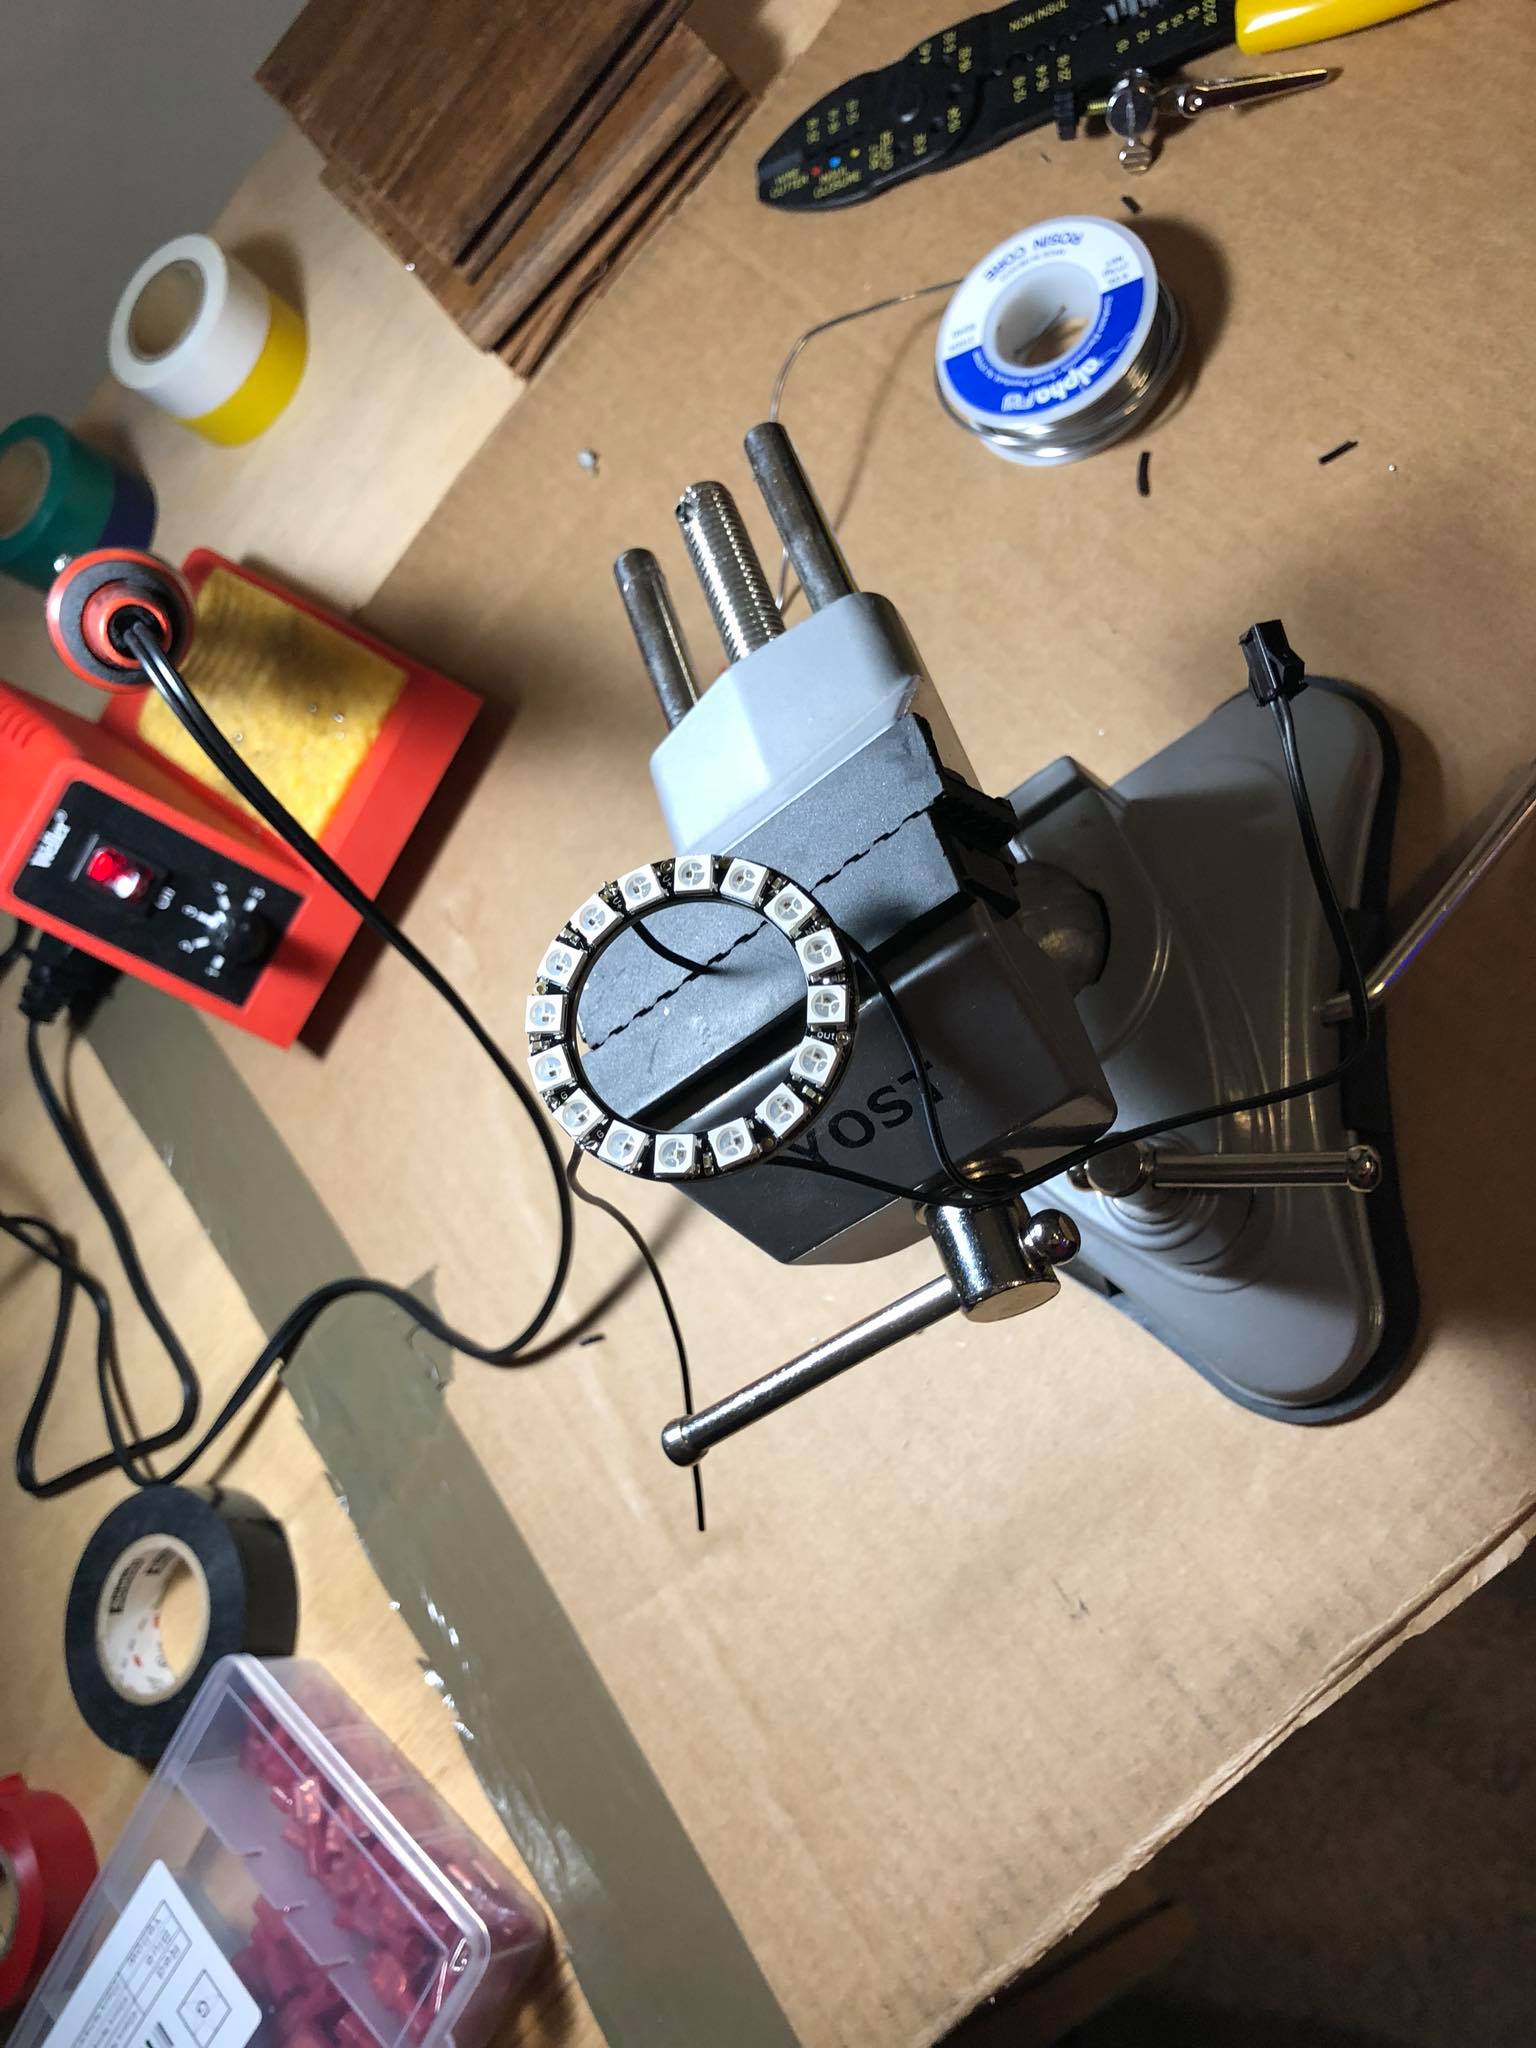
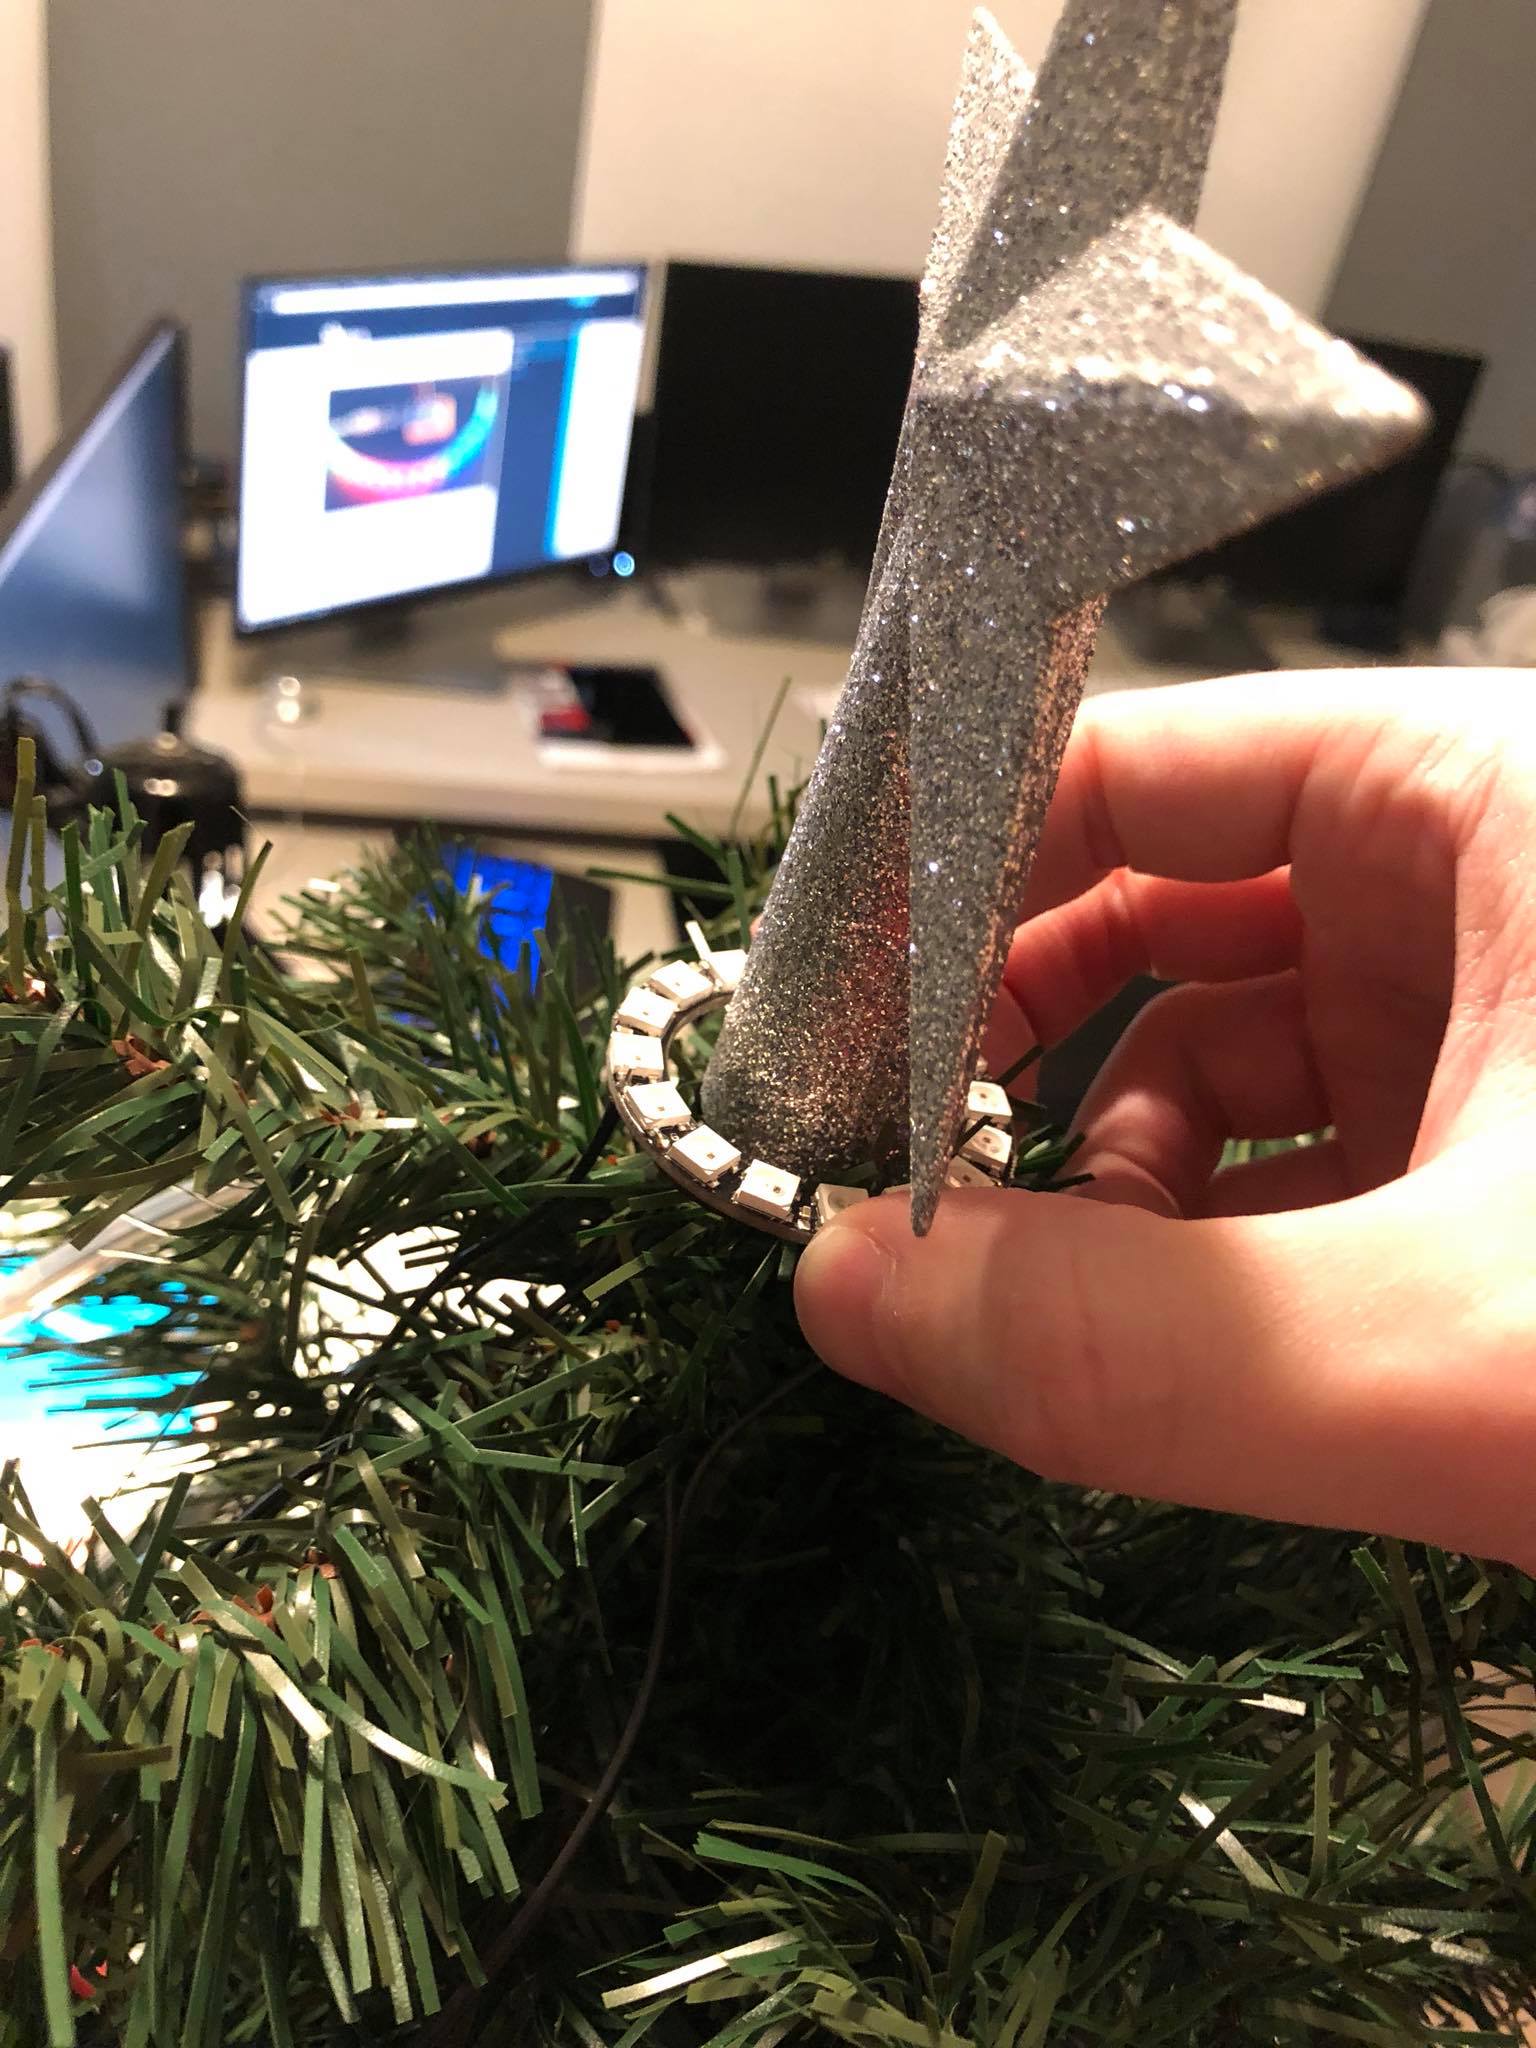
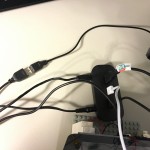
Wired up and runningWith the project box wrapped up like a presentThe housing for the NodeMCUTwo sets of power strands come from the NeoPixels into the box. Both + and – are black to stay concealed.Wiring up the barrel connectorNodeMCU is attached to headersSoldering up the inline powerSoldering quick disconnects on the ring