
 Tanner's Website
I made public tonight a repo I’ve had for a while that contains BeamNG experiments.
Before you ask "why" I'm going to go ahead and ask "why not". #Arduino #RaspberryPi pic.twitter.com/MVTJNCD7Ek
— Tanner Stokes (@TannerStokes) August 18, 2018
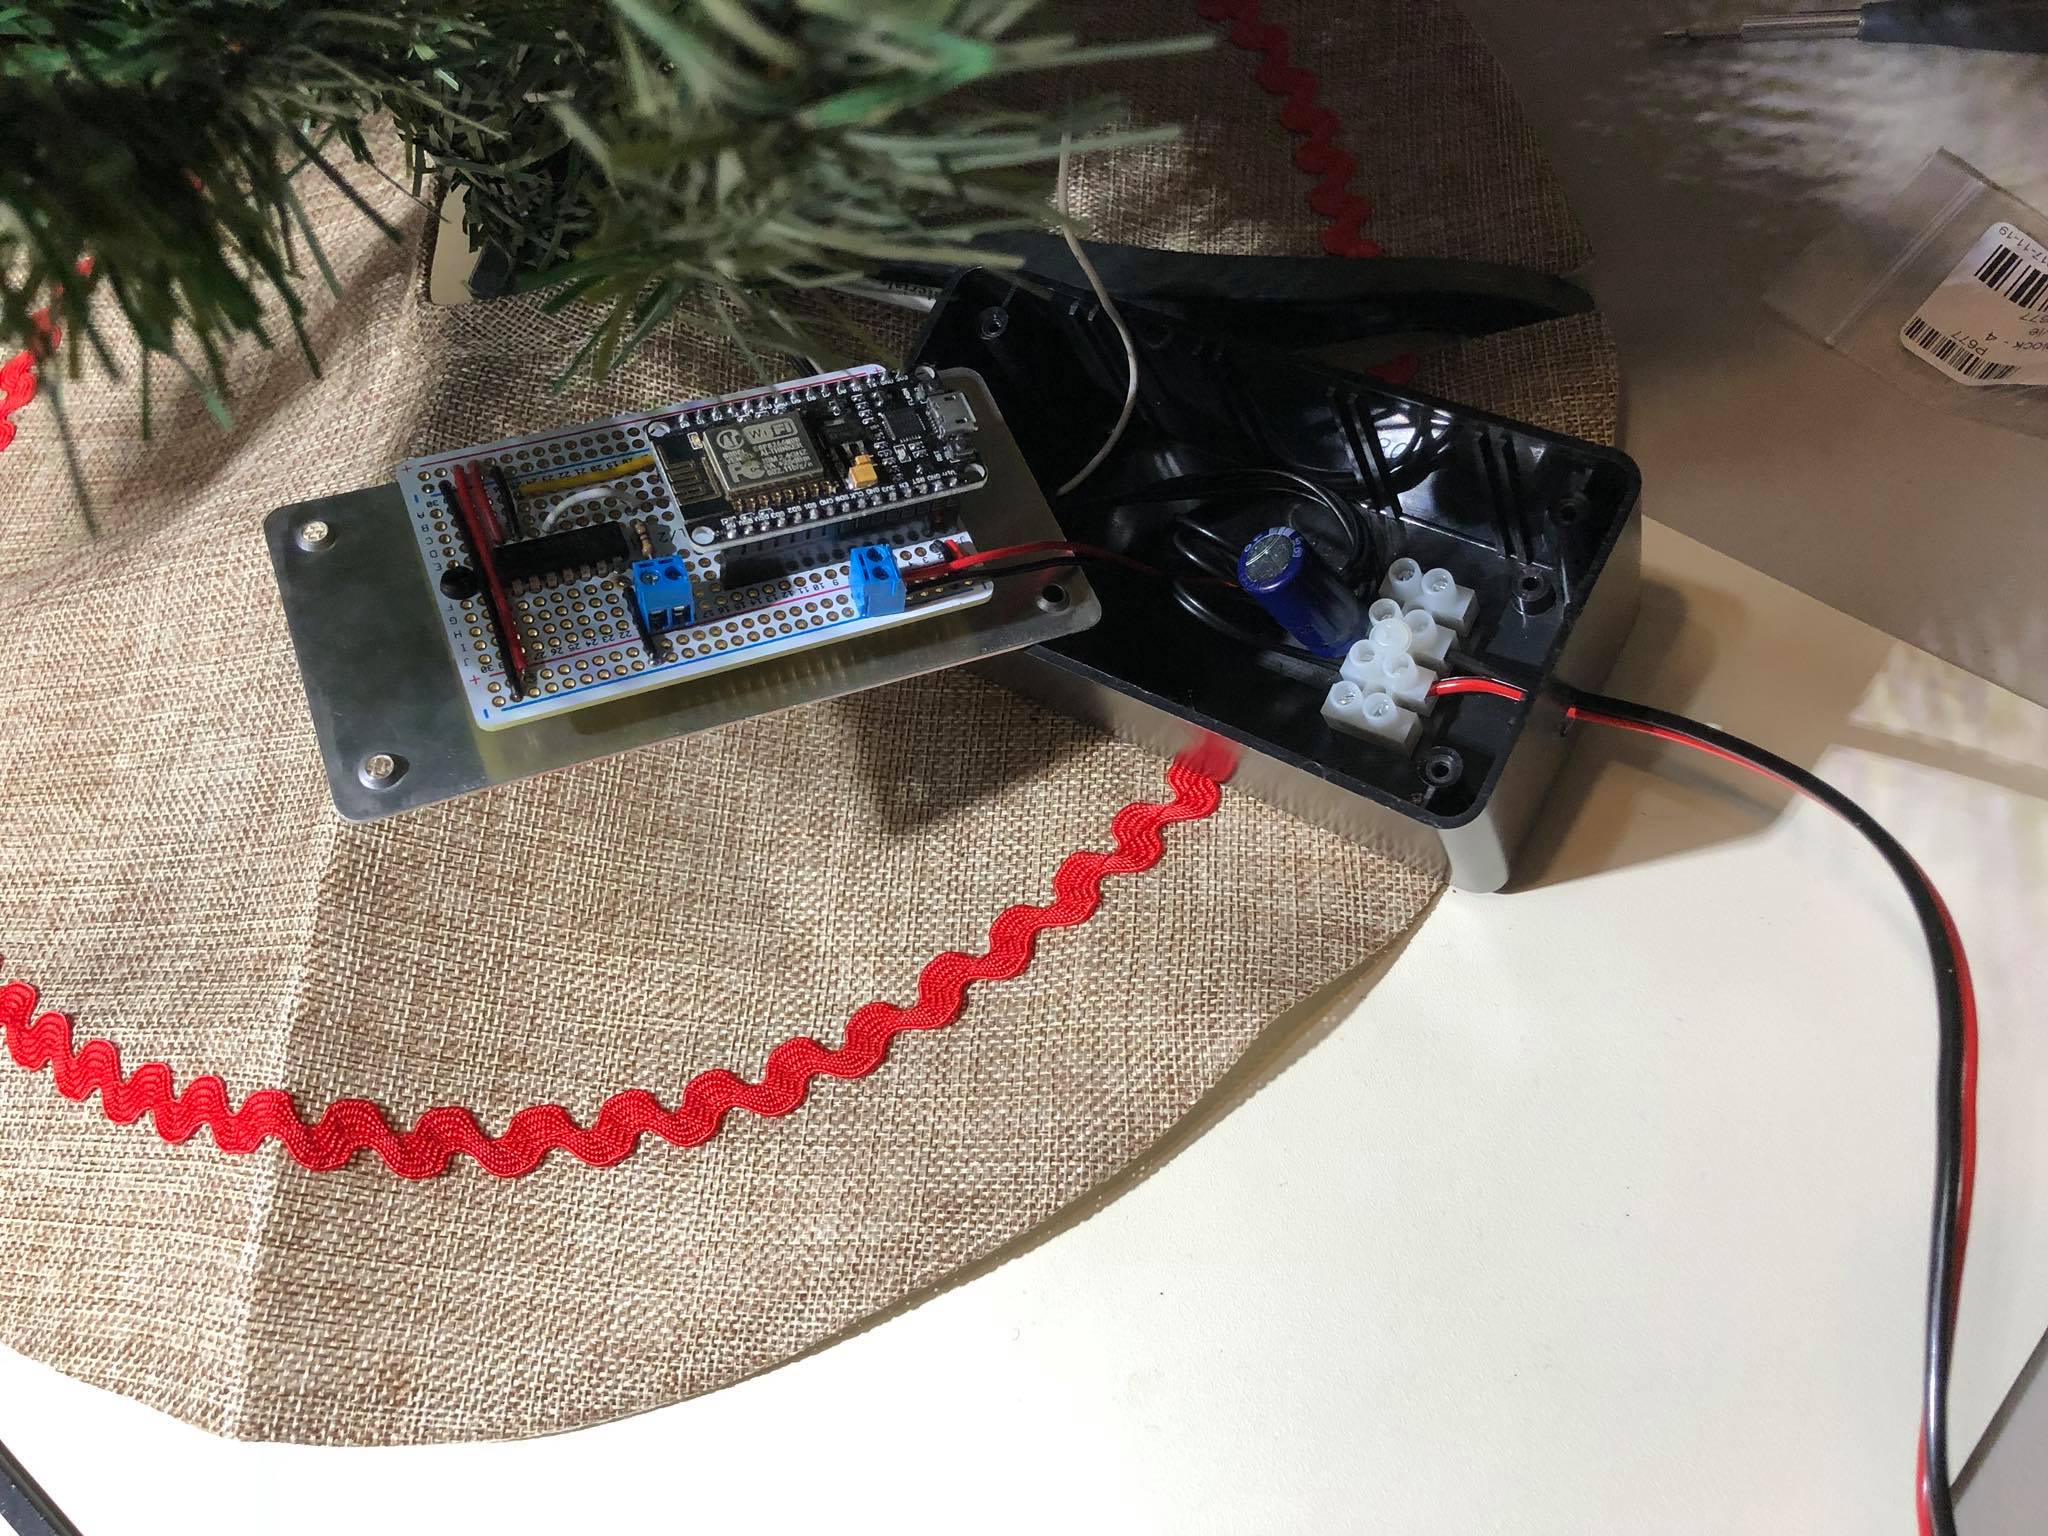
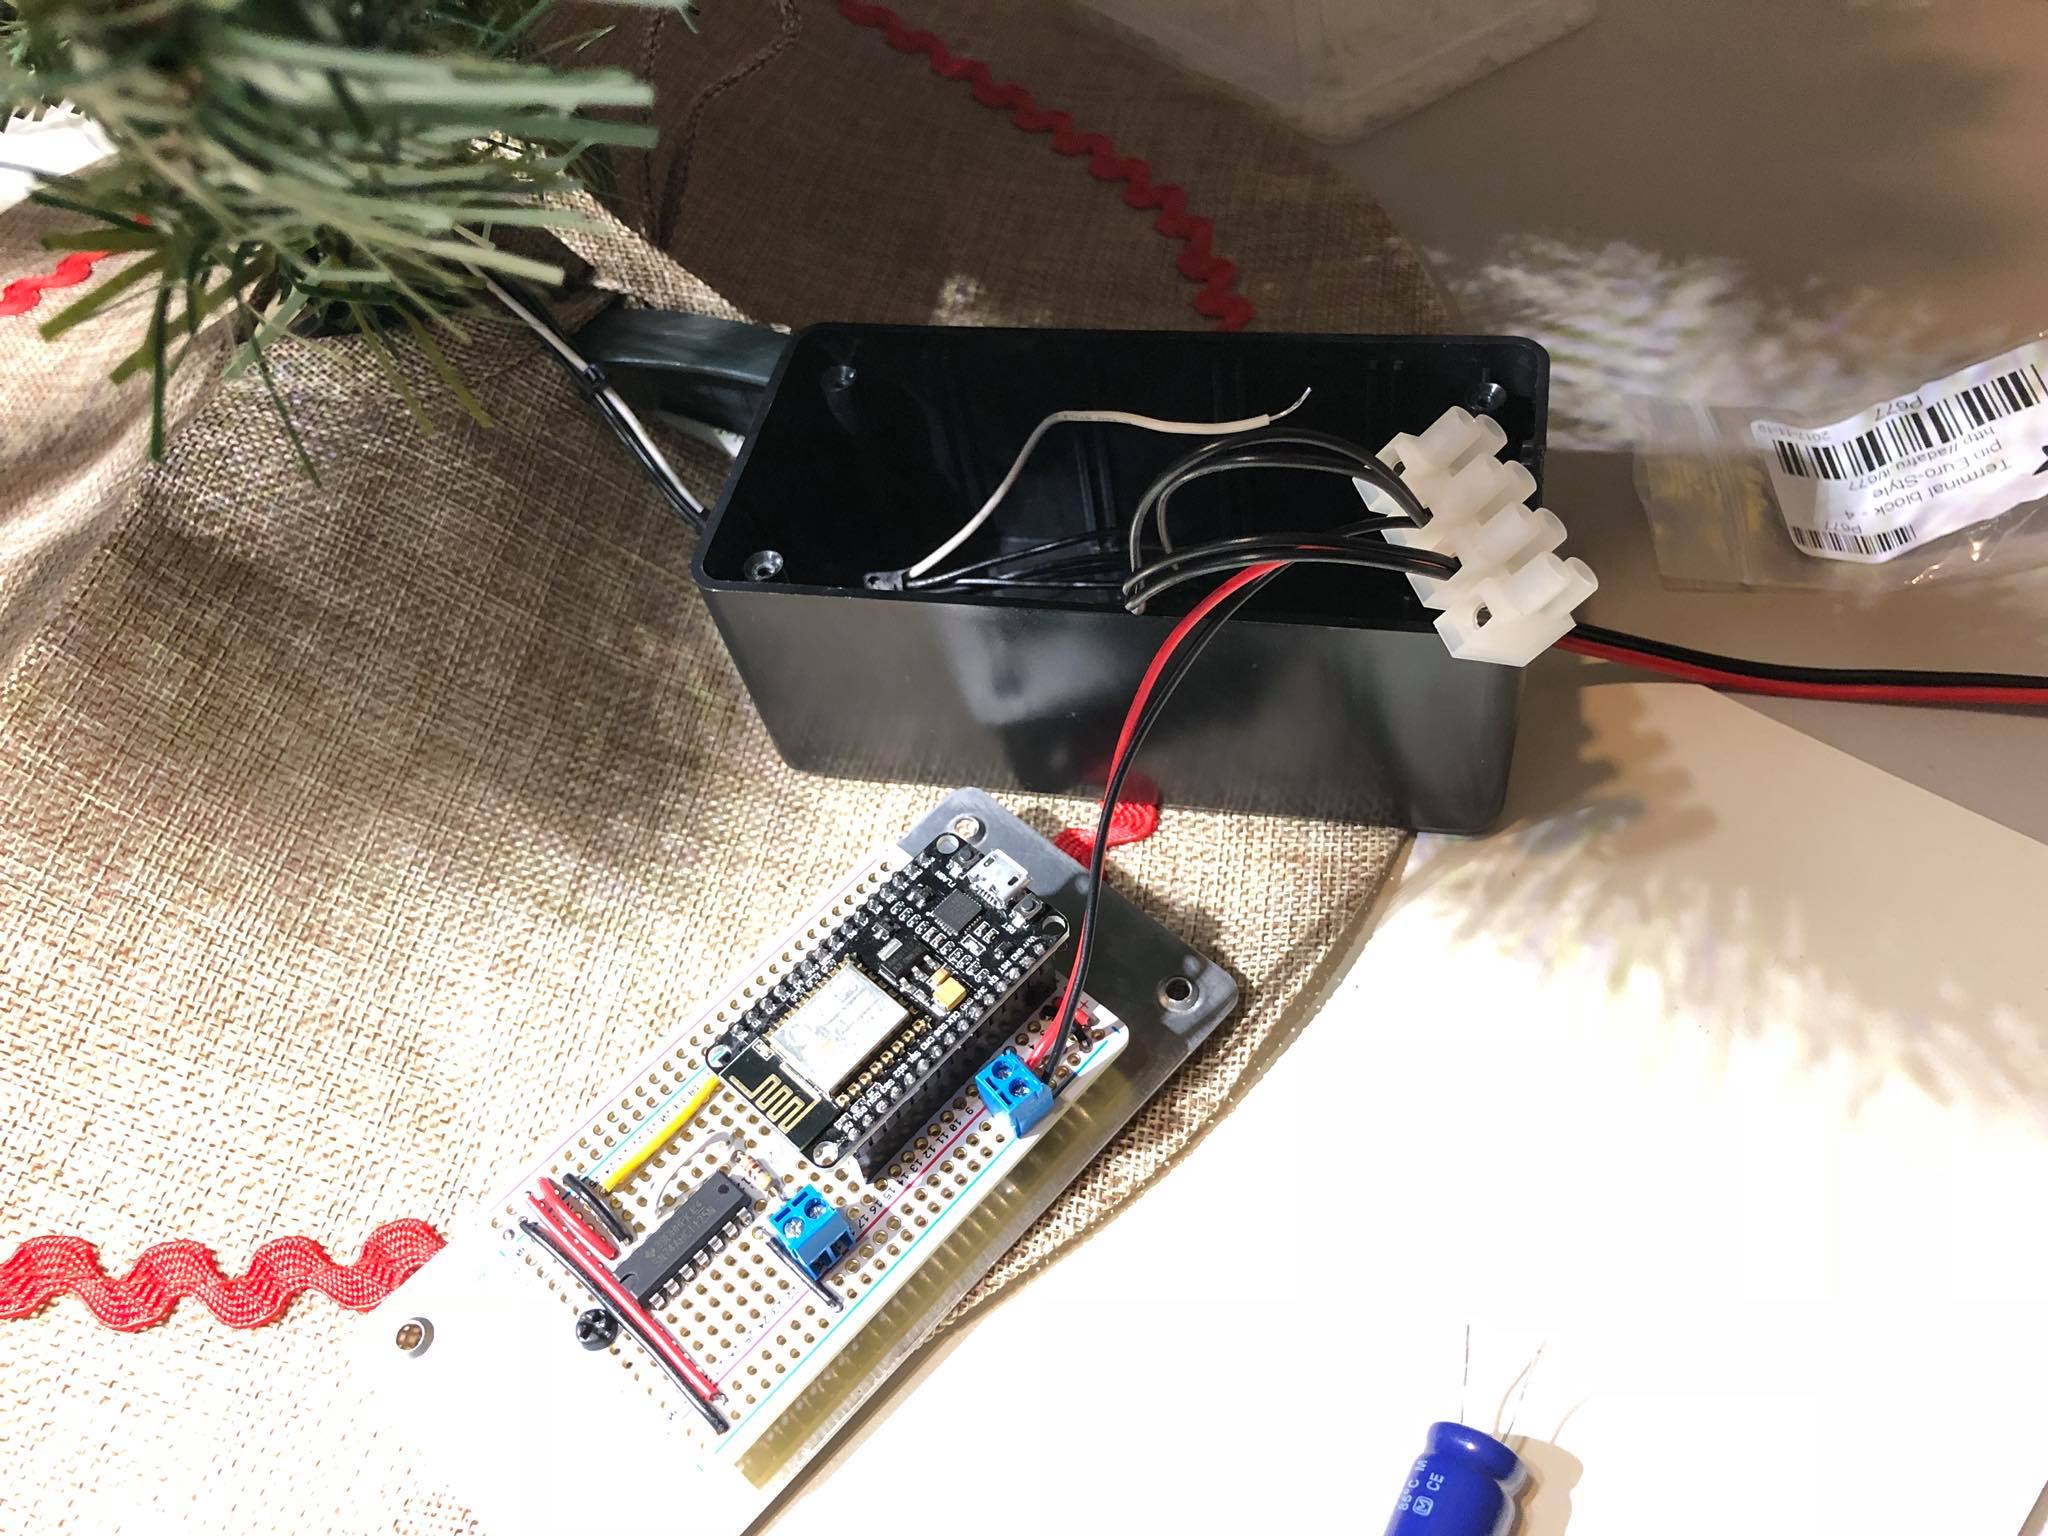
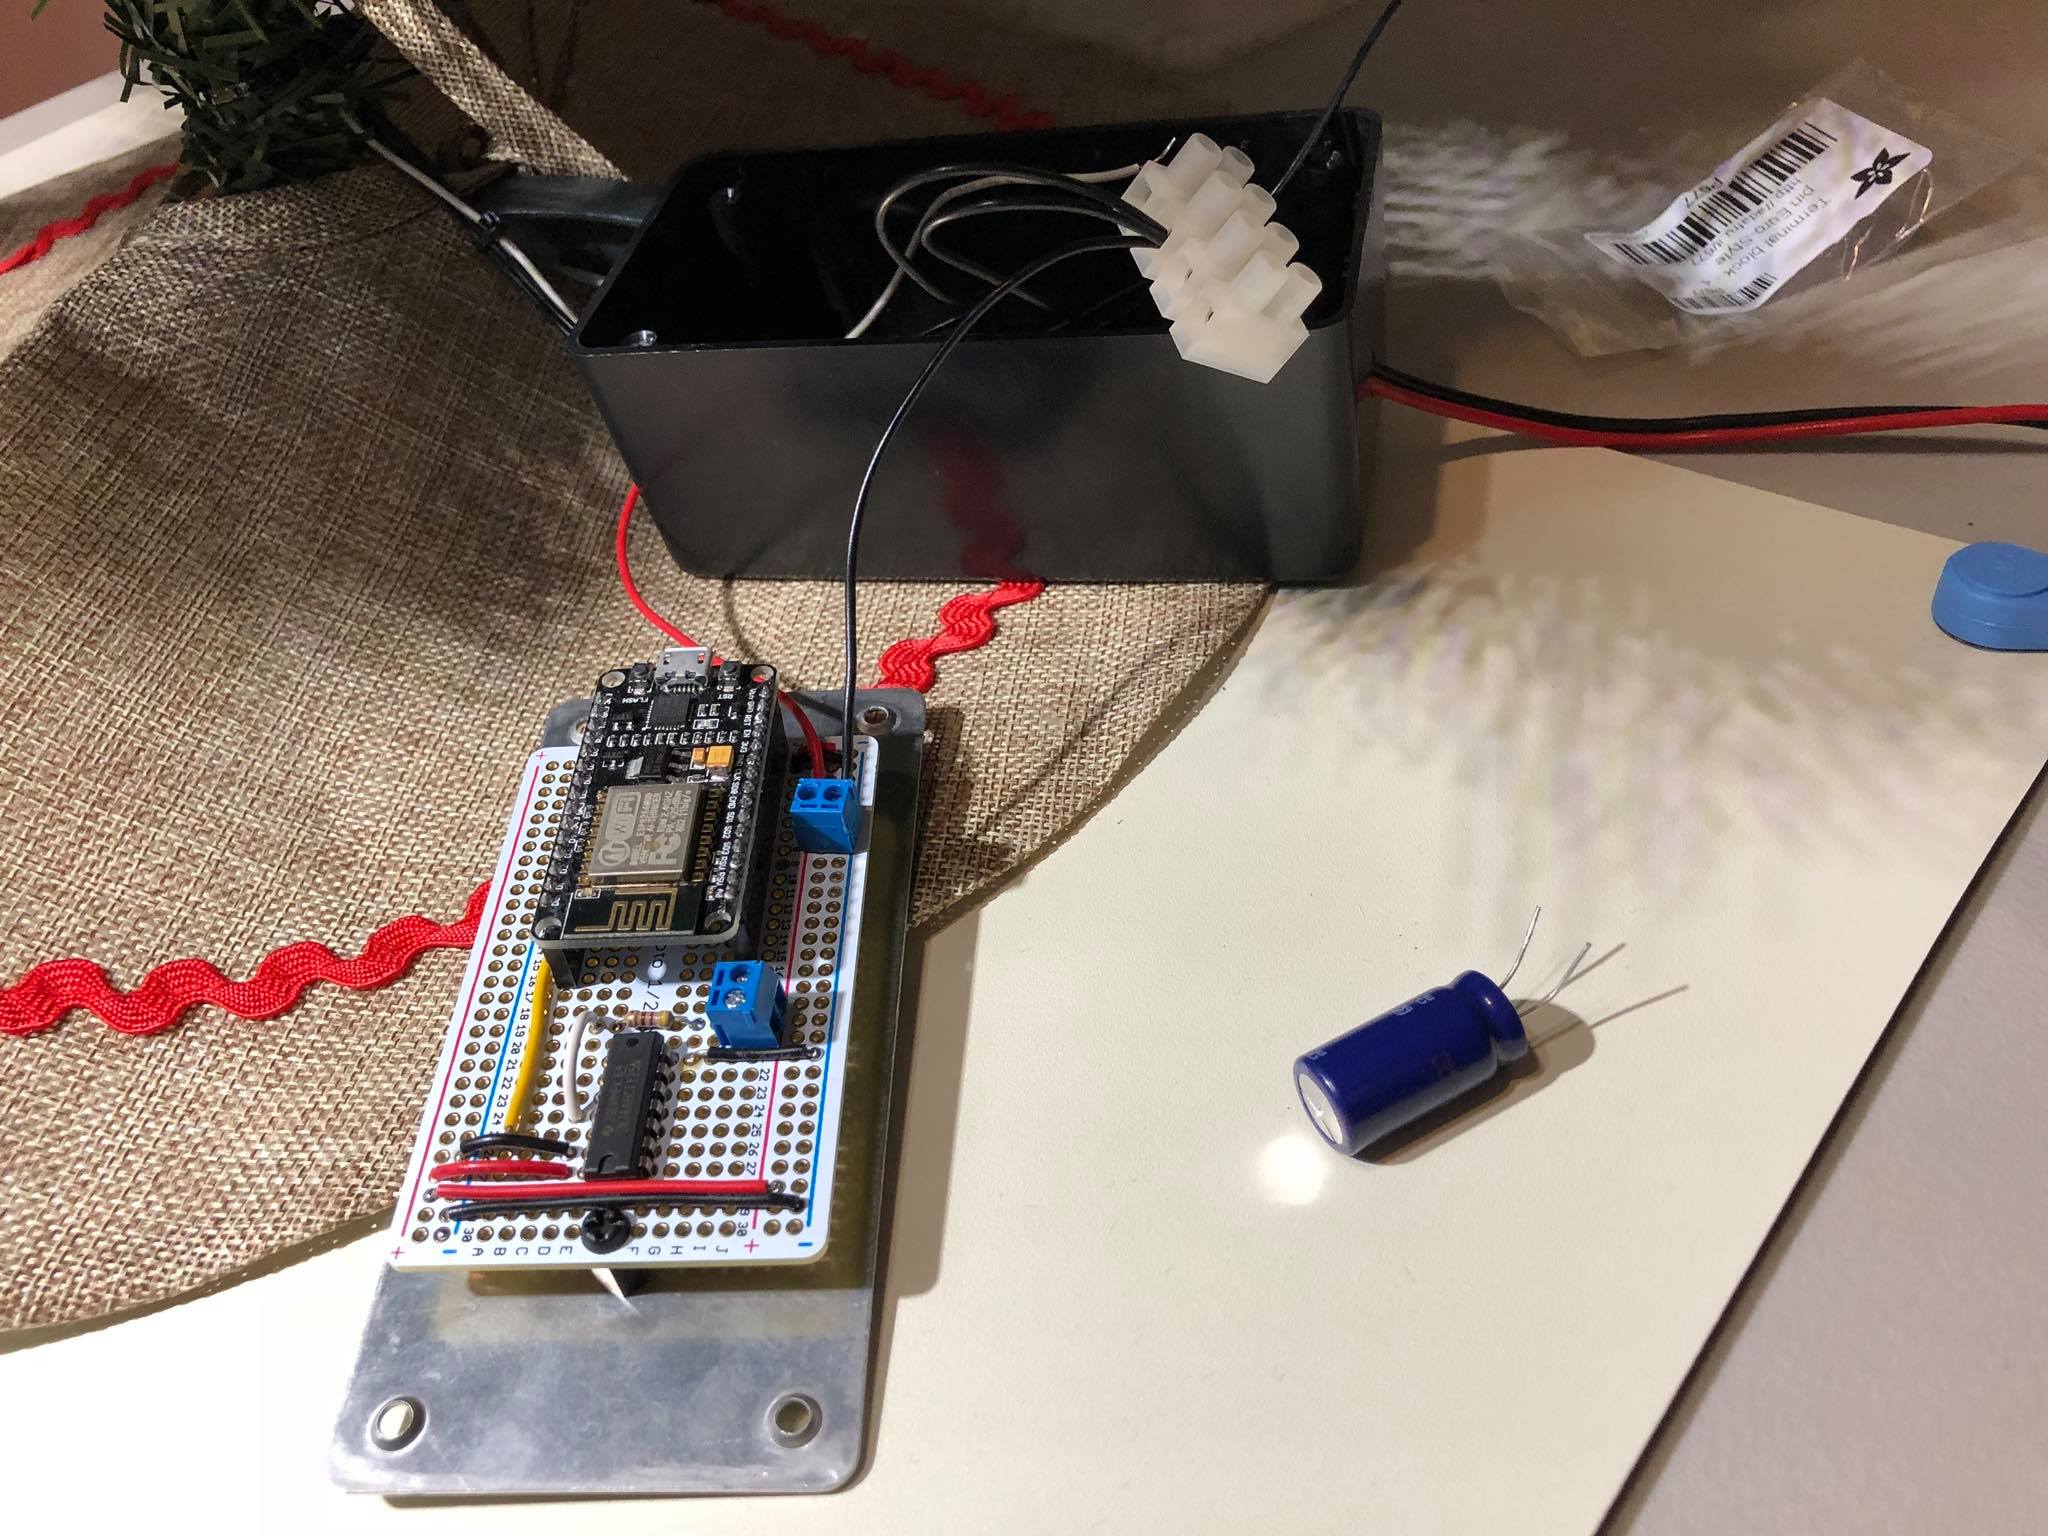
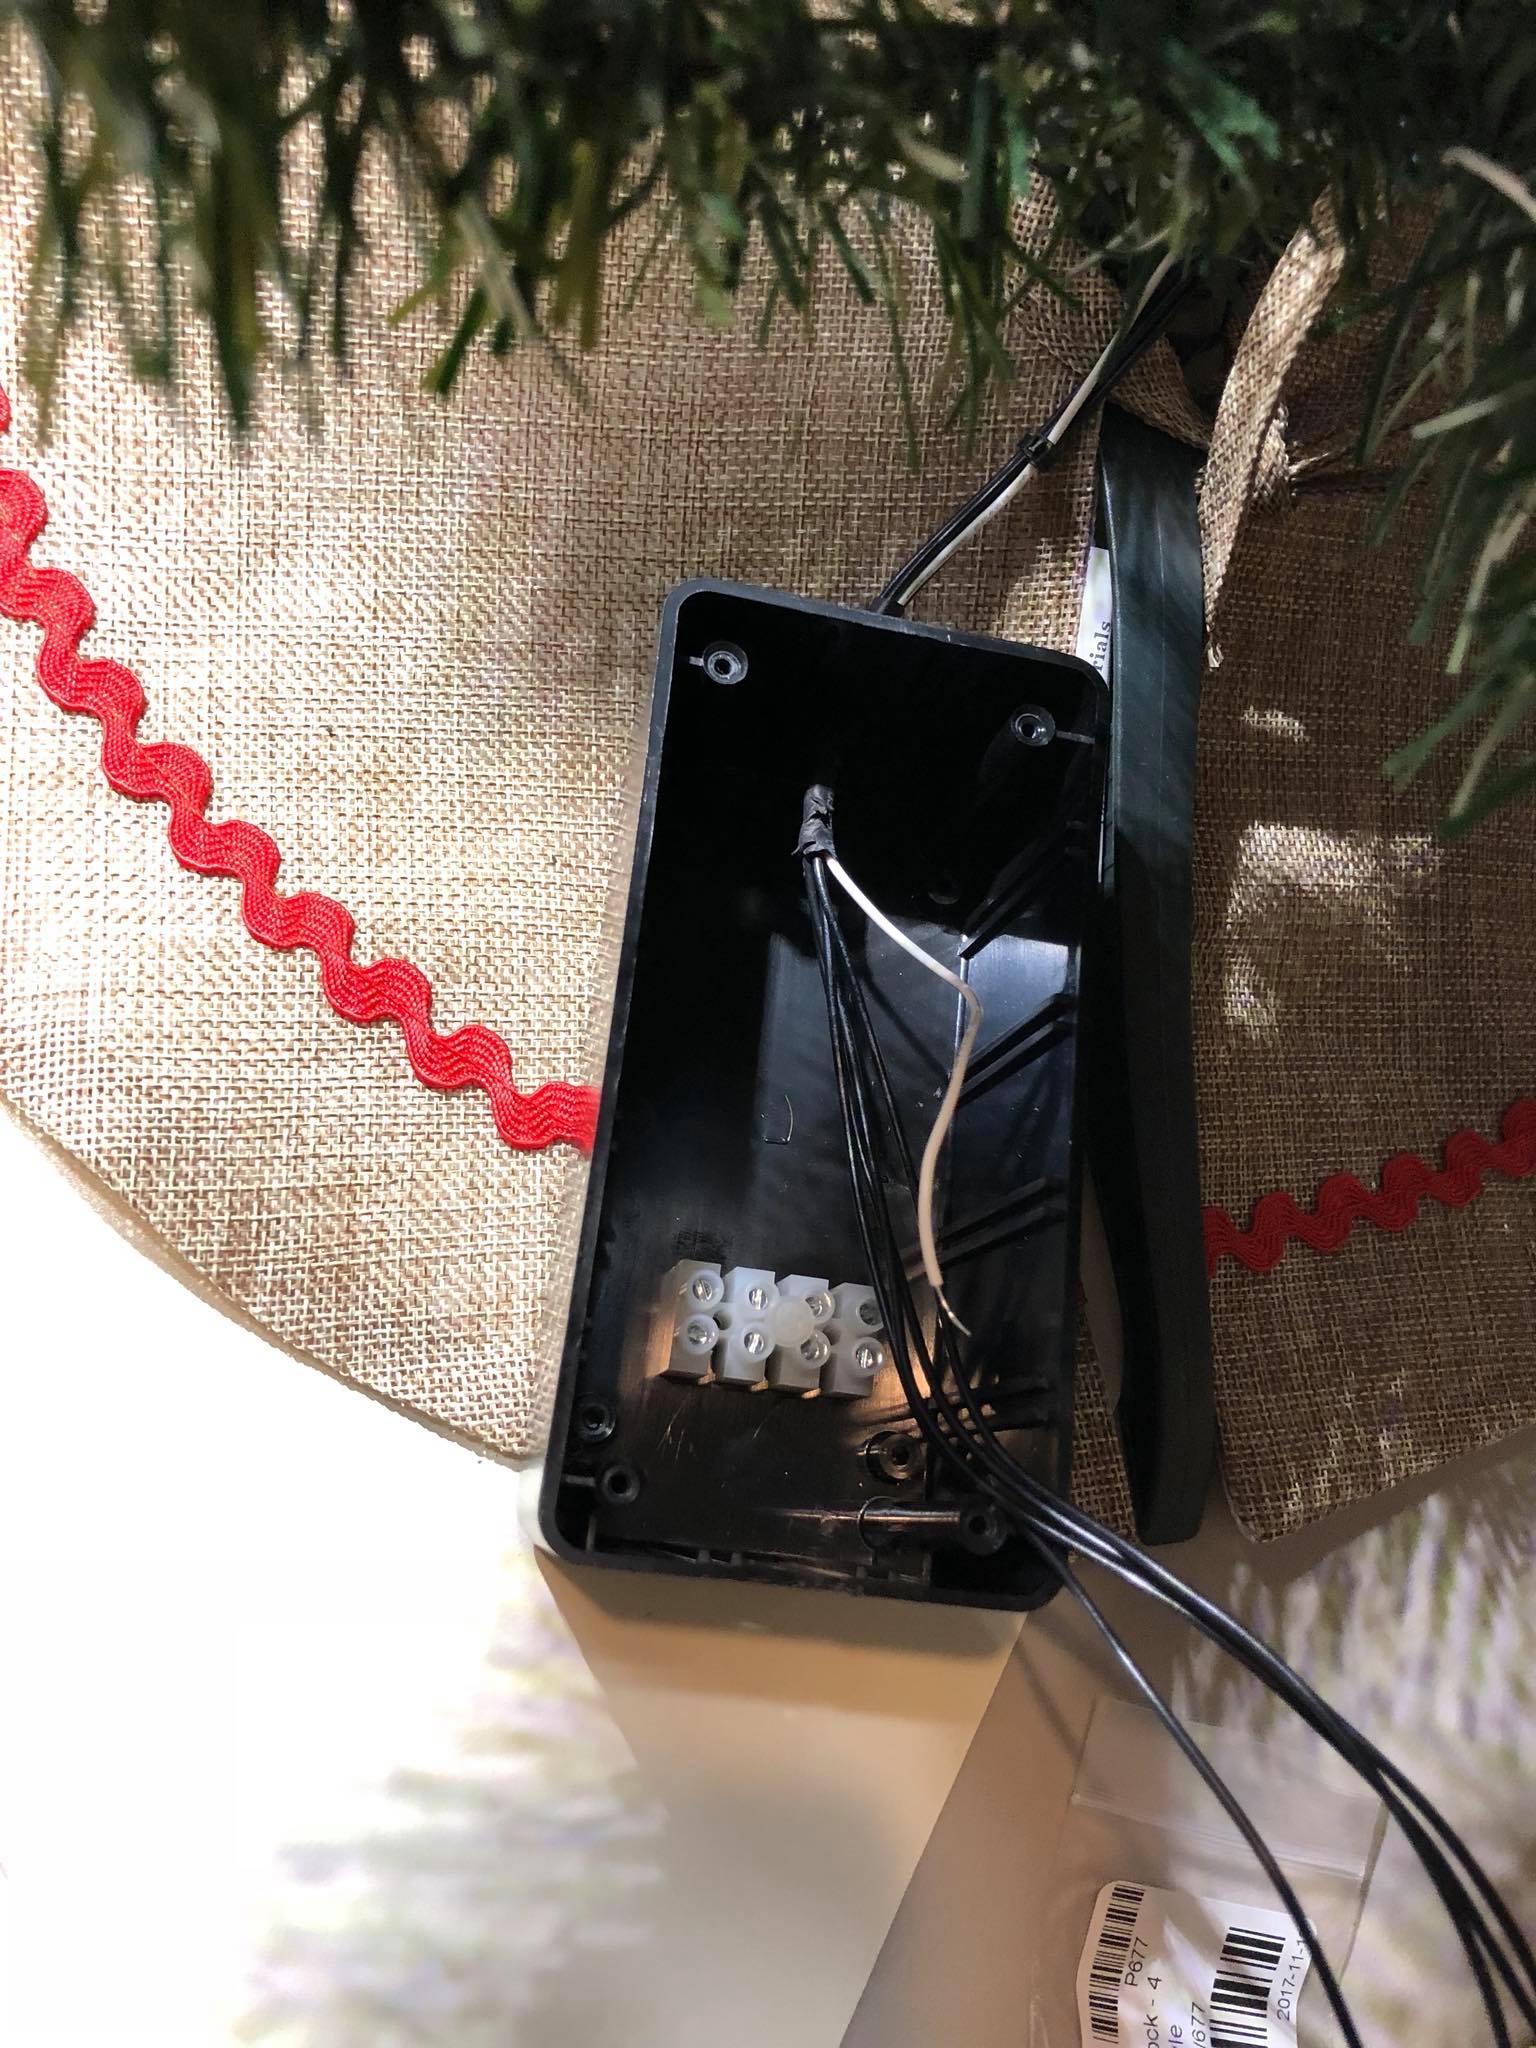
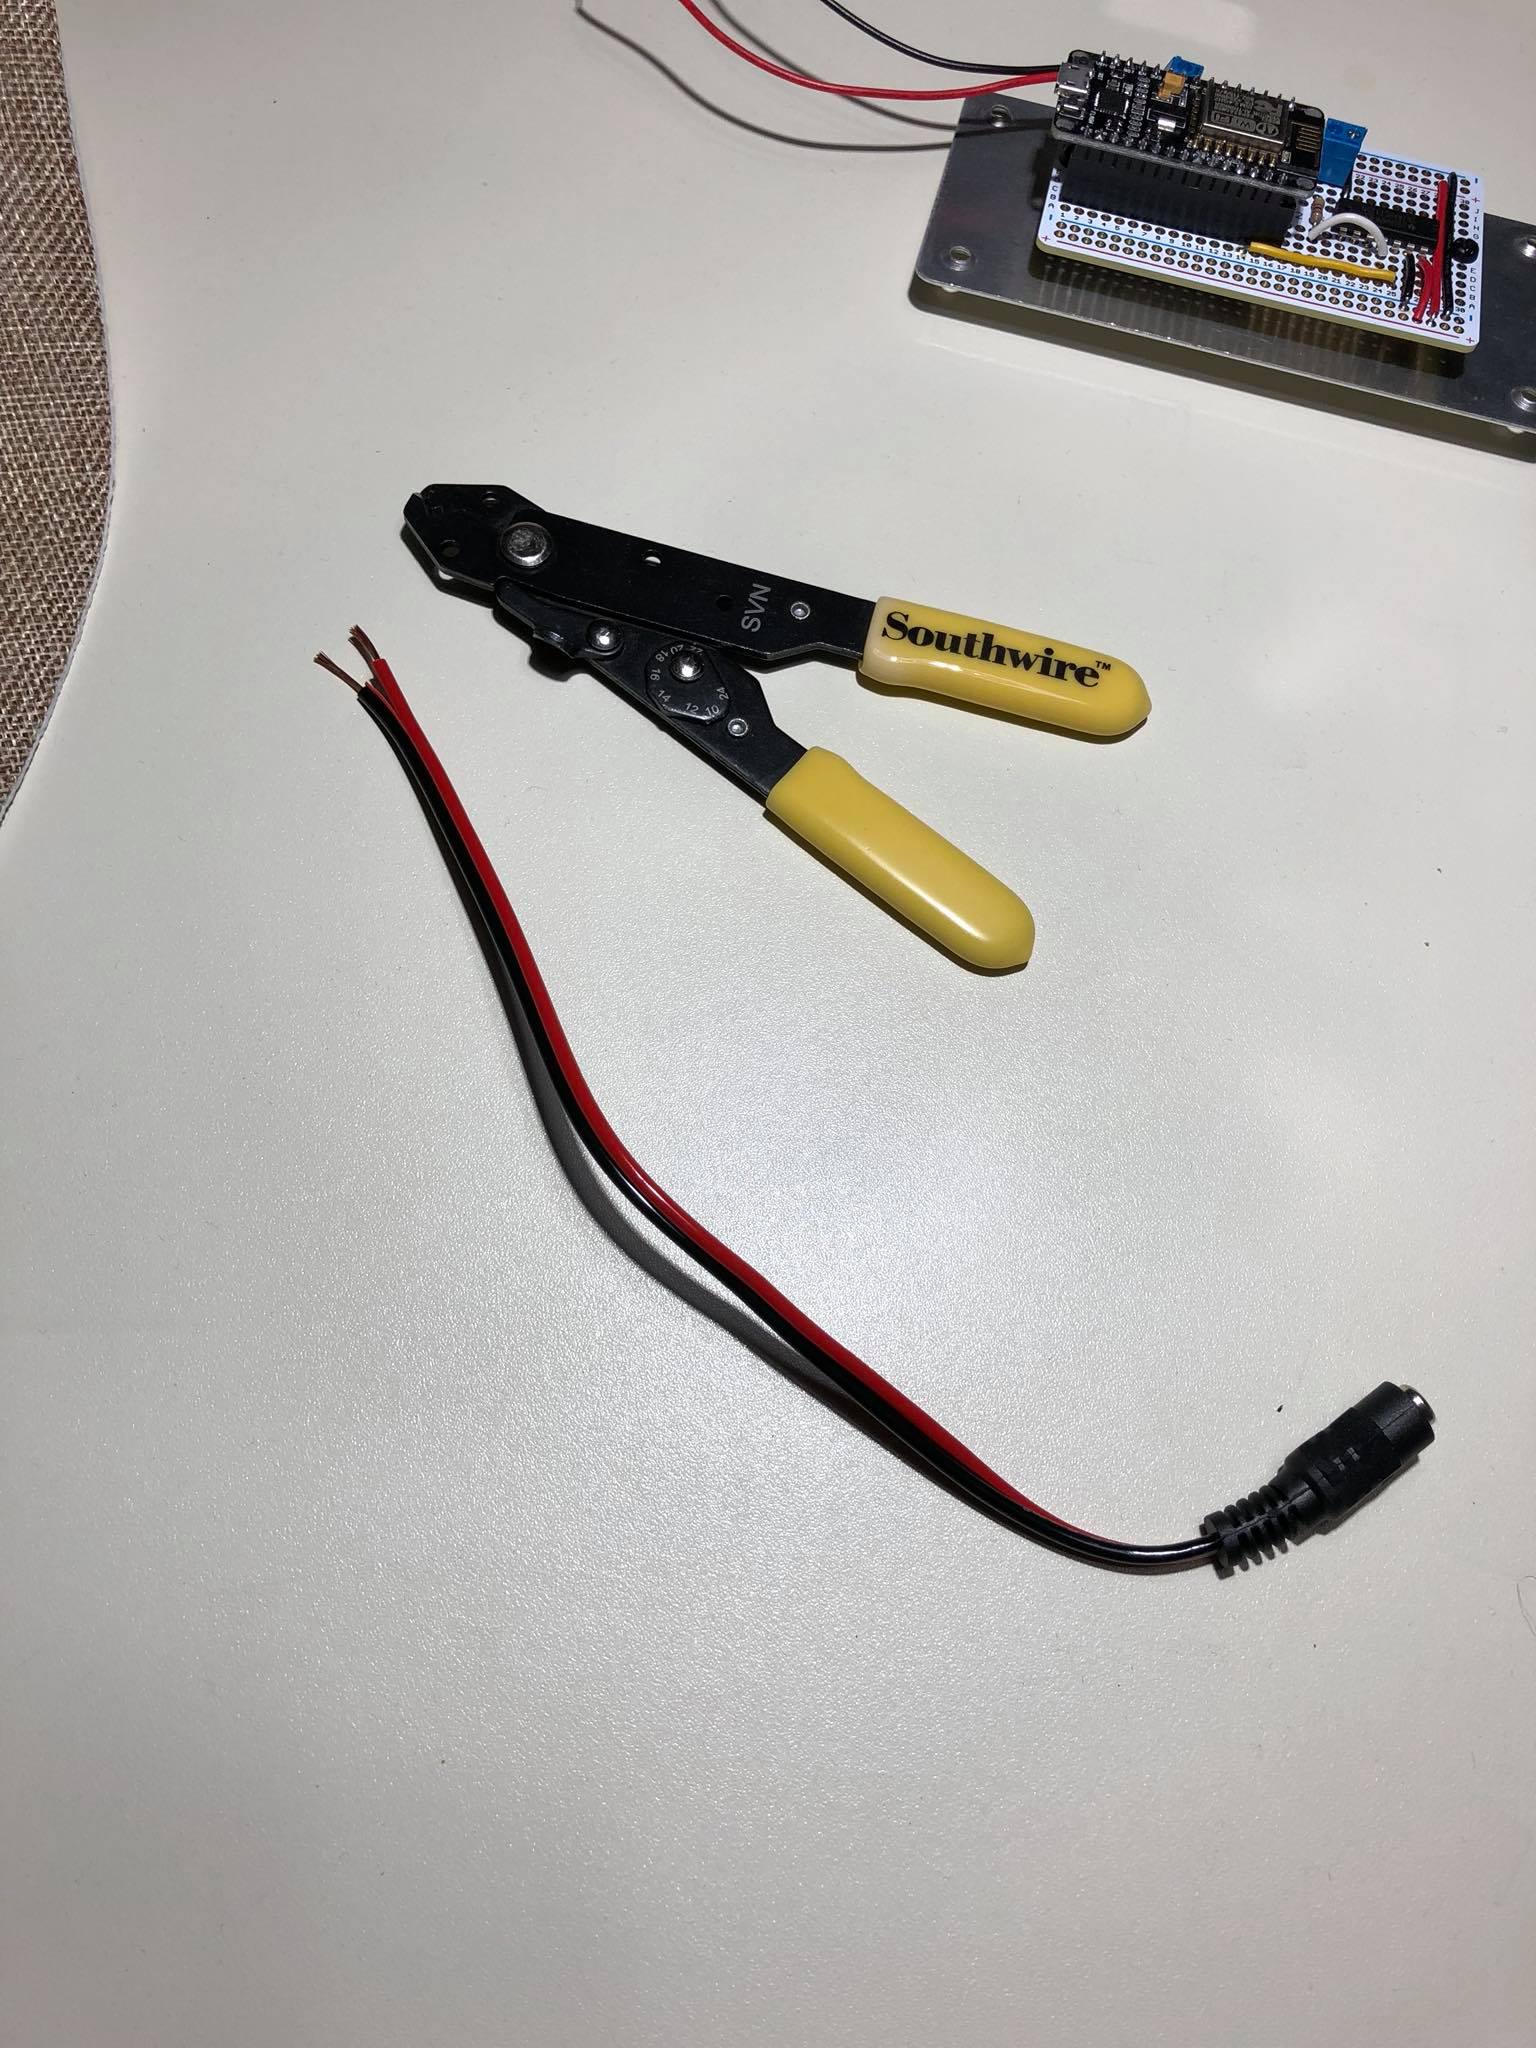
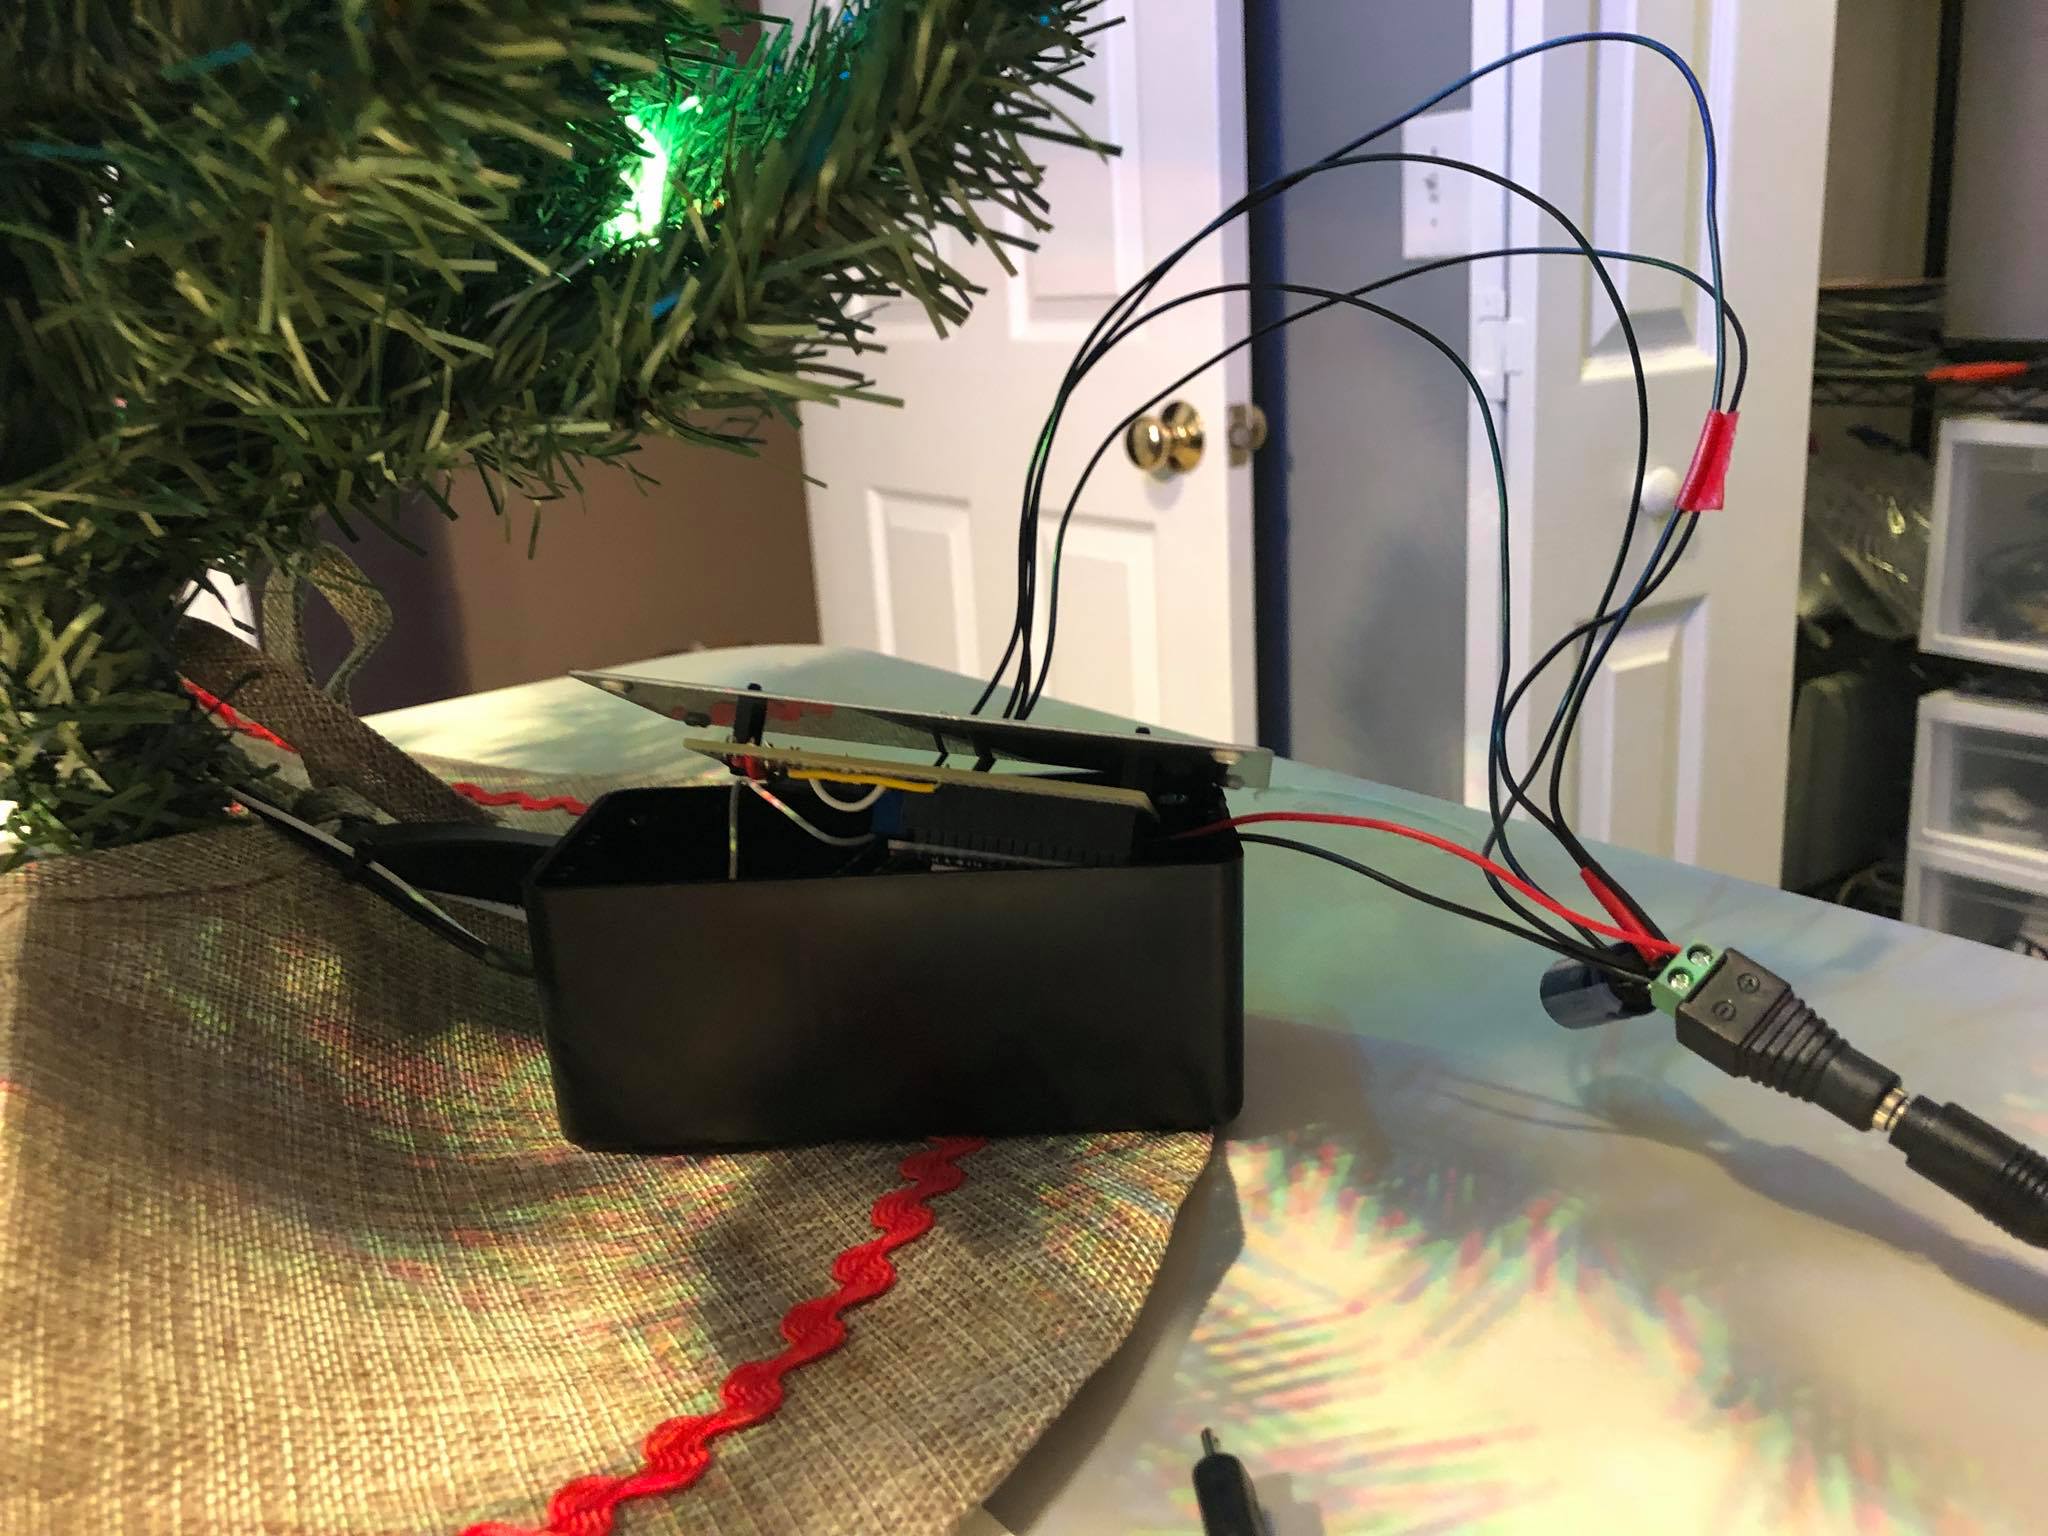
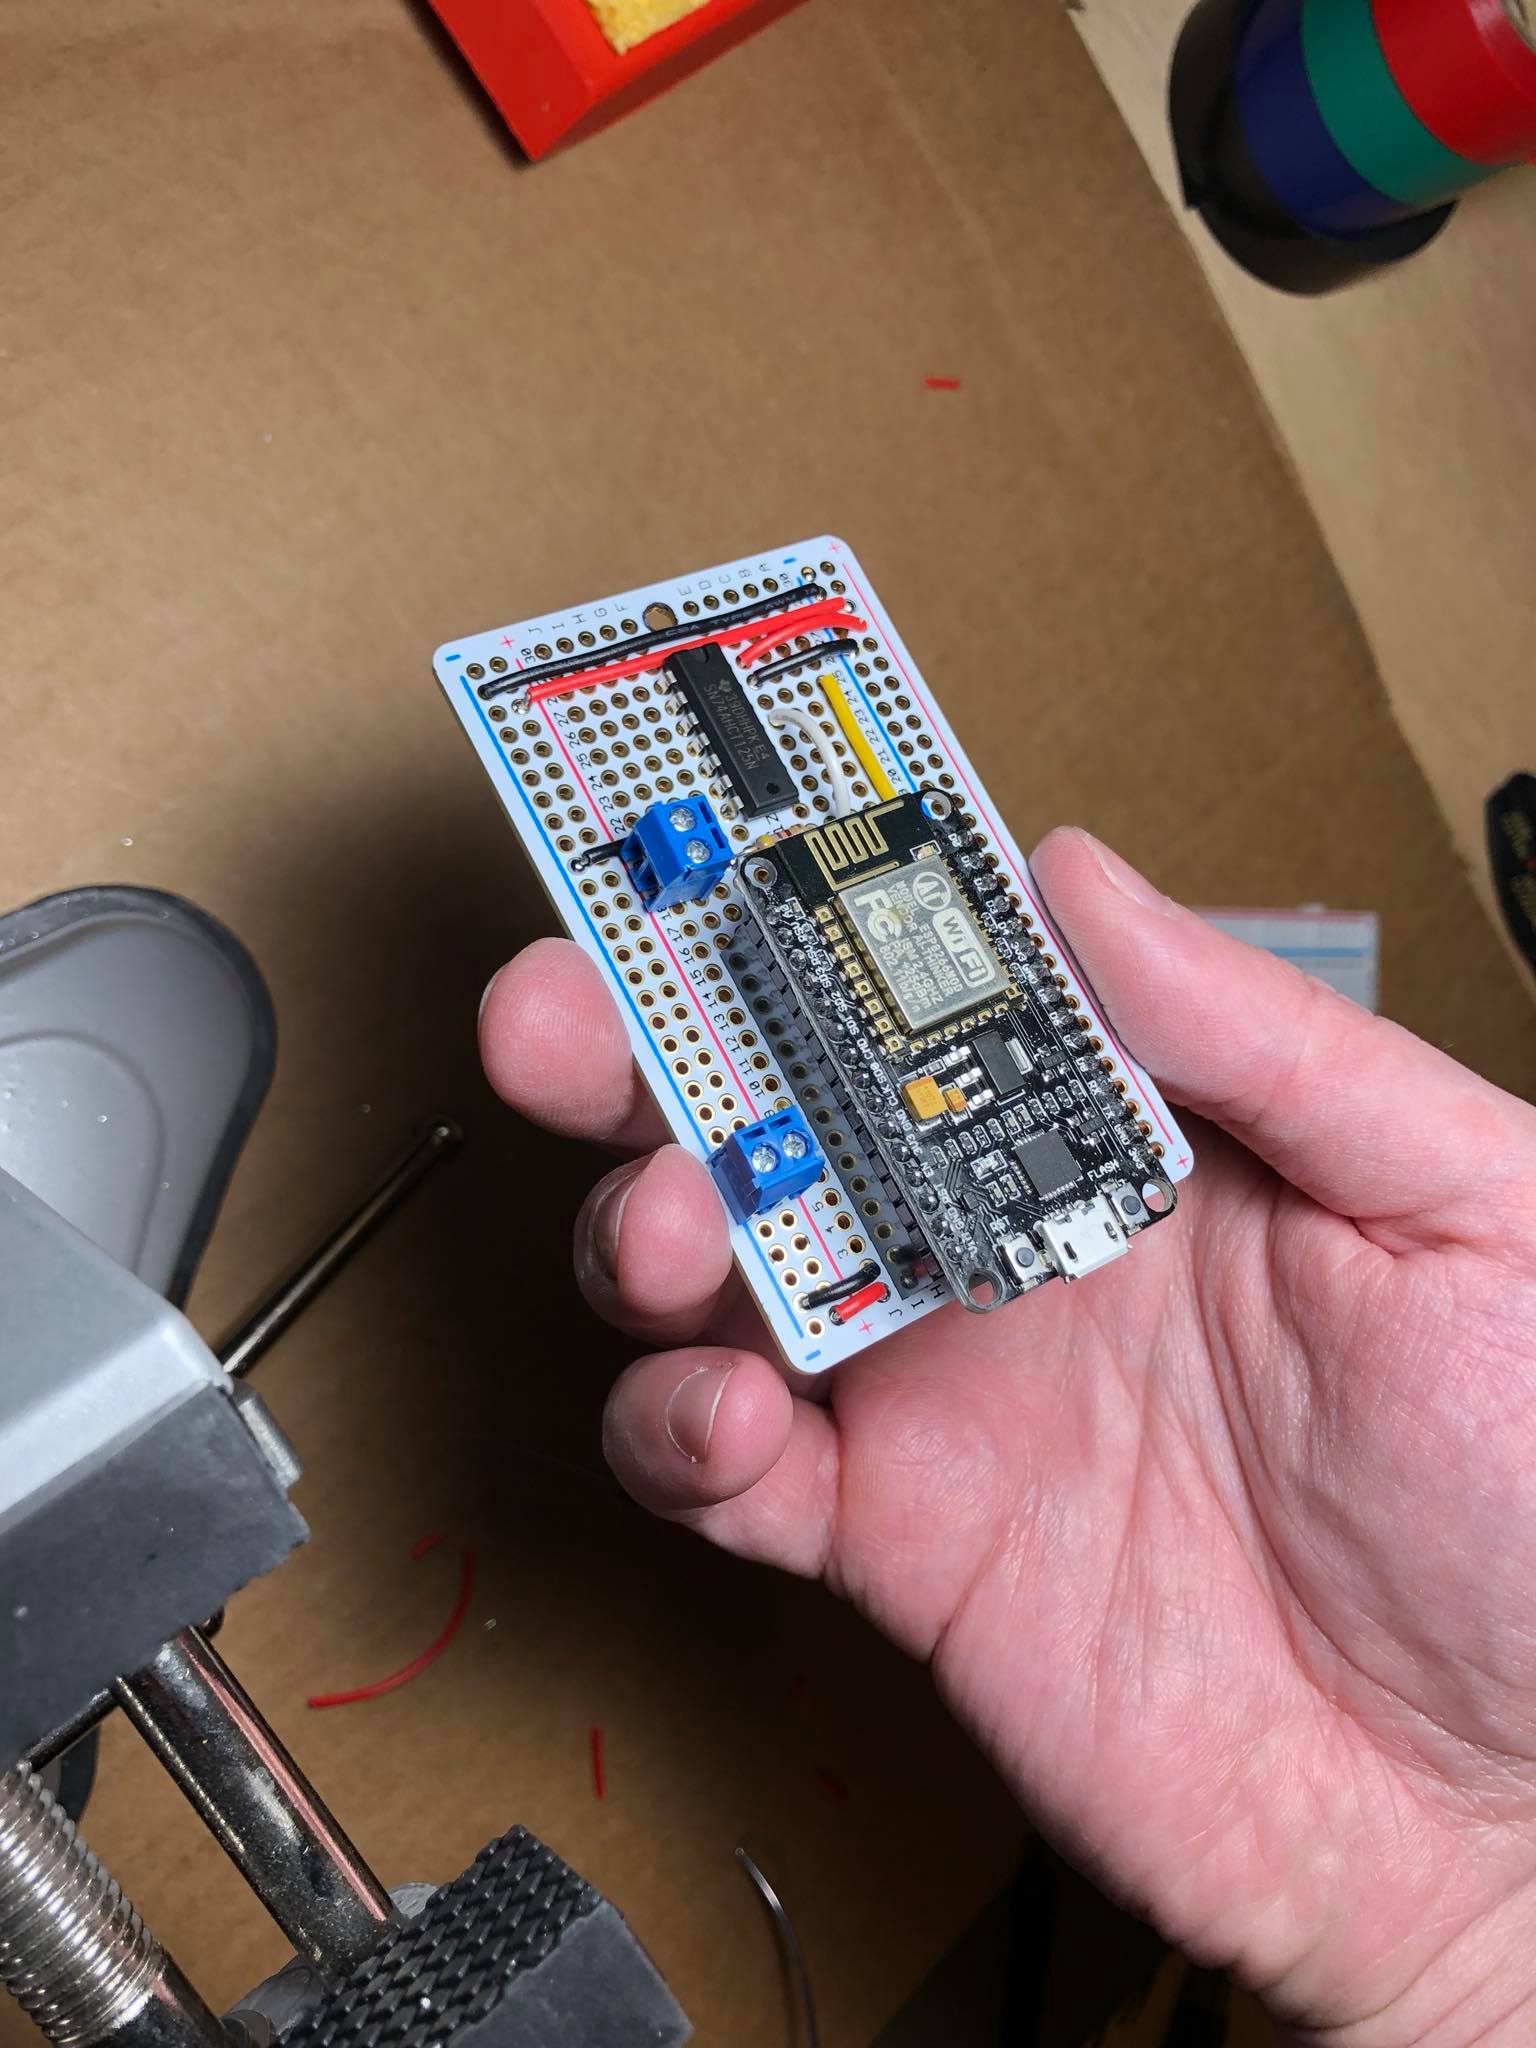
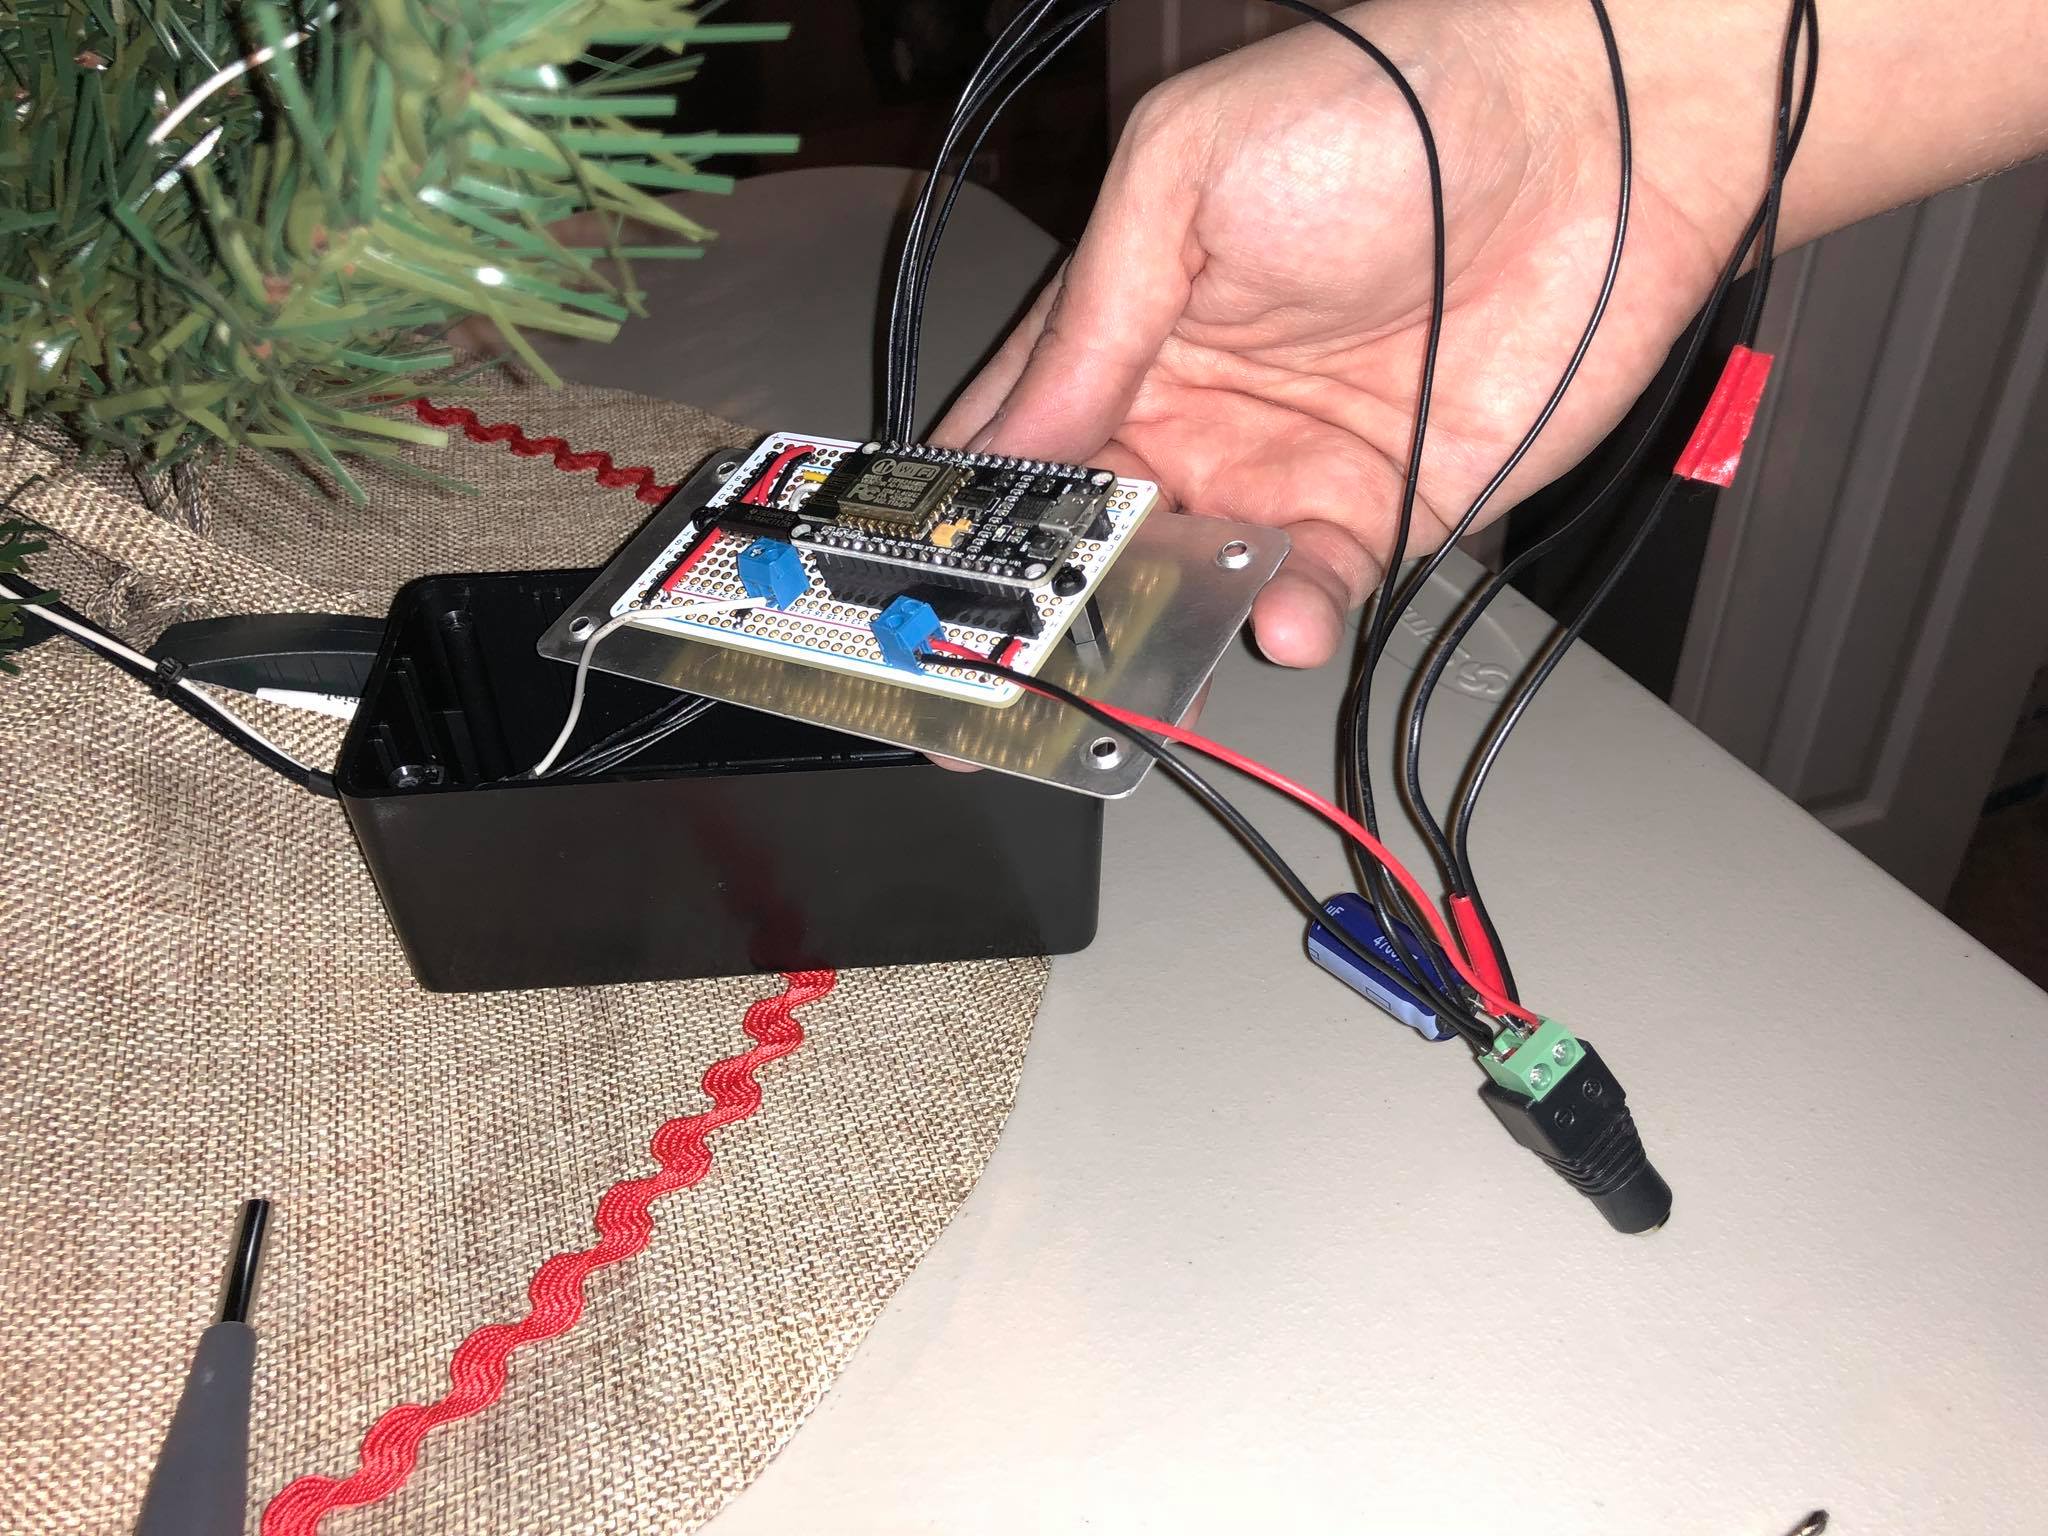
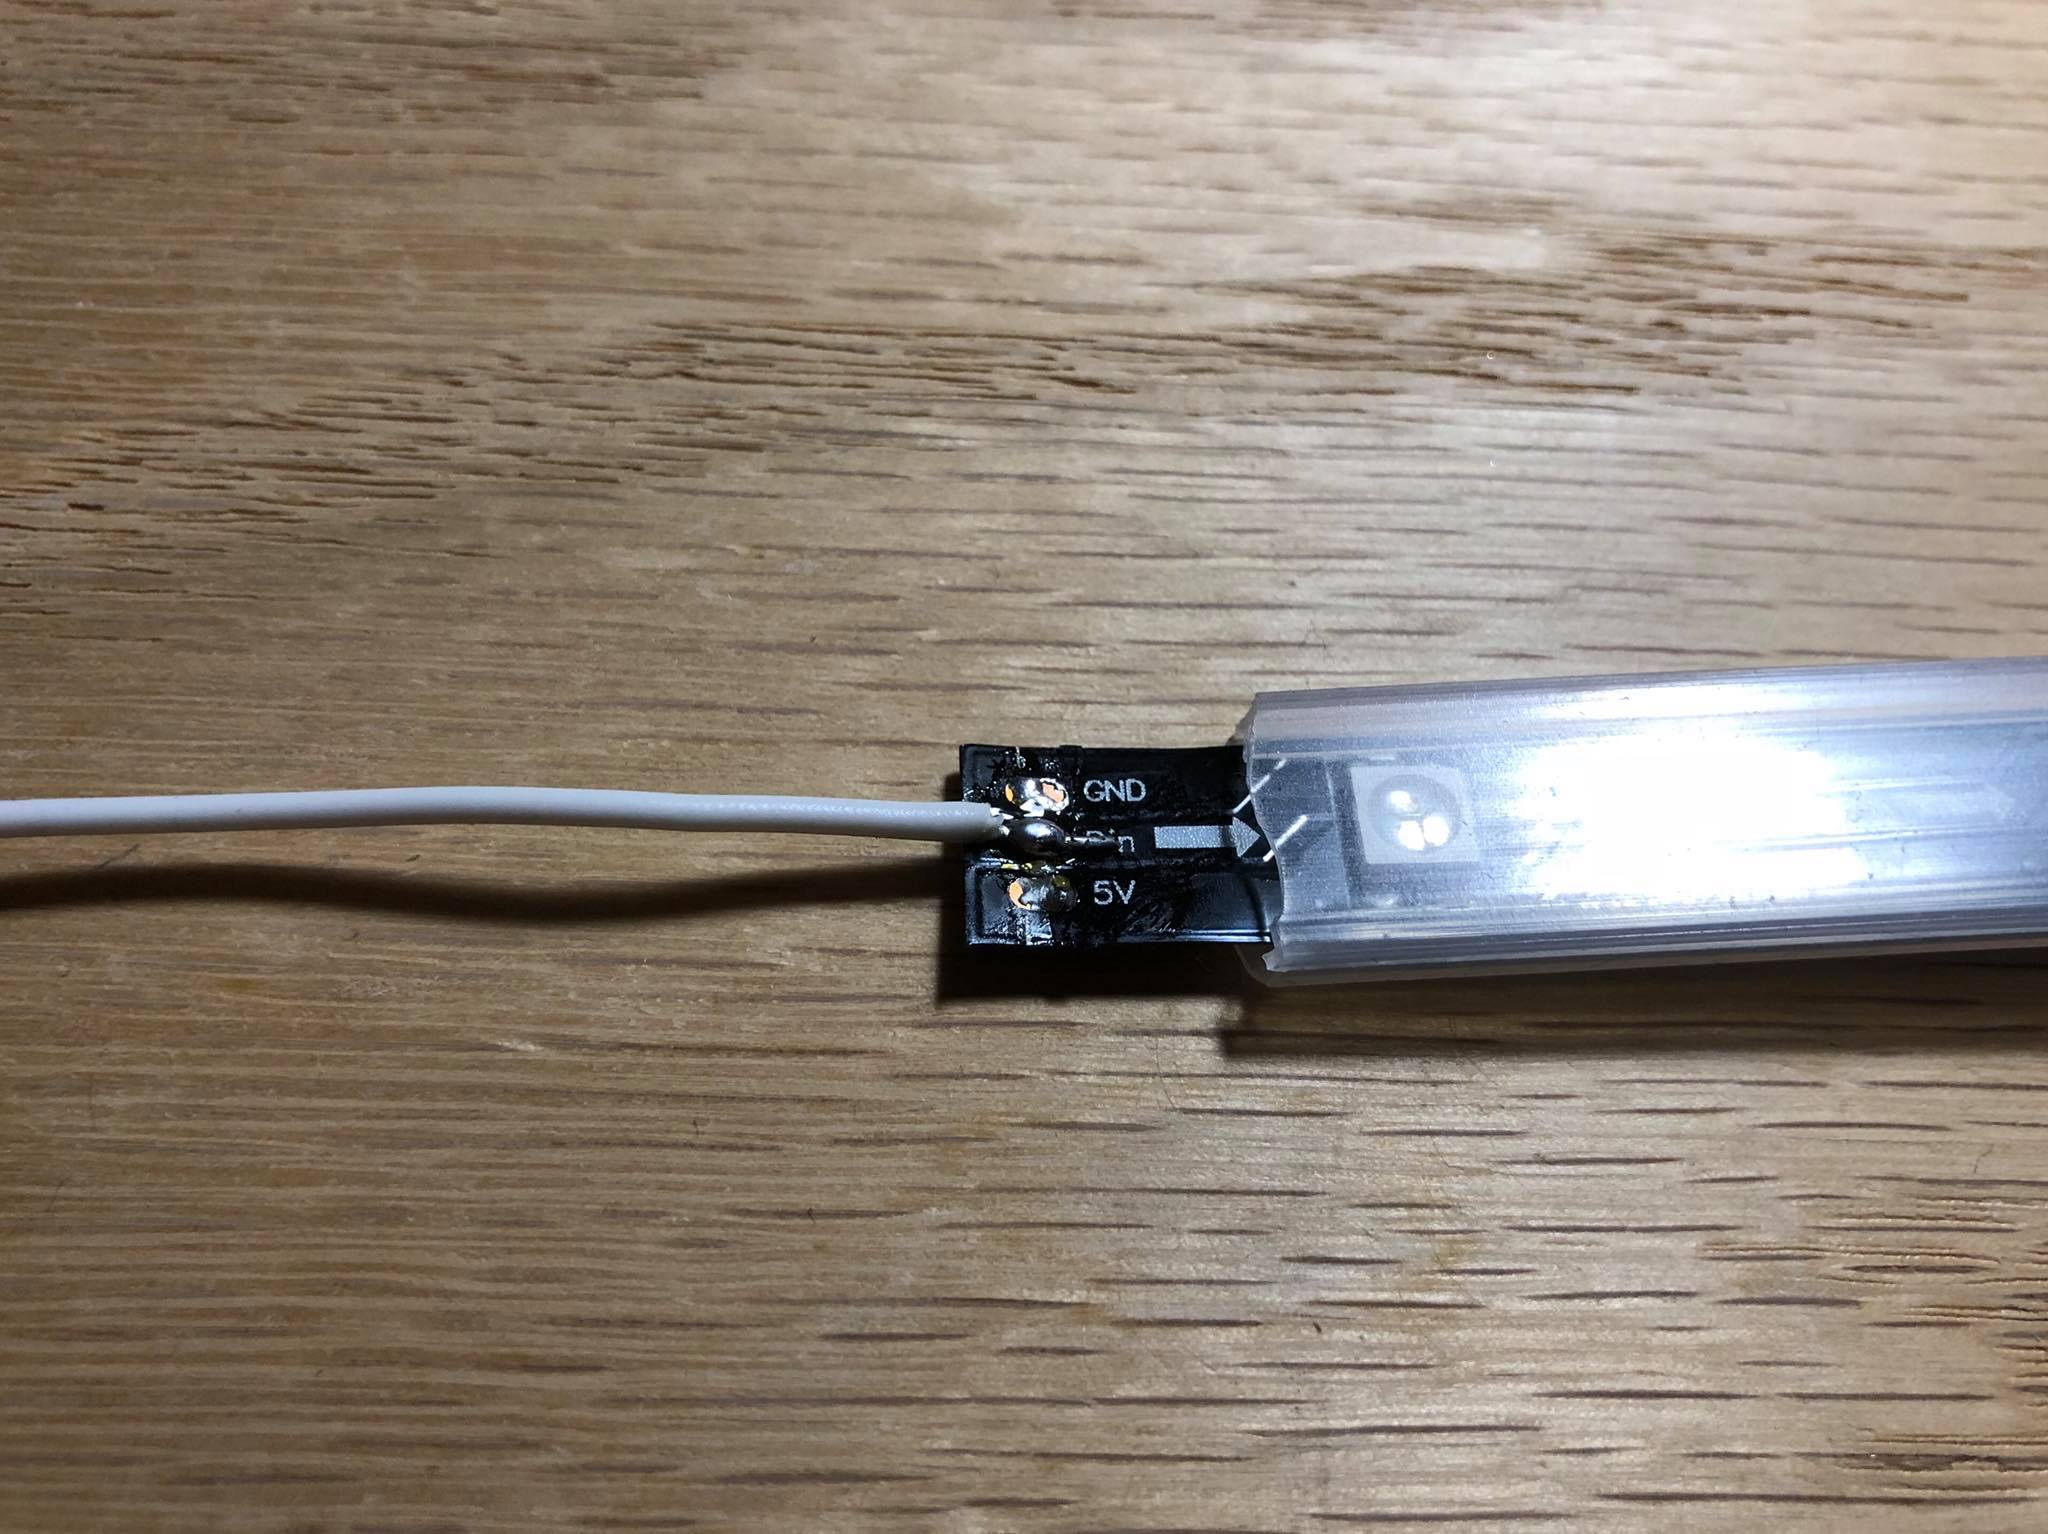
I was looking for a way to segment some IoT devices from my main network and disable their network connections on demand programmatically. The Guest Network feature on the router does a good job of segmenting the network, so I wanted a way to turn the guest network’s interface off and on based upon conditions.
Example scenario: You have cloud-based IoT cameras and want to cease all traffic when you’re home.
This puts toggling any interface on the router behind an HTTP endpoint. Since an interface is created when a guest network is enabled, we can now enable and disable that network whenever we want.
It was fun learning some ARKit, SceneKit, and SpriteKit the past few days… I used it to announce a thing!
Using #ARKit image tracking to make a special announcement! pic.twitter.com/ZzFN03cesb
— Tanner Stokes (@TannerStokes) June 24, 2018
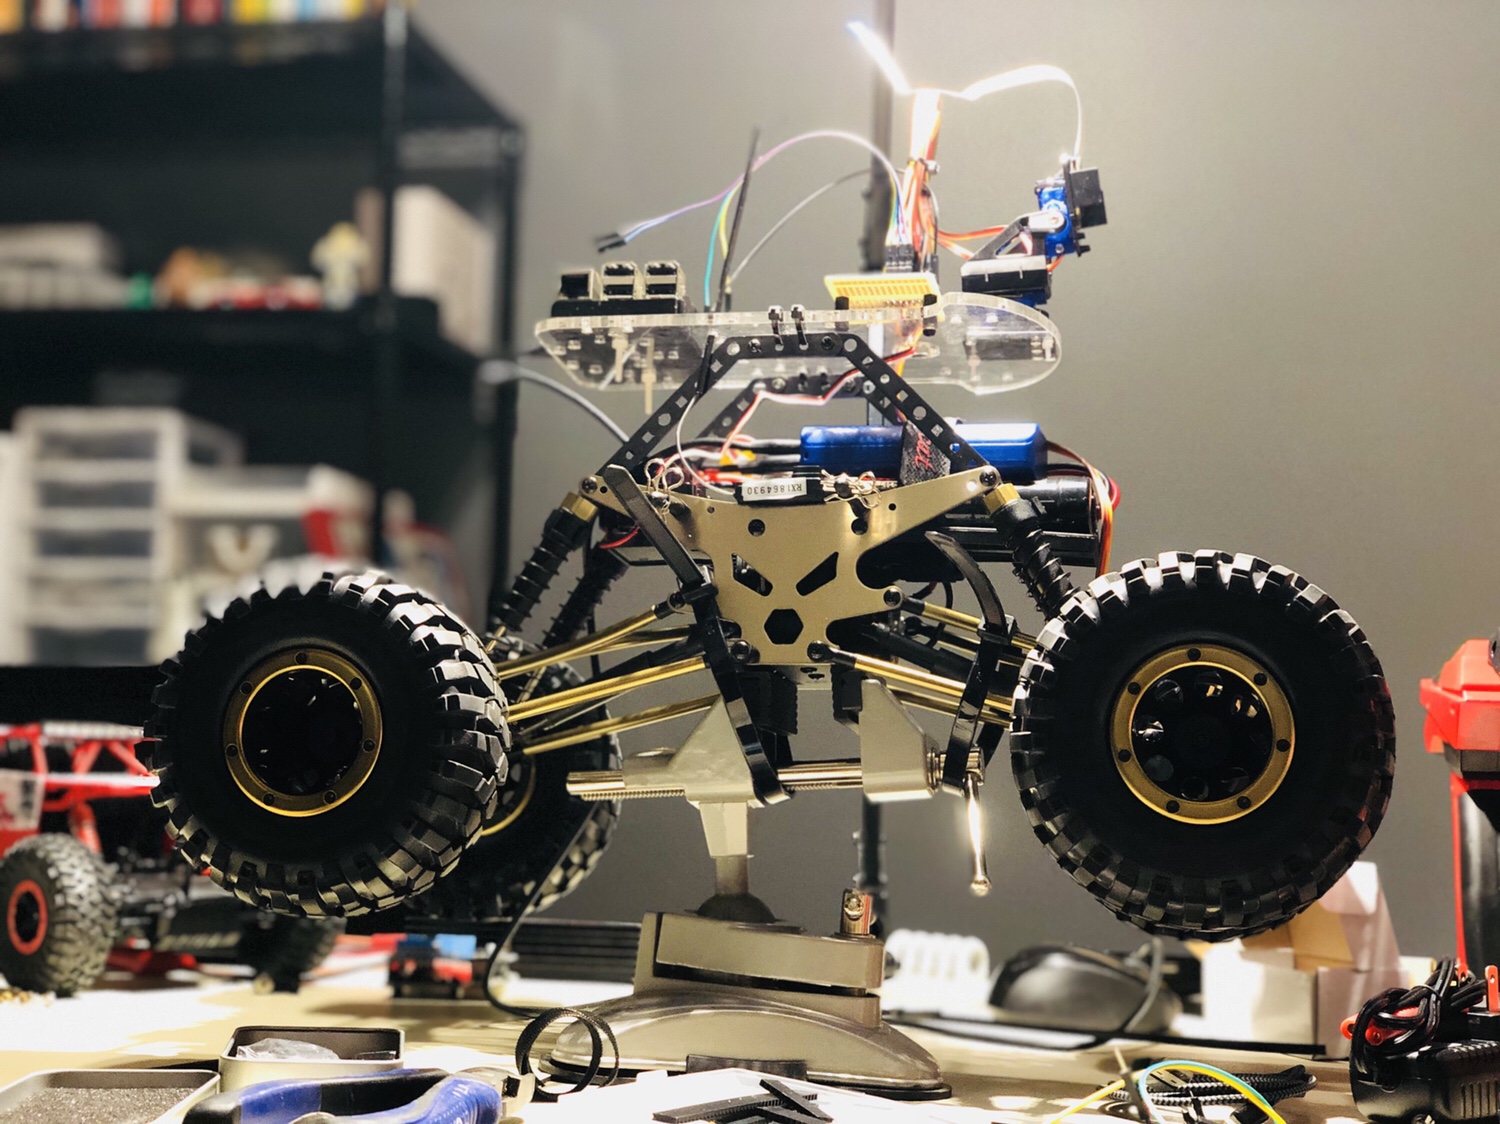
Once I win the lottery this will be all I do all day long. pic.twitter.com/F0TAEJDyEP
— Tanner Stokes (@TannerStokes) March 27, 2018
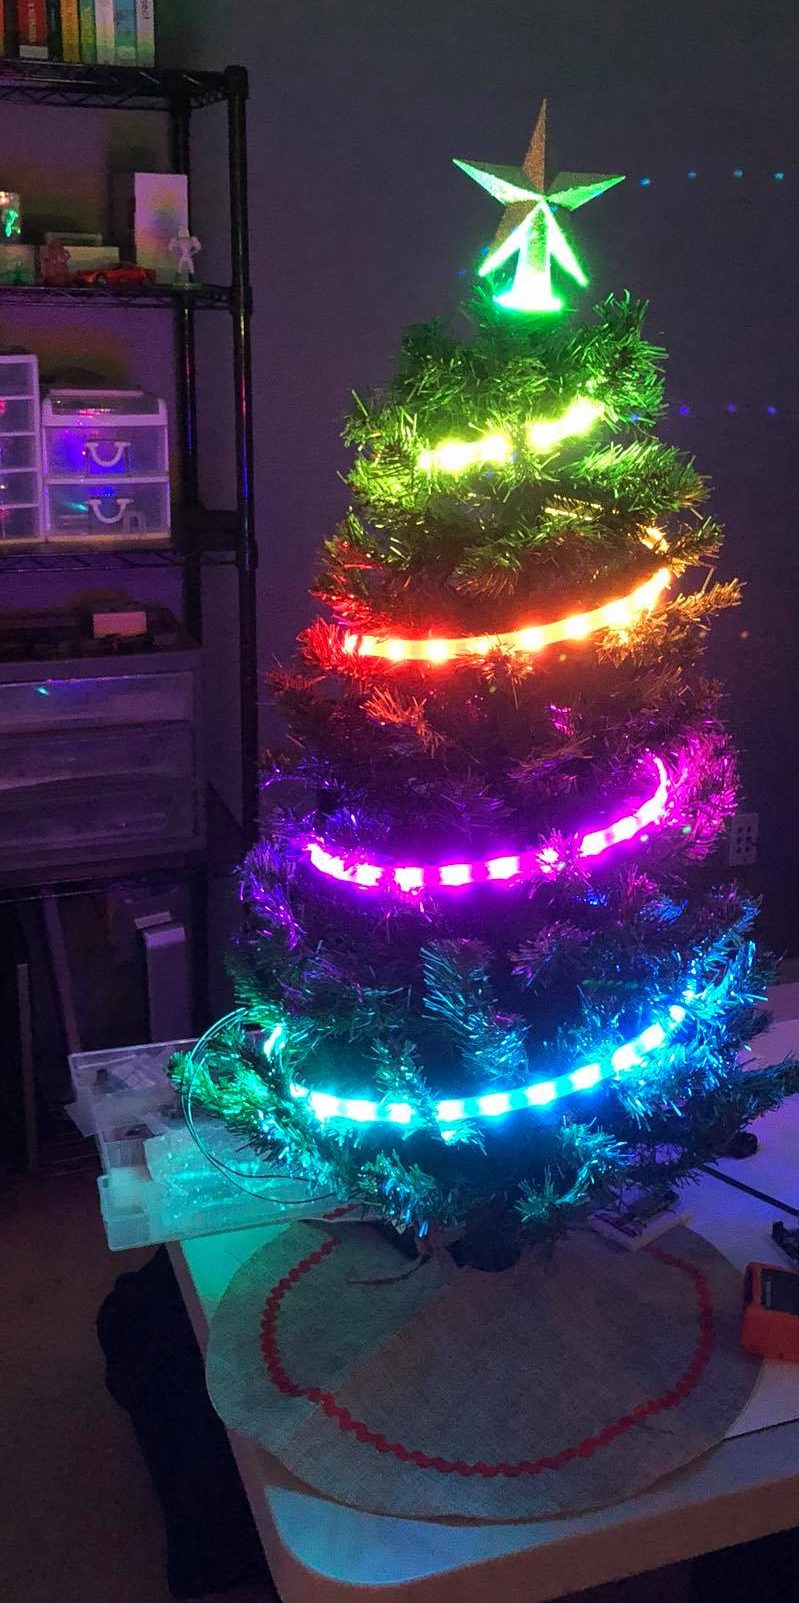
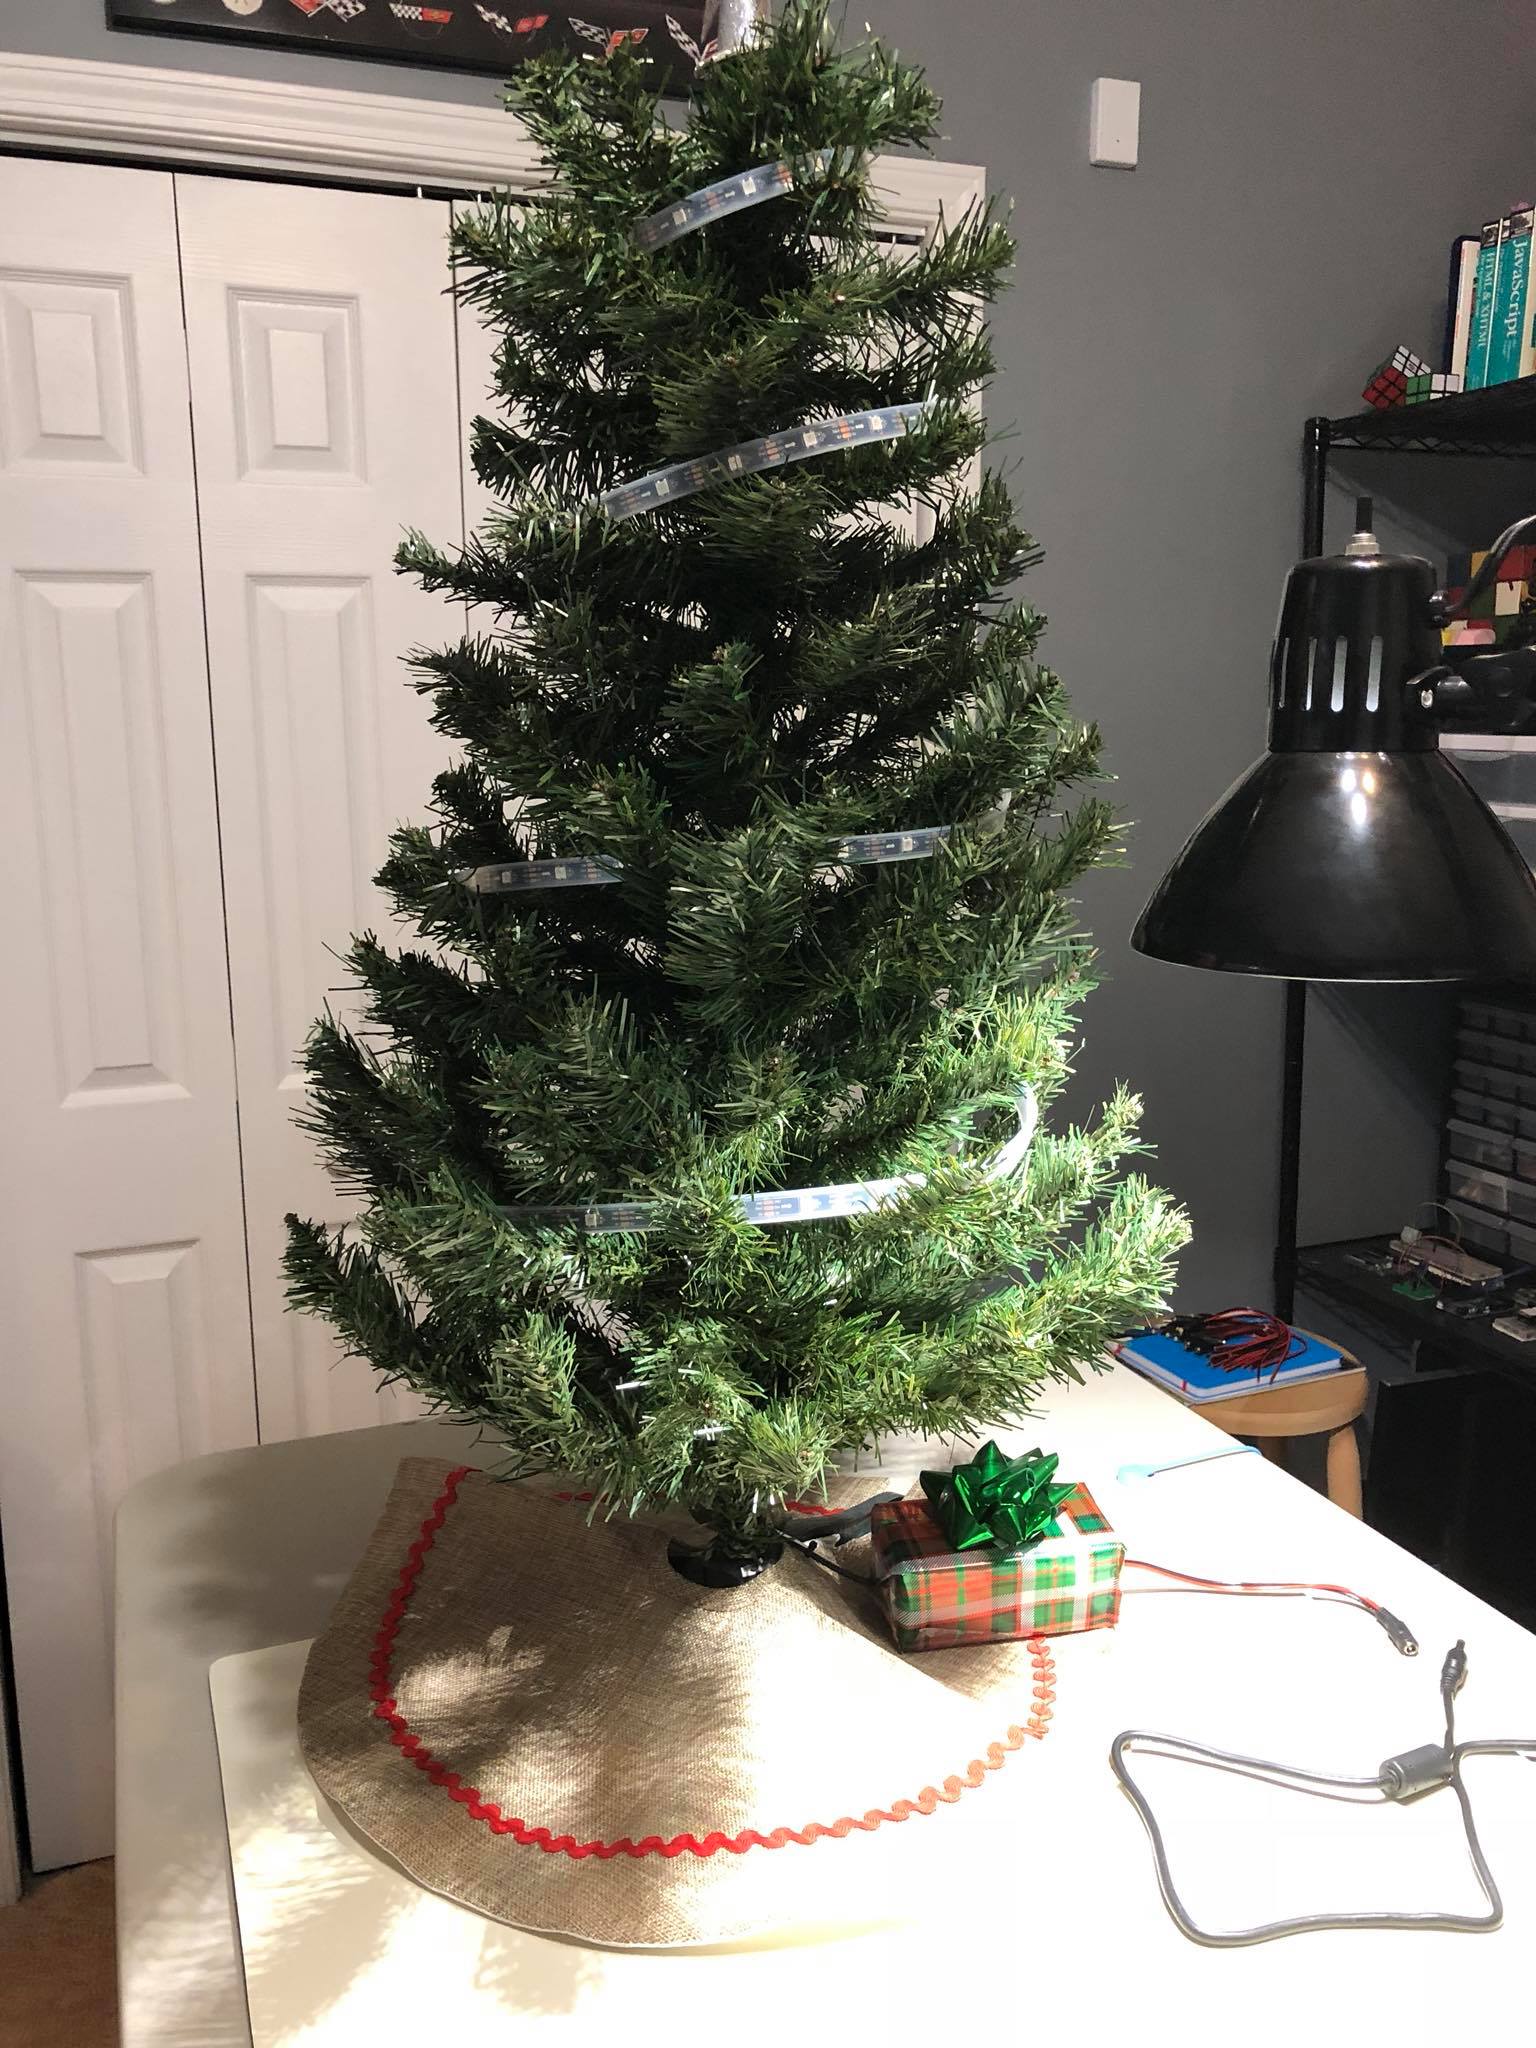
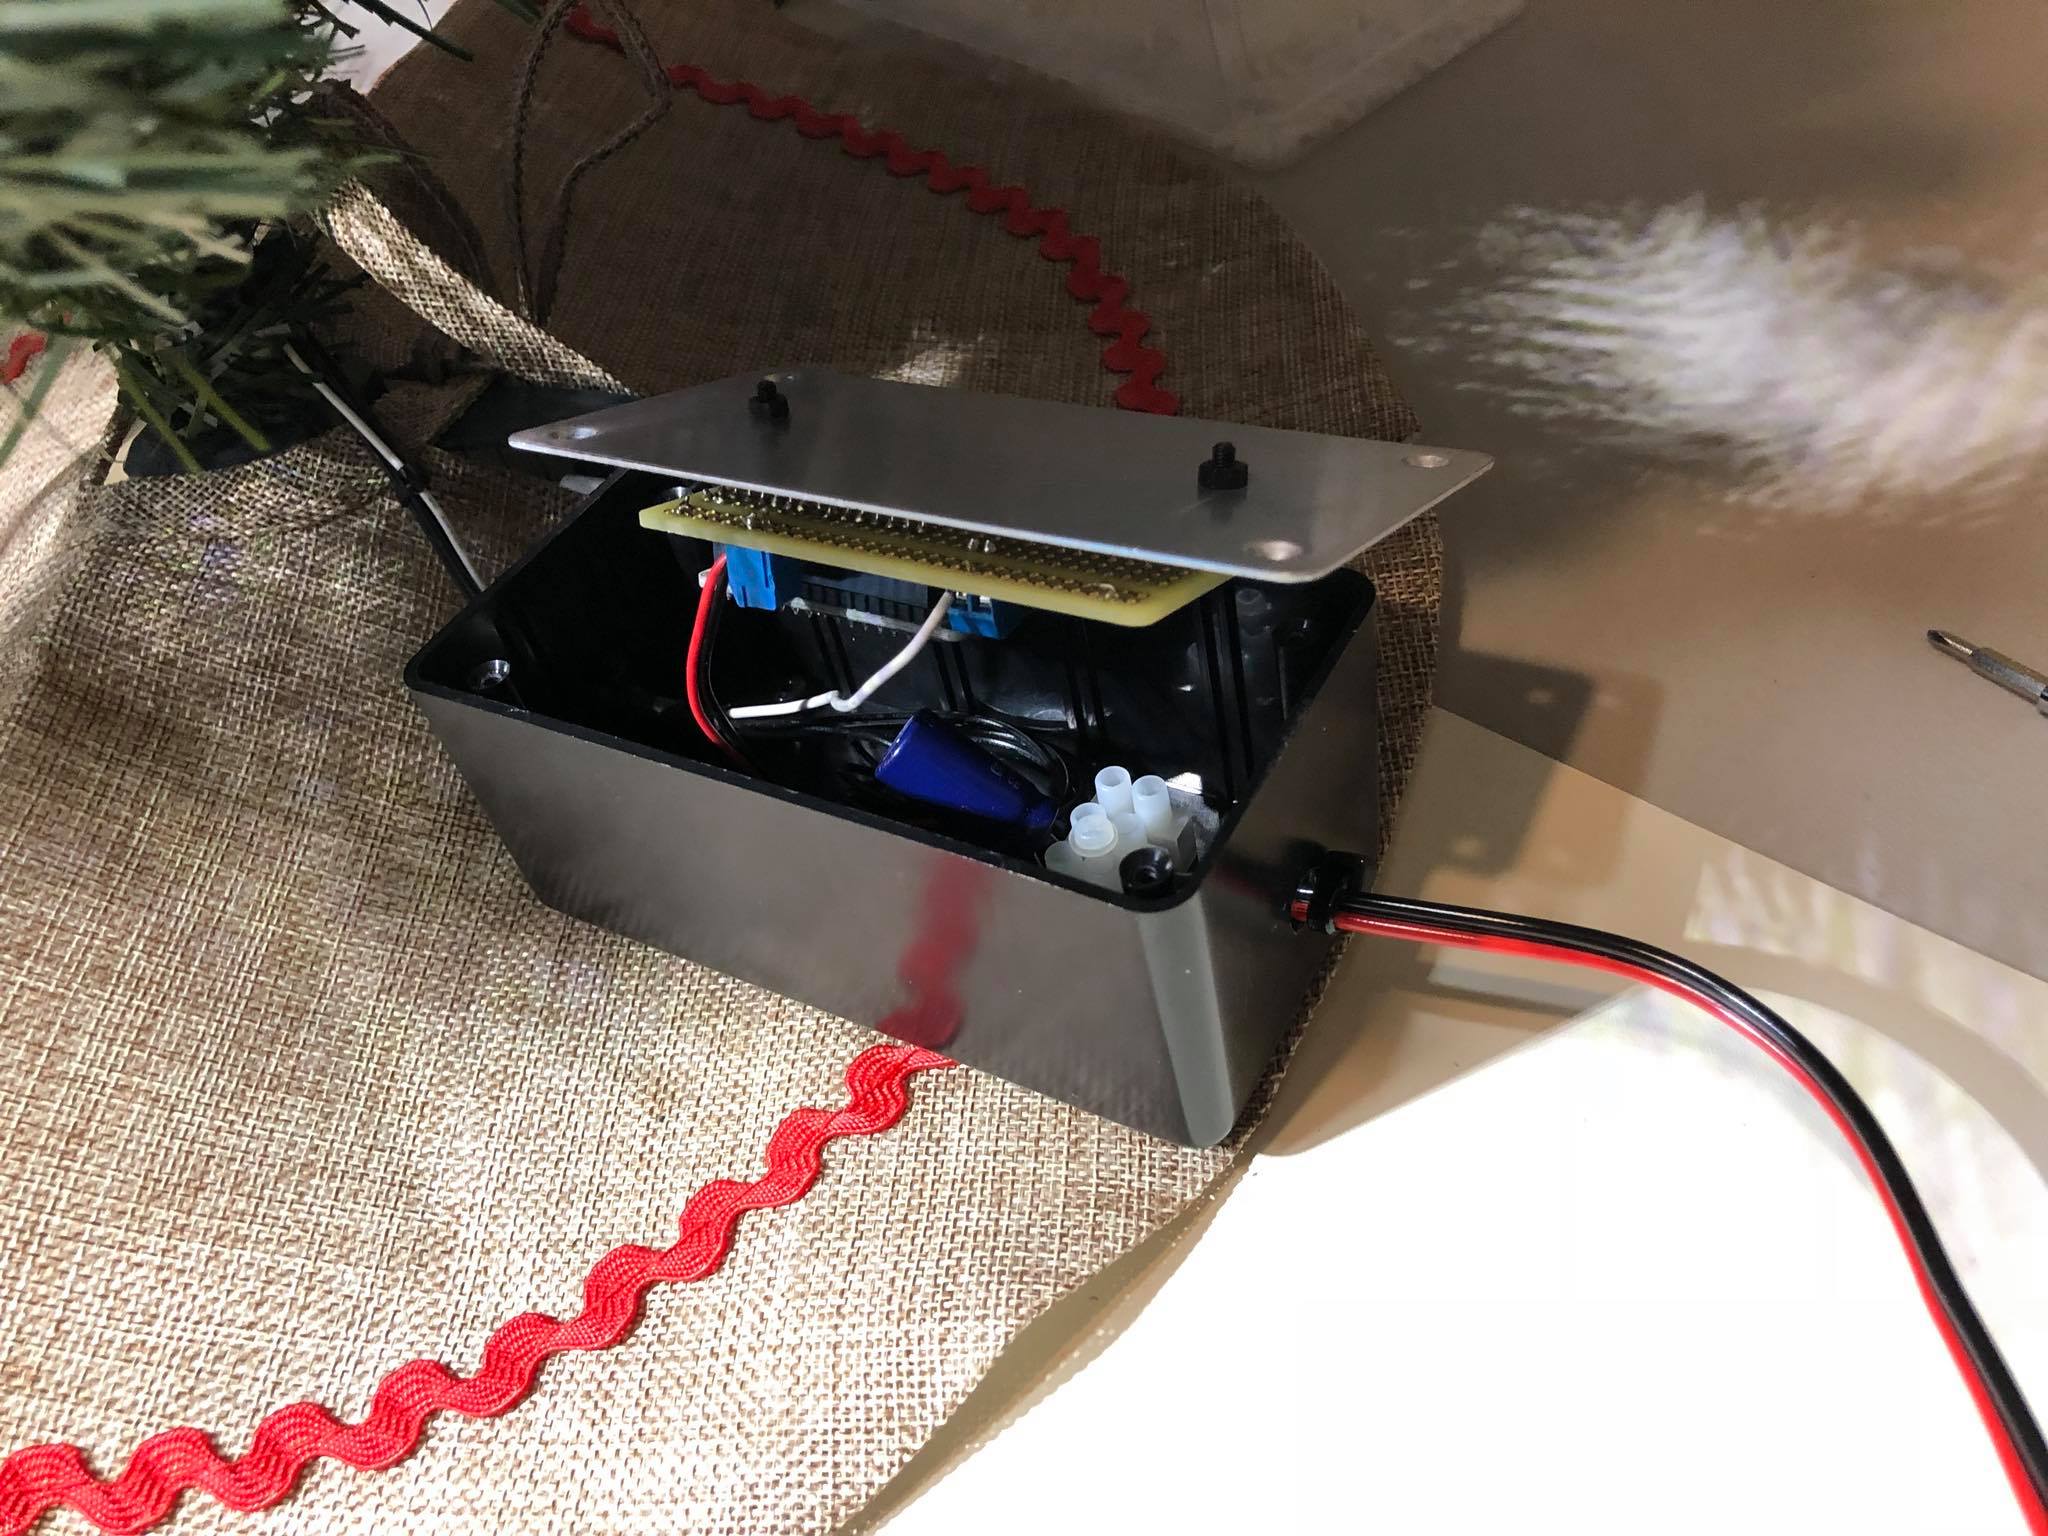
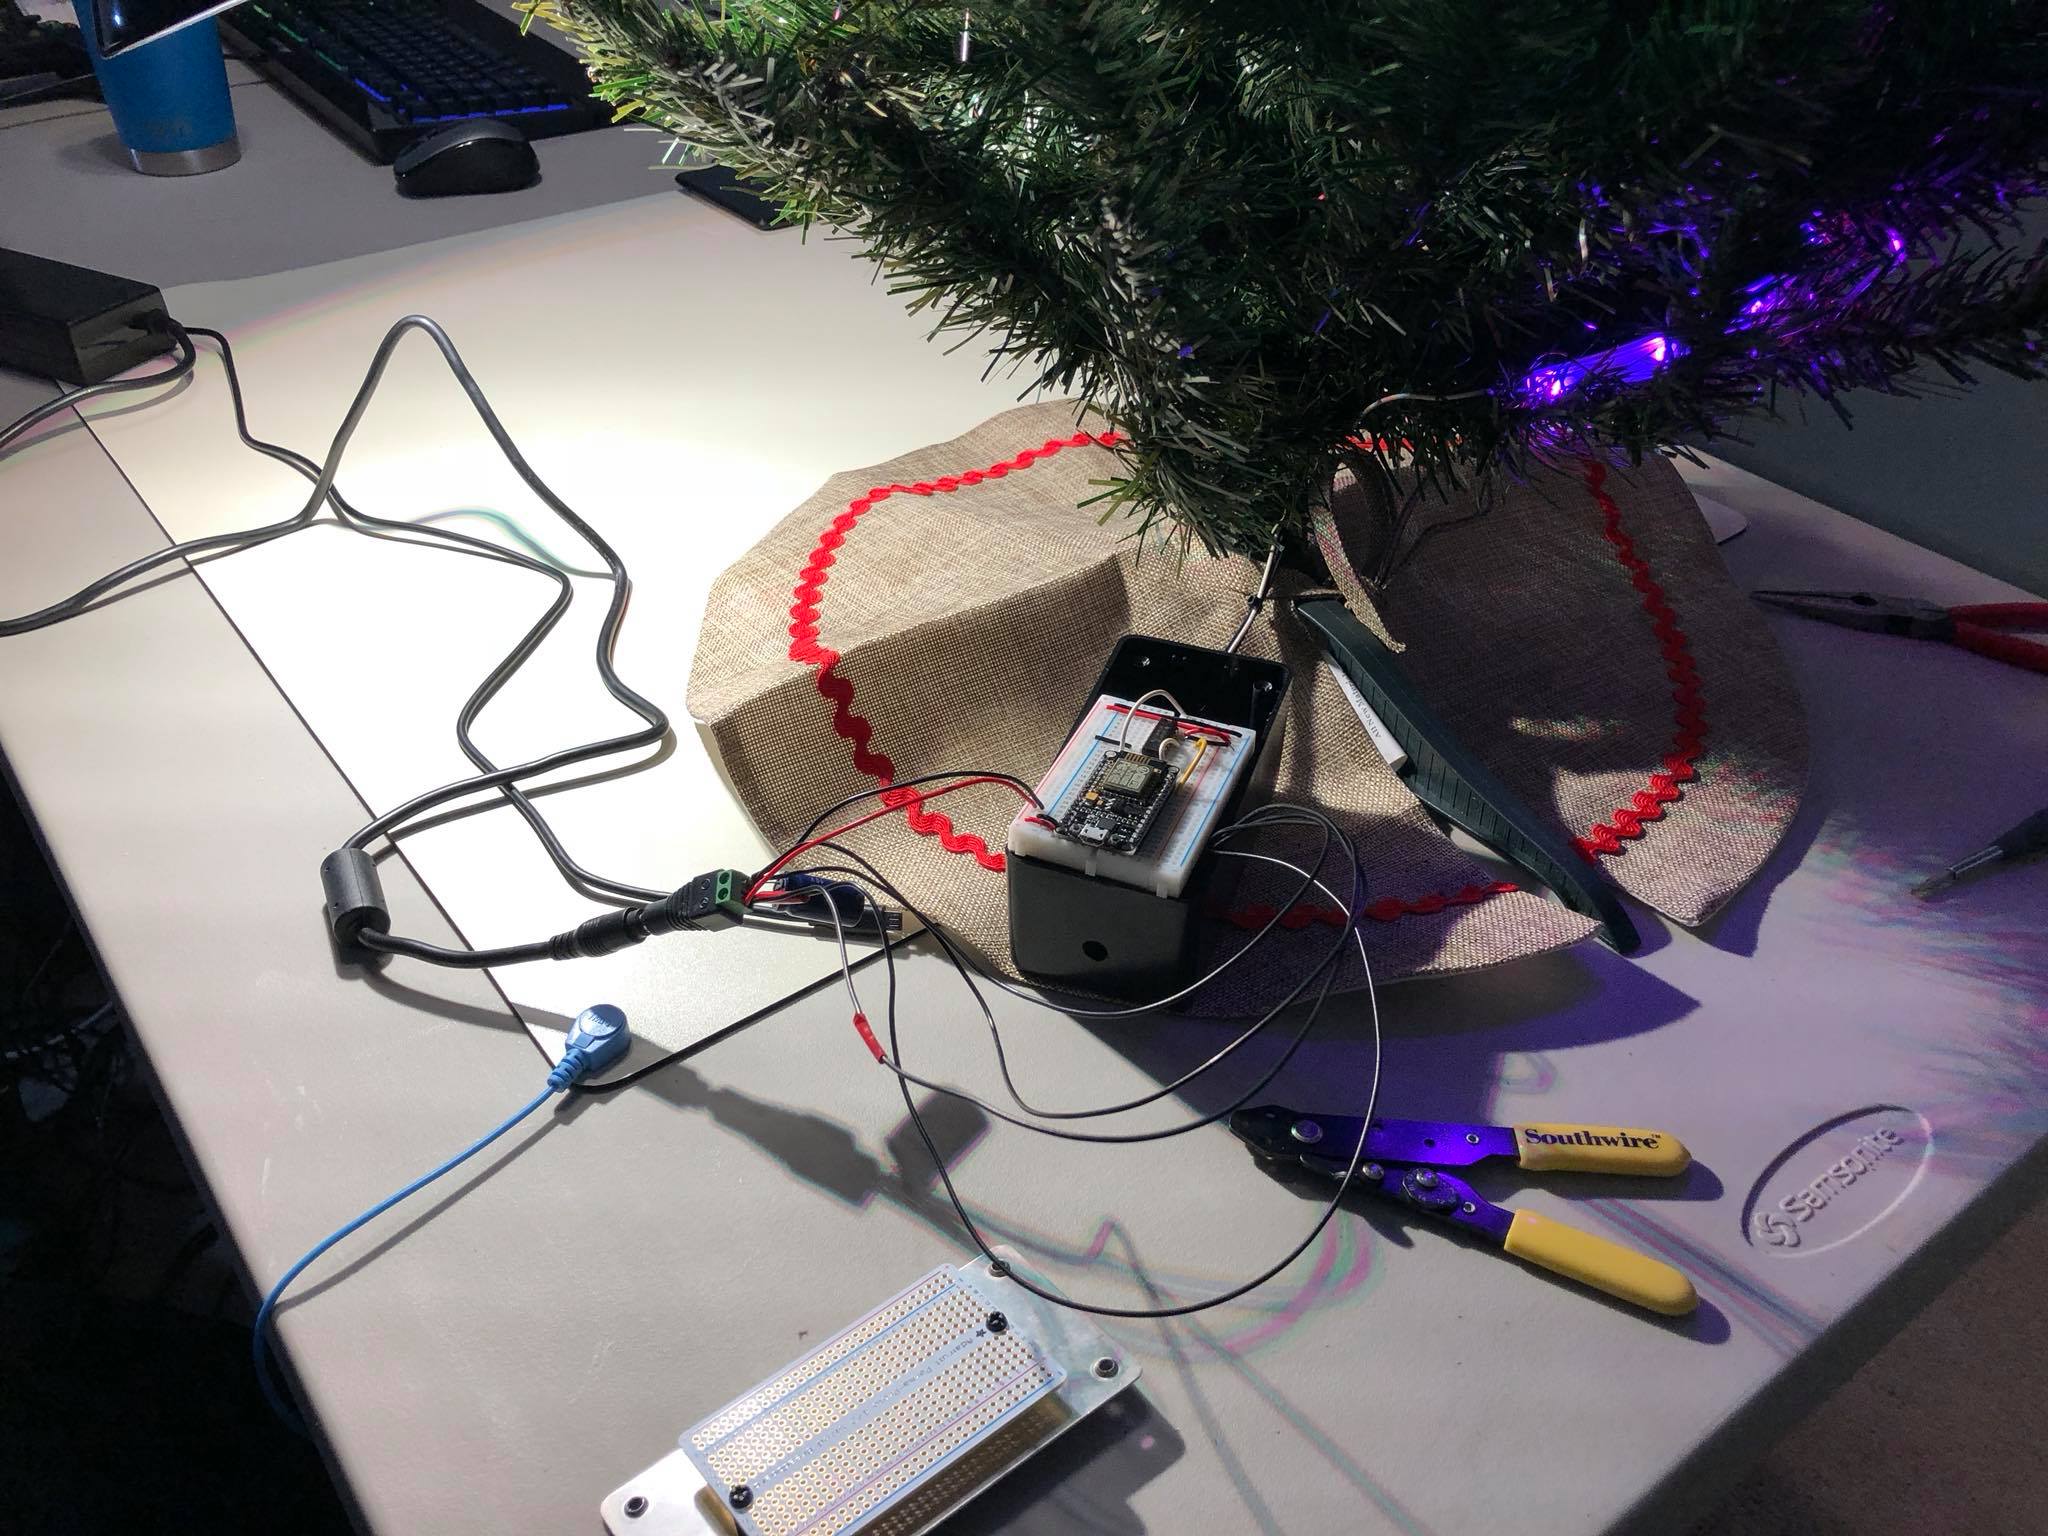
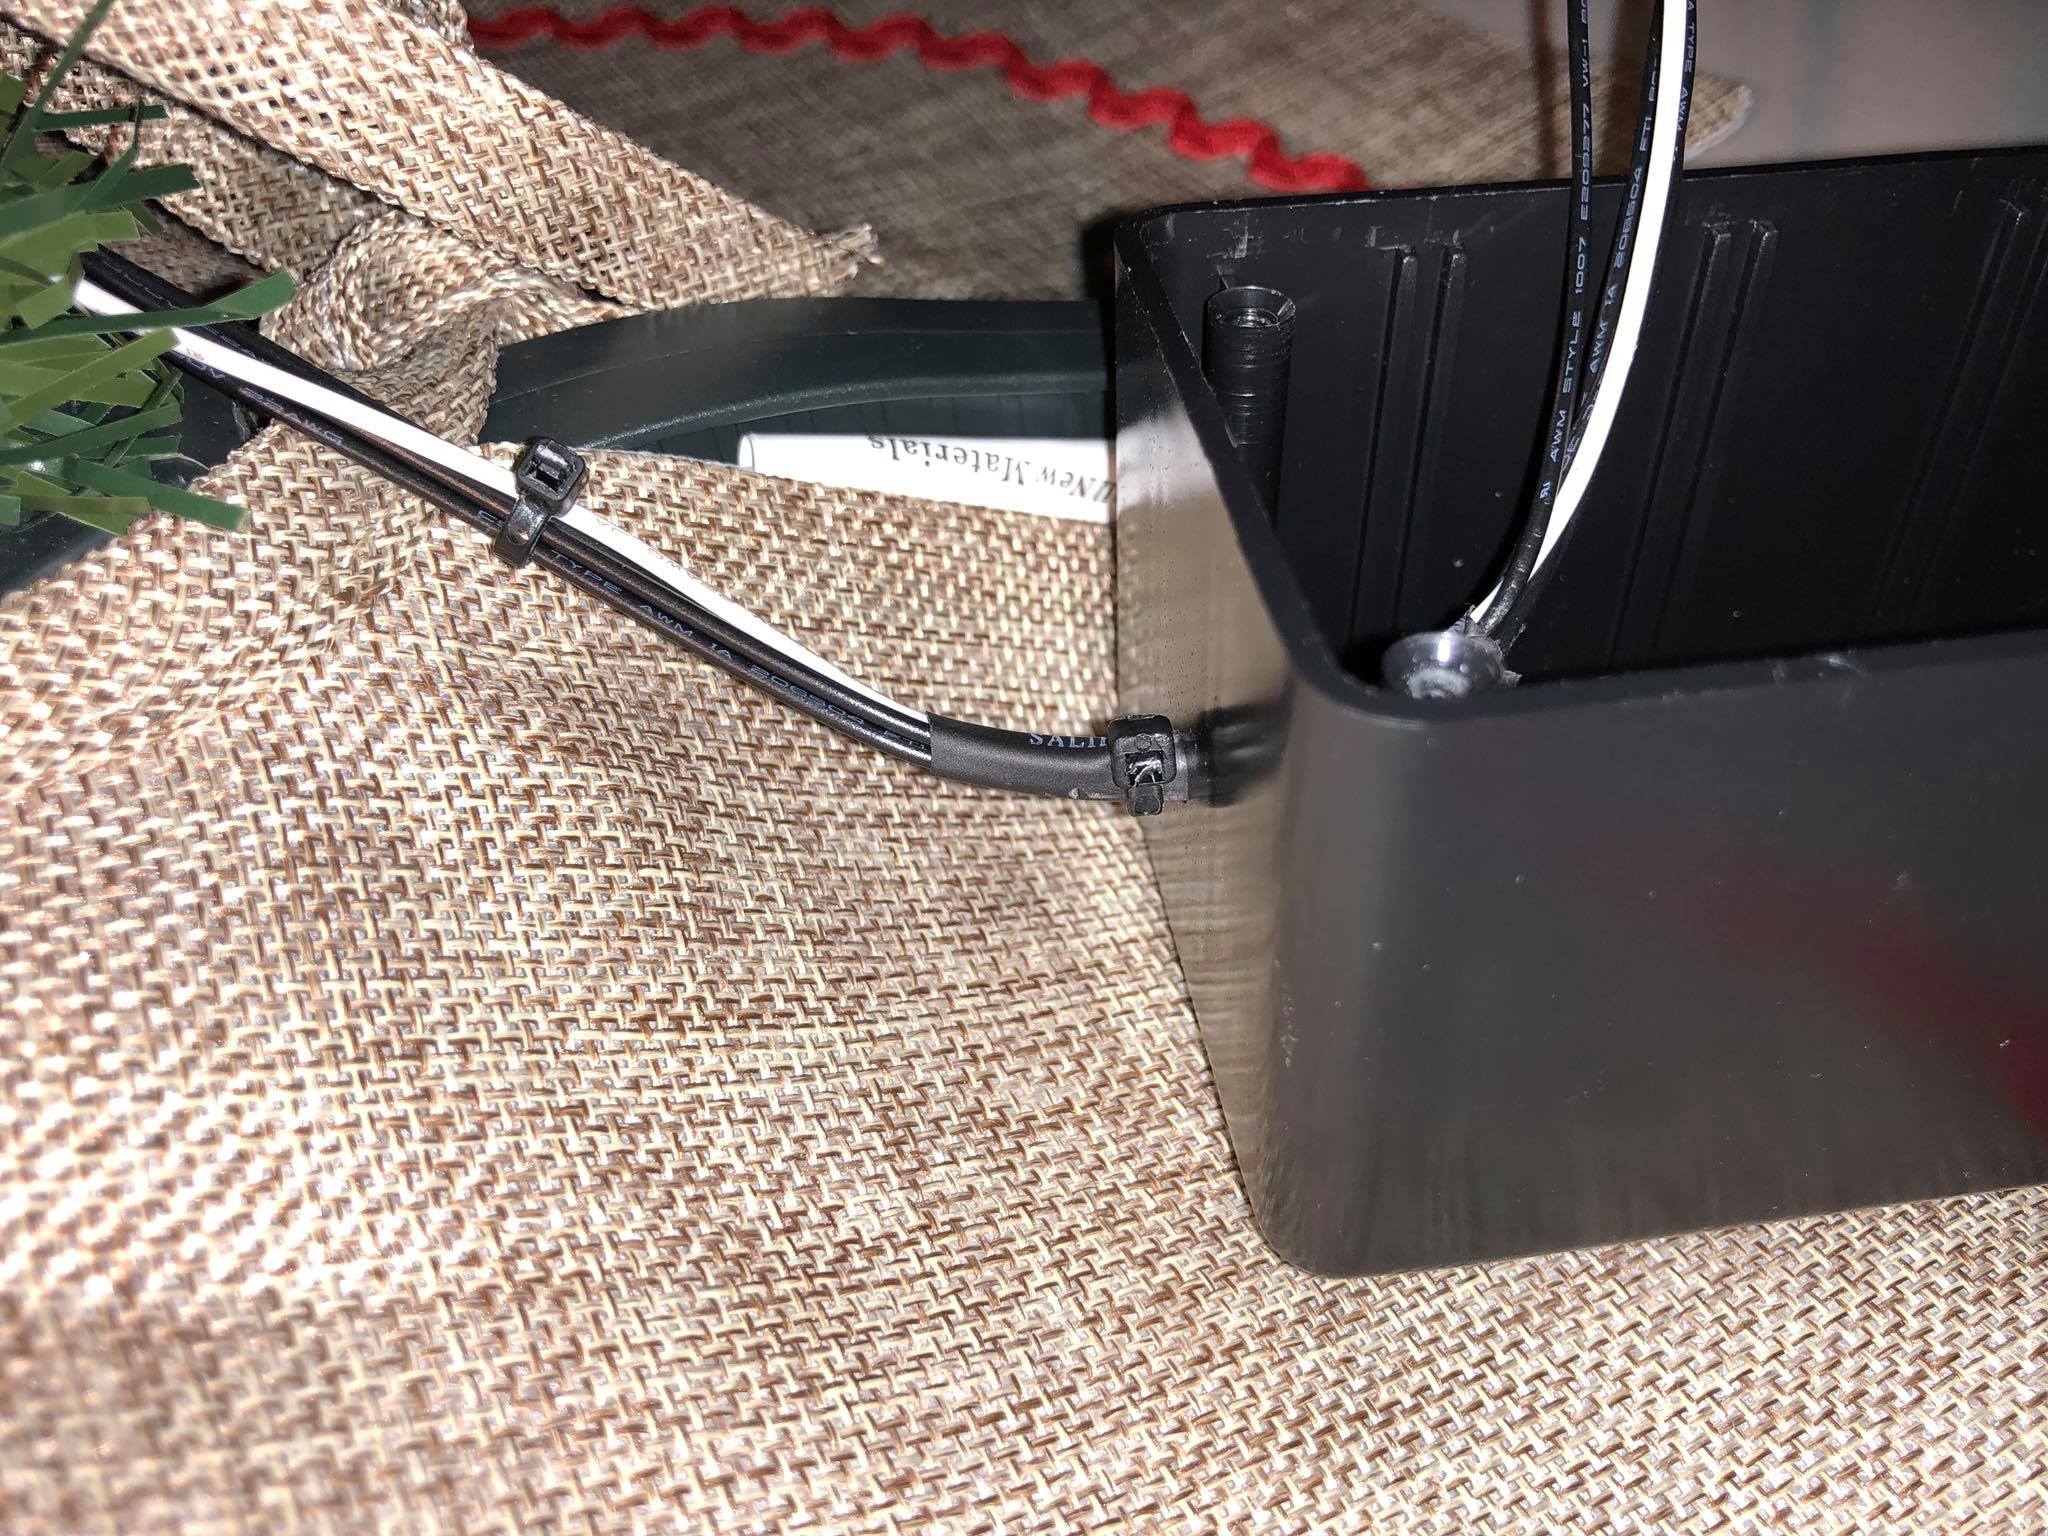
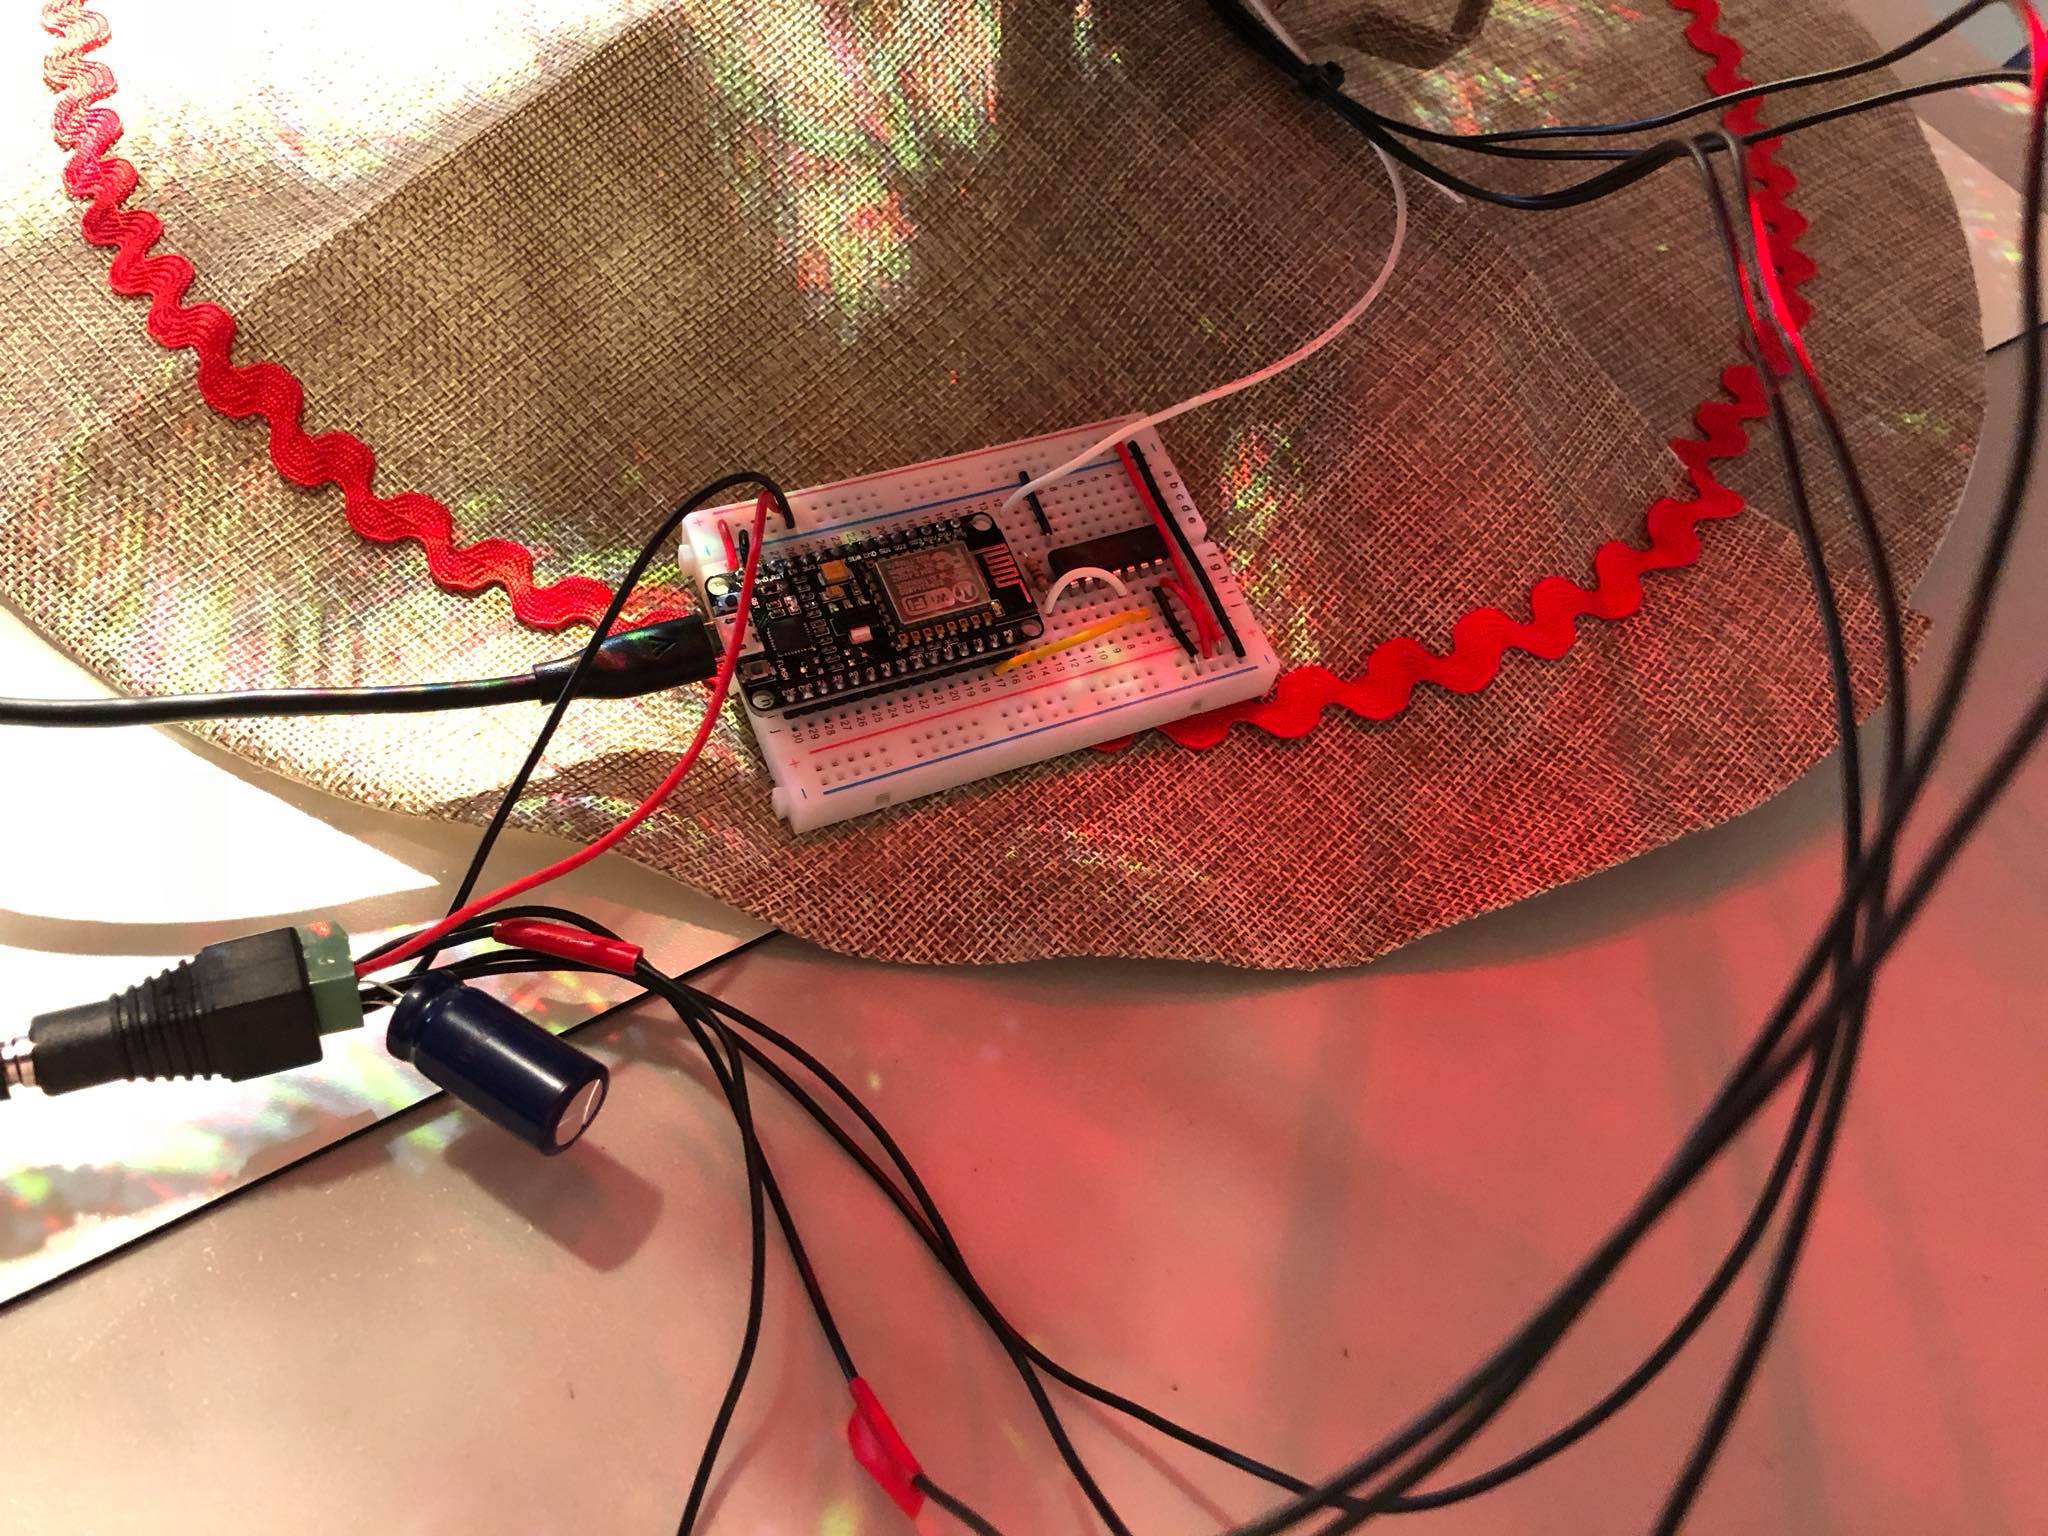
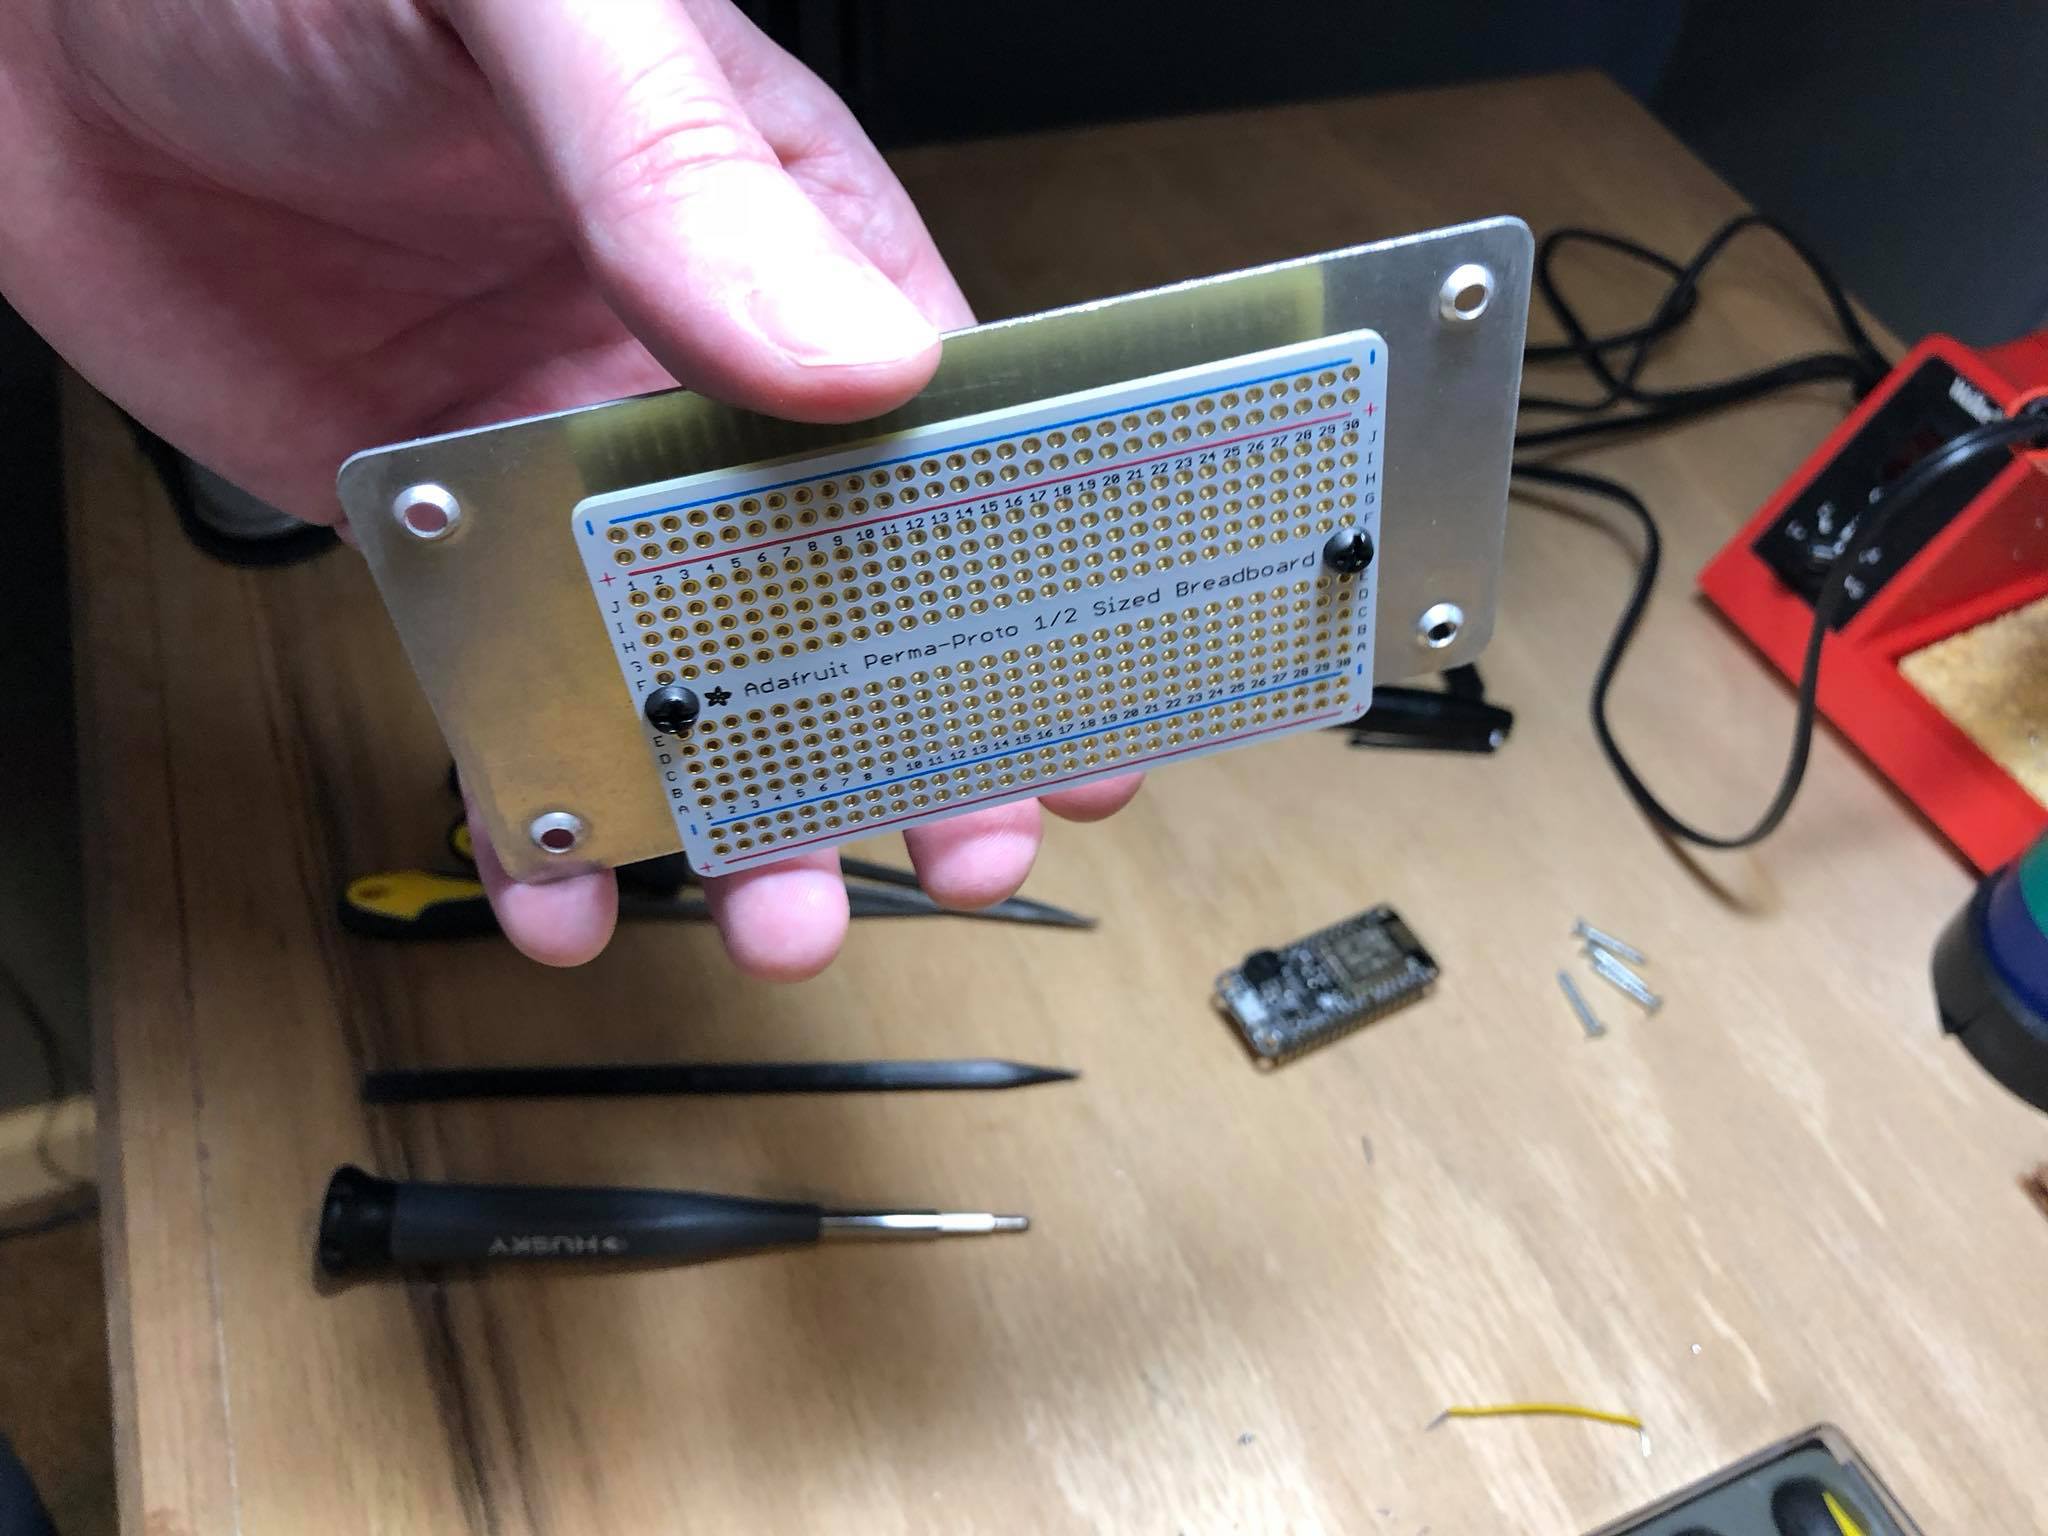
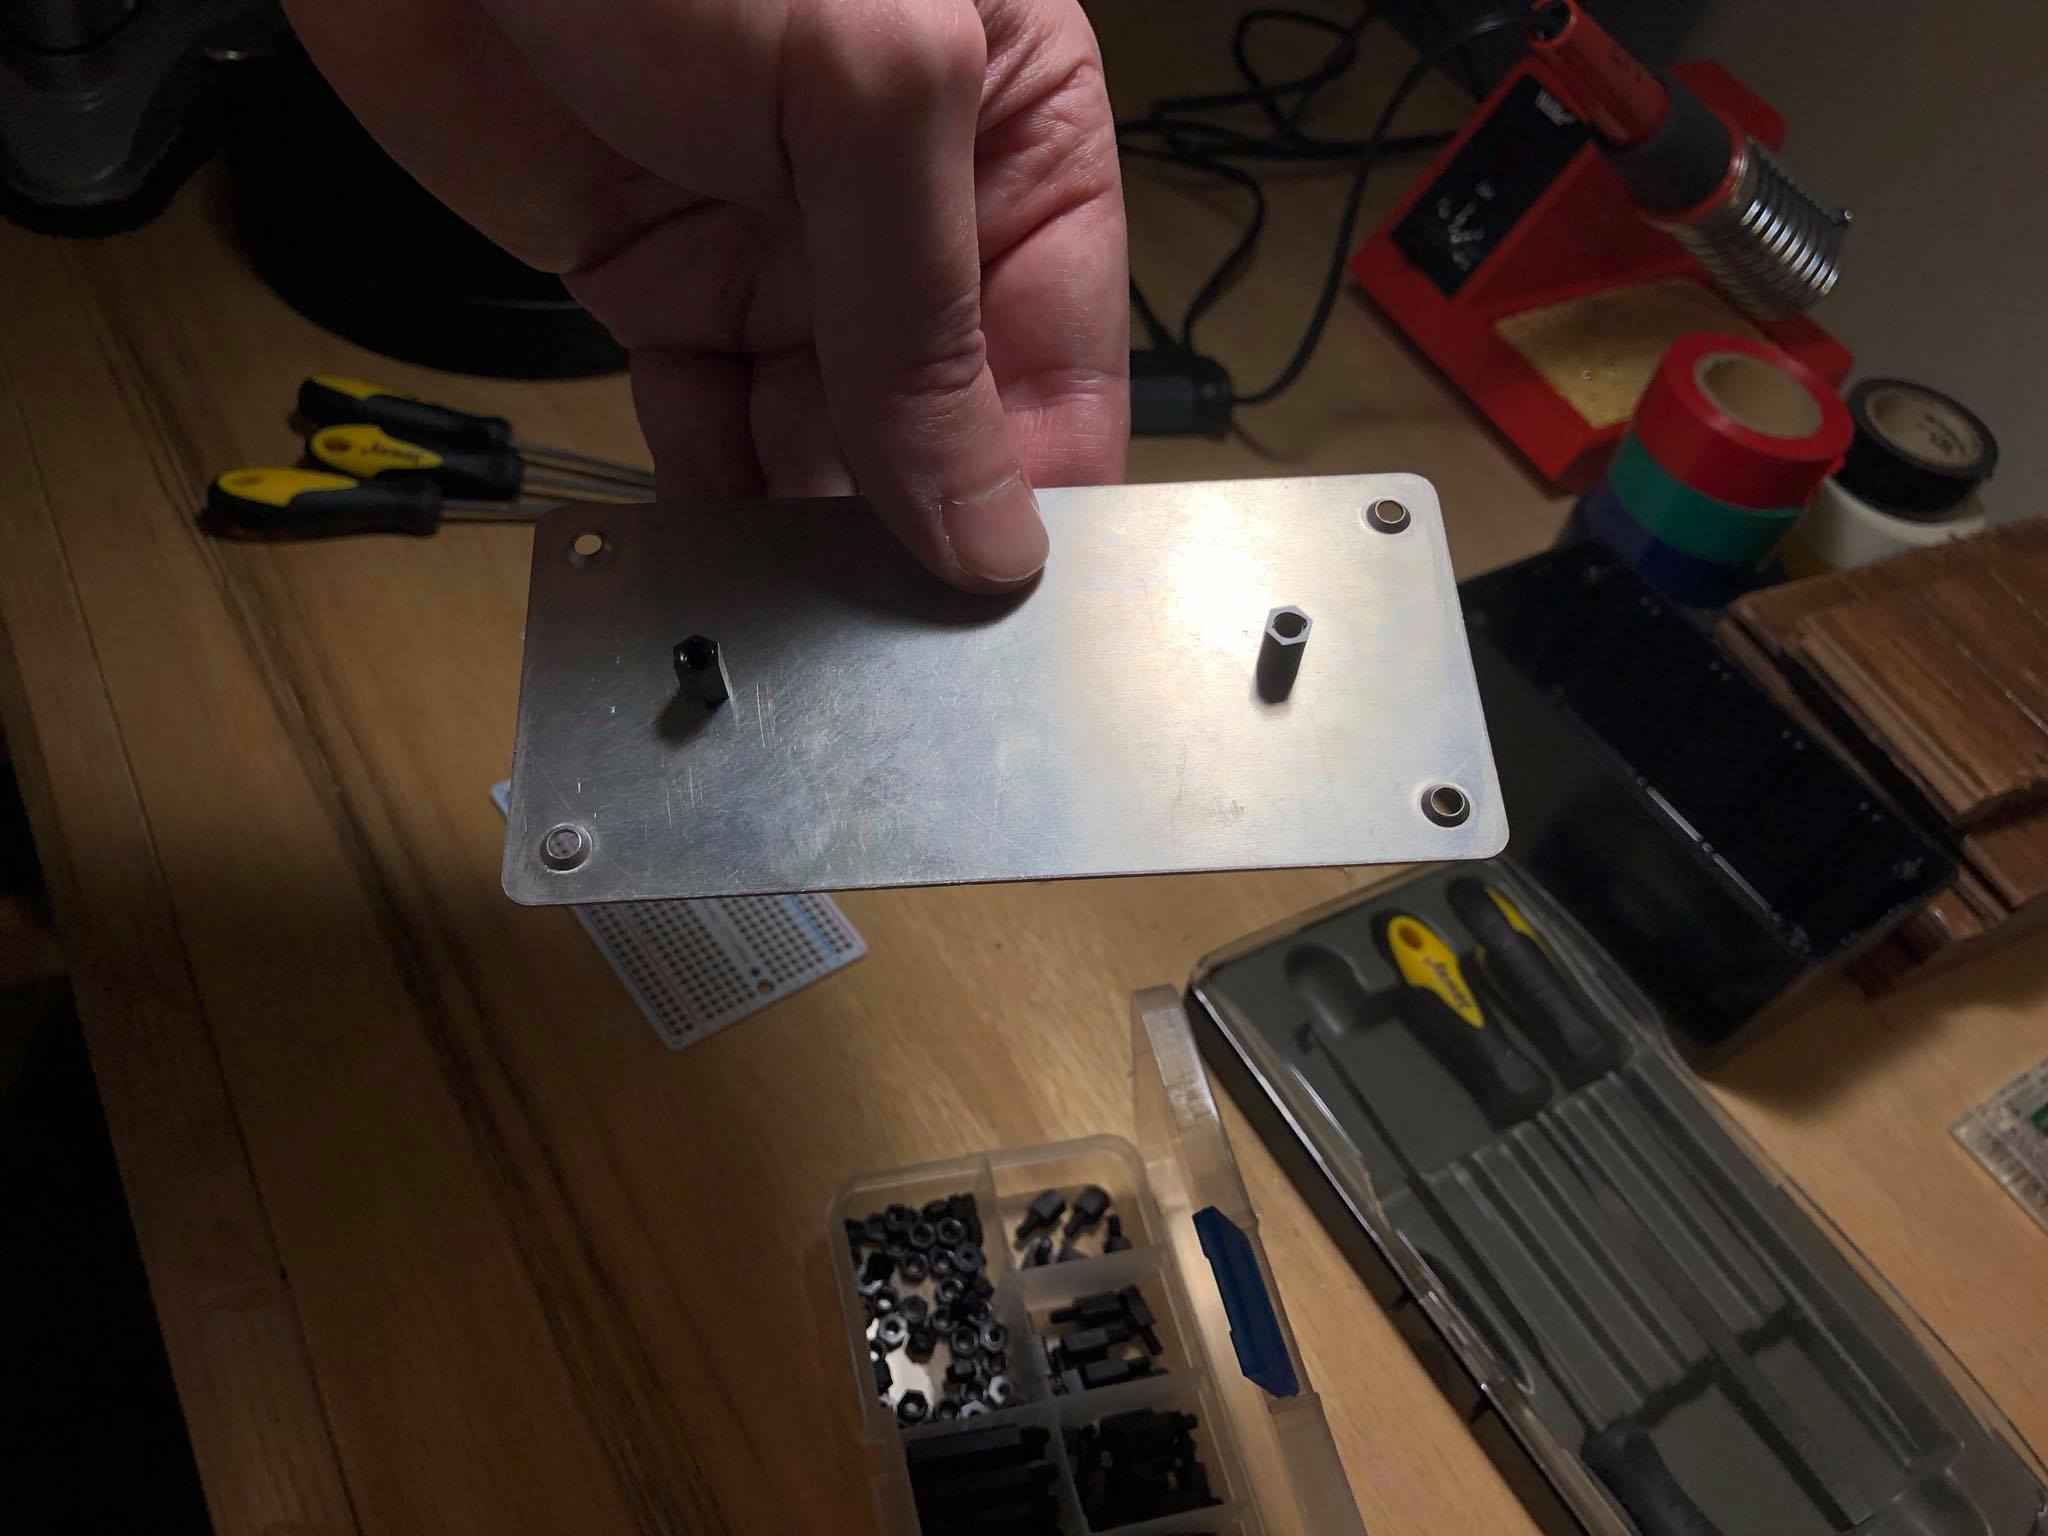
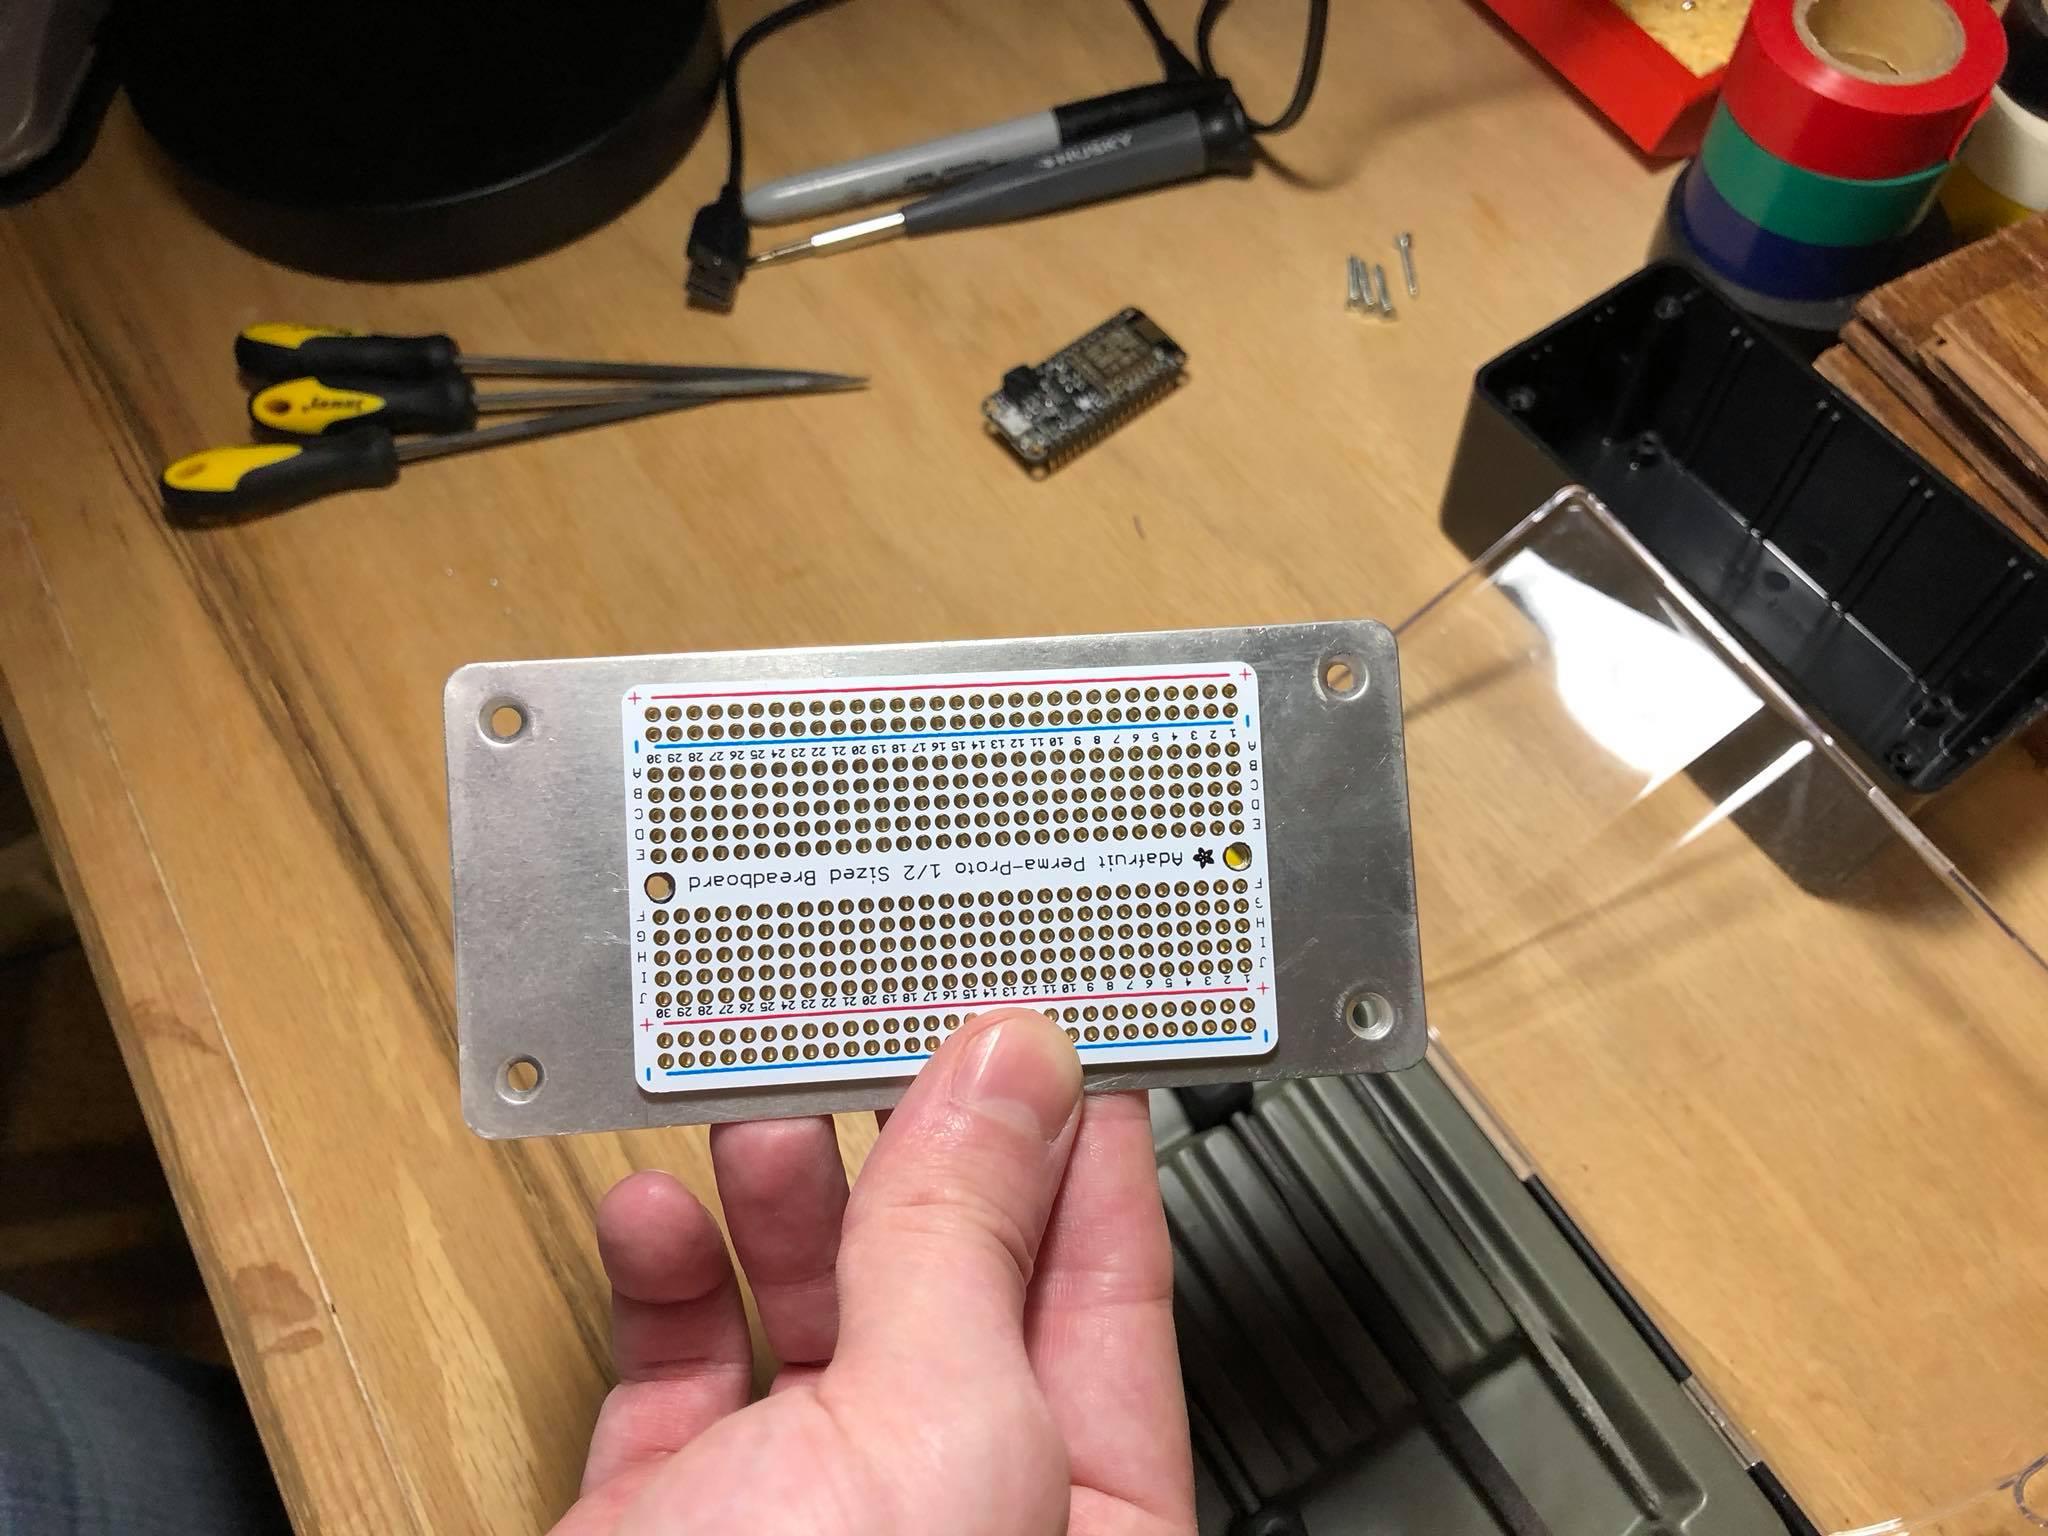
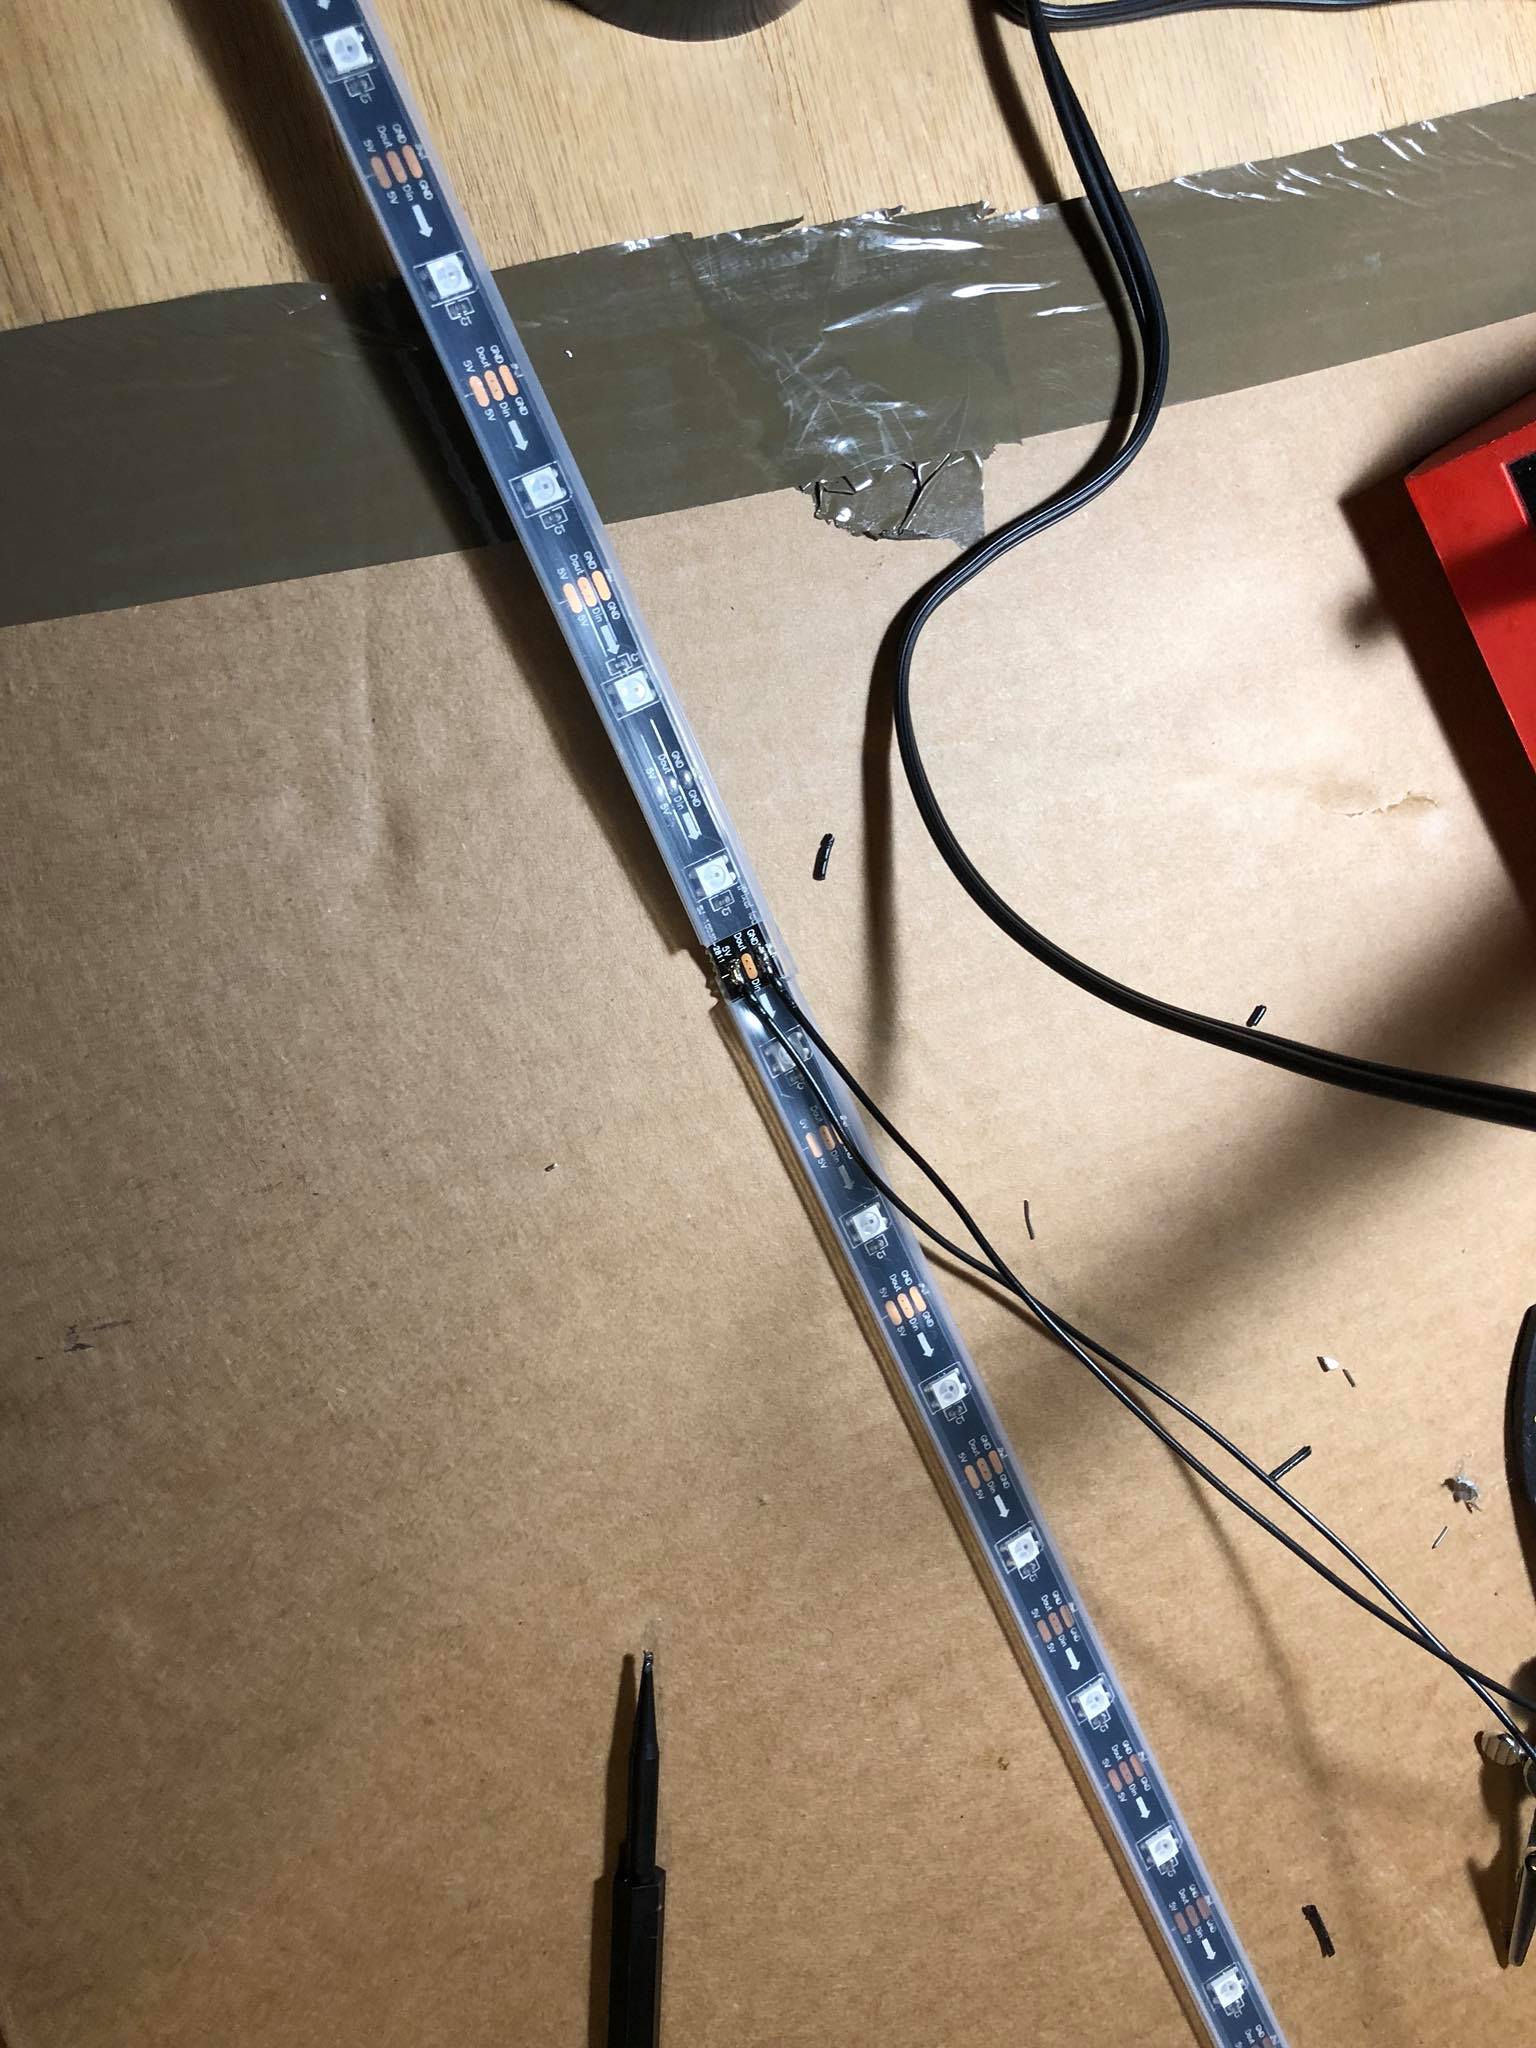
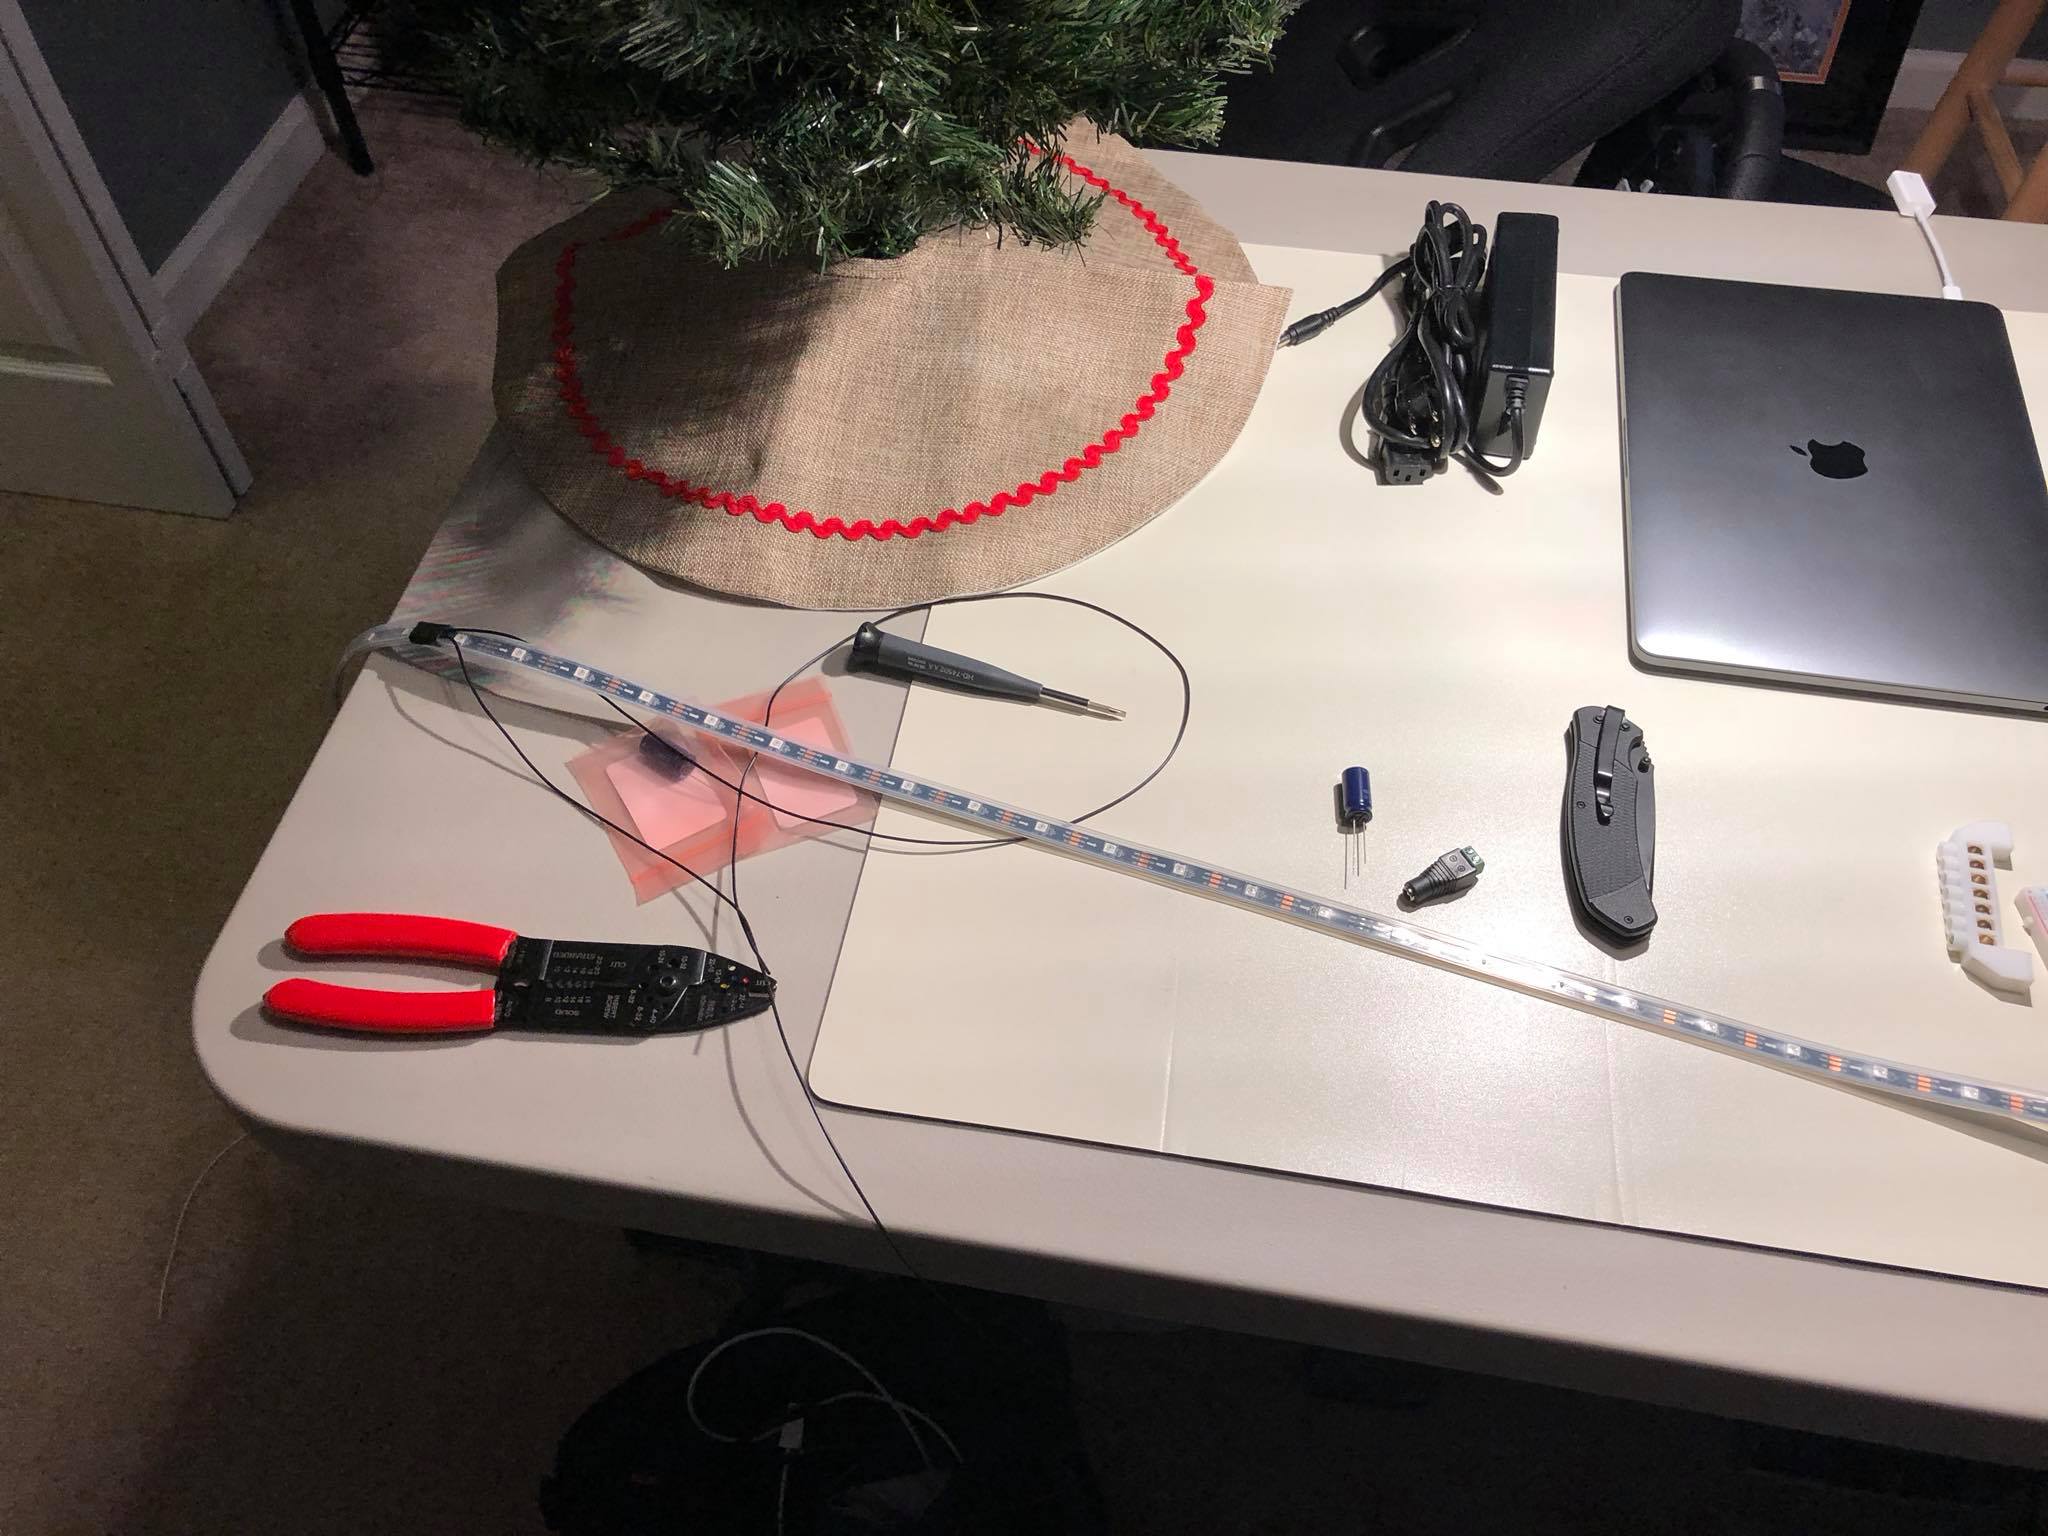
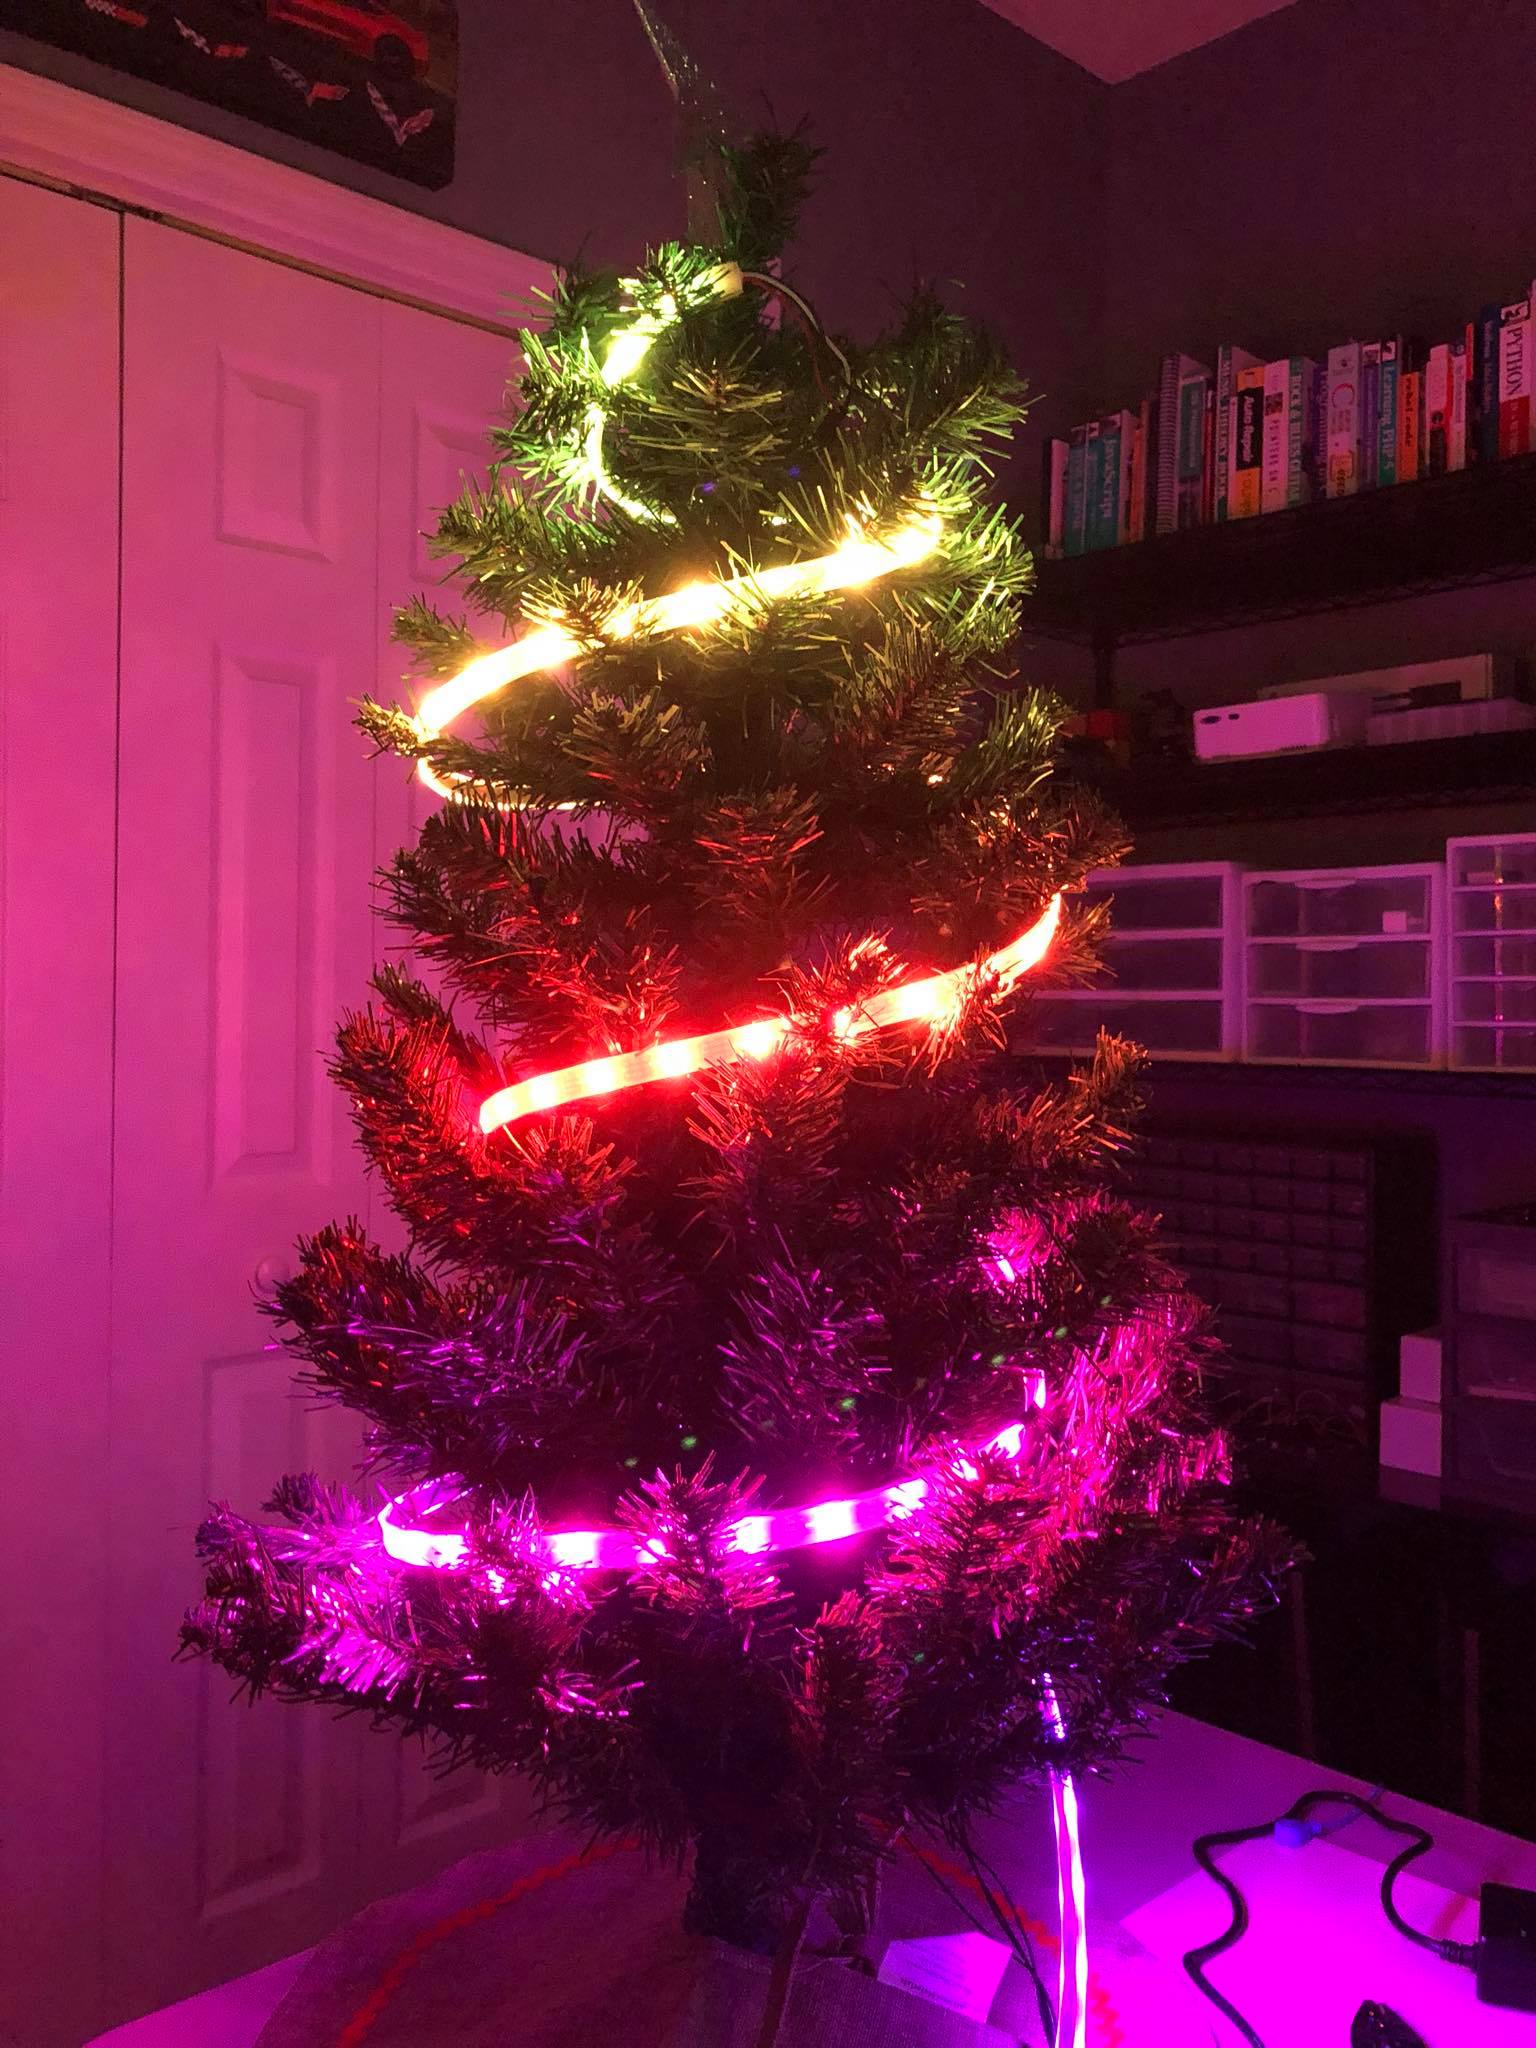
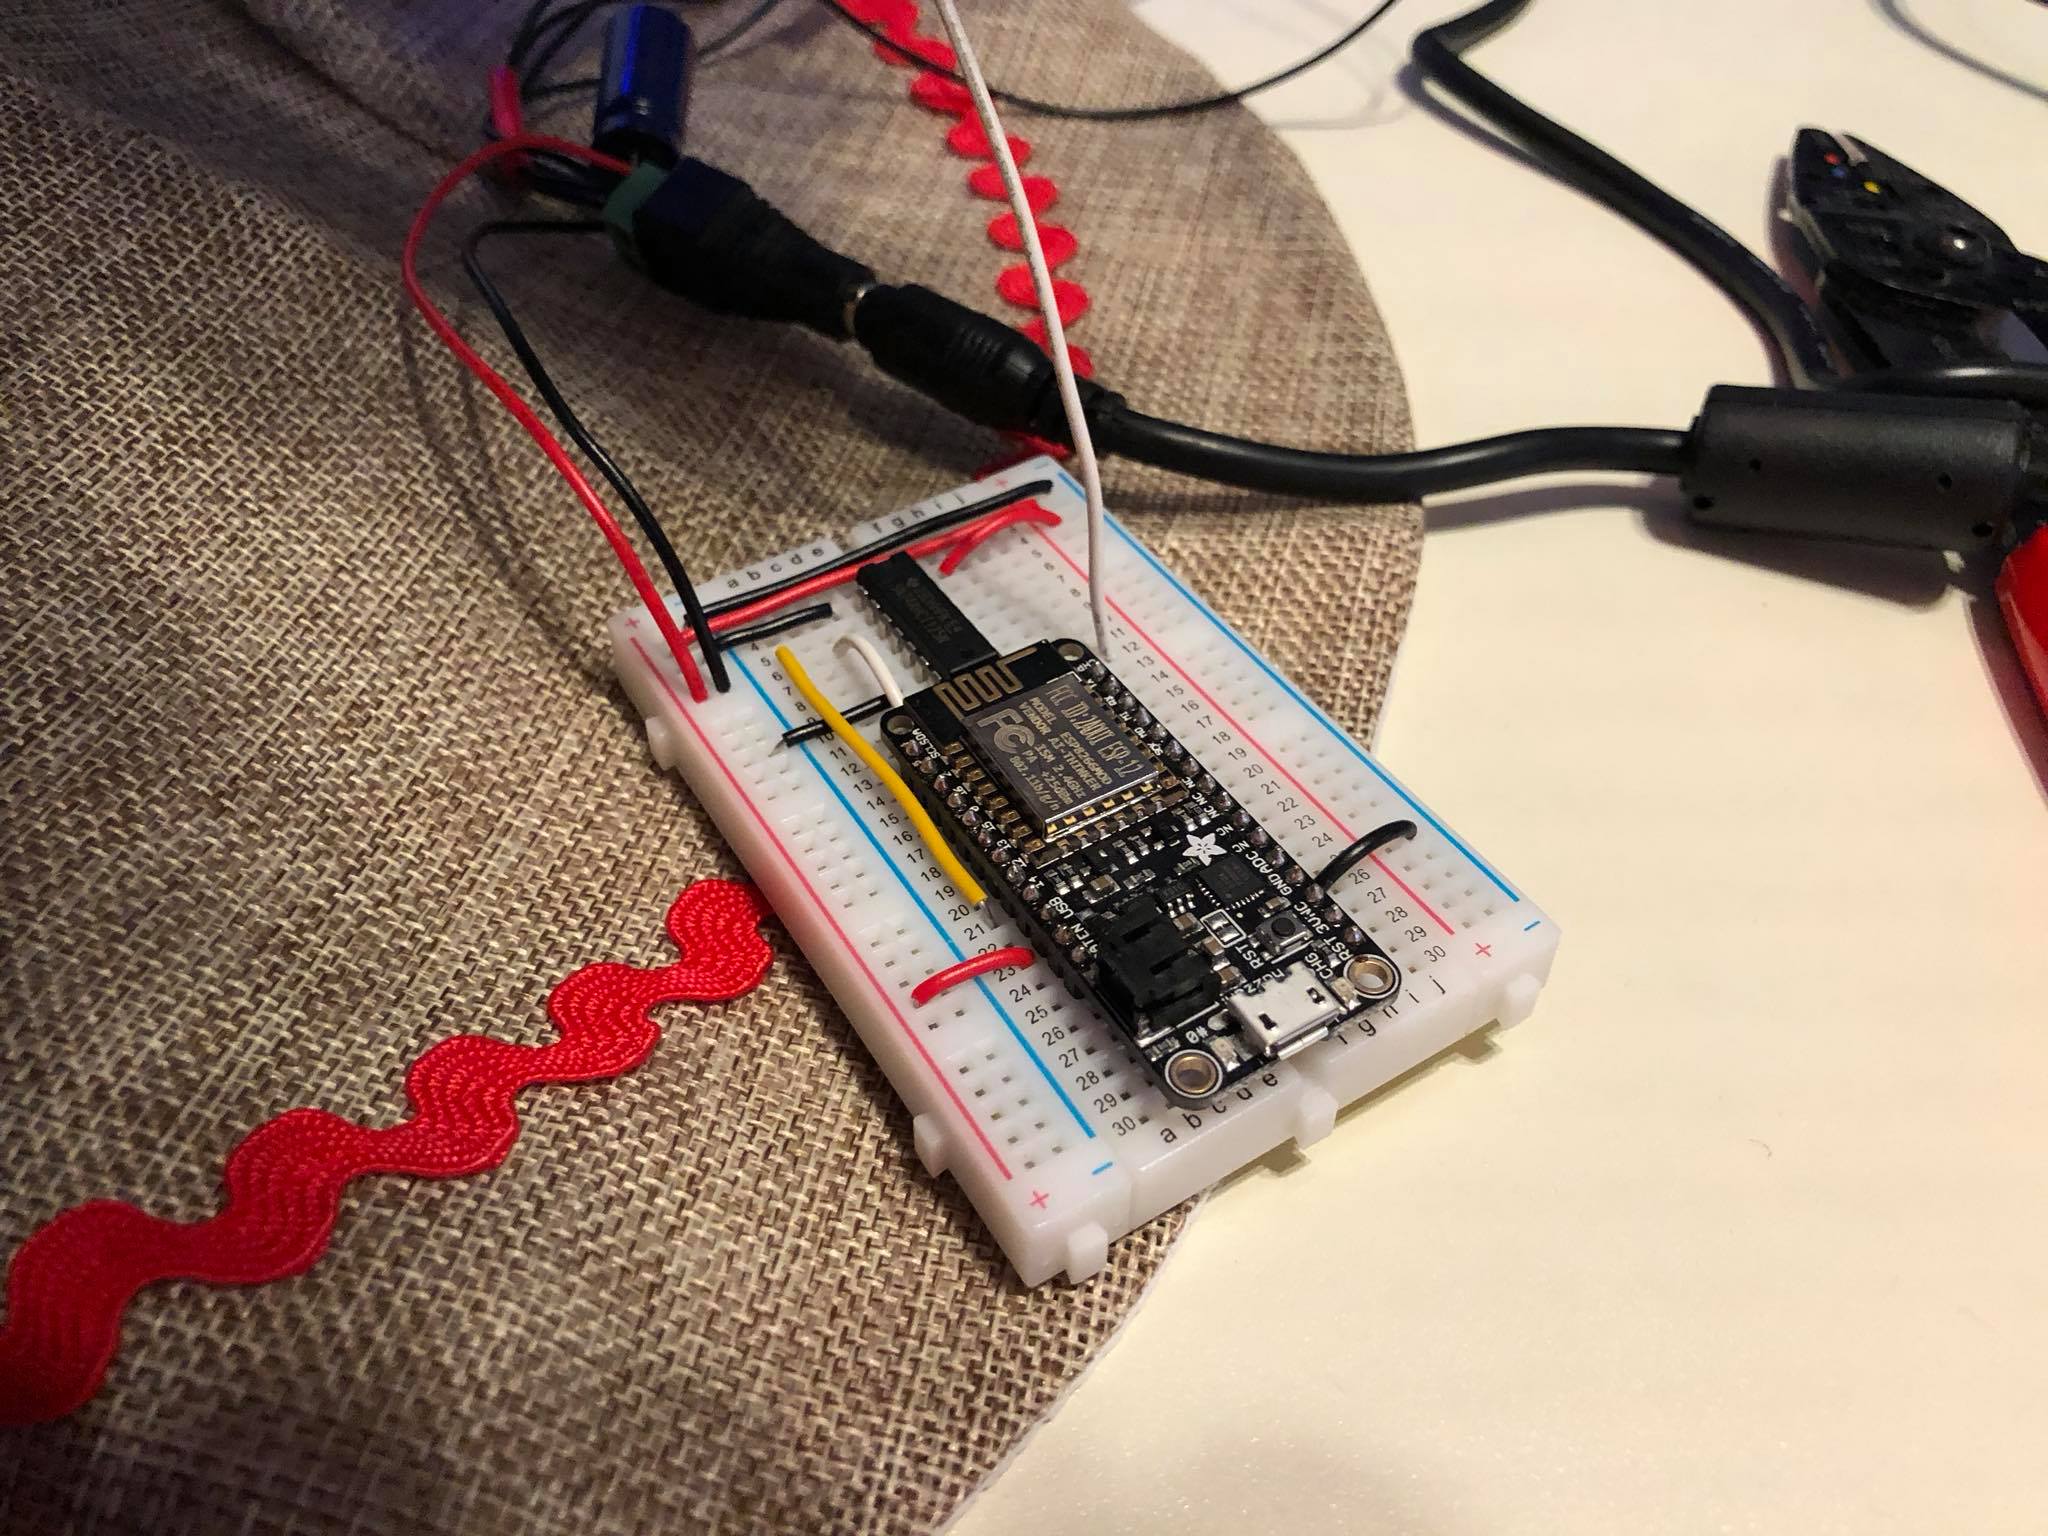
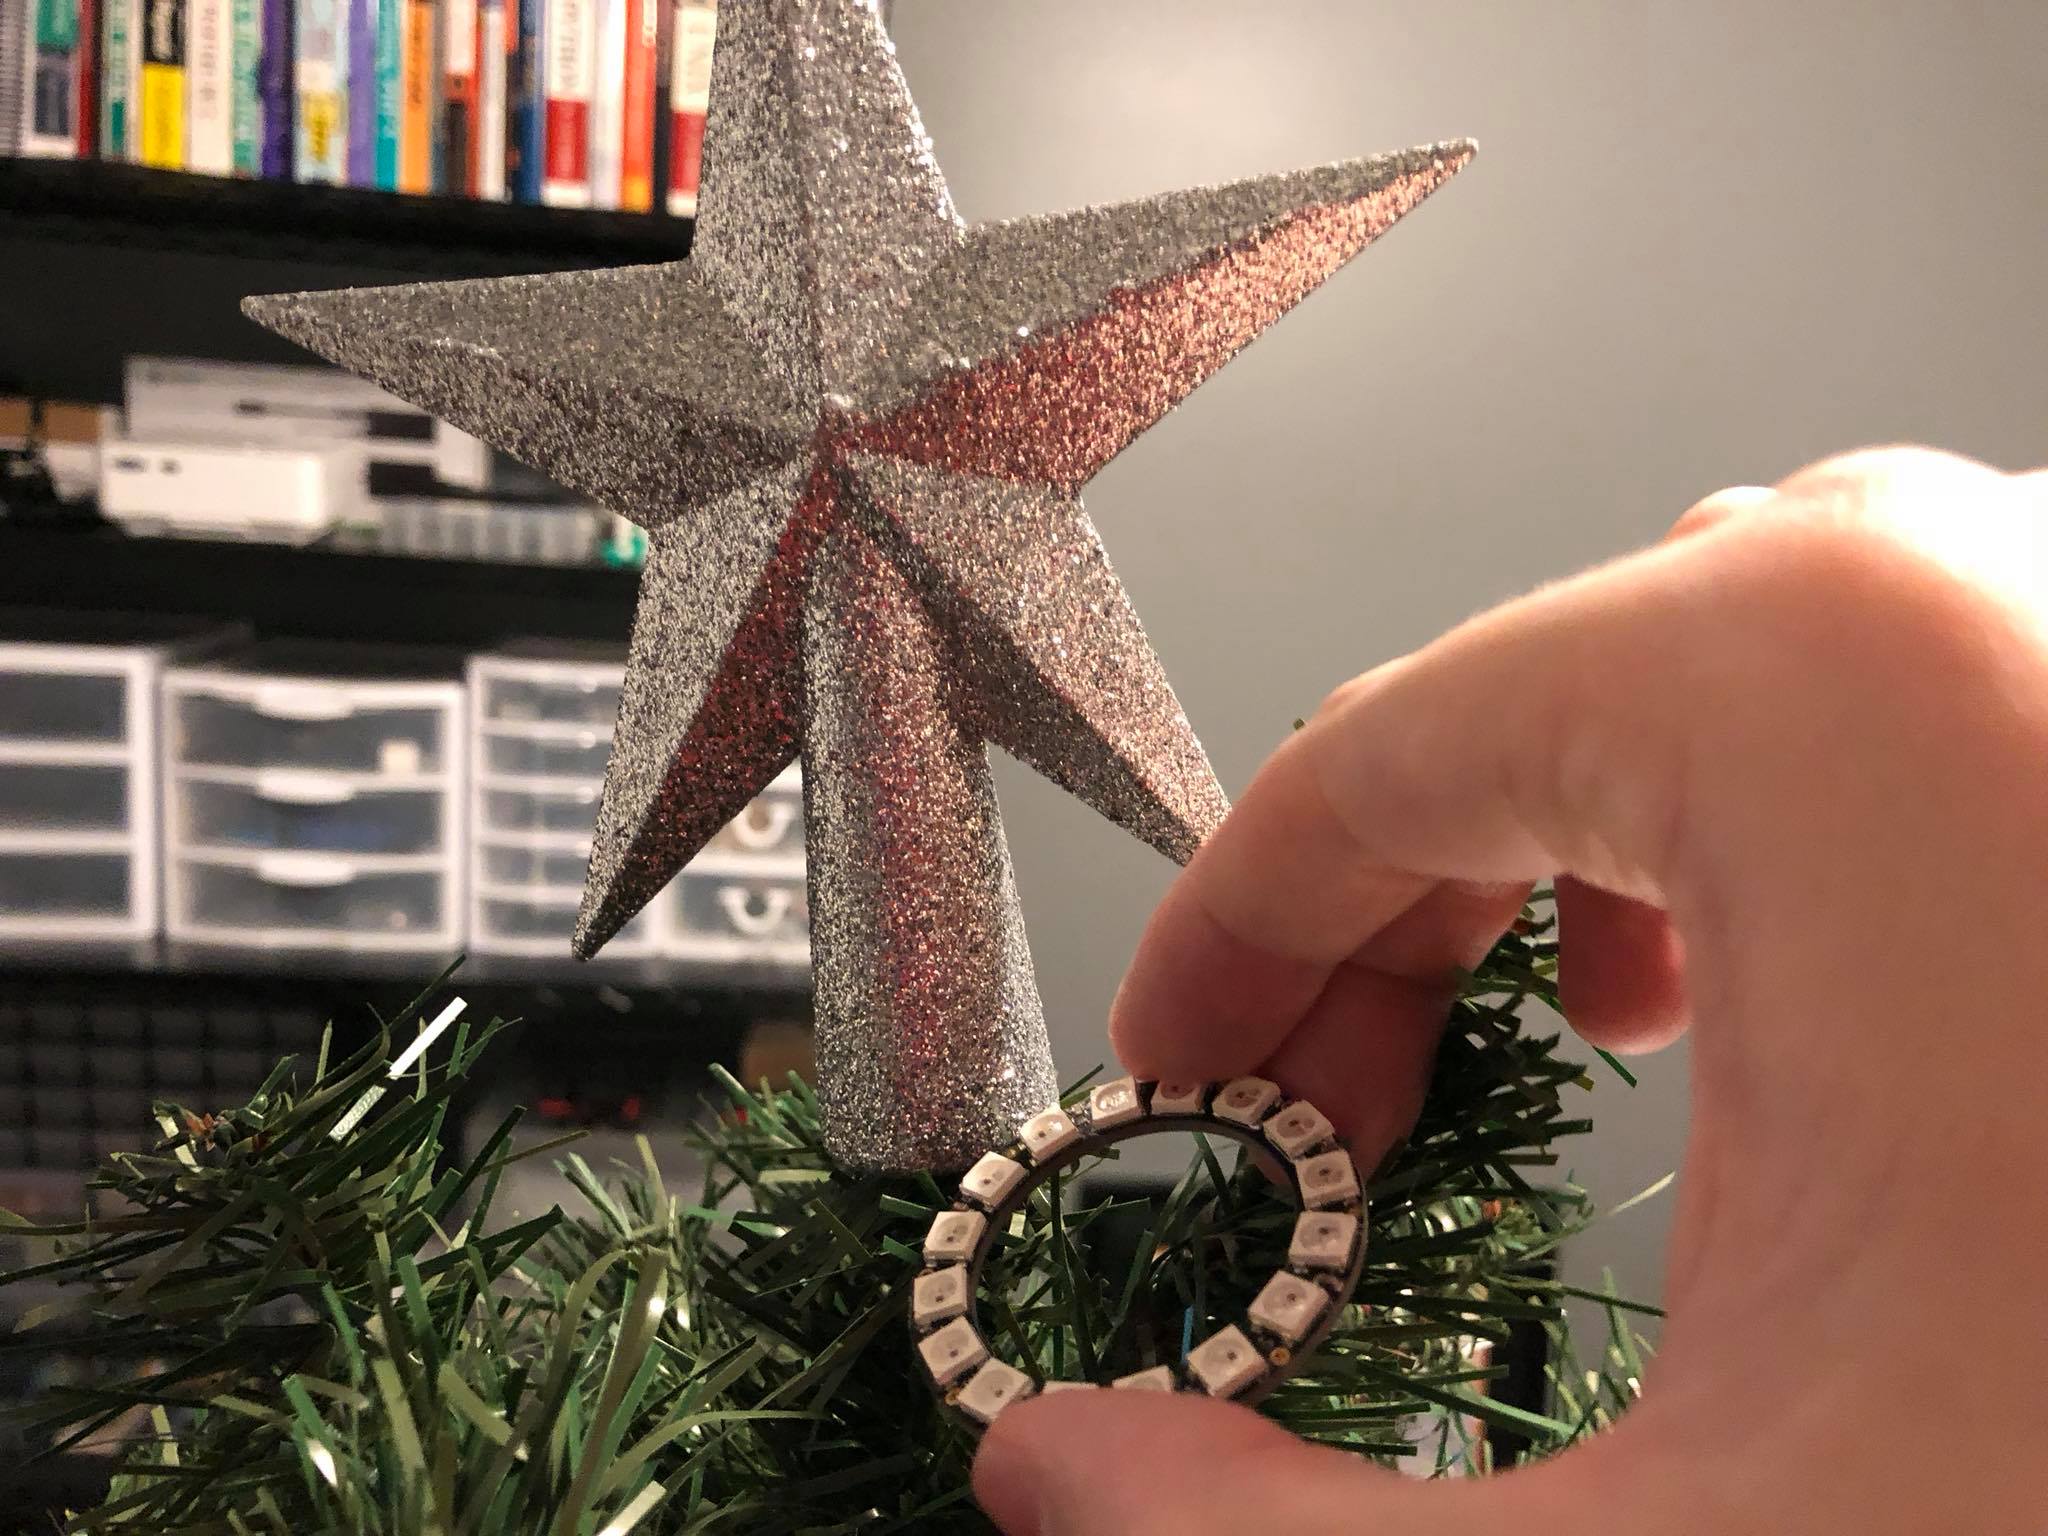
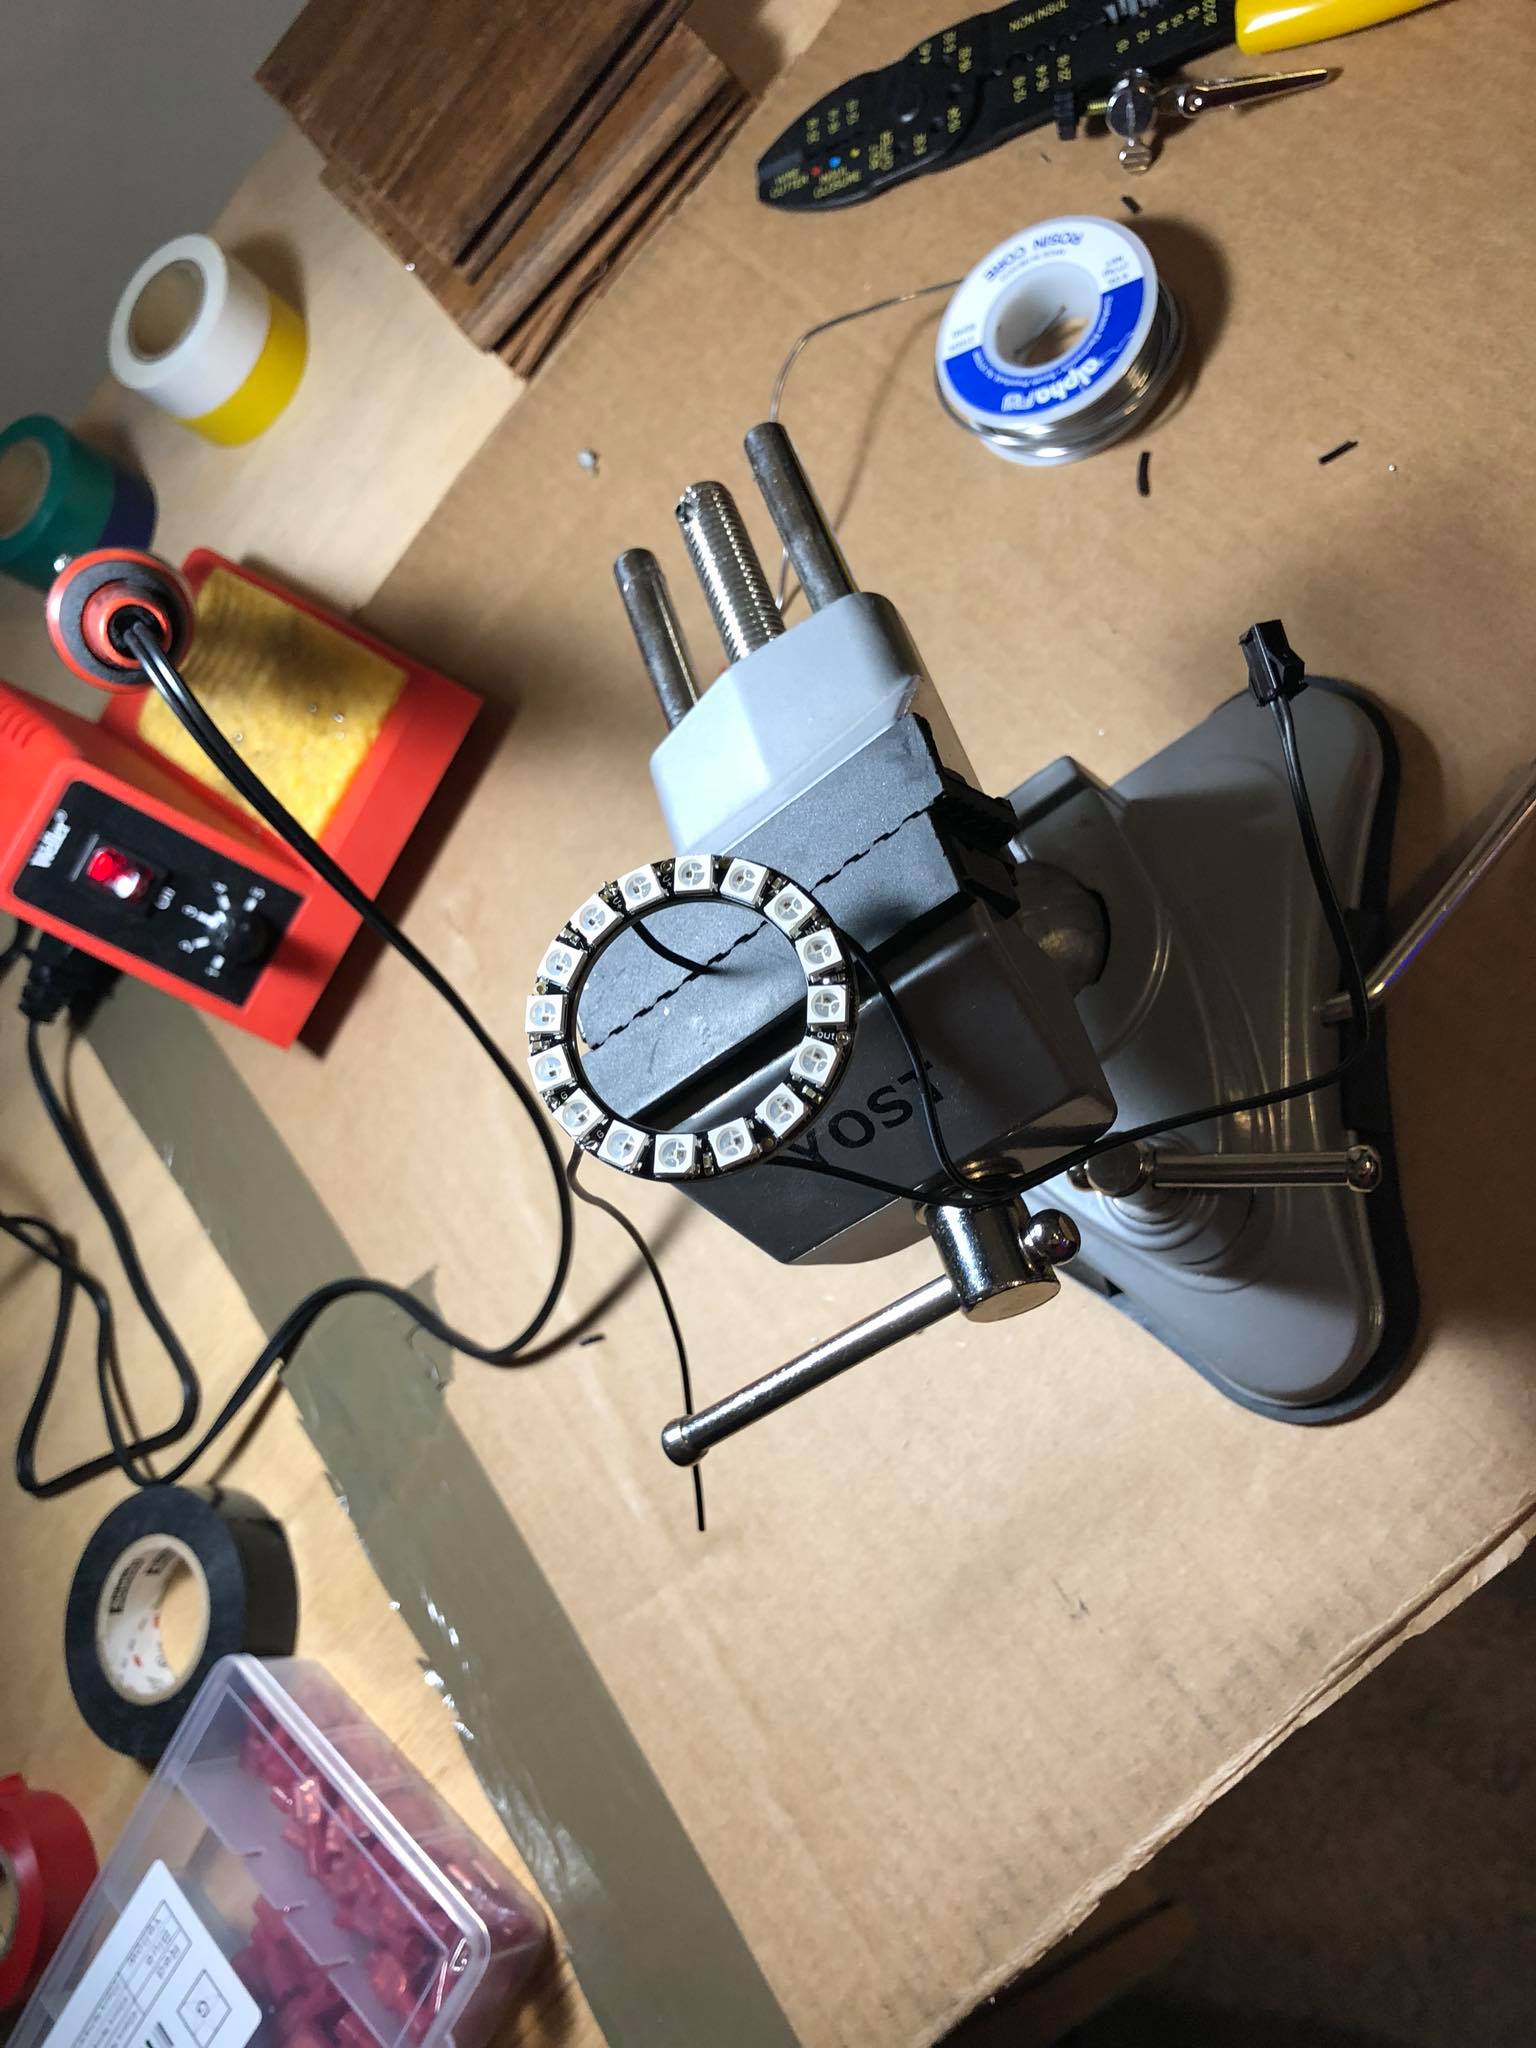
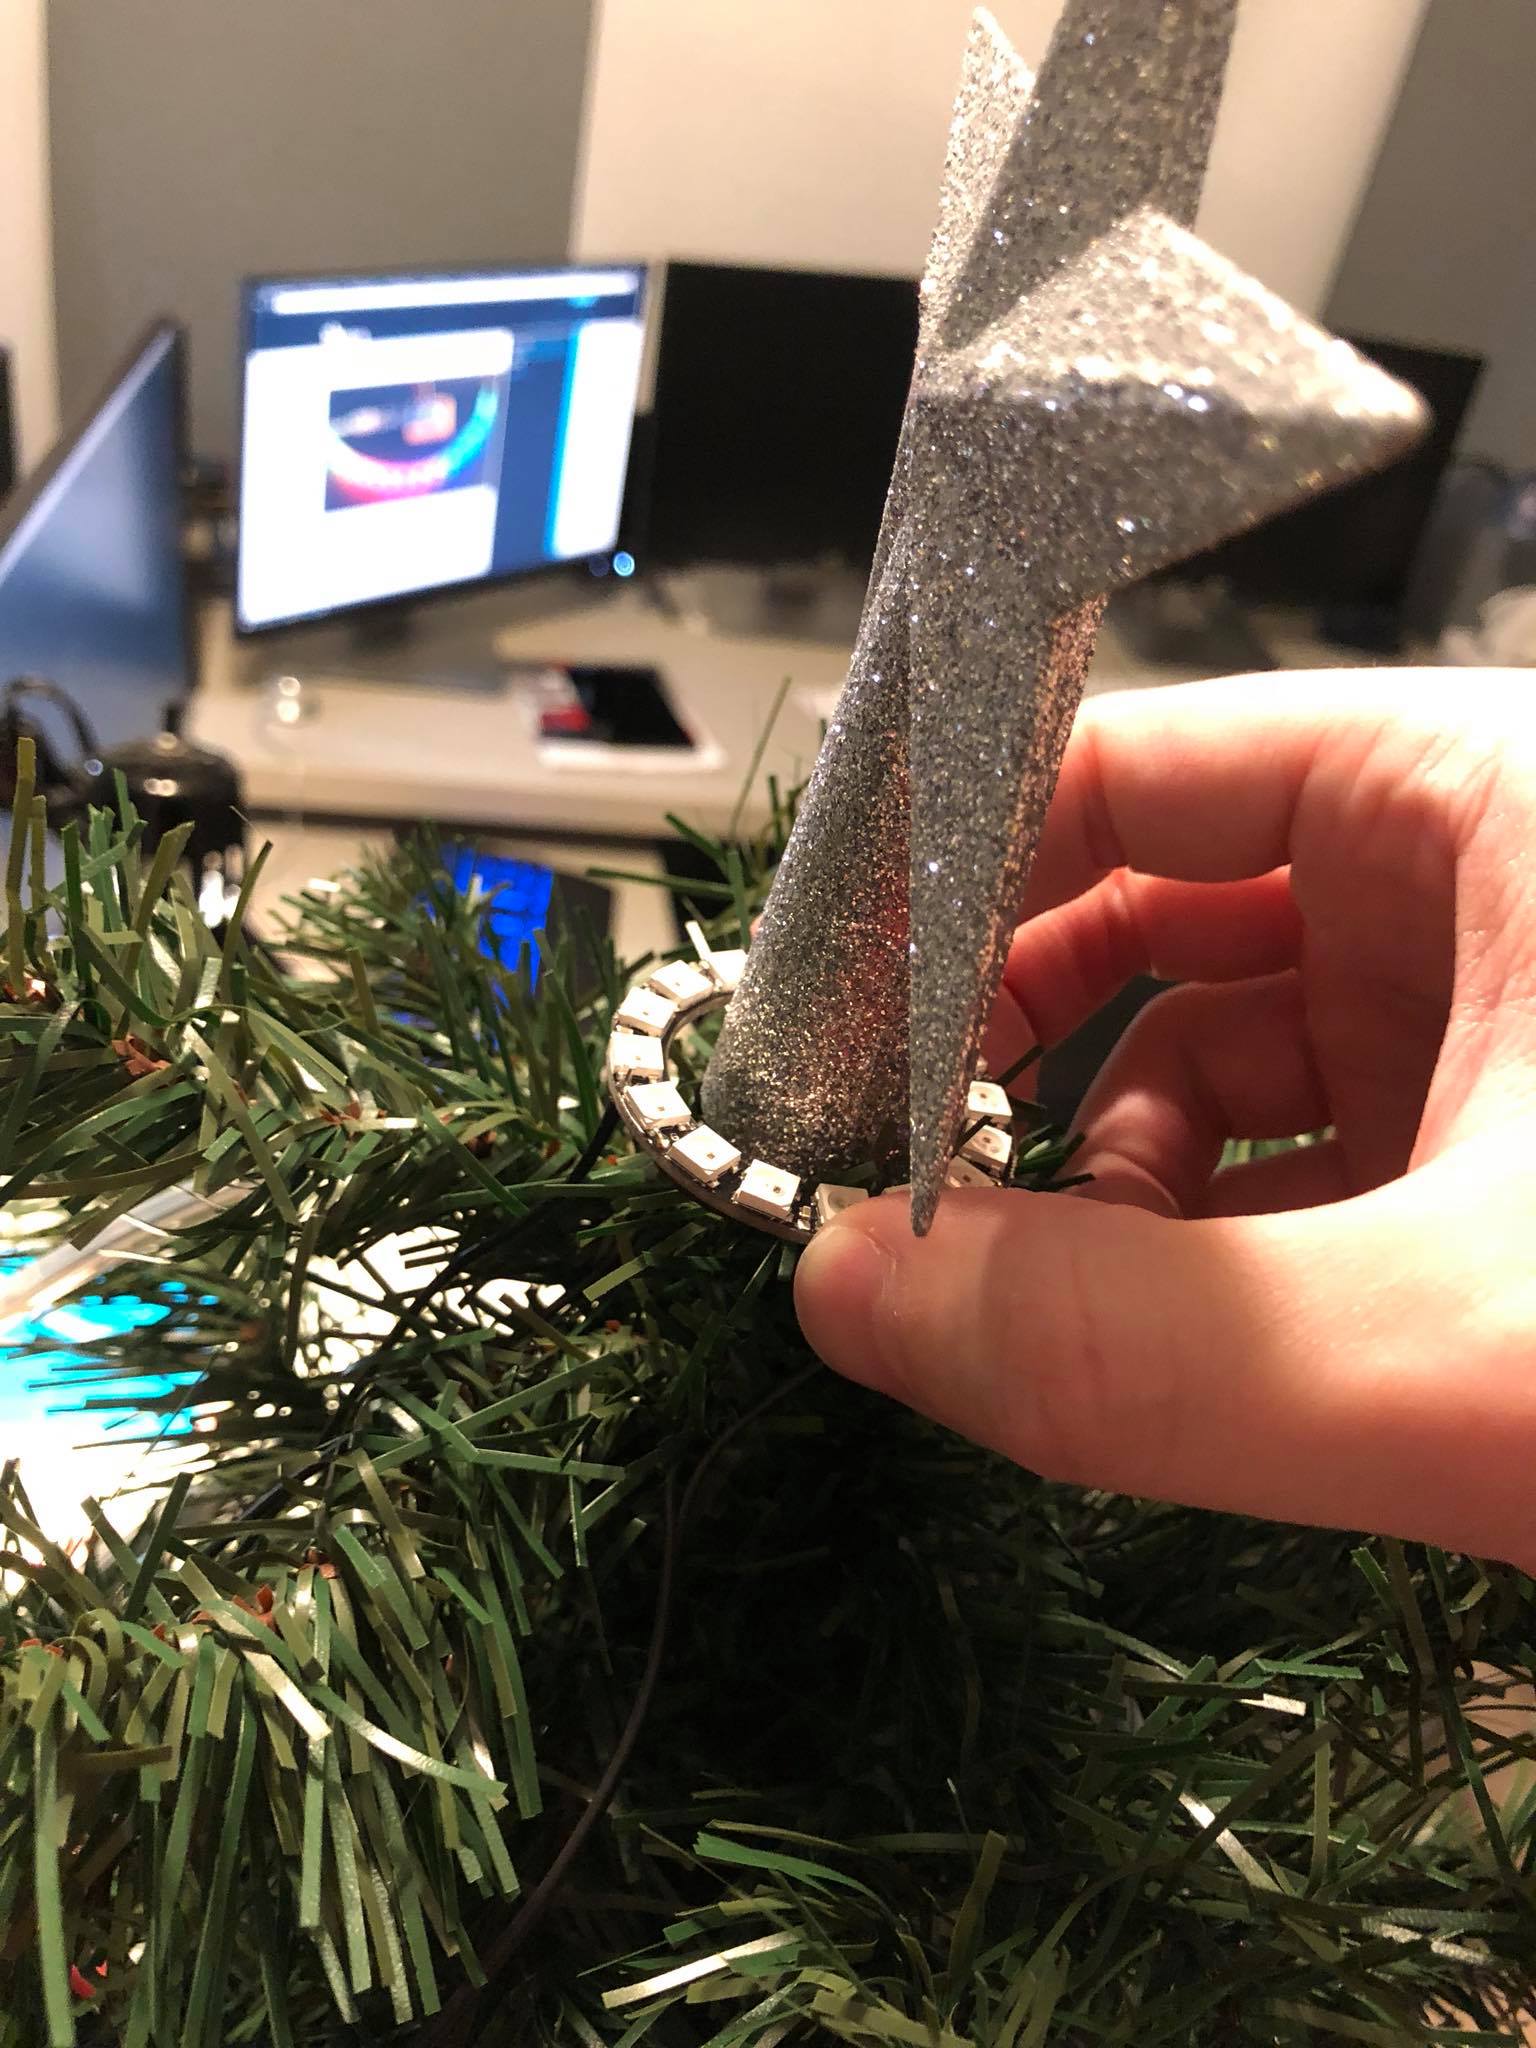
See the GitHub repo for a parts list, wiring diagram, and Arduino code.


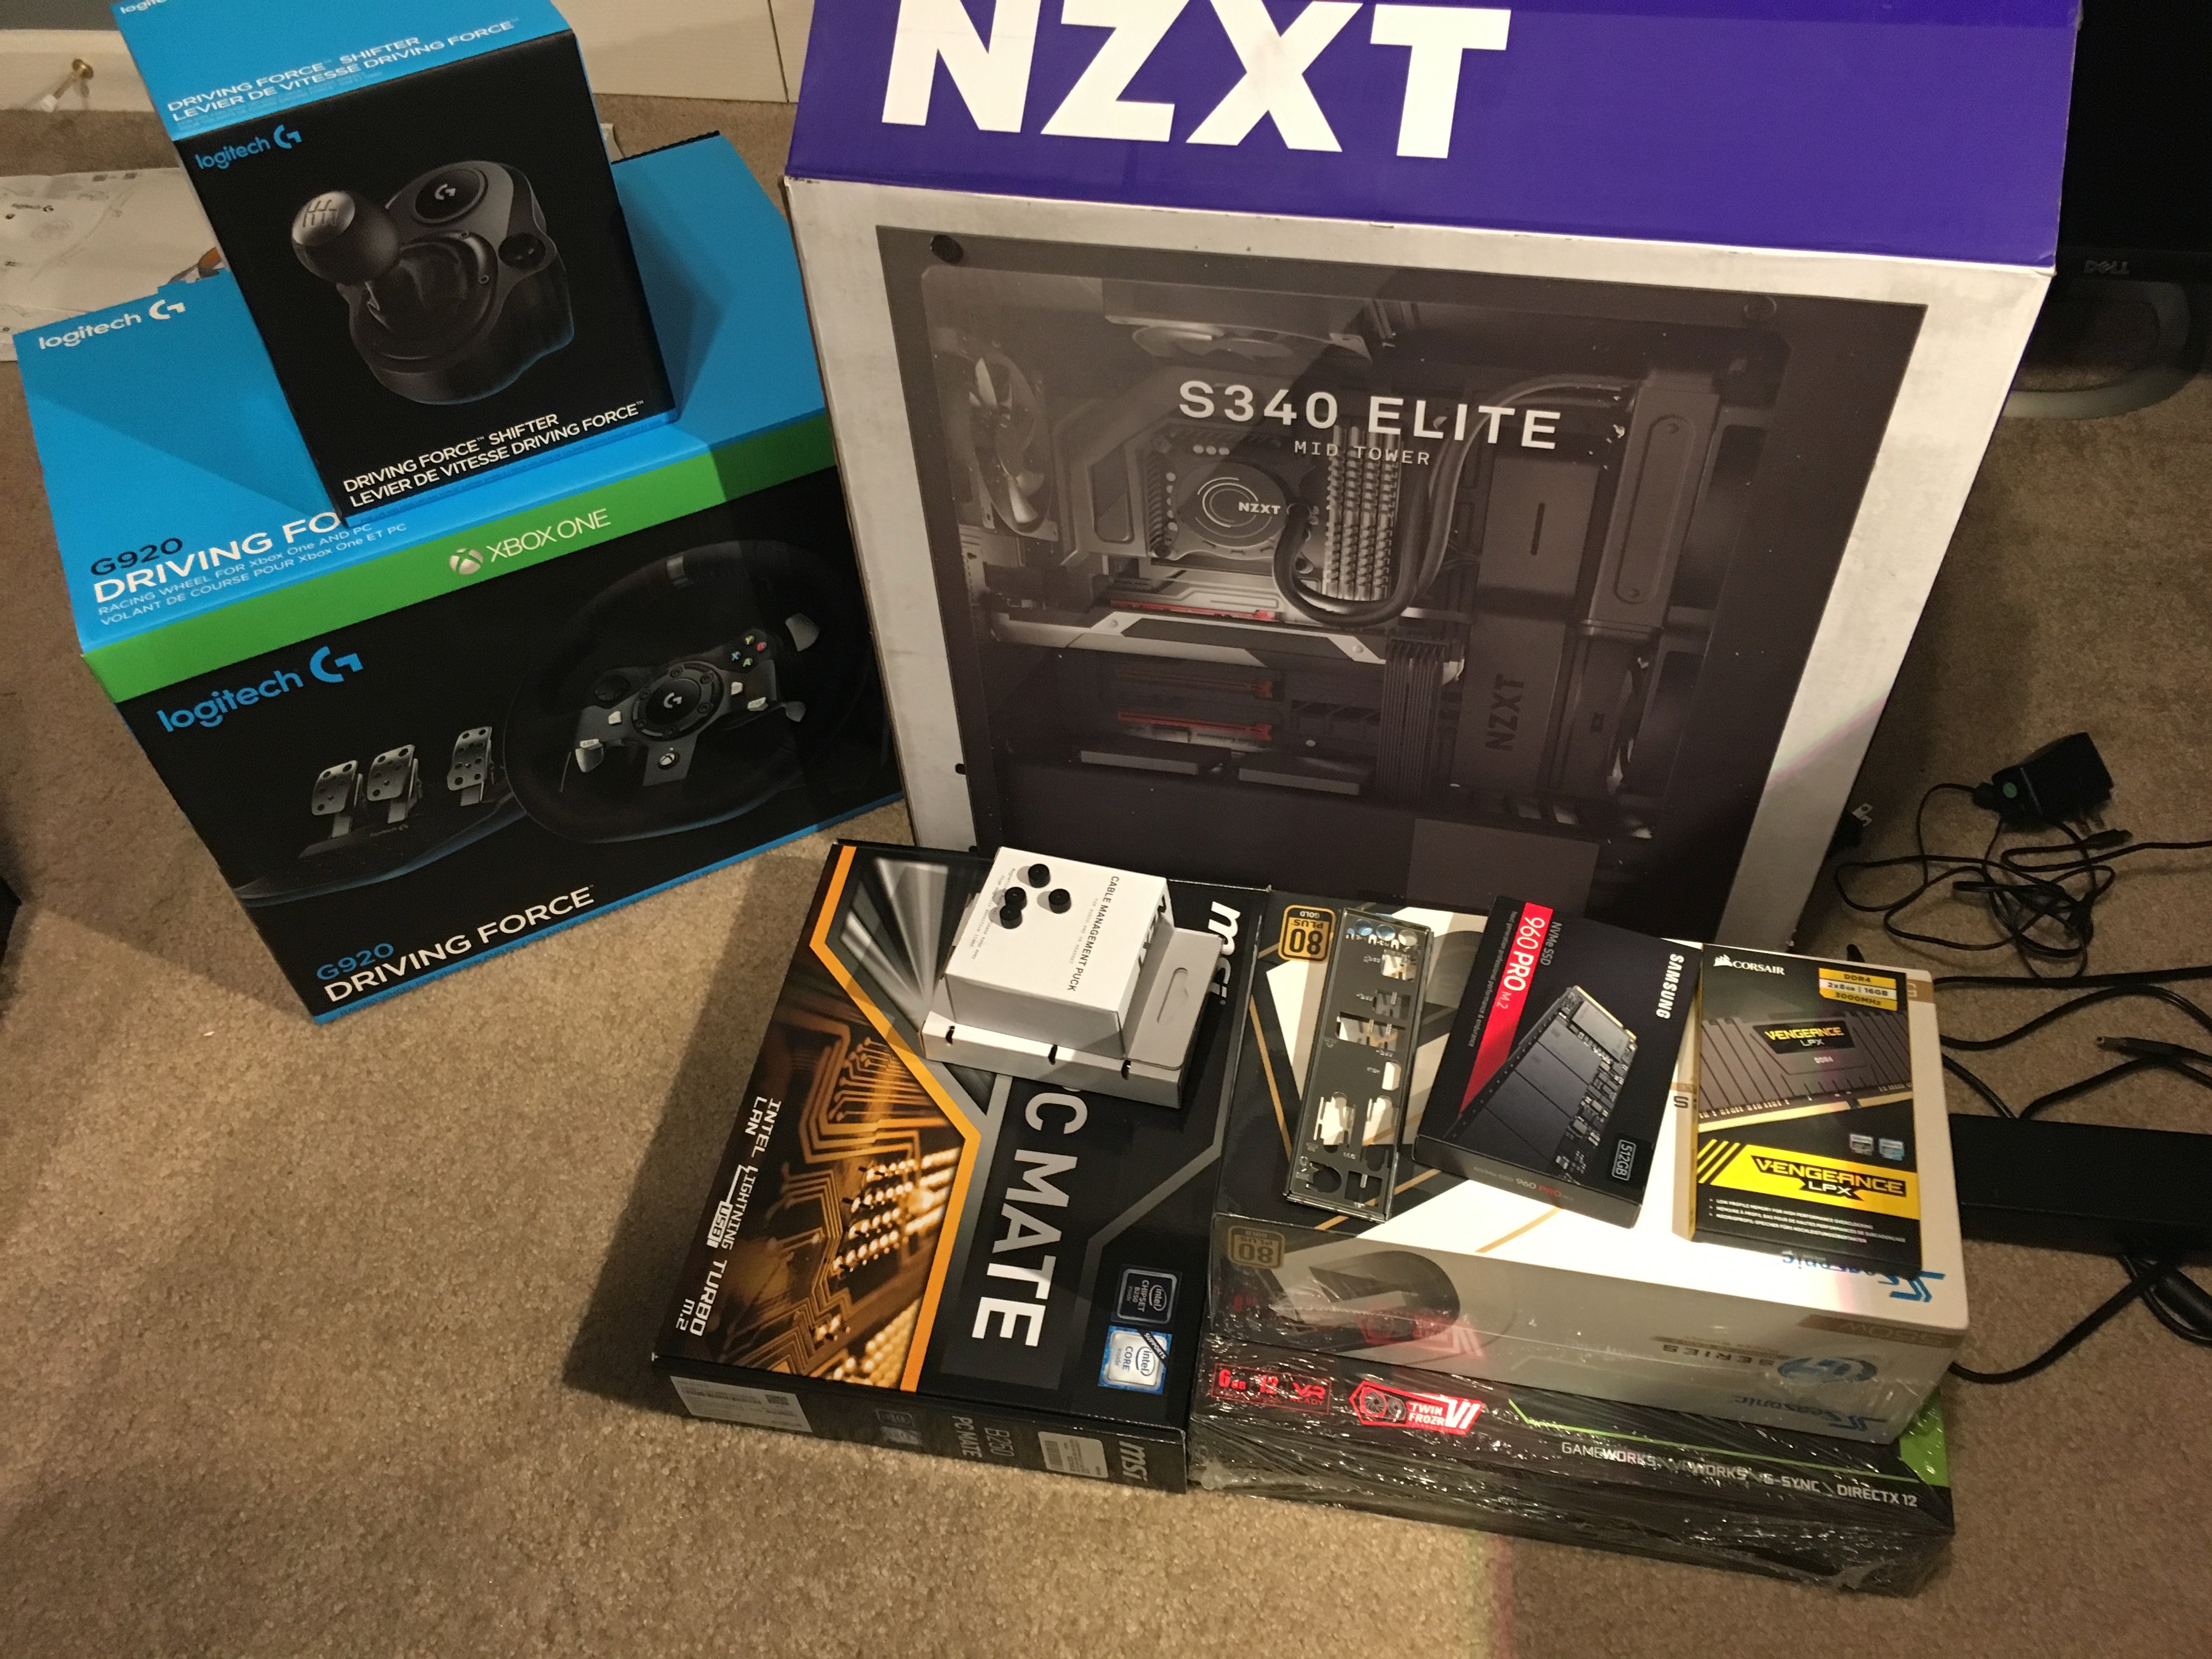
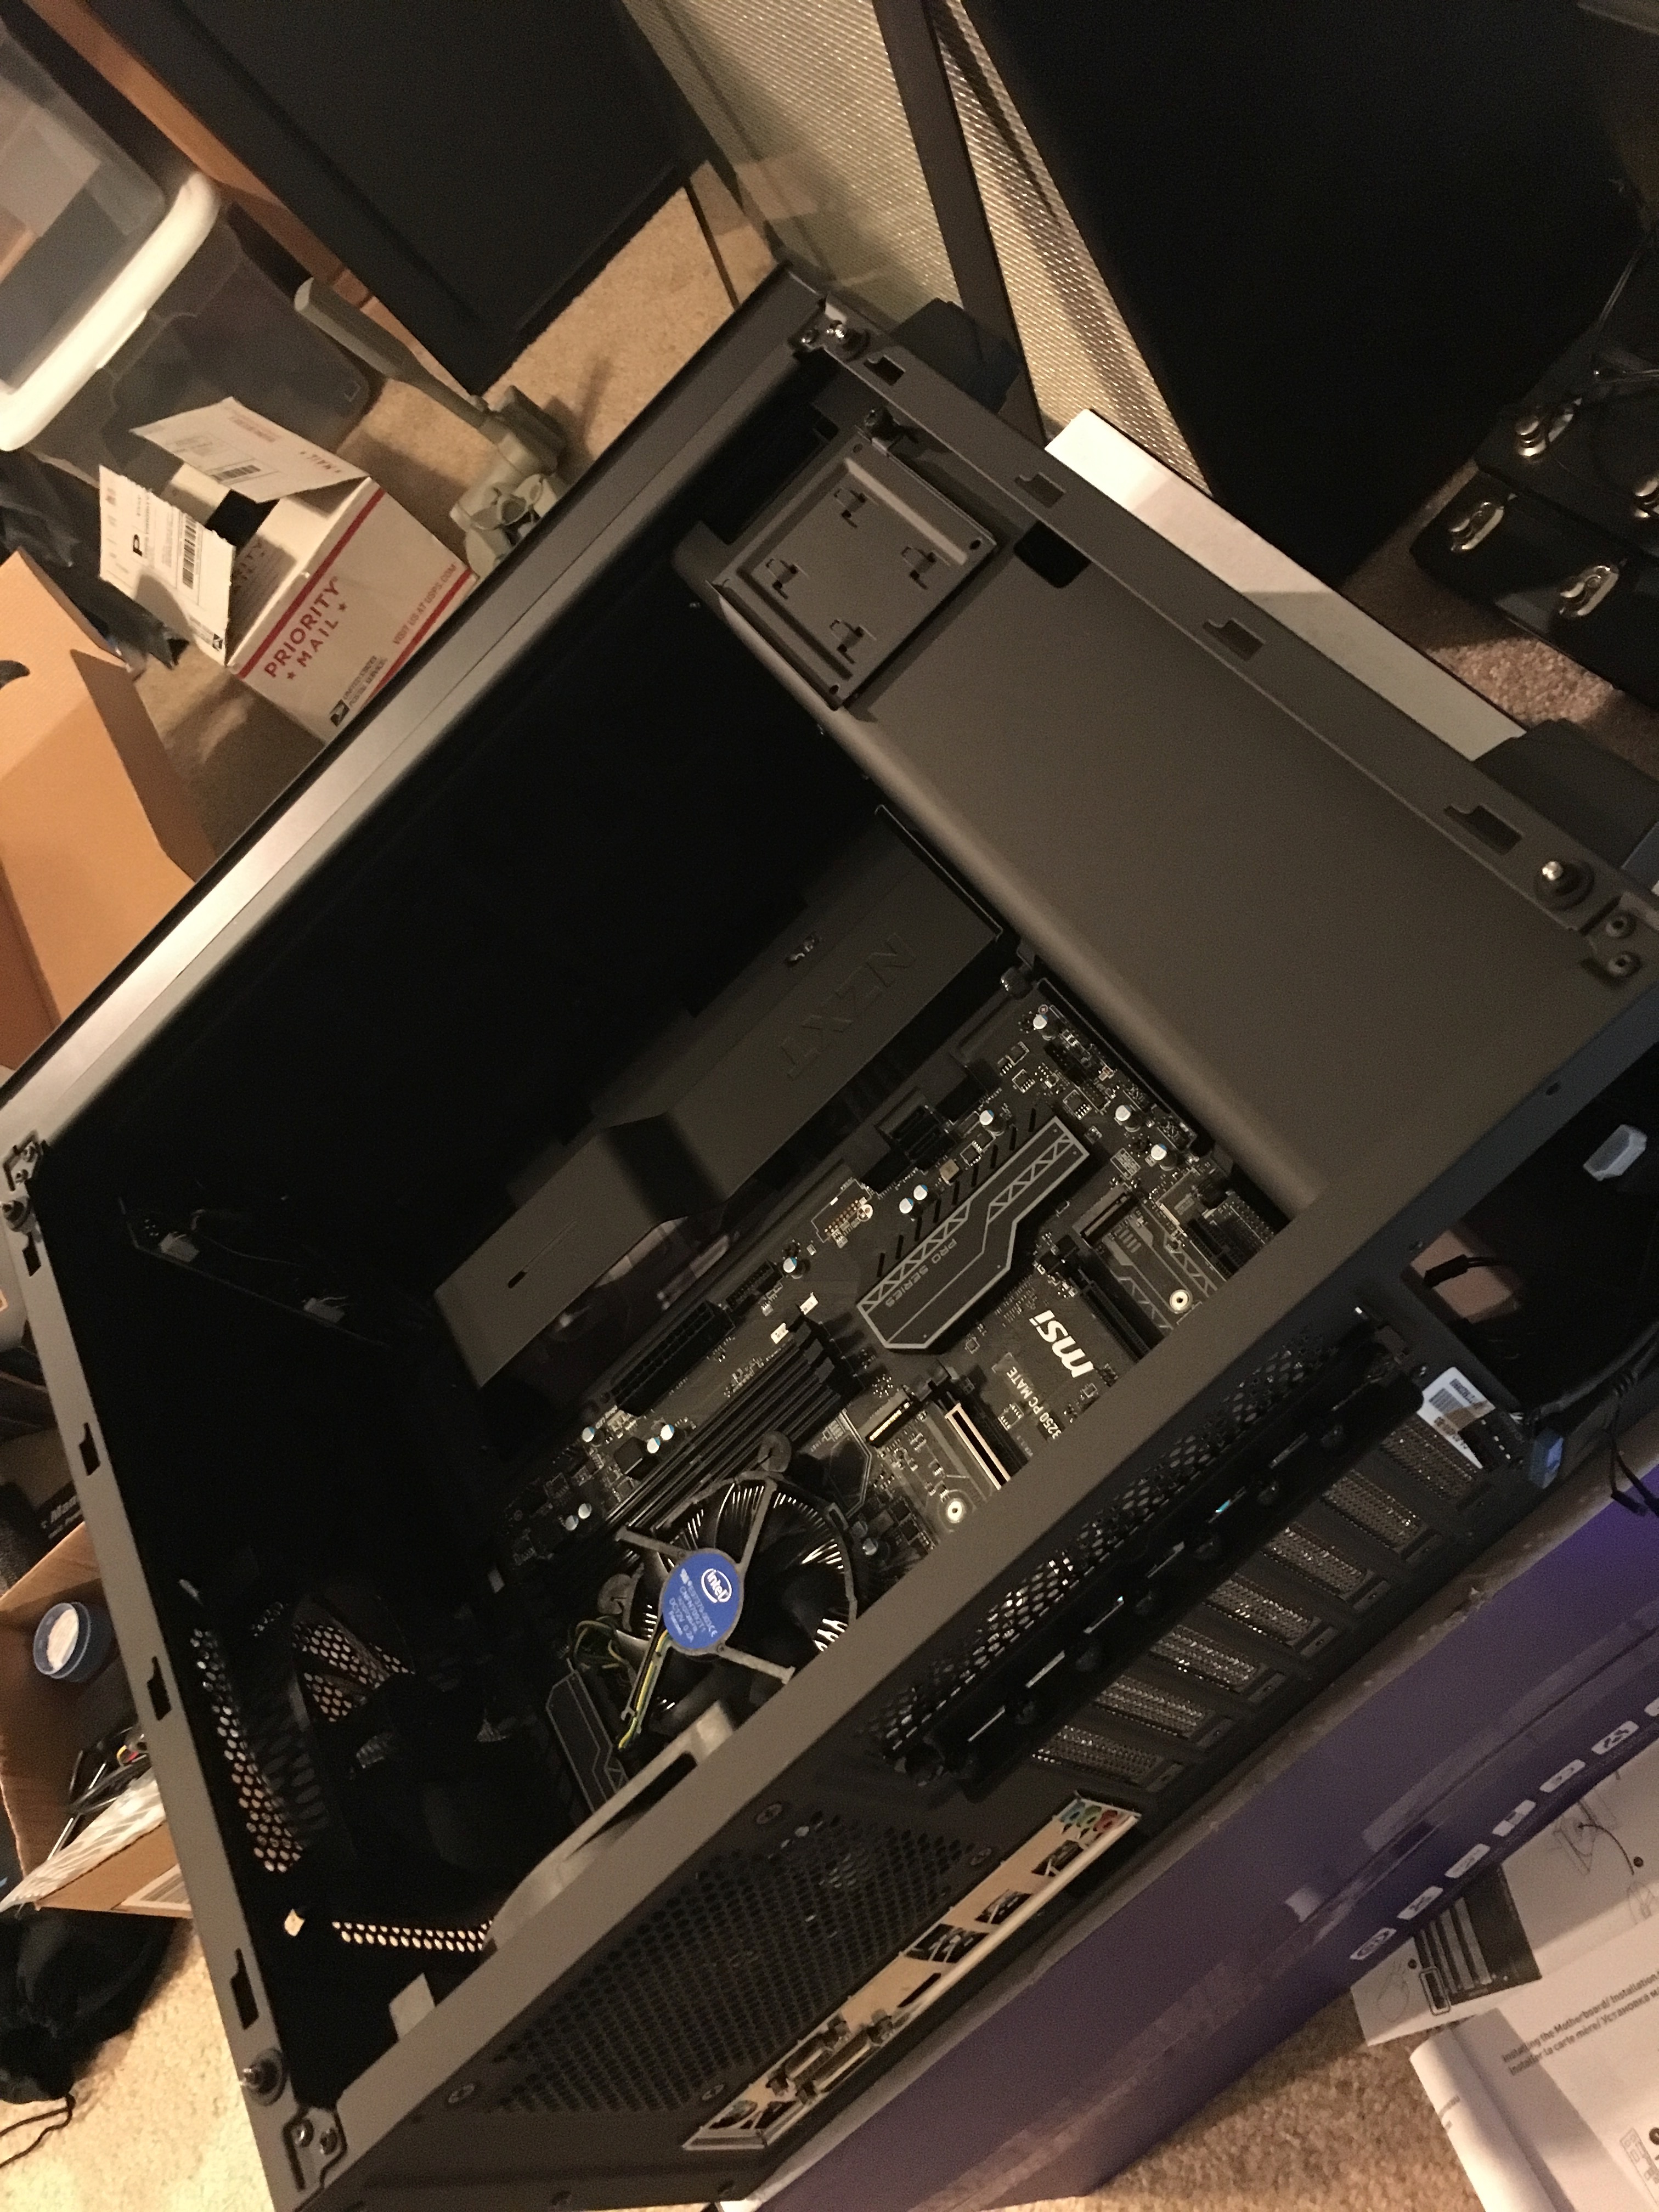
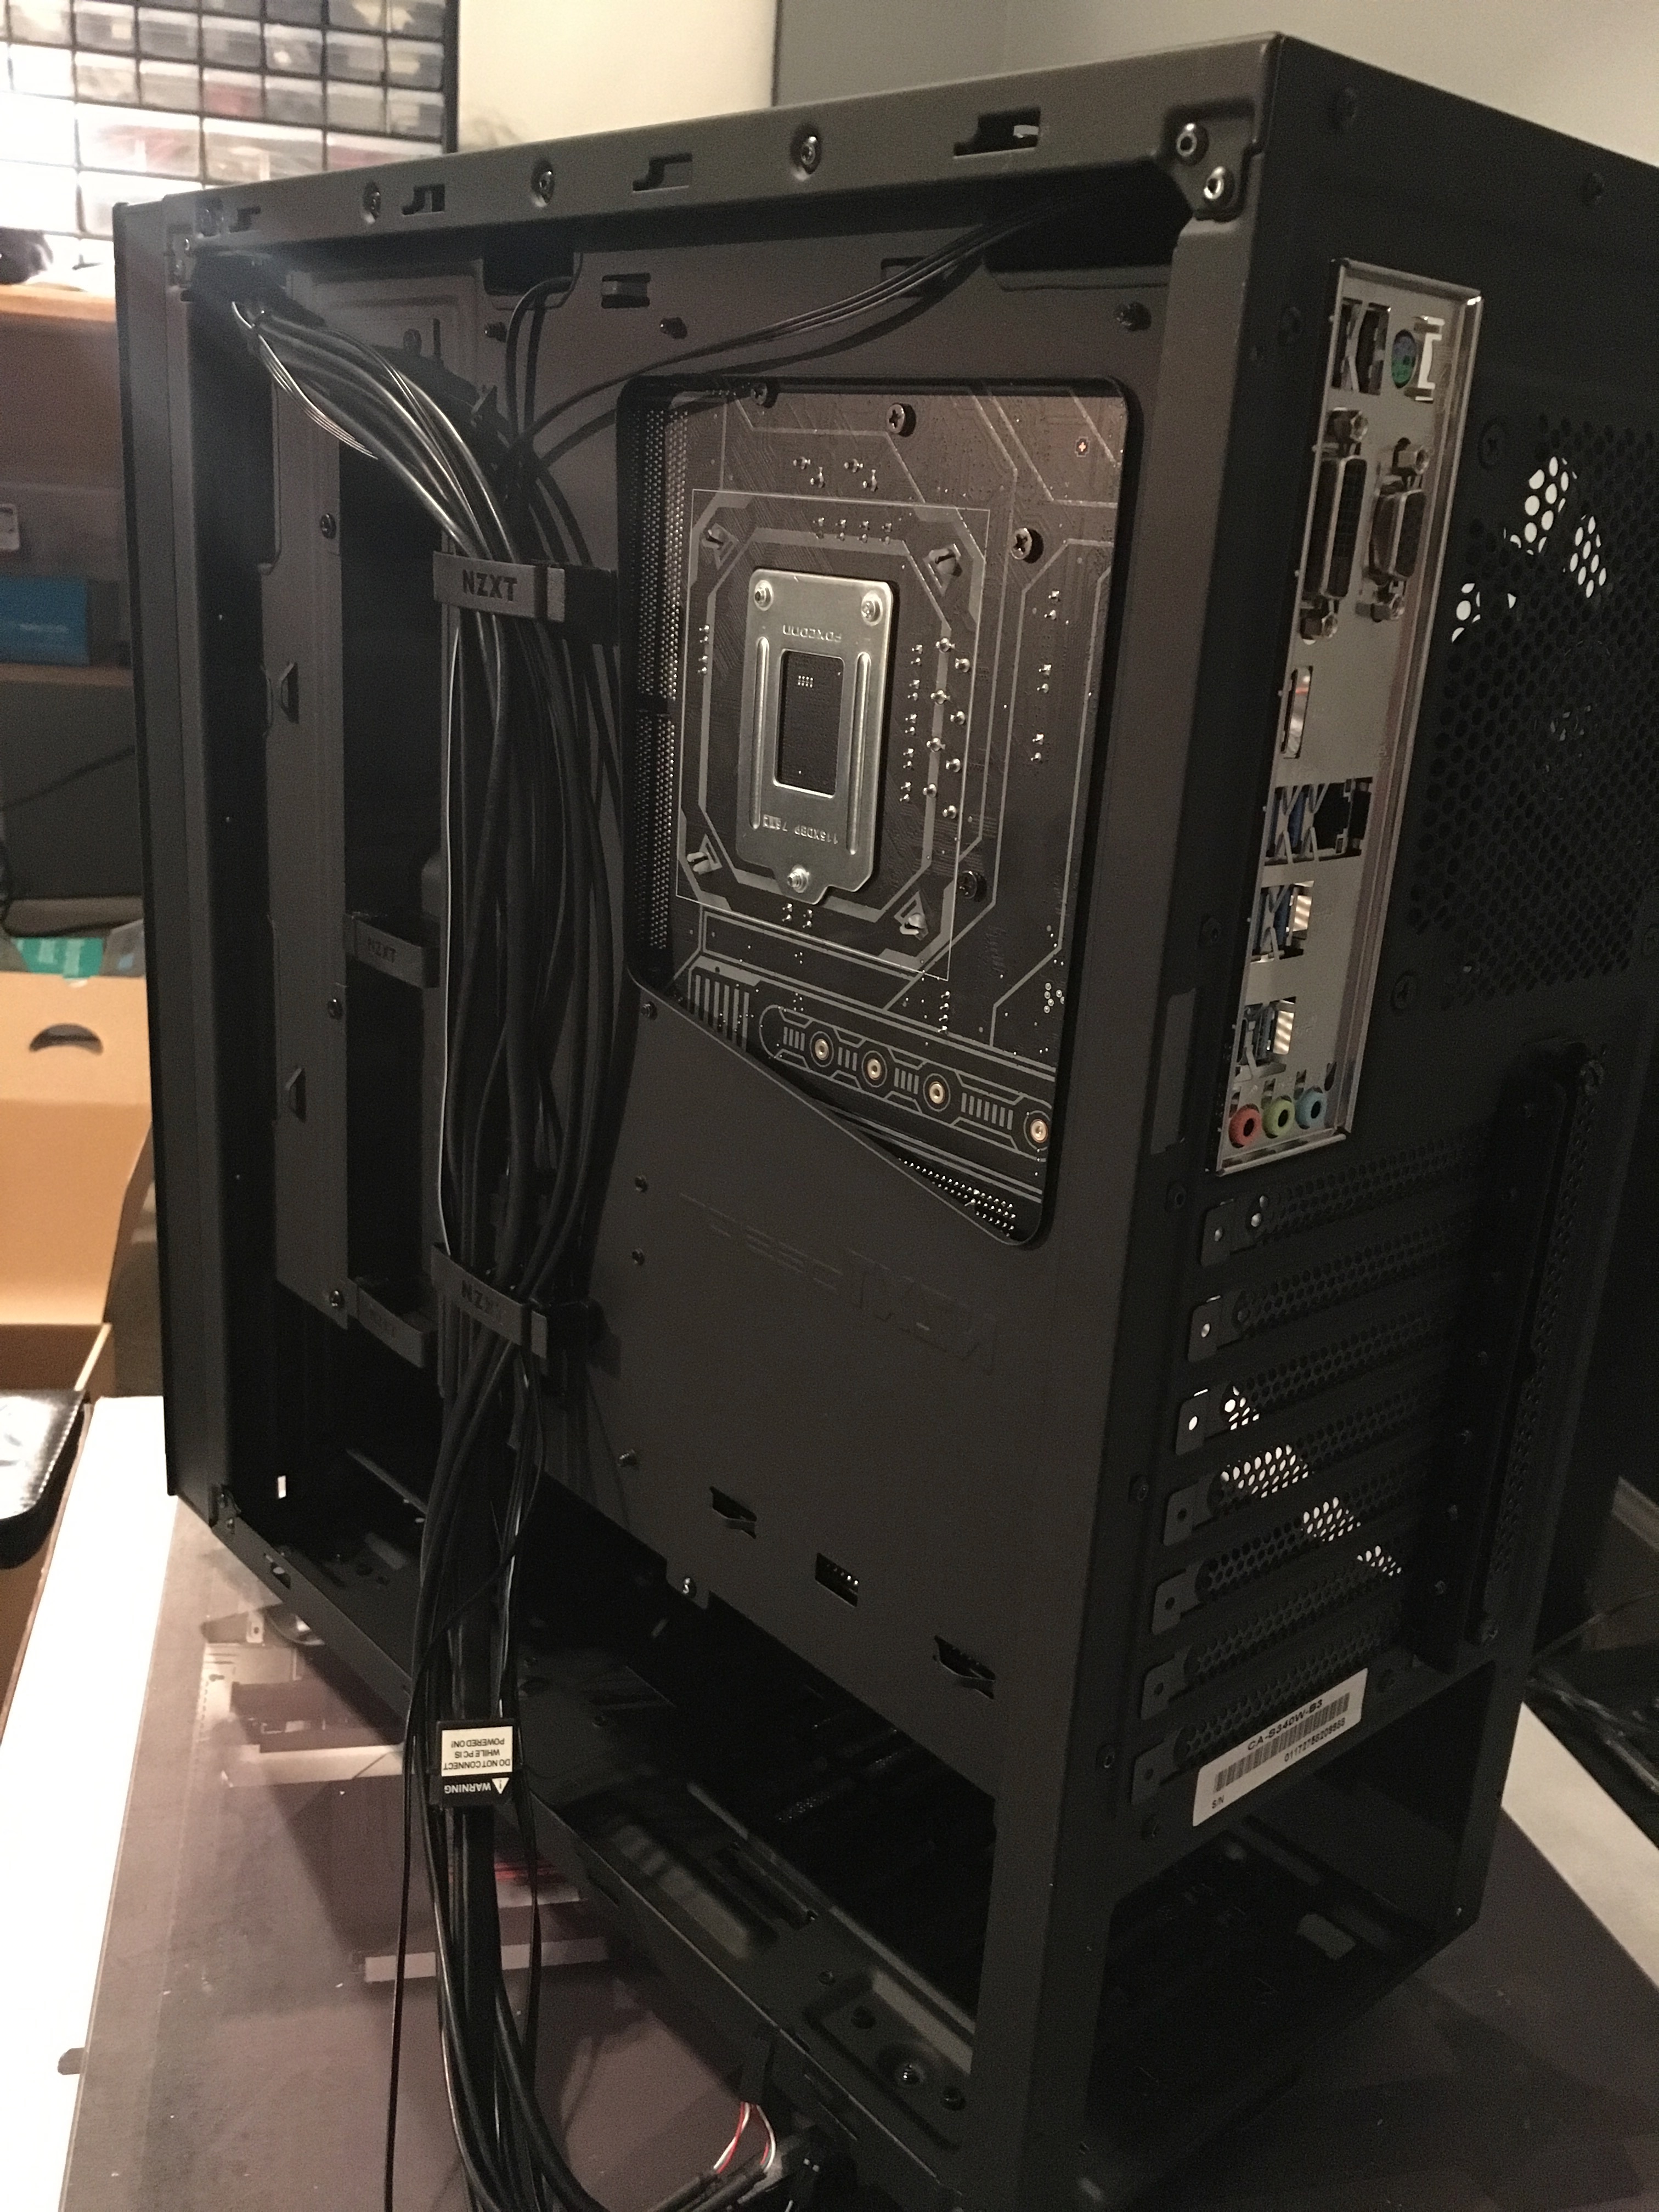
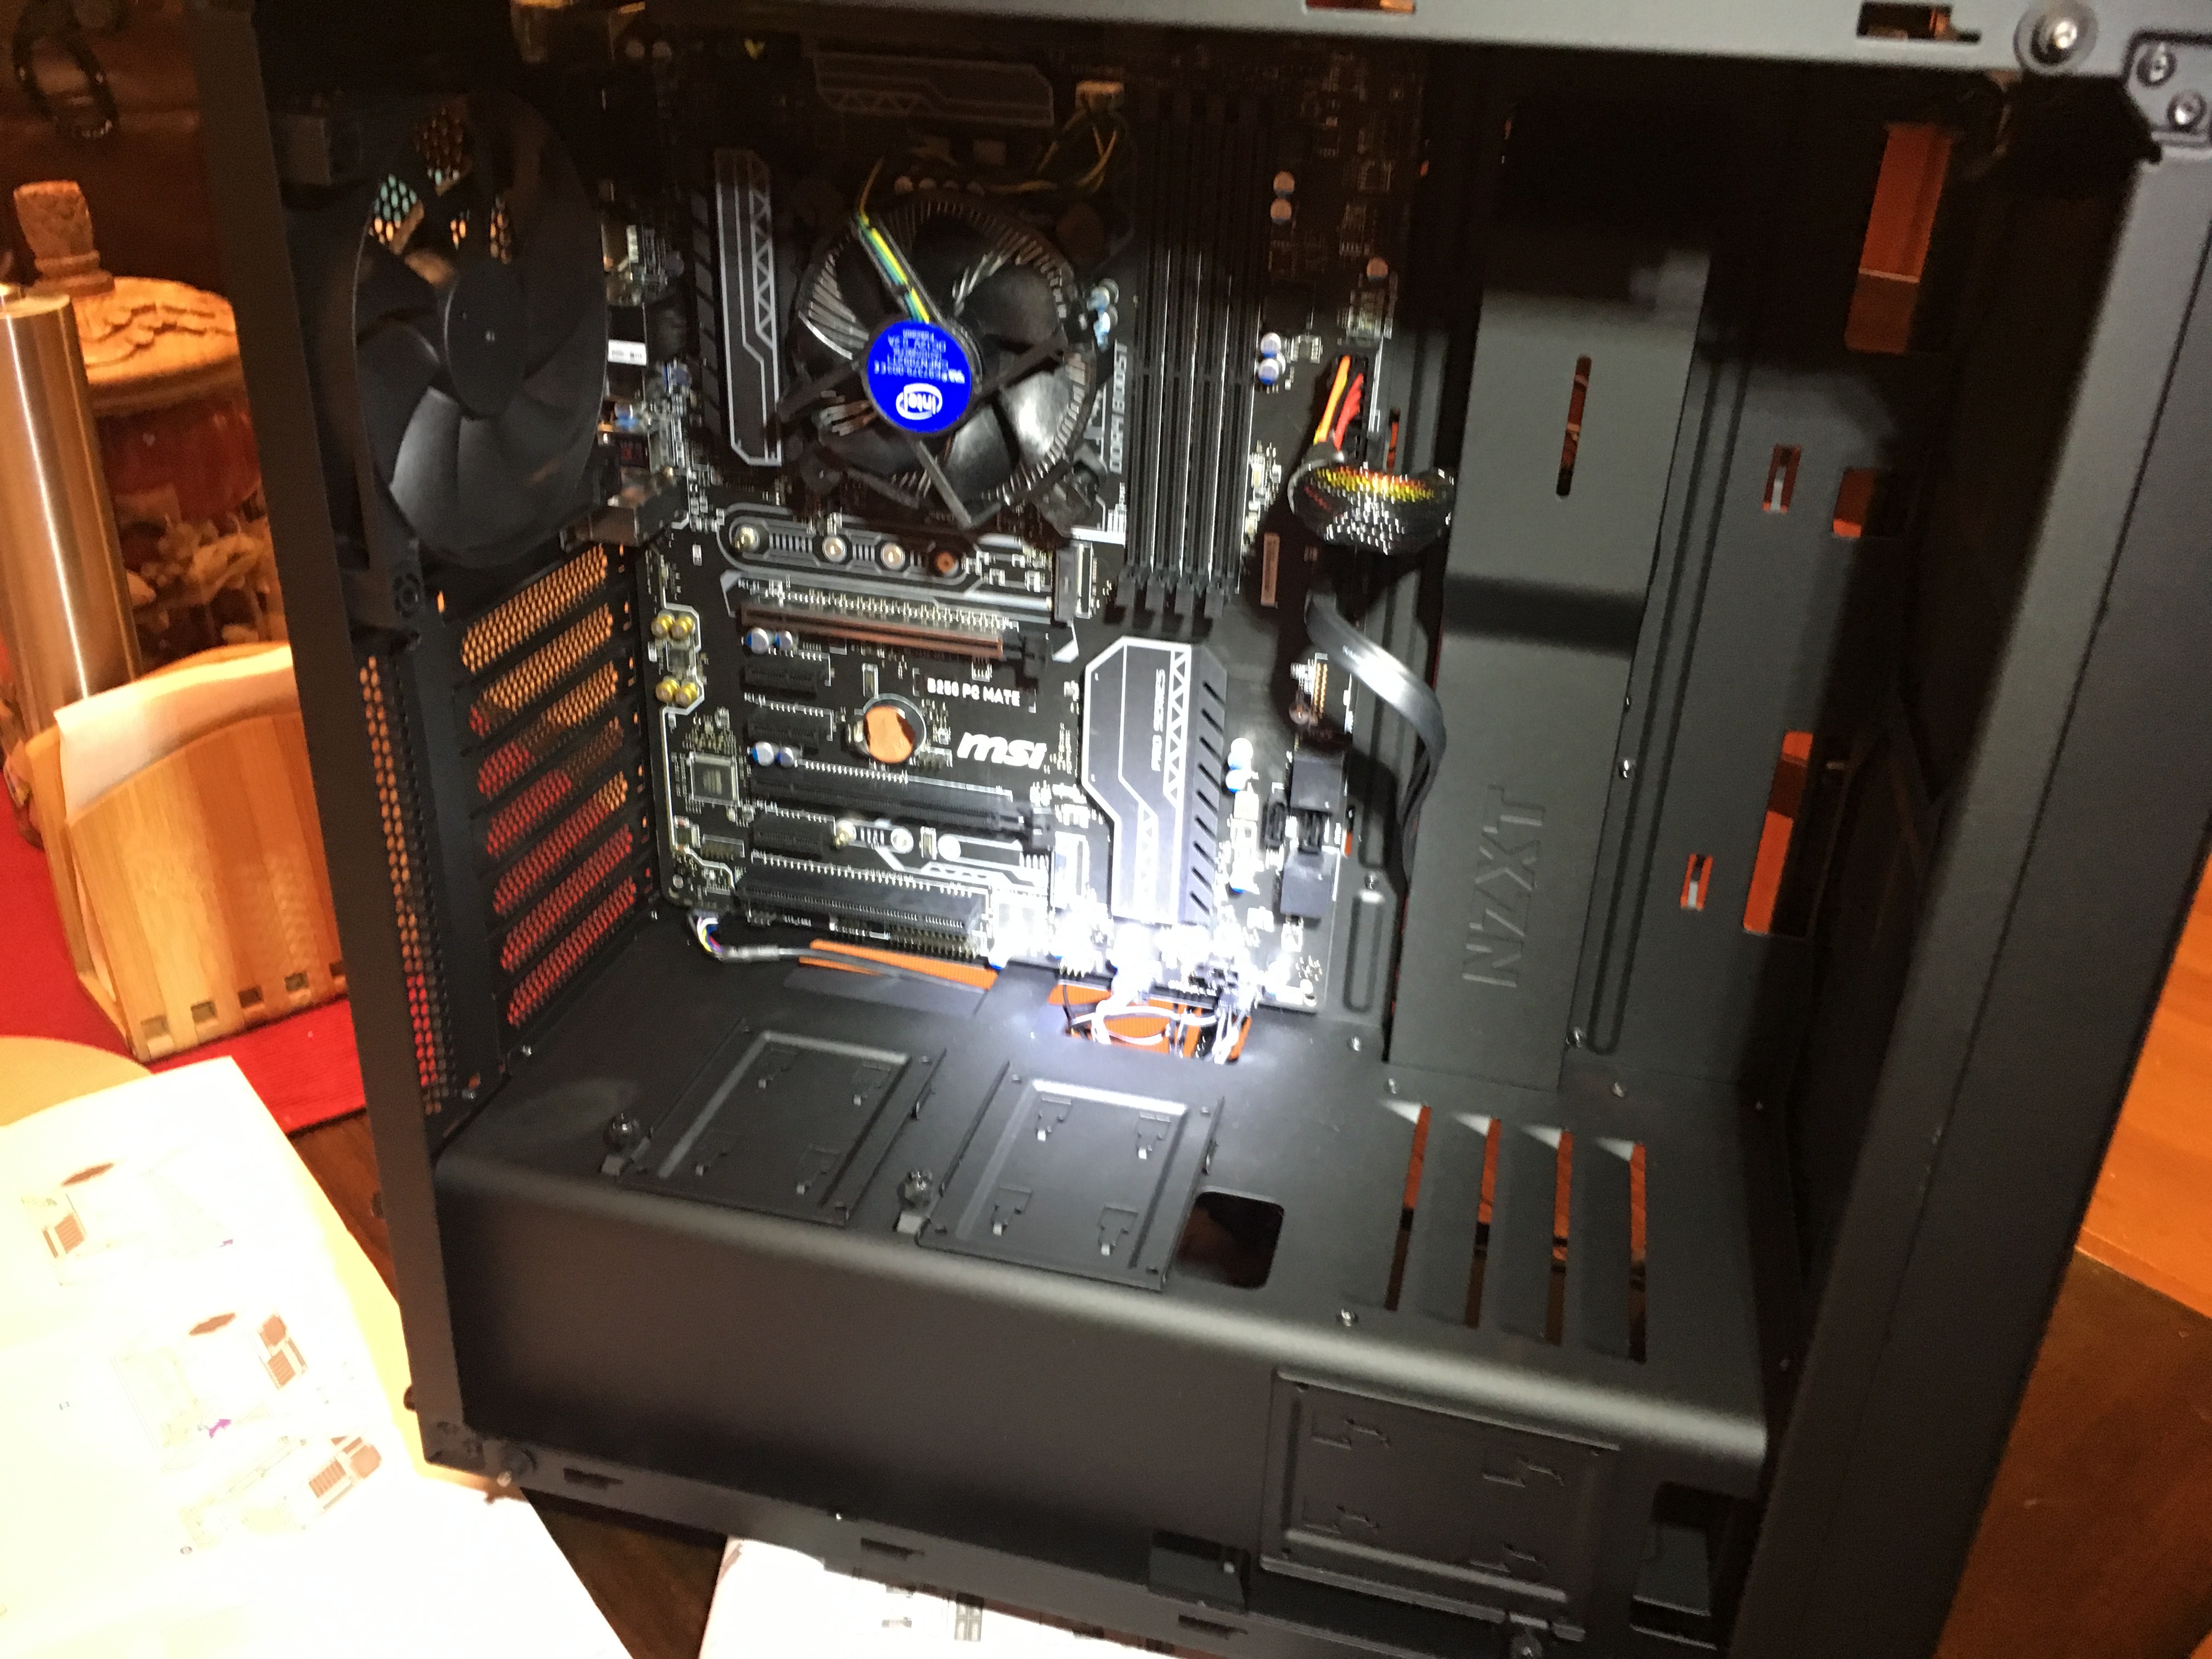
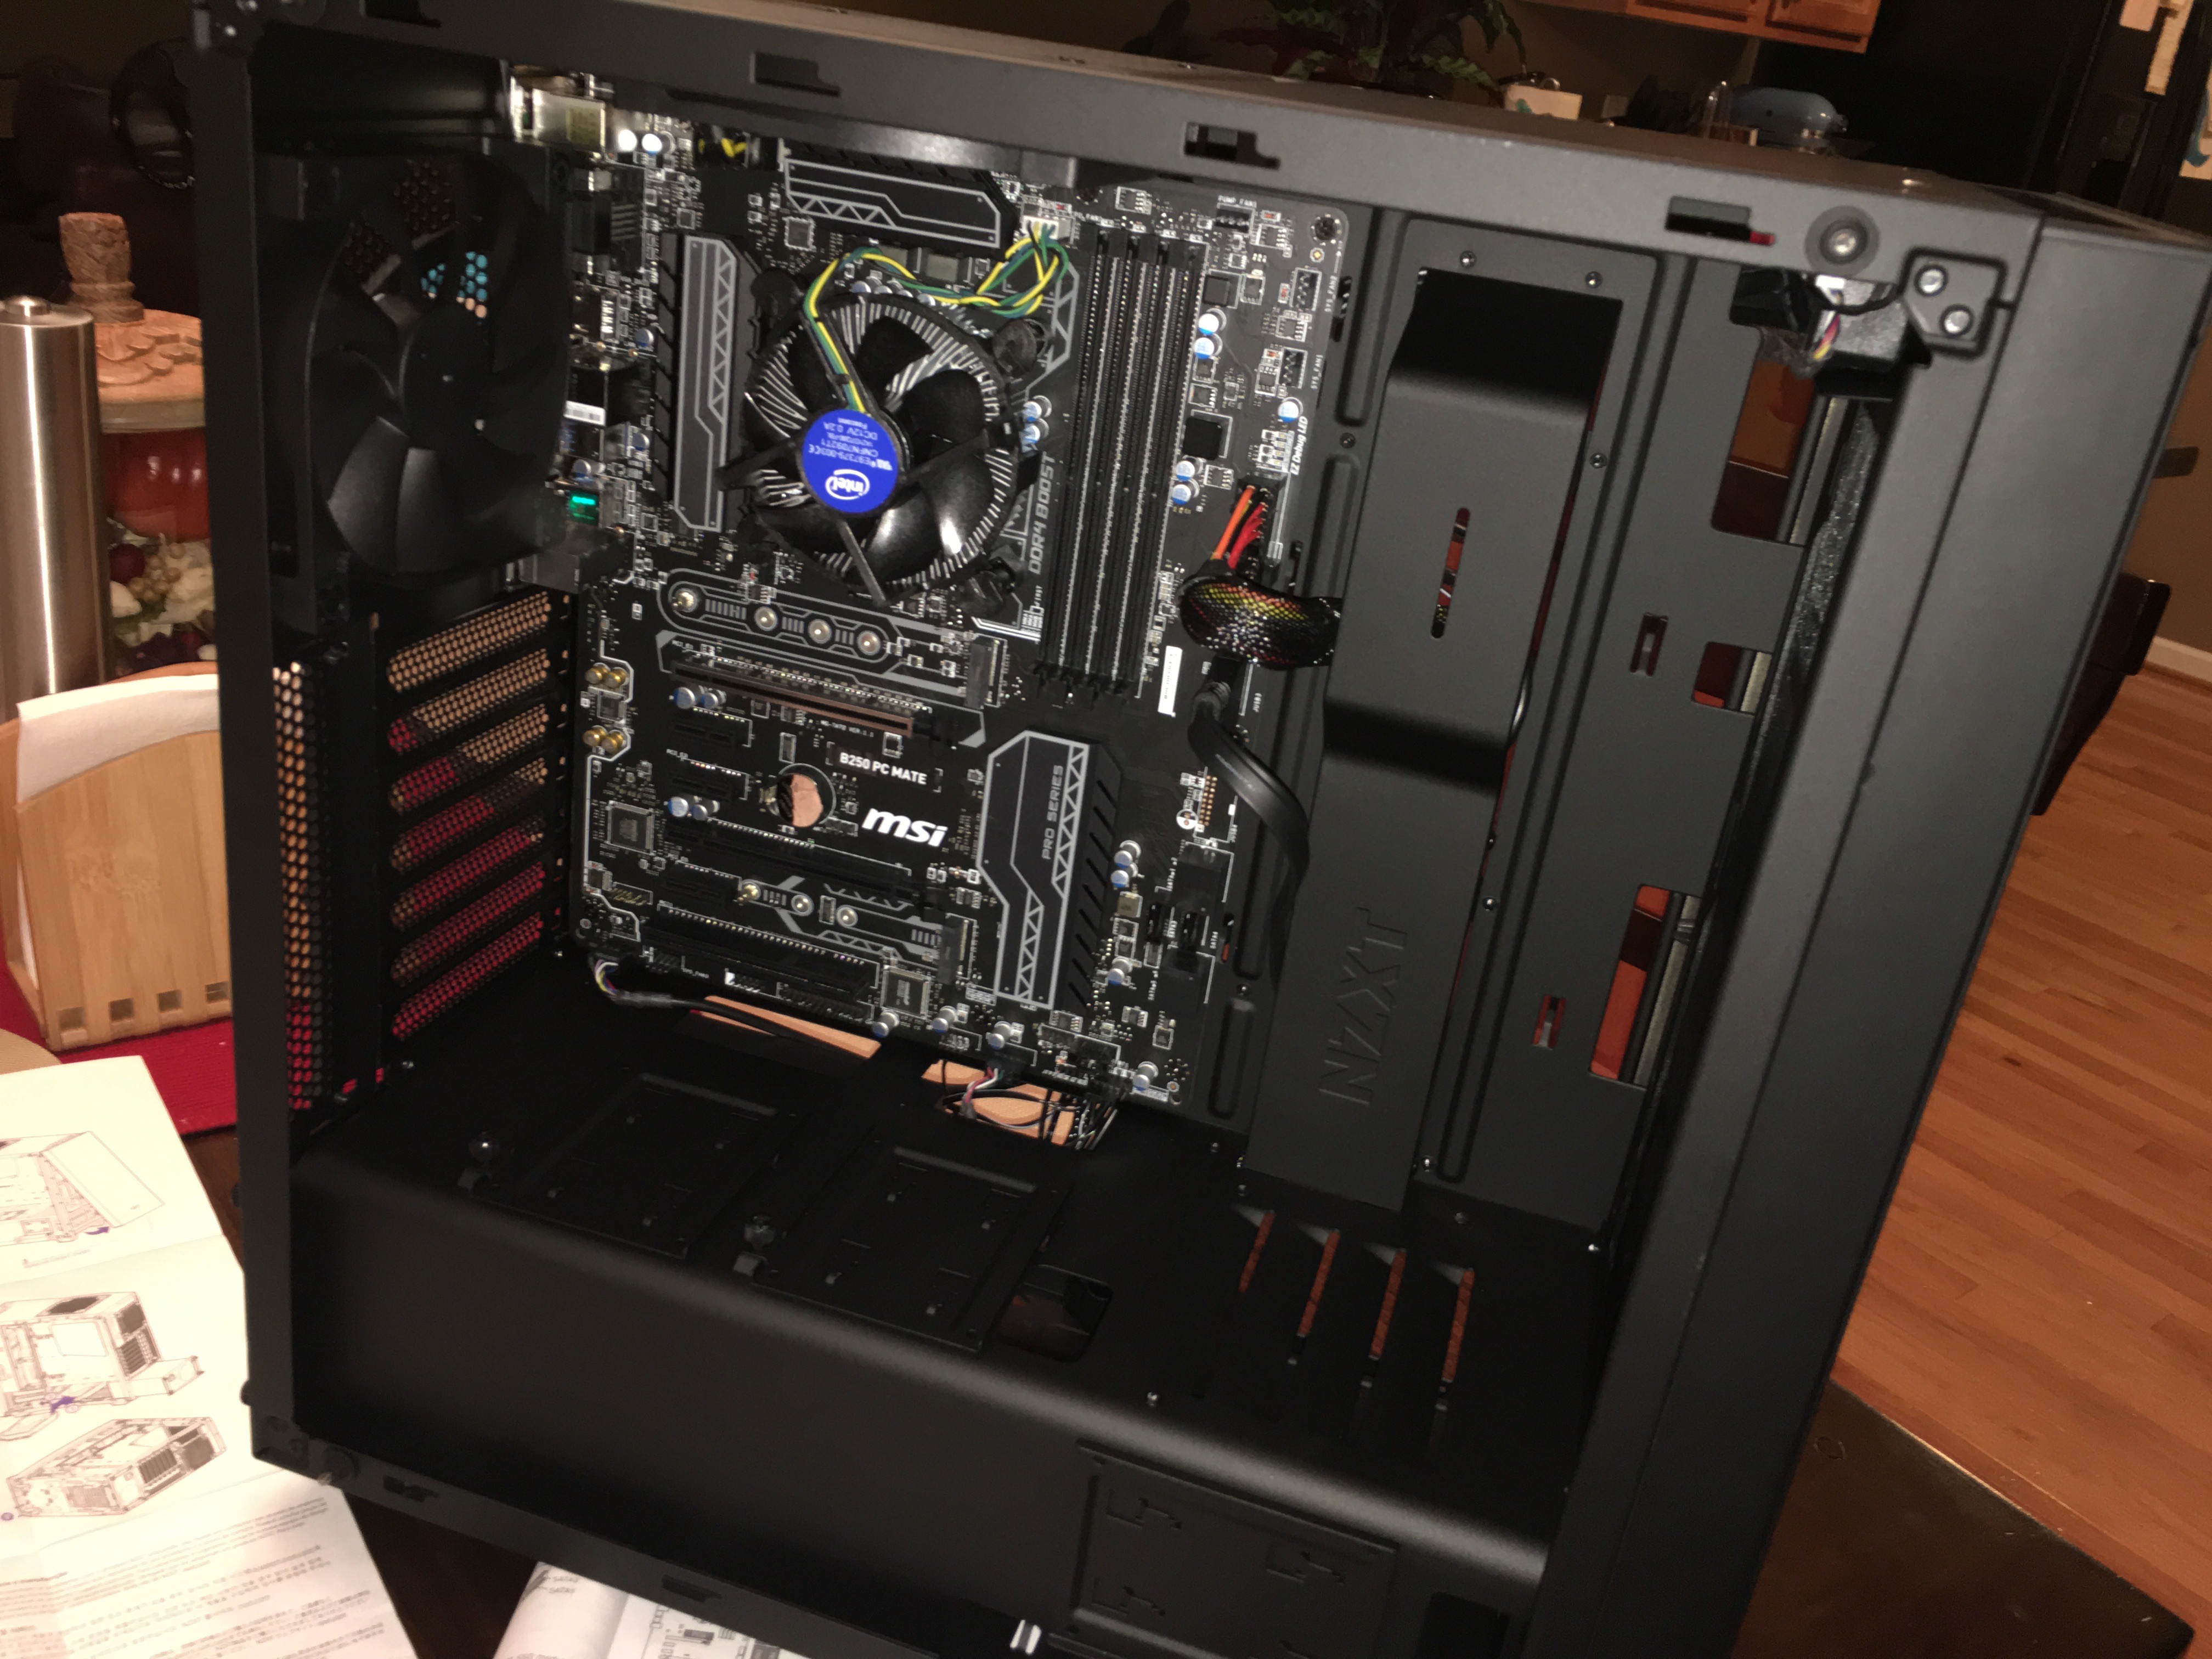
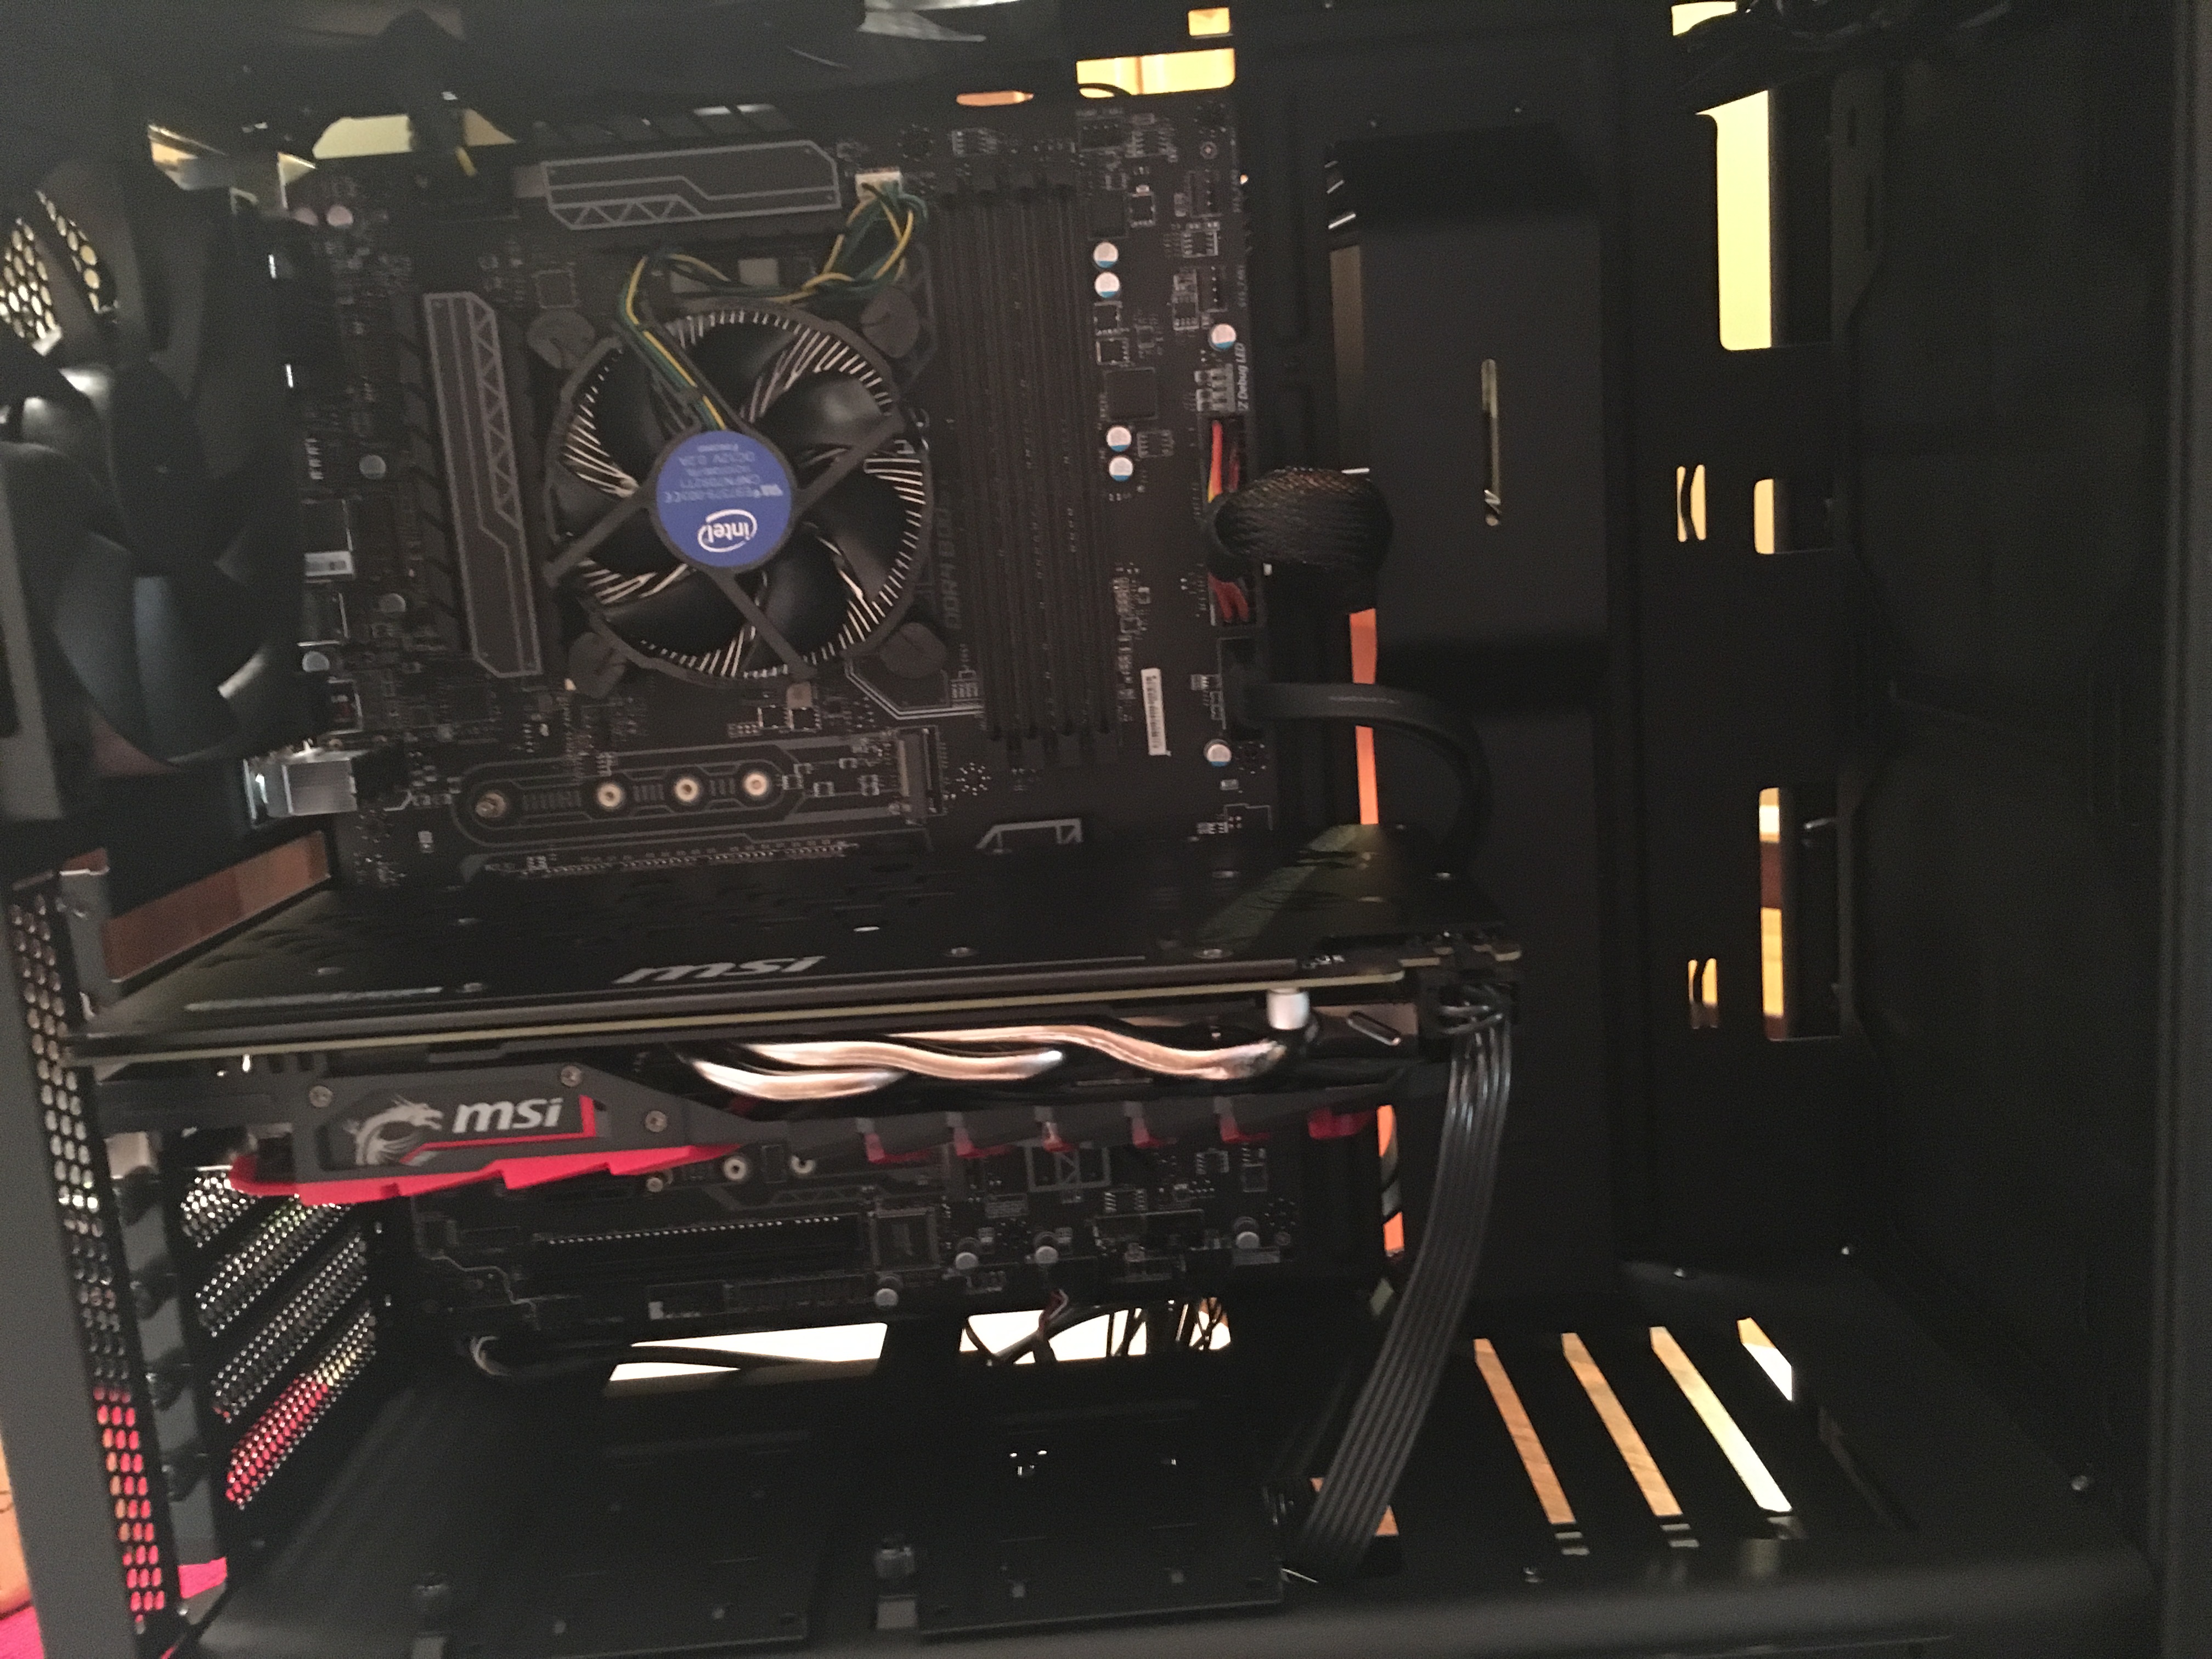
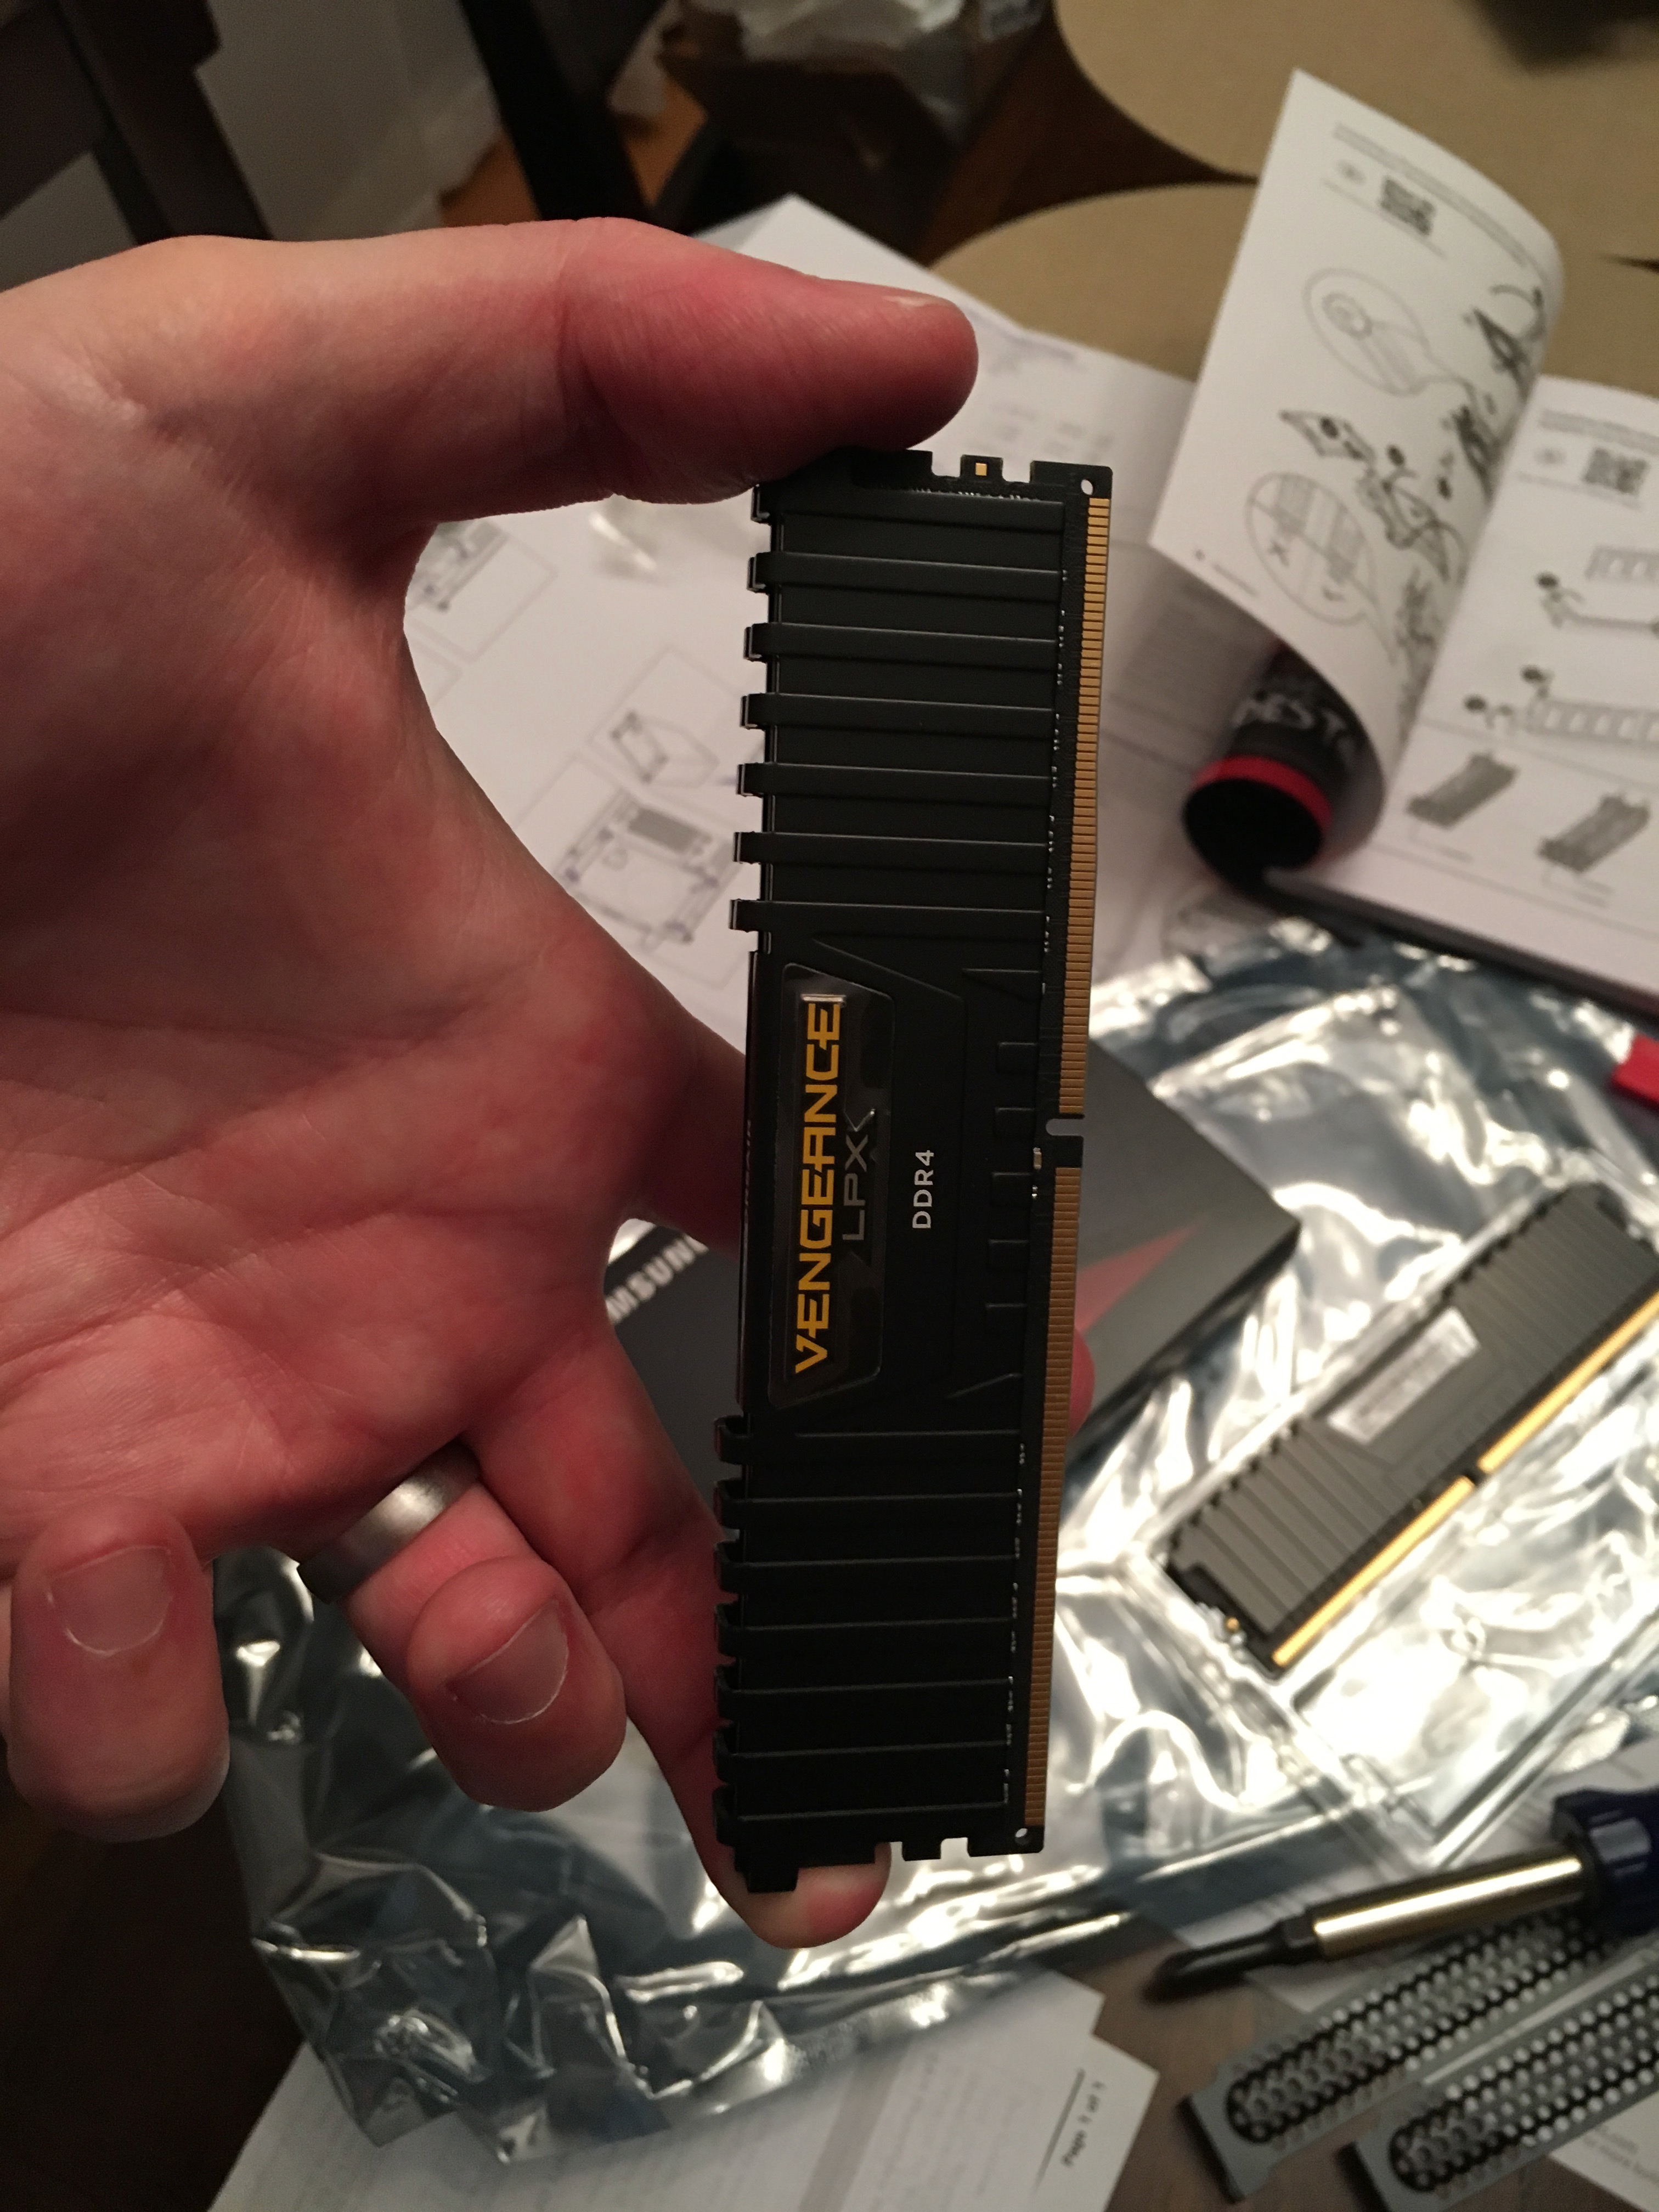
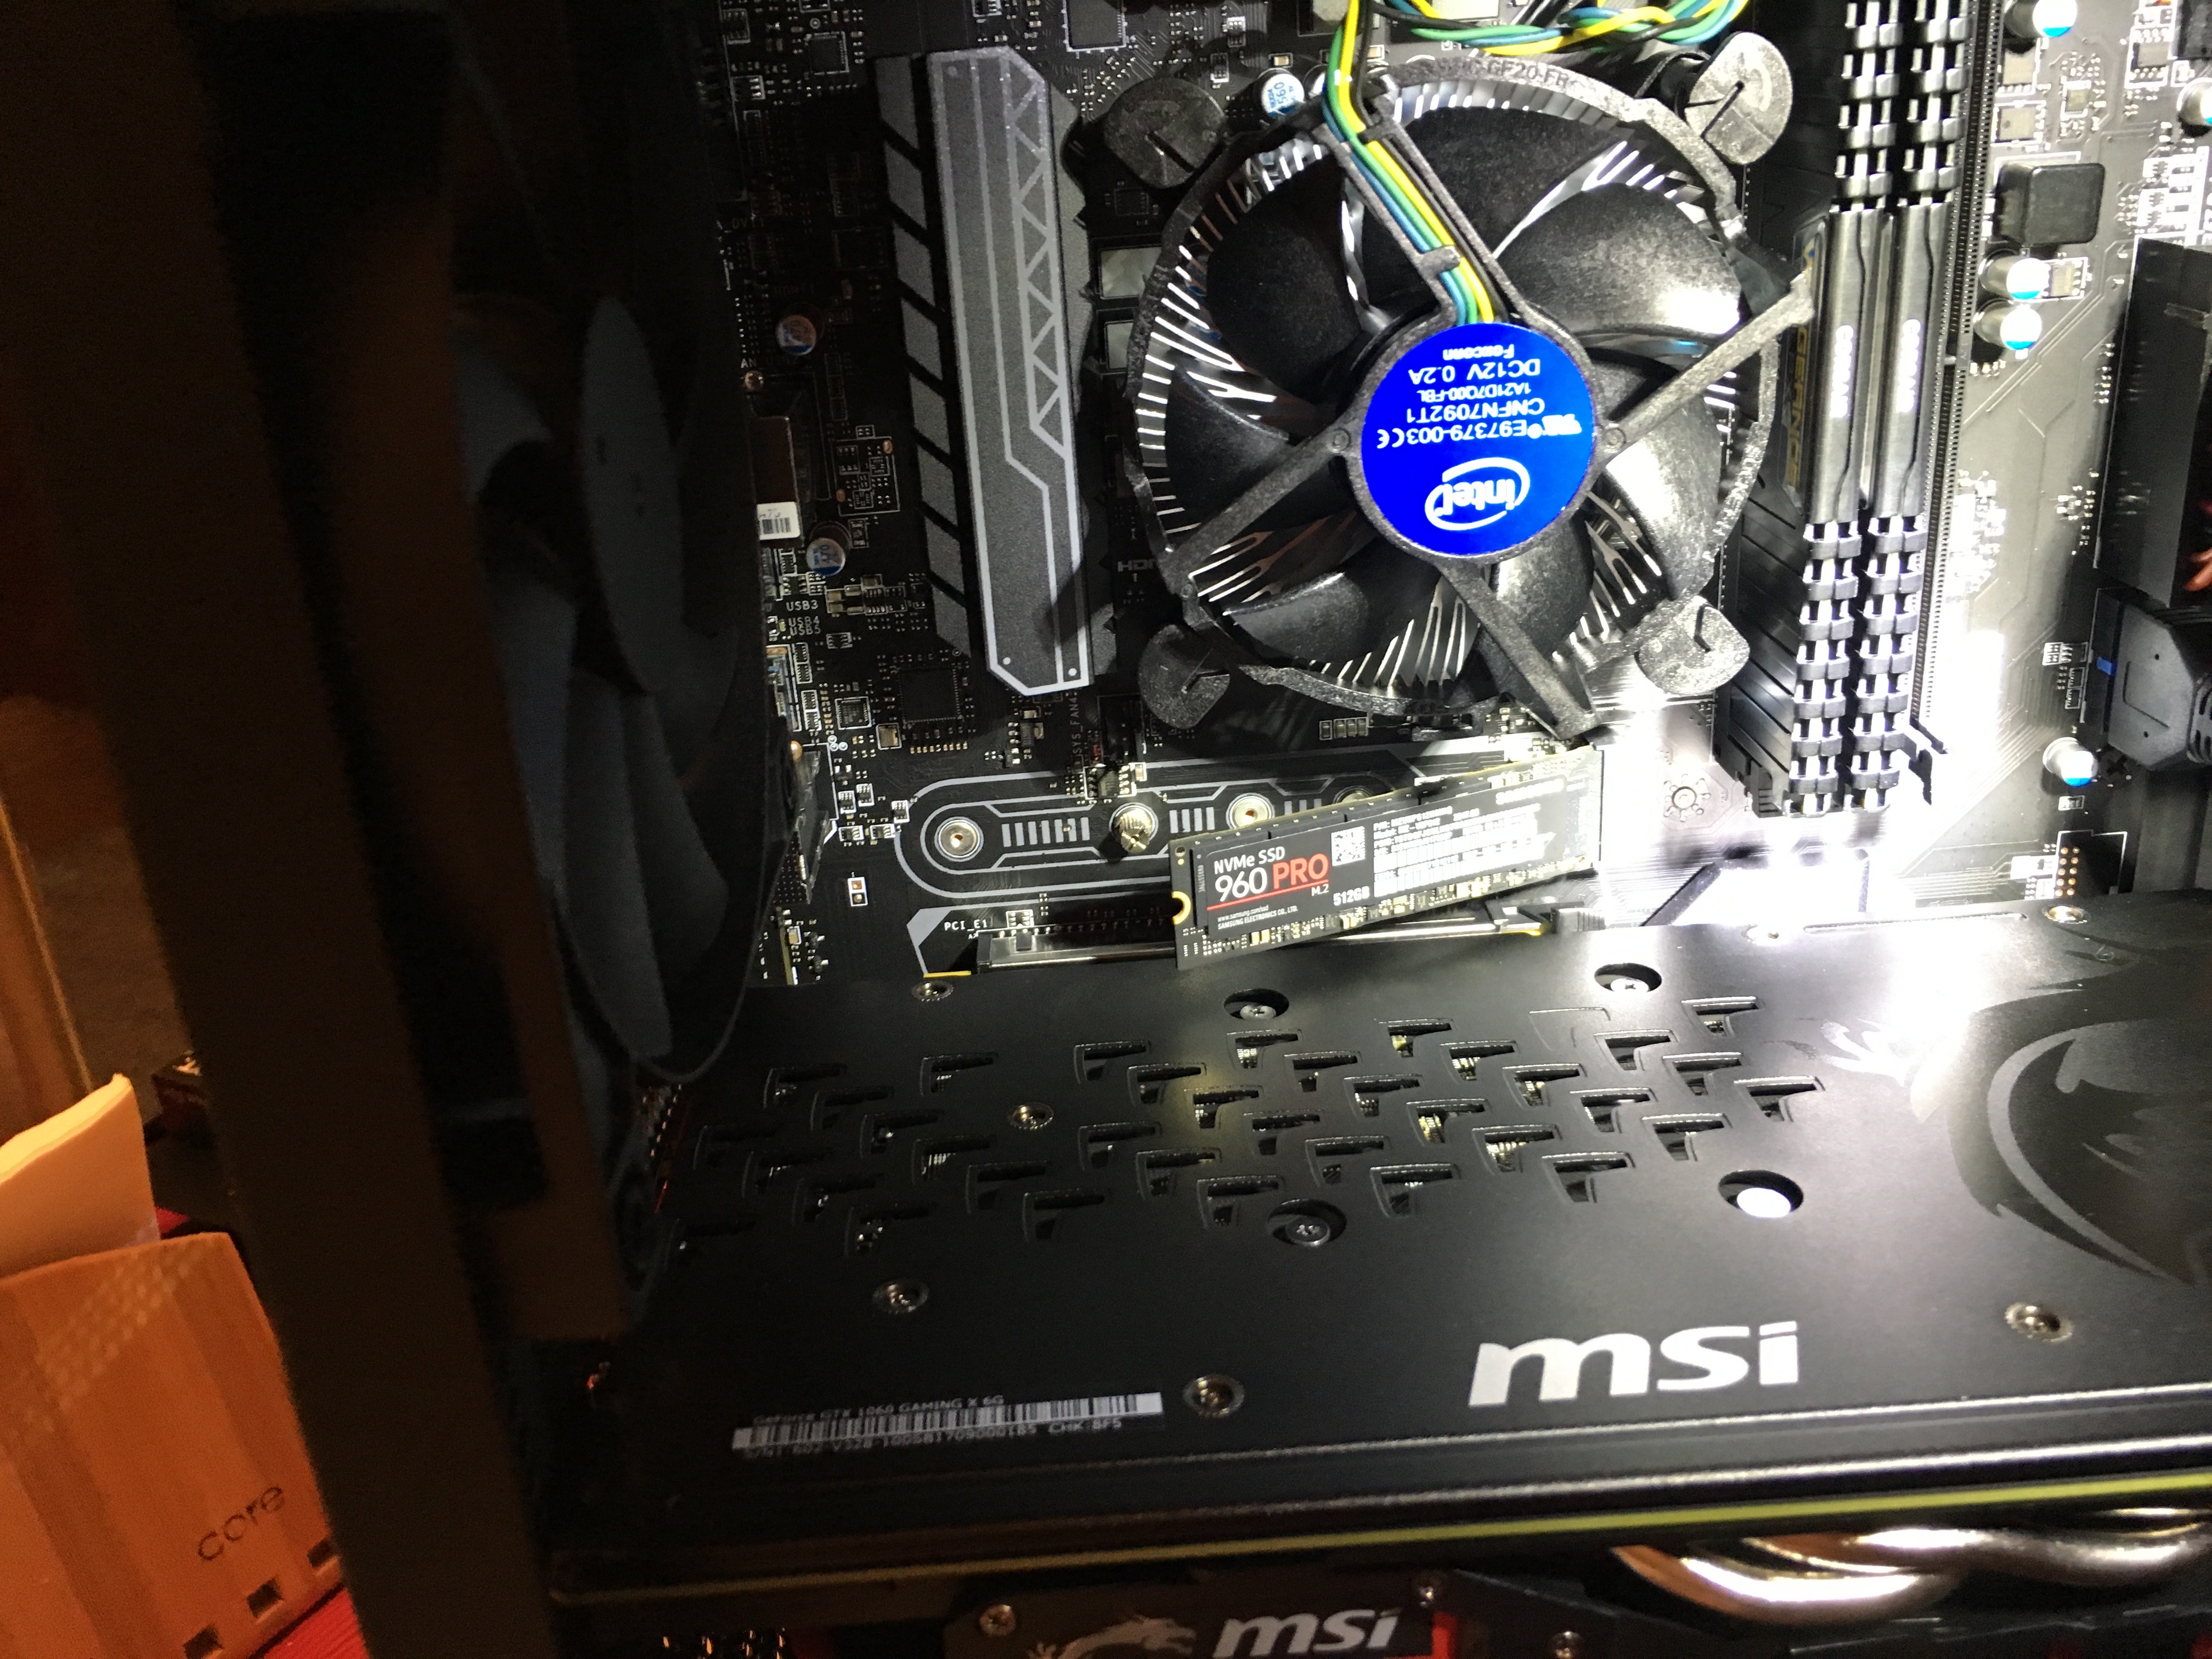
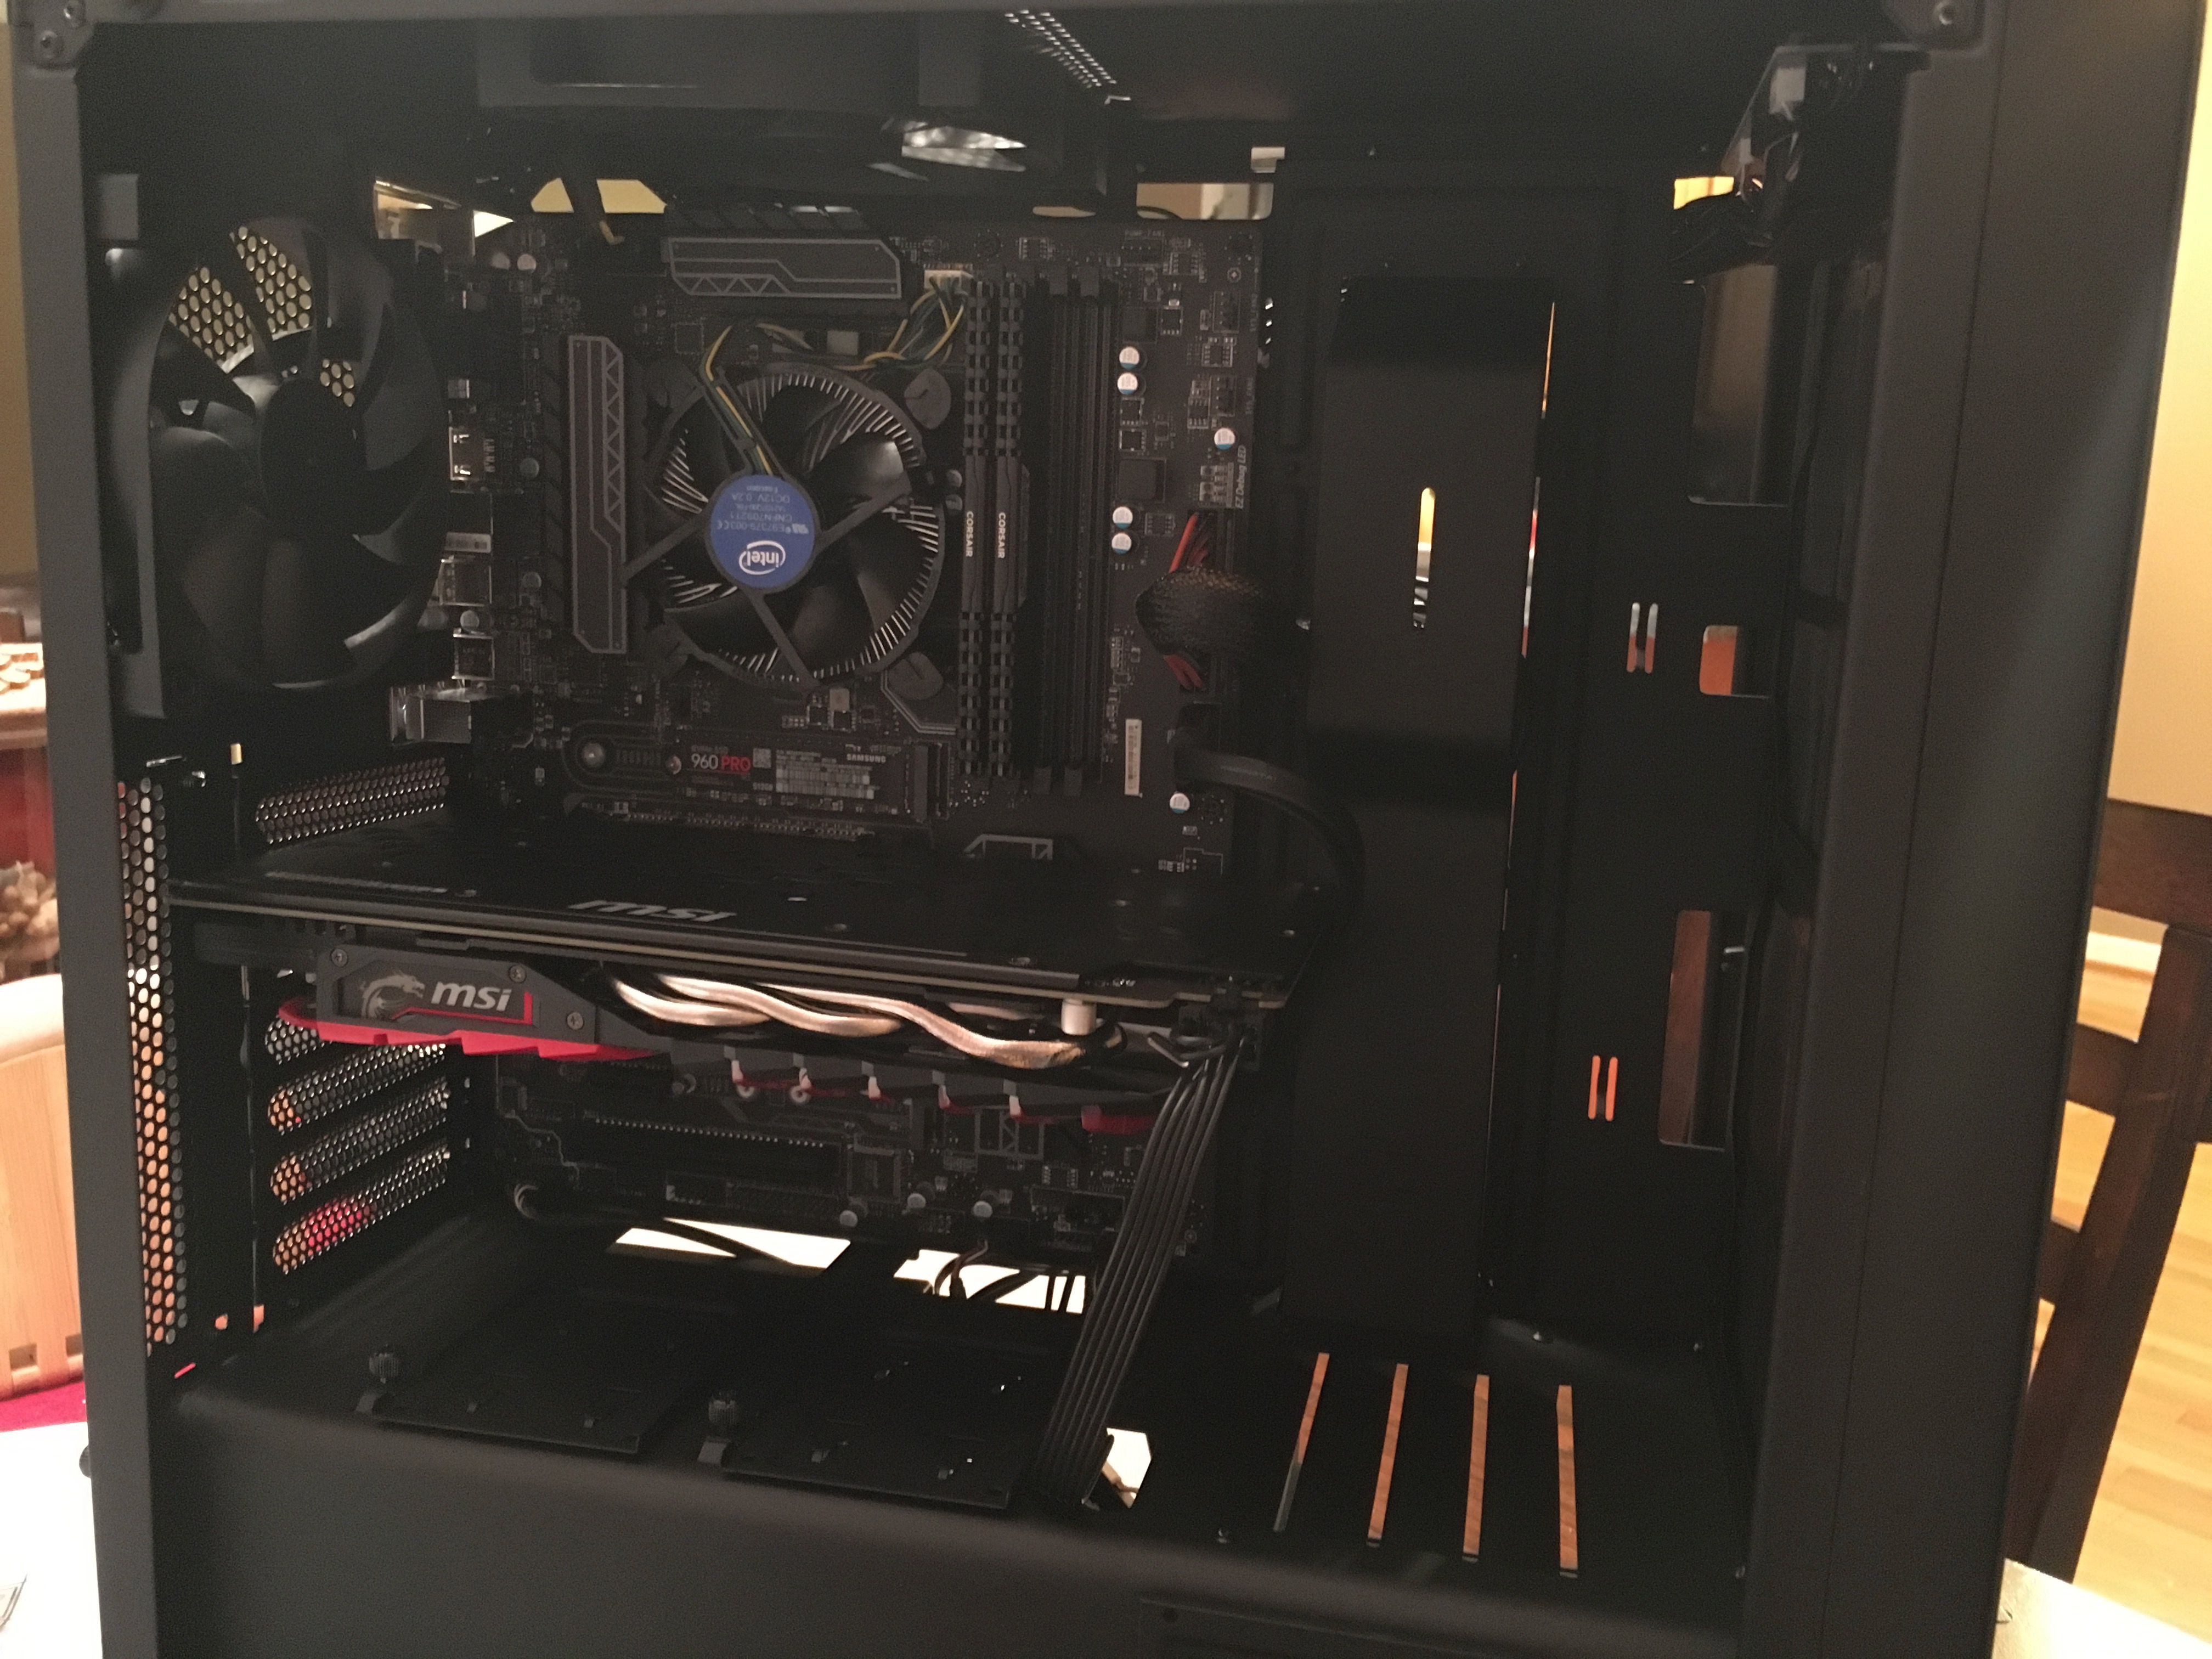
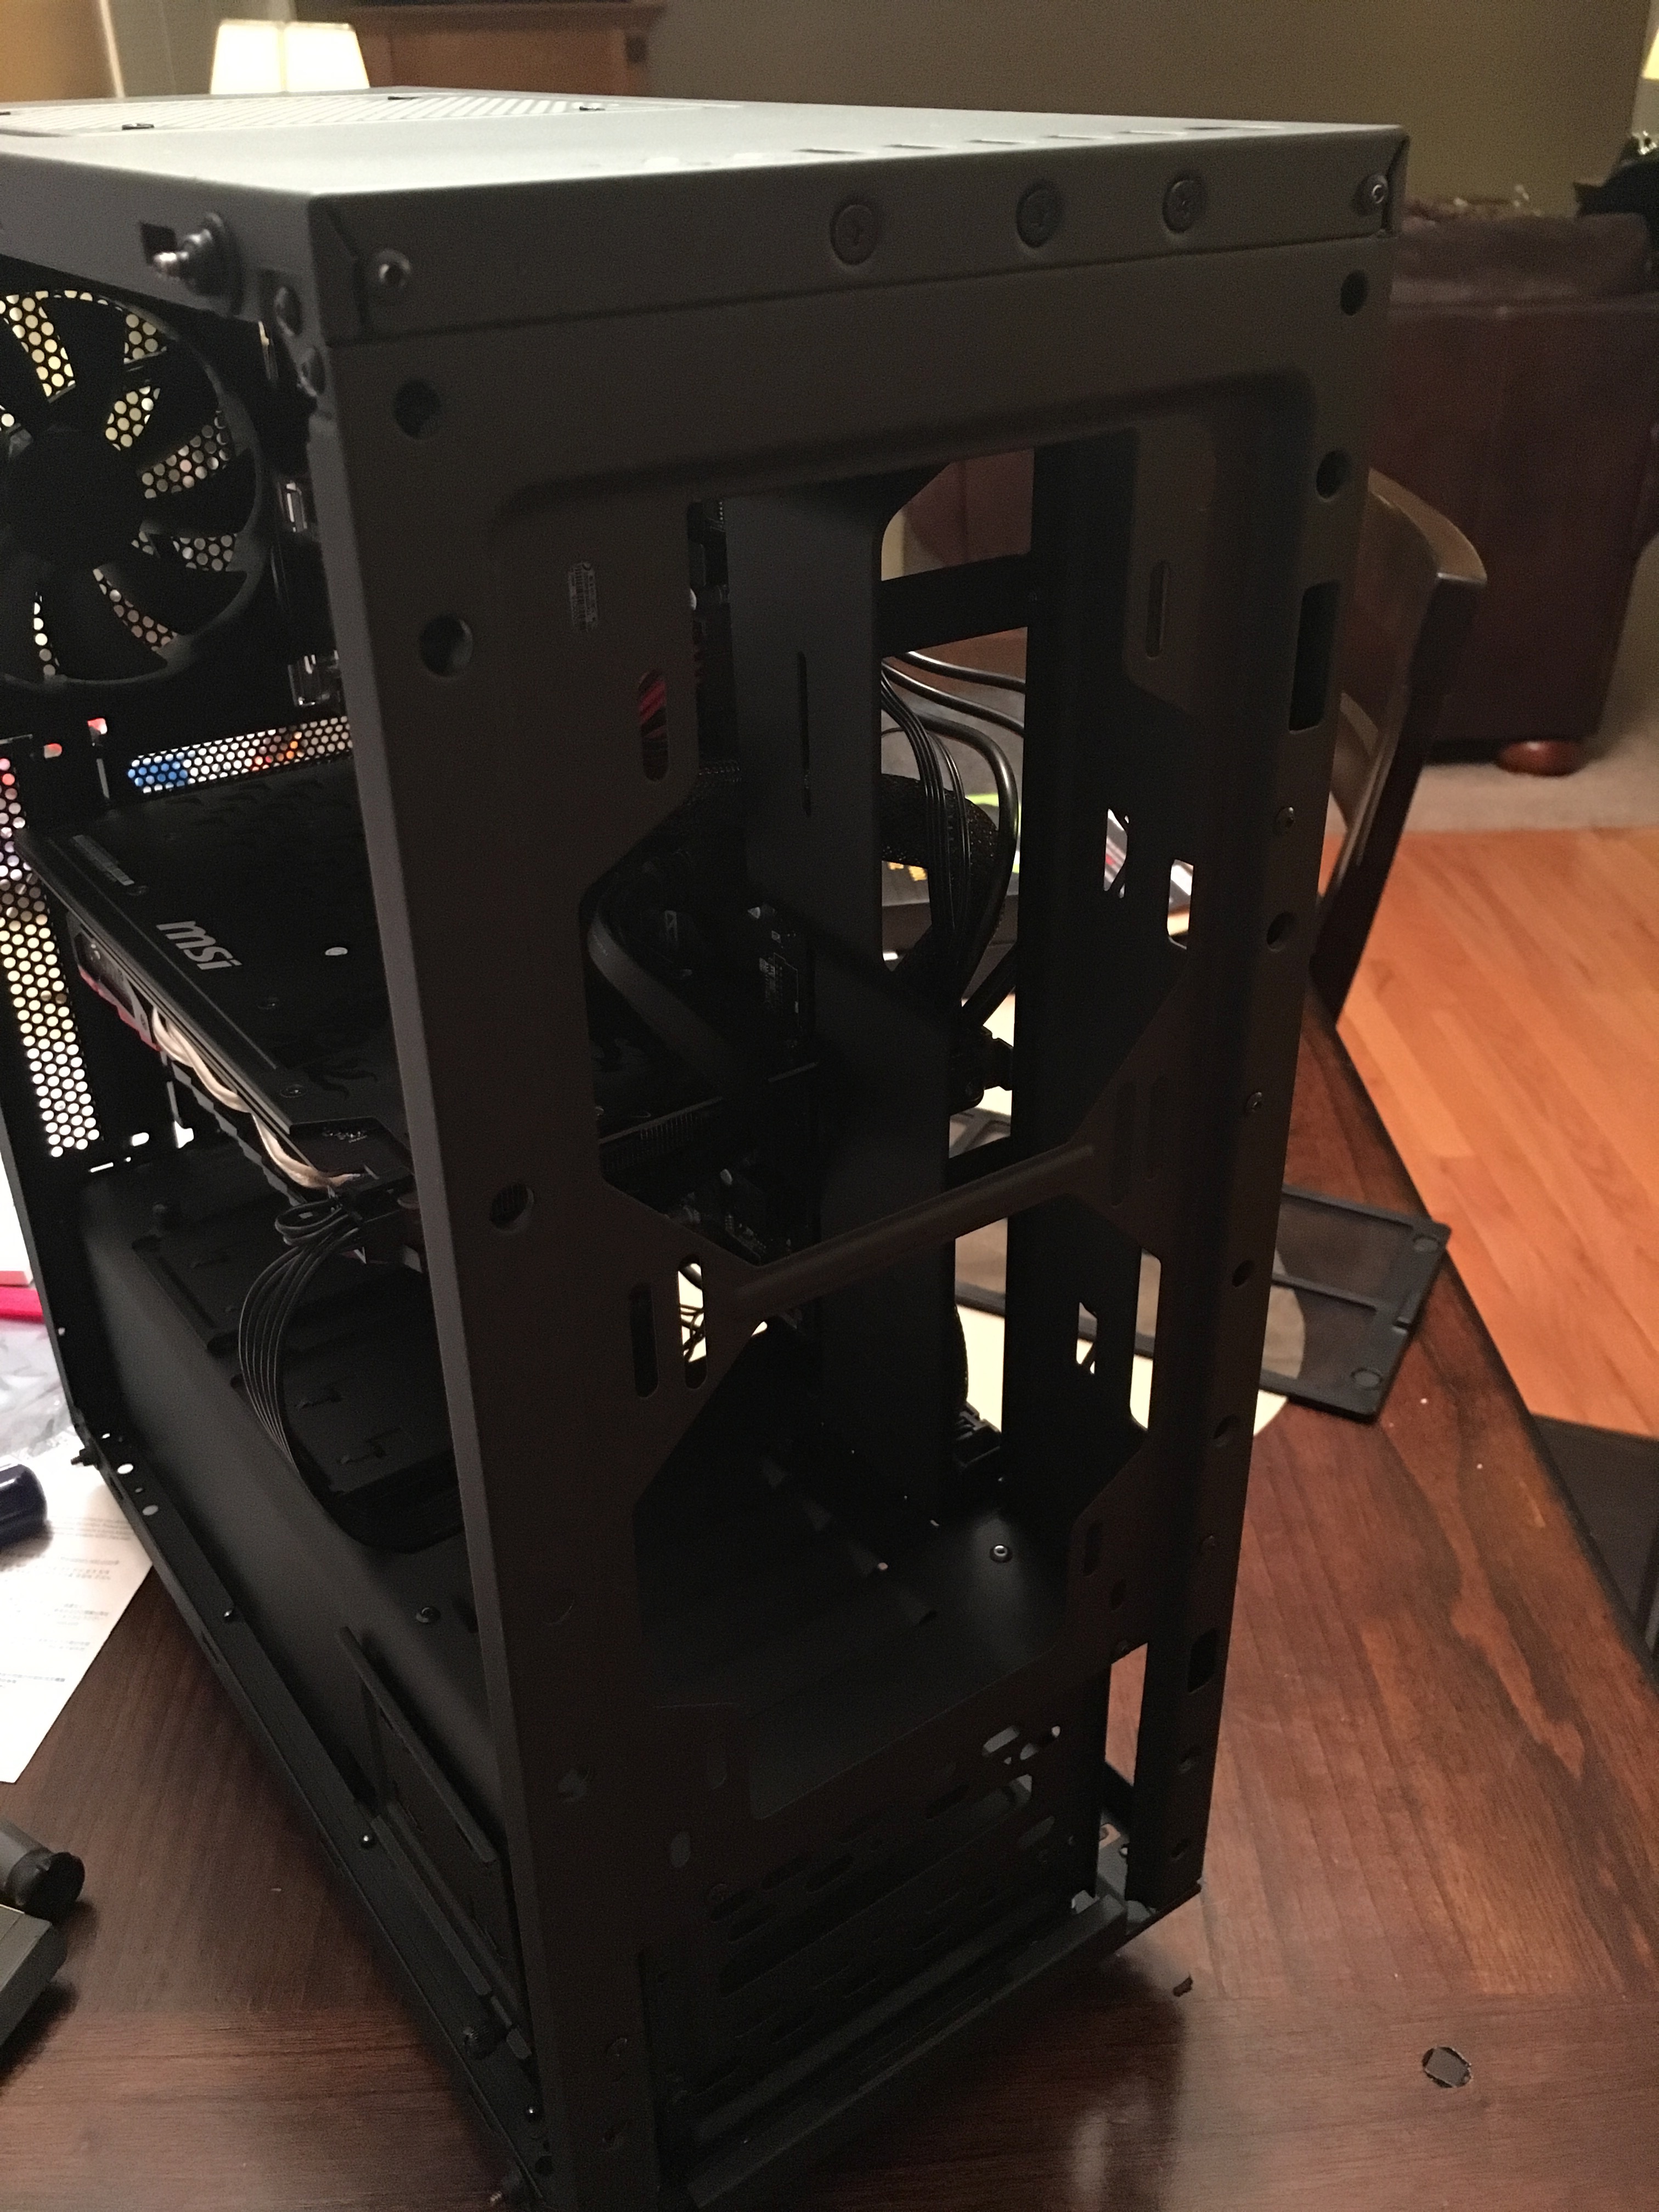
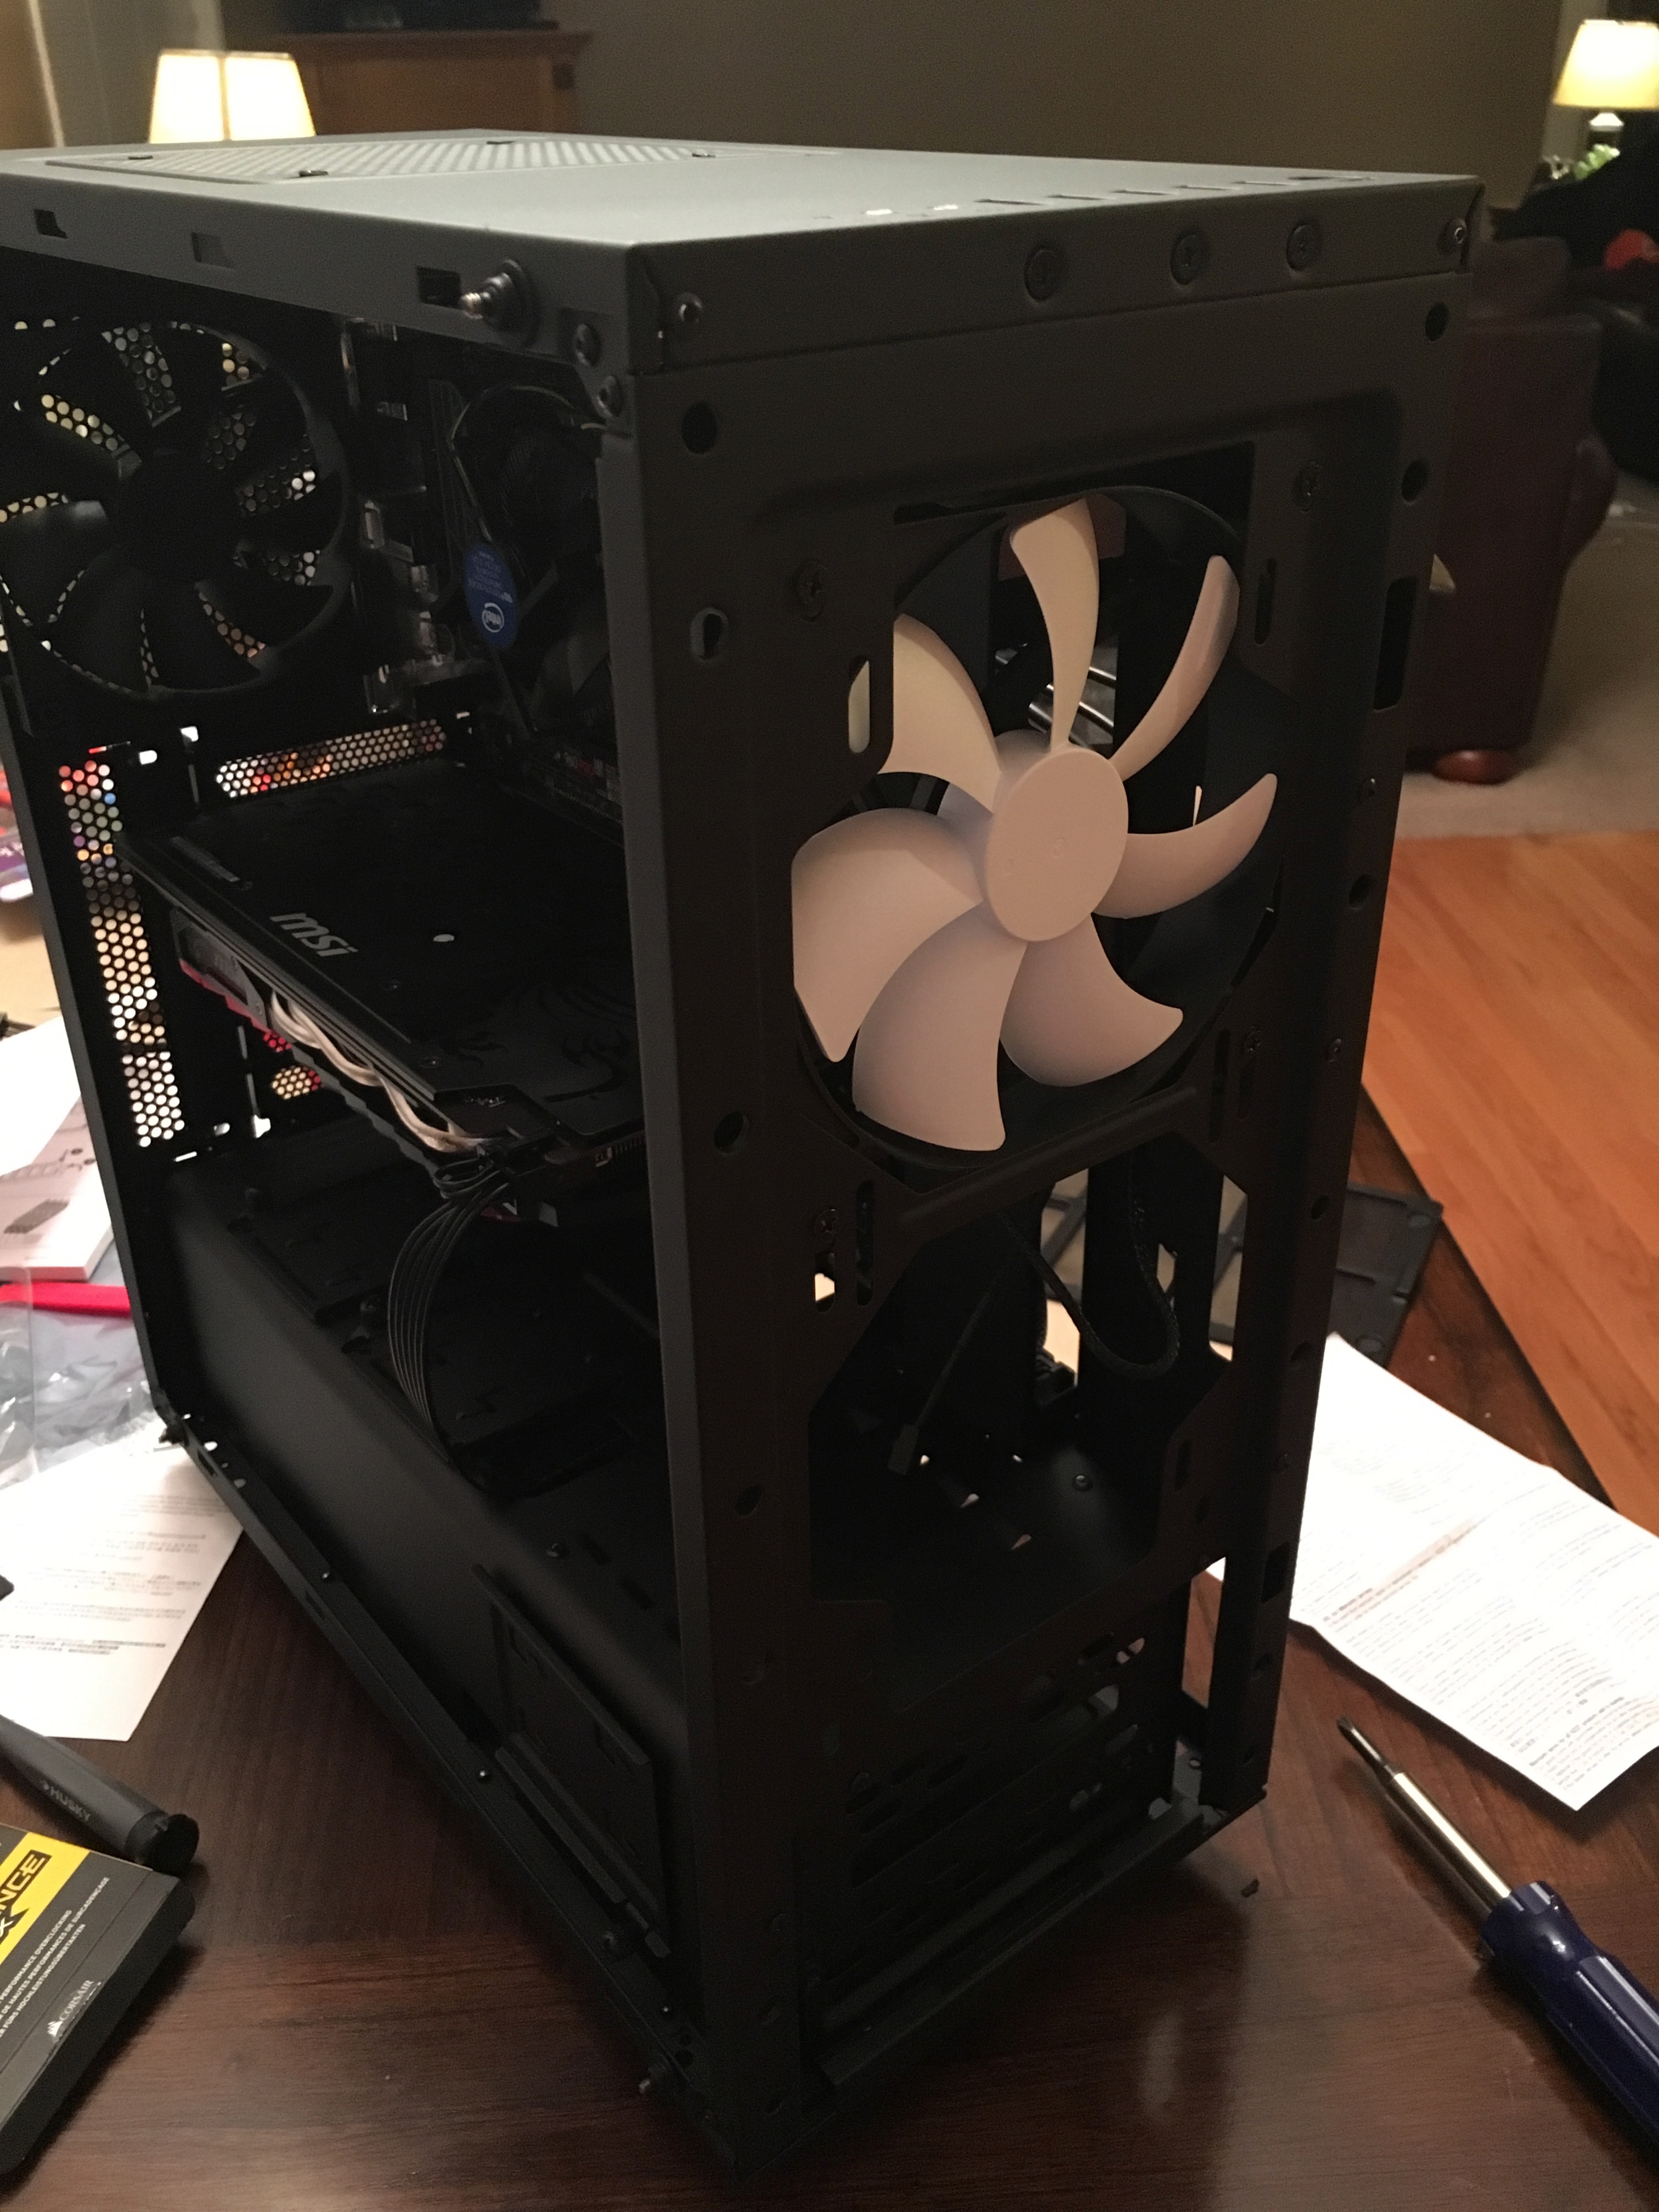
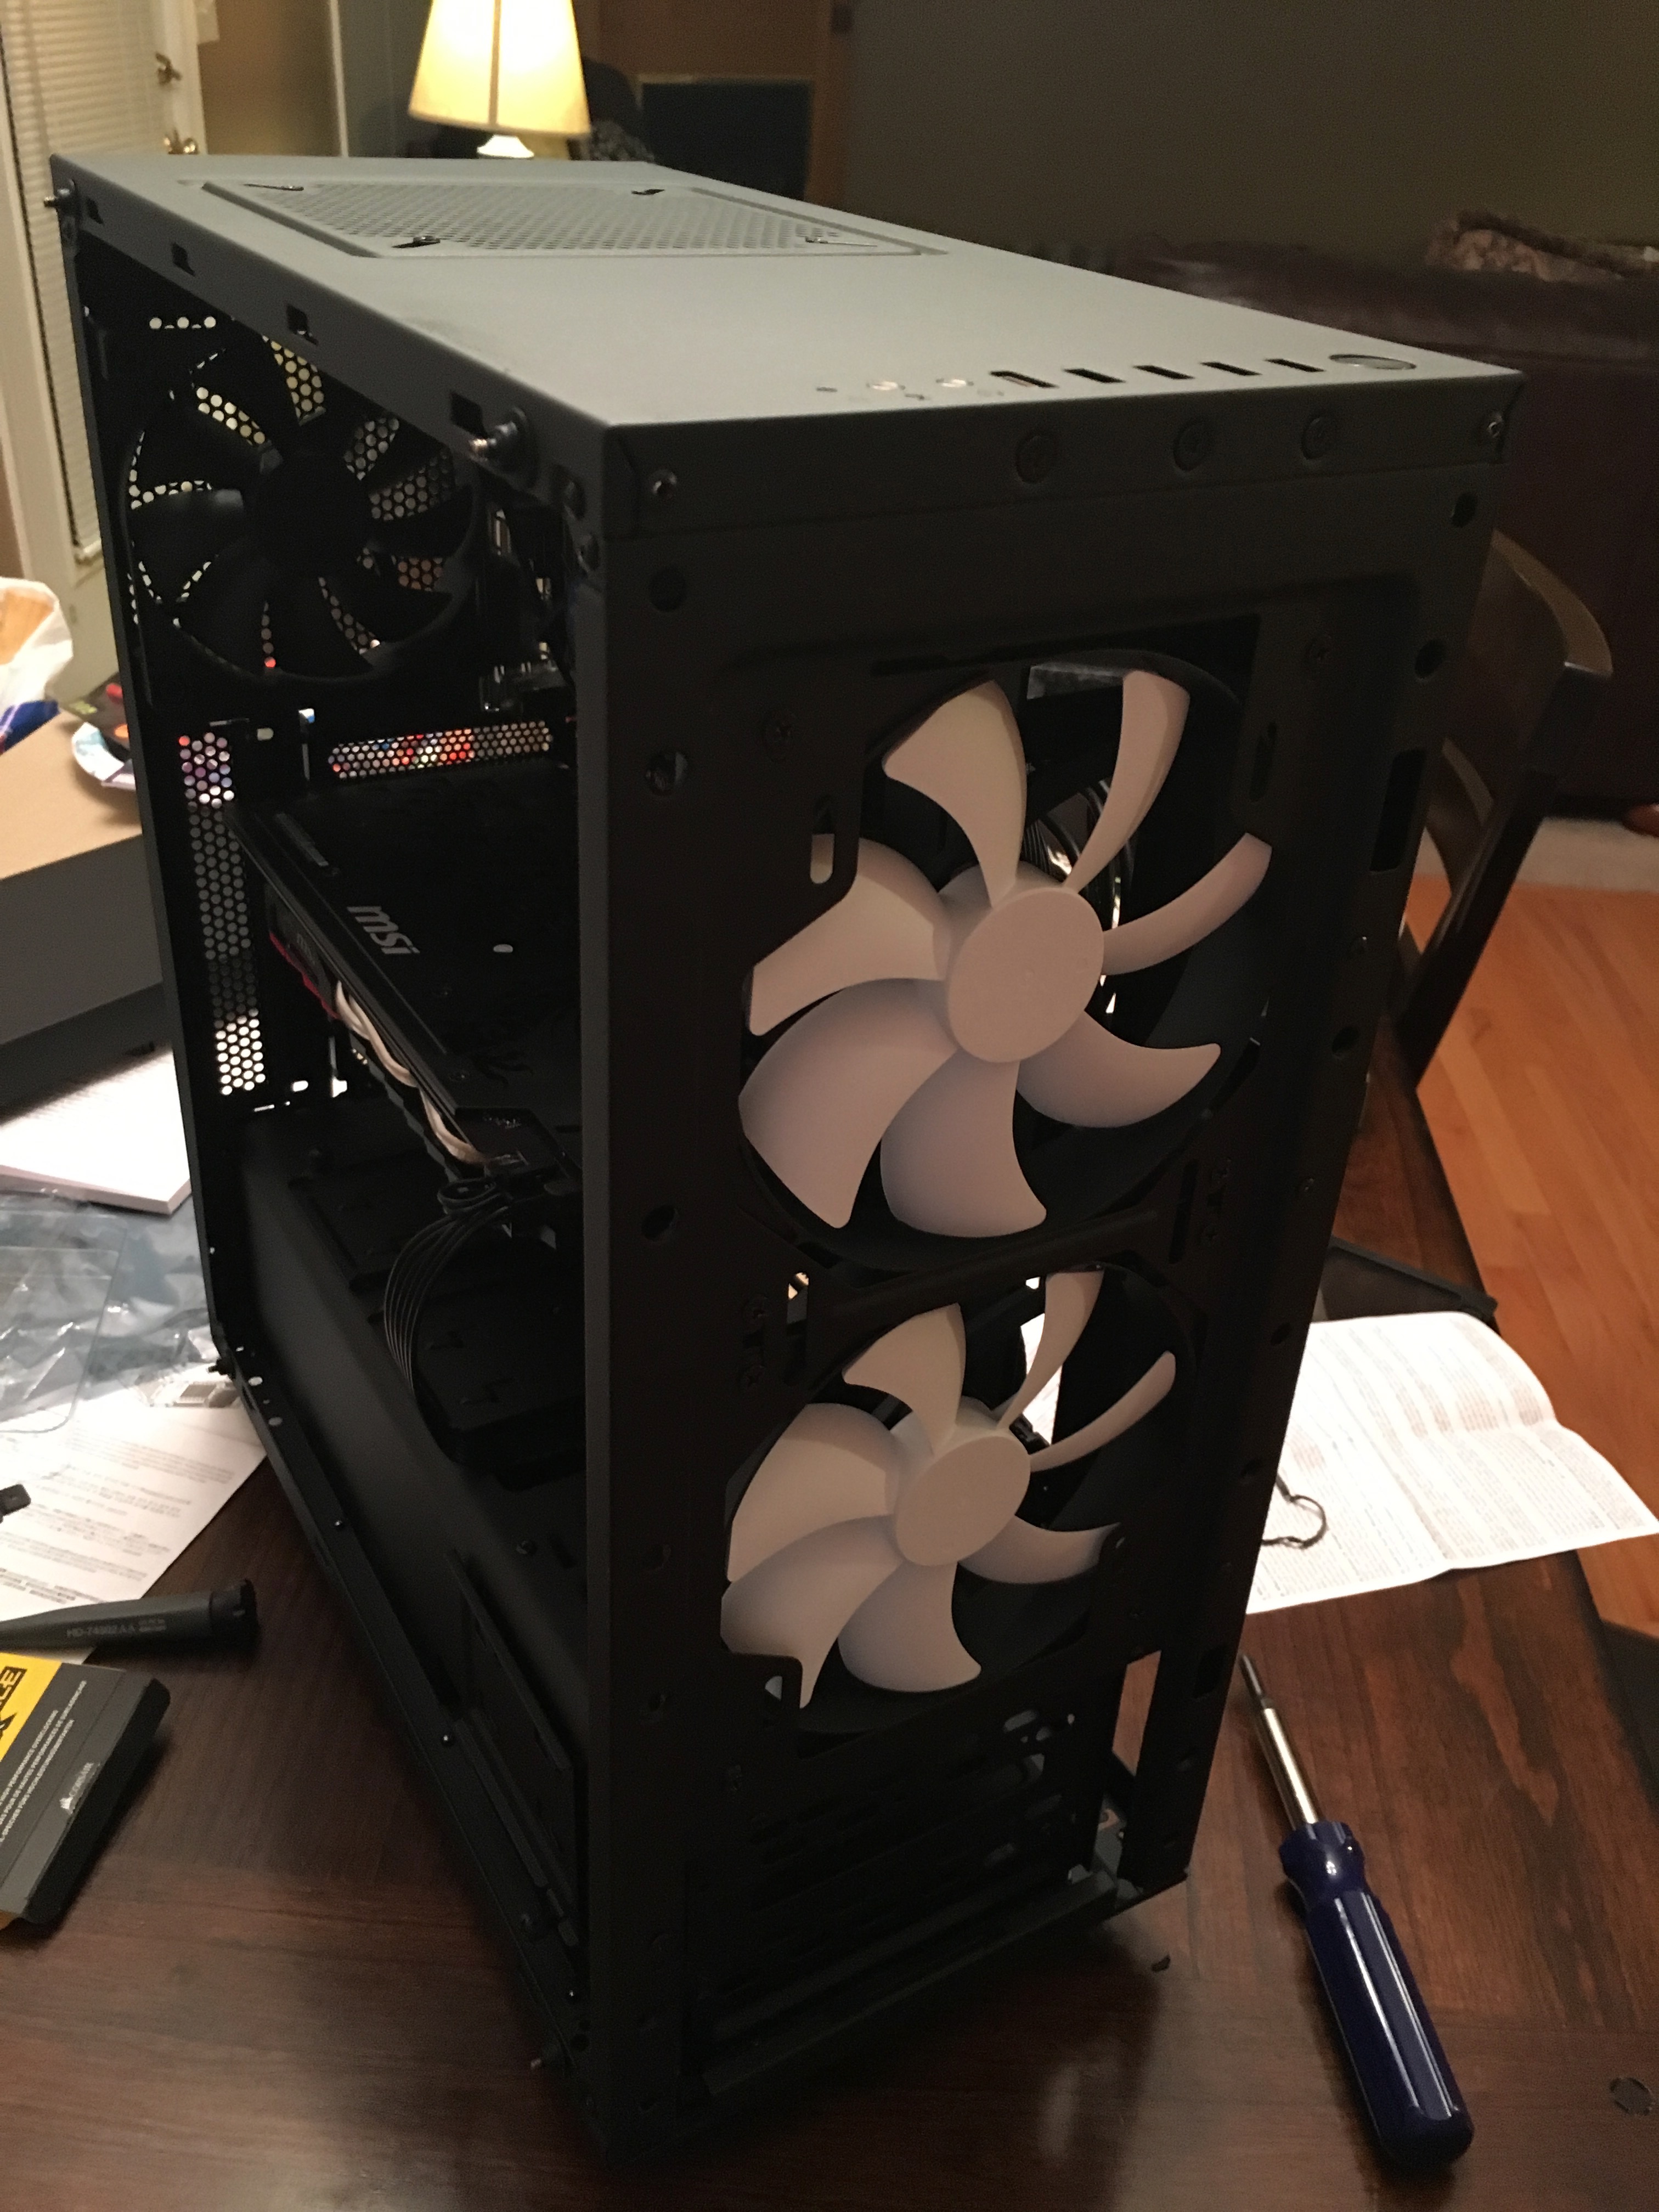
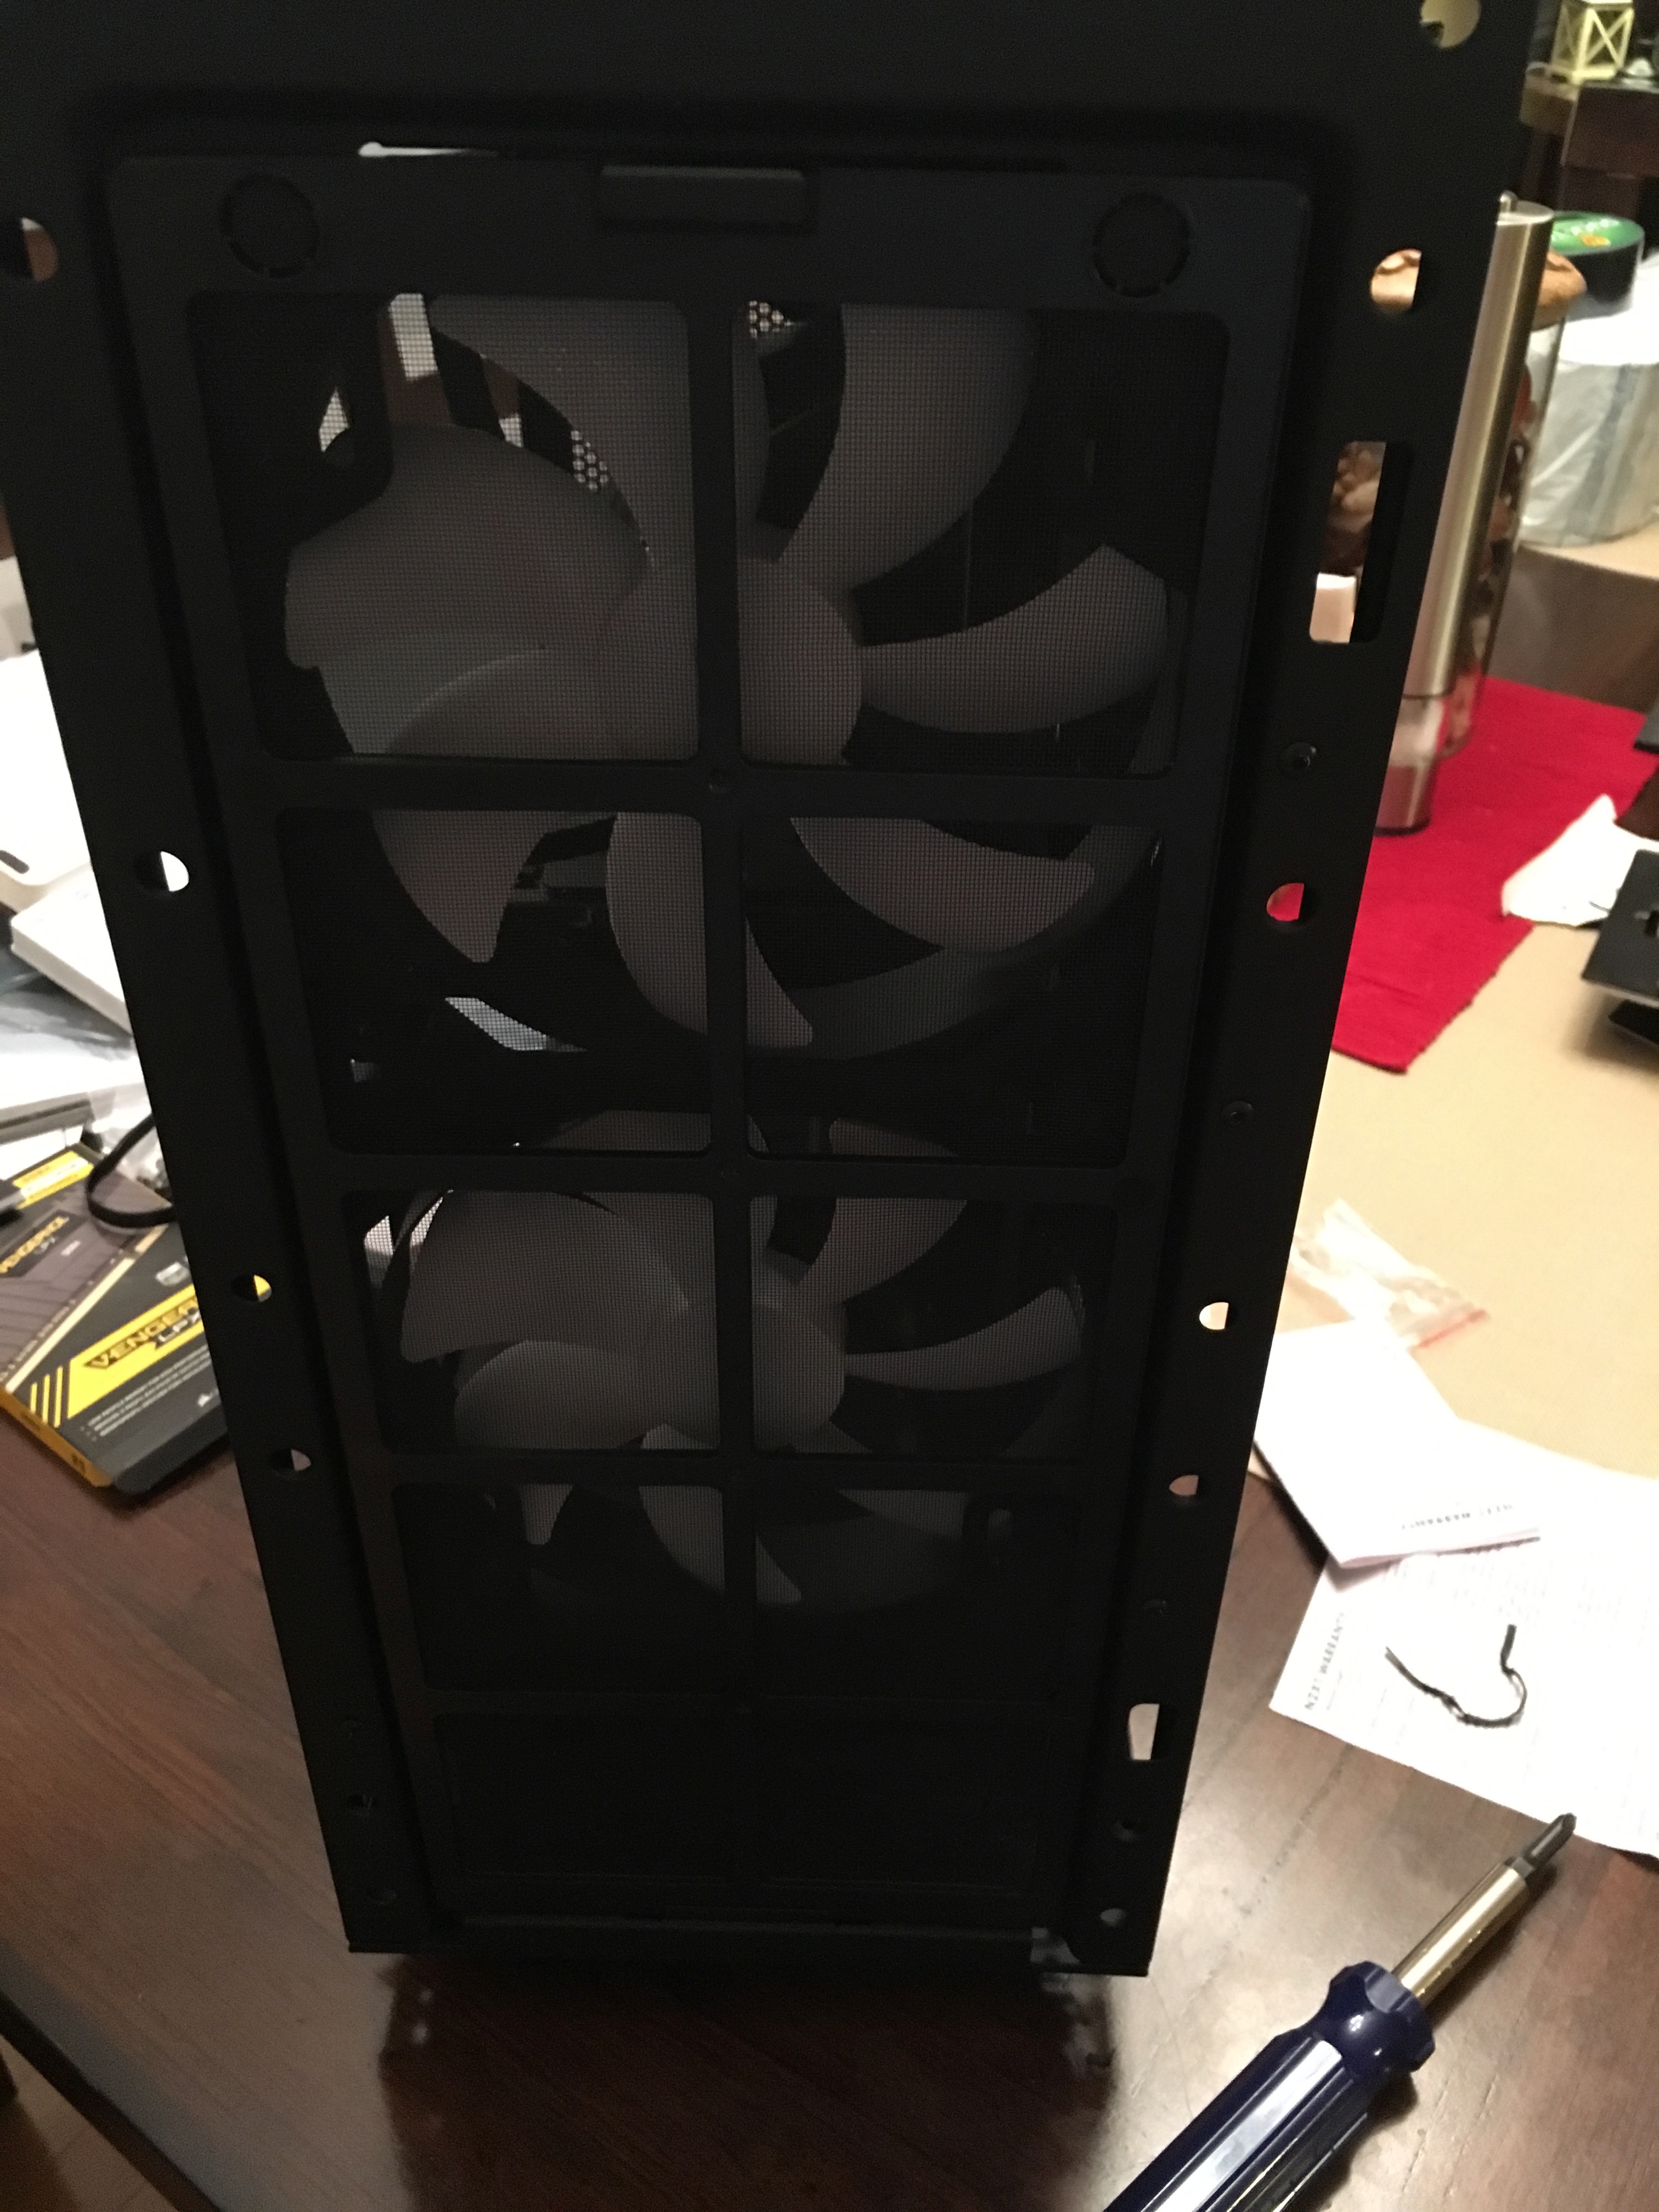
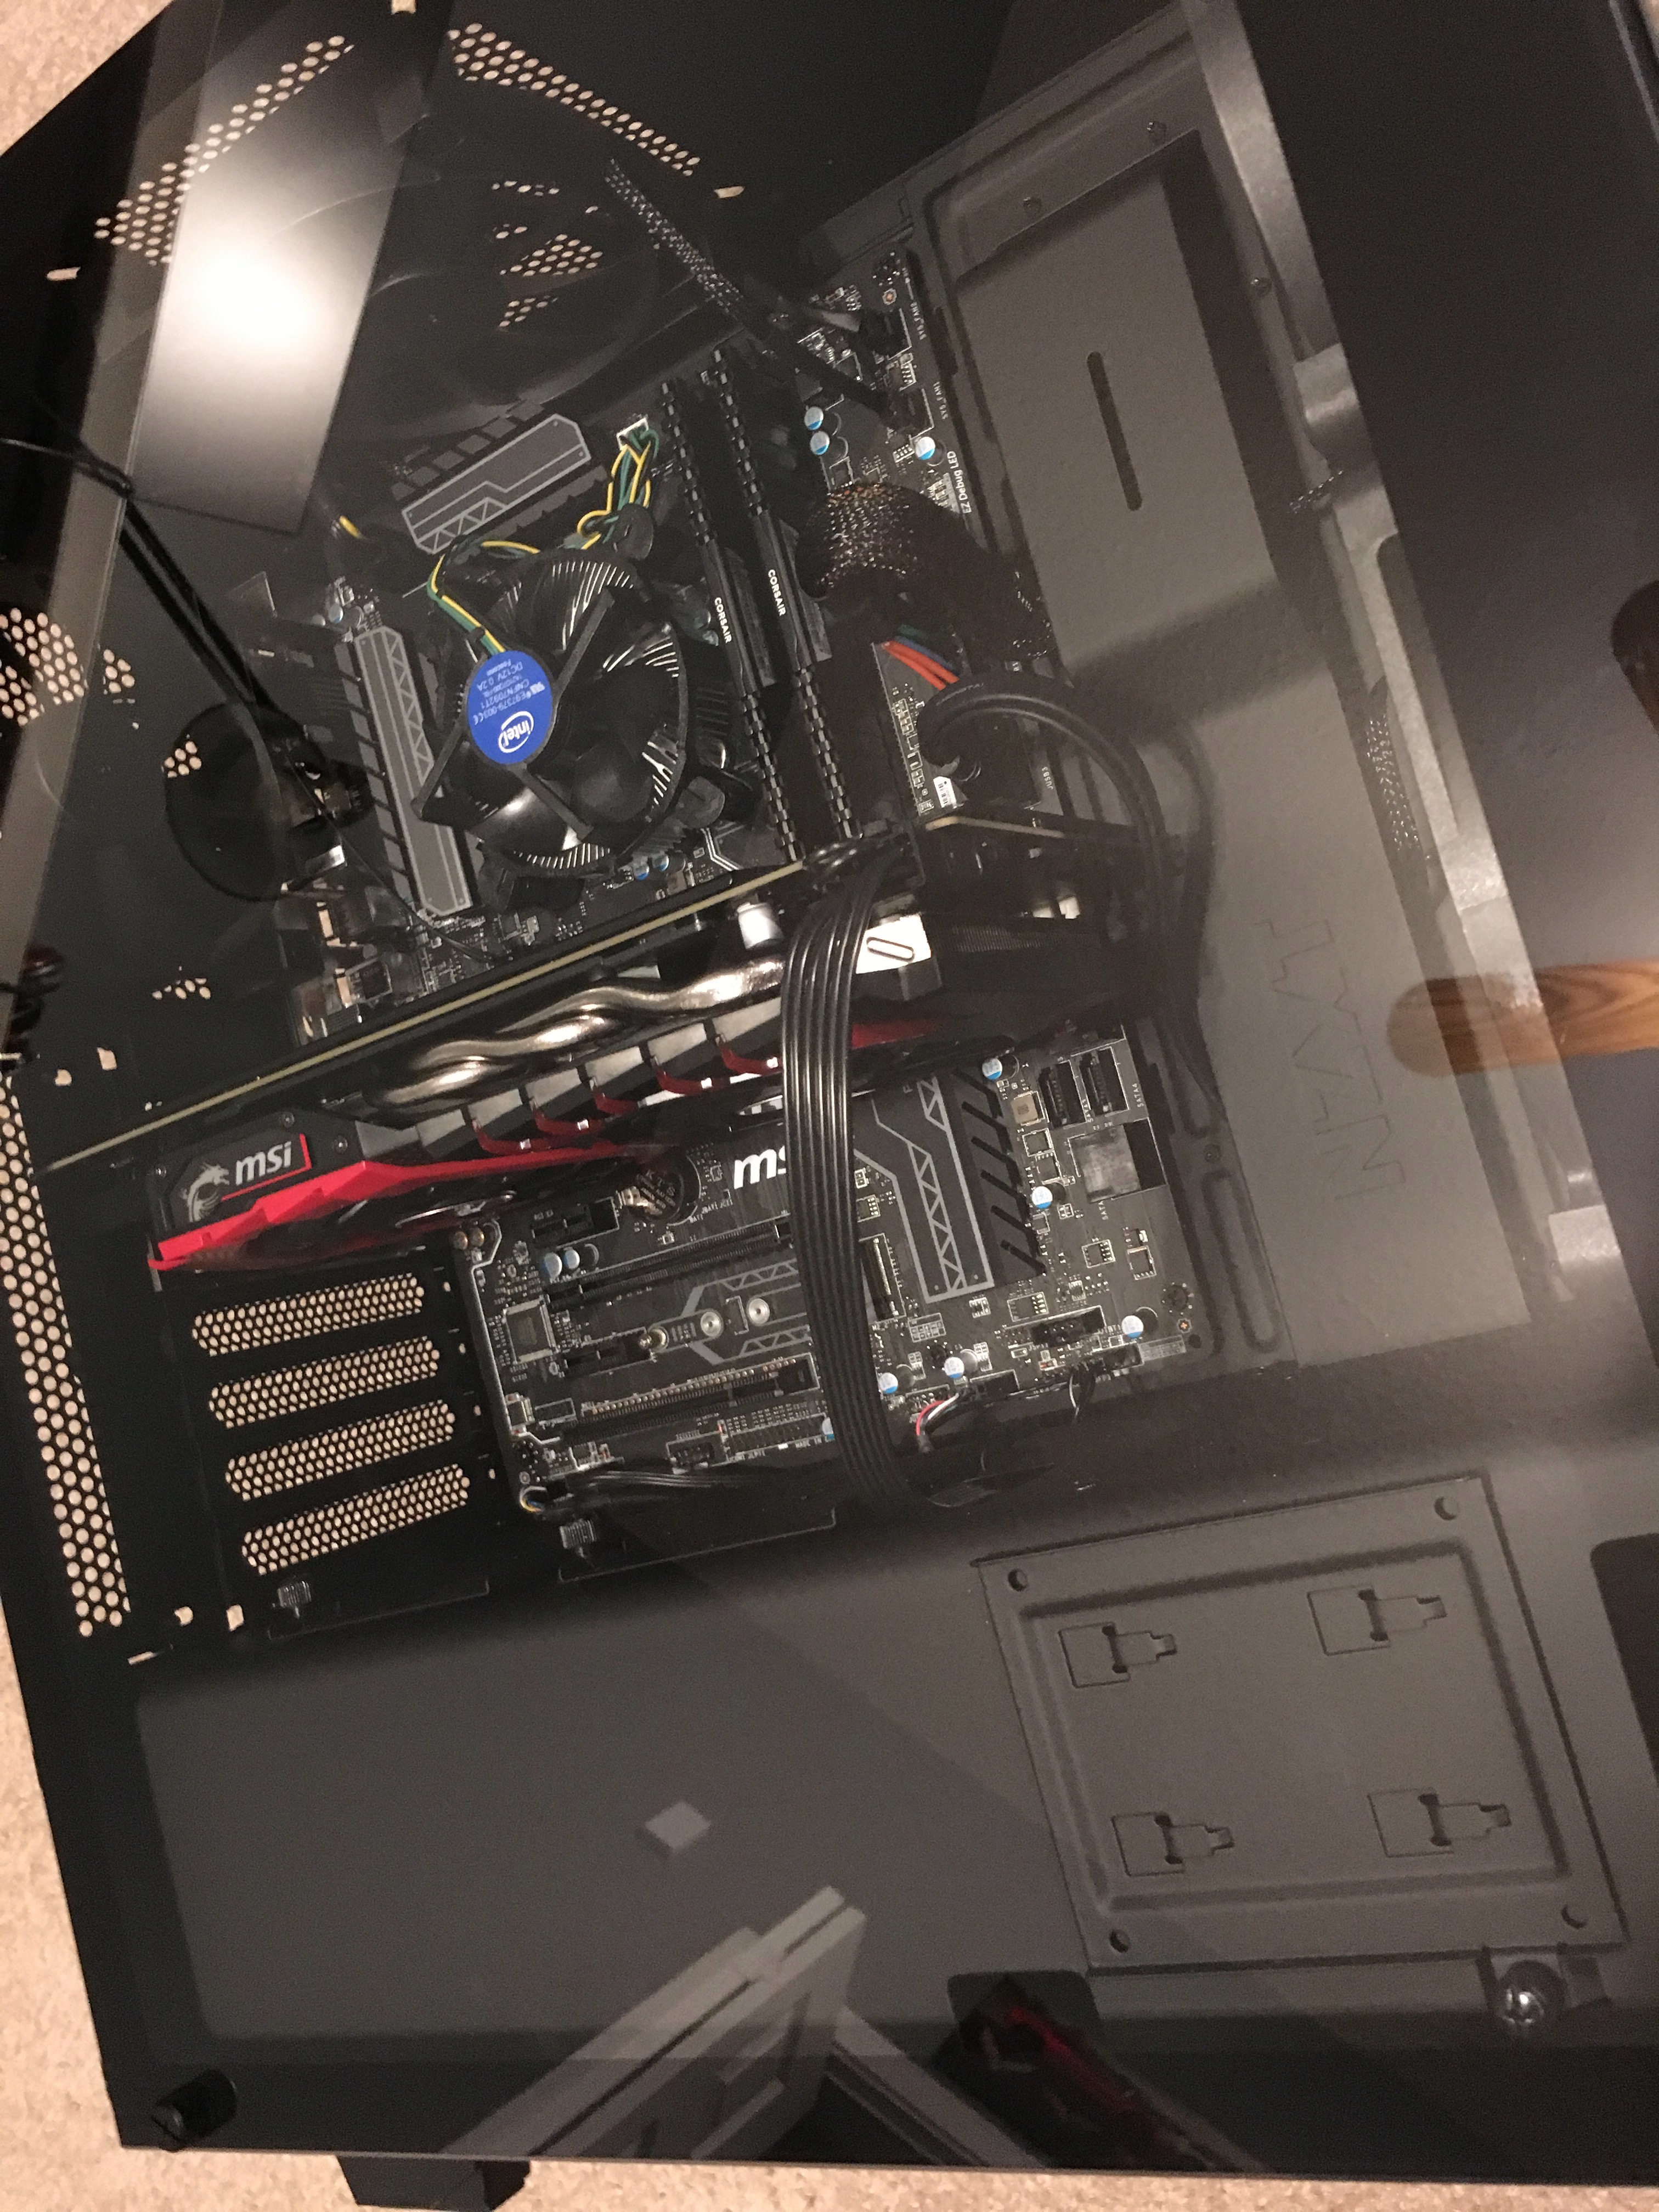
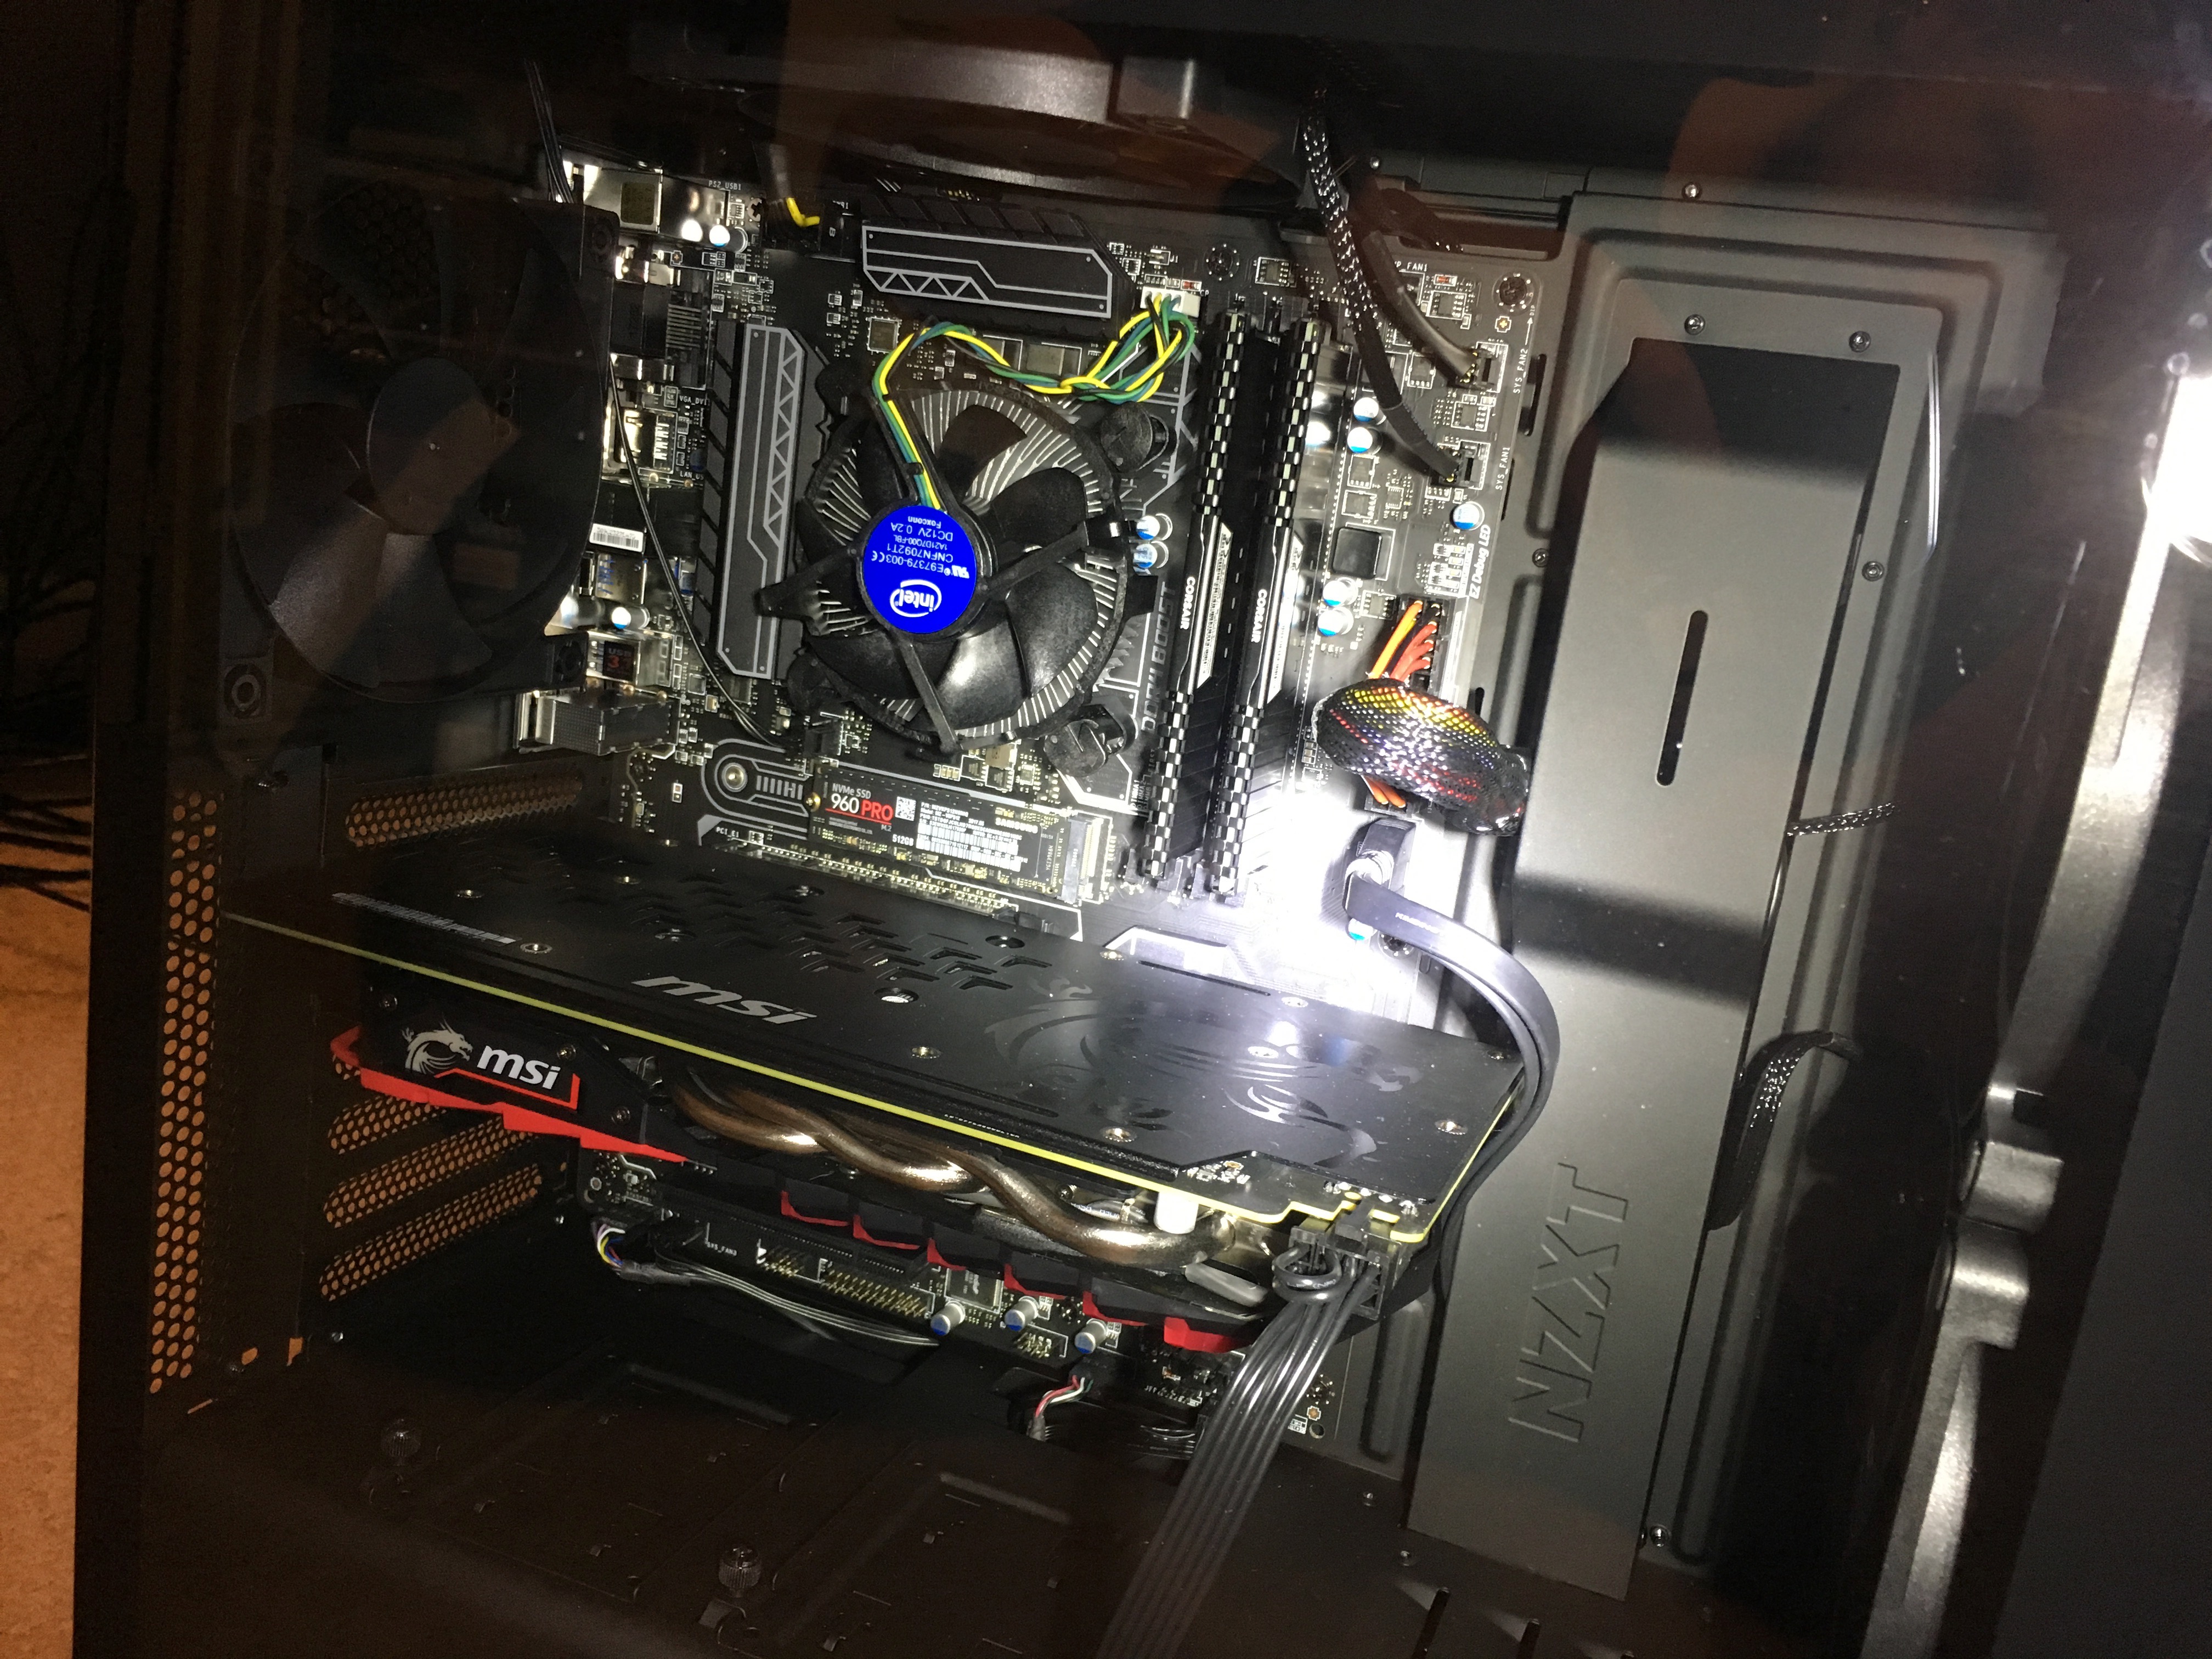
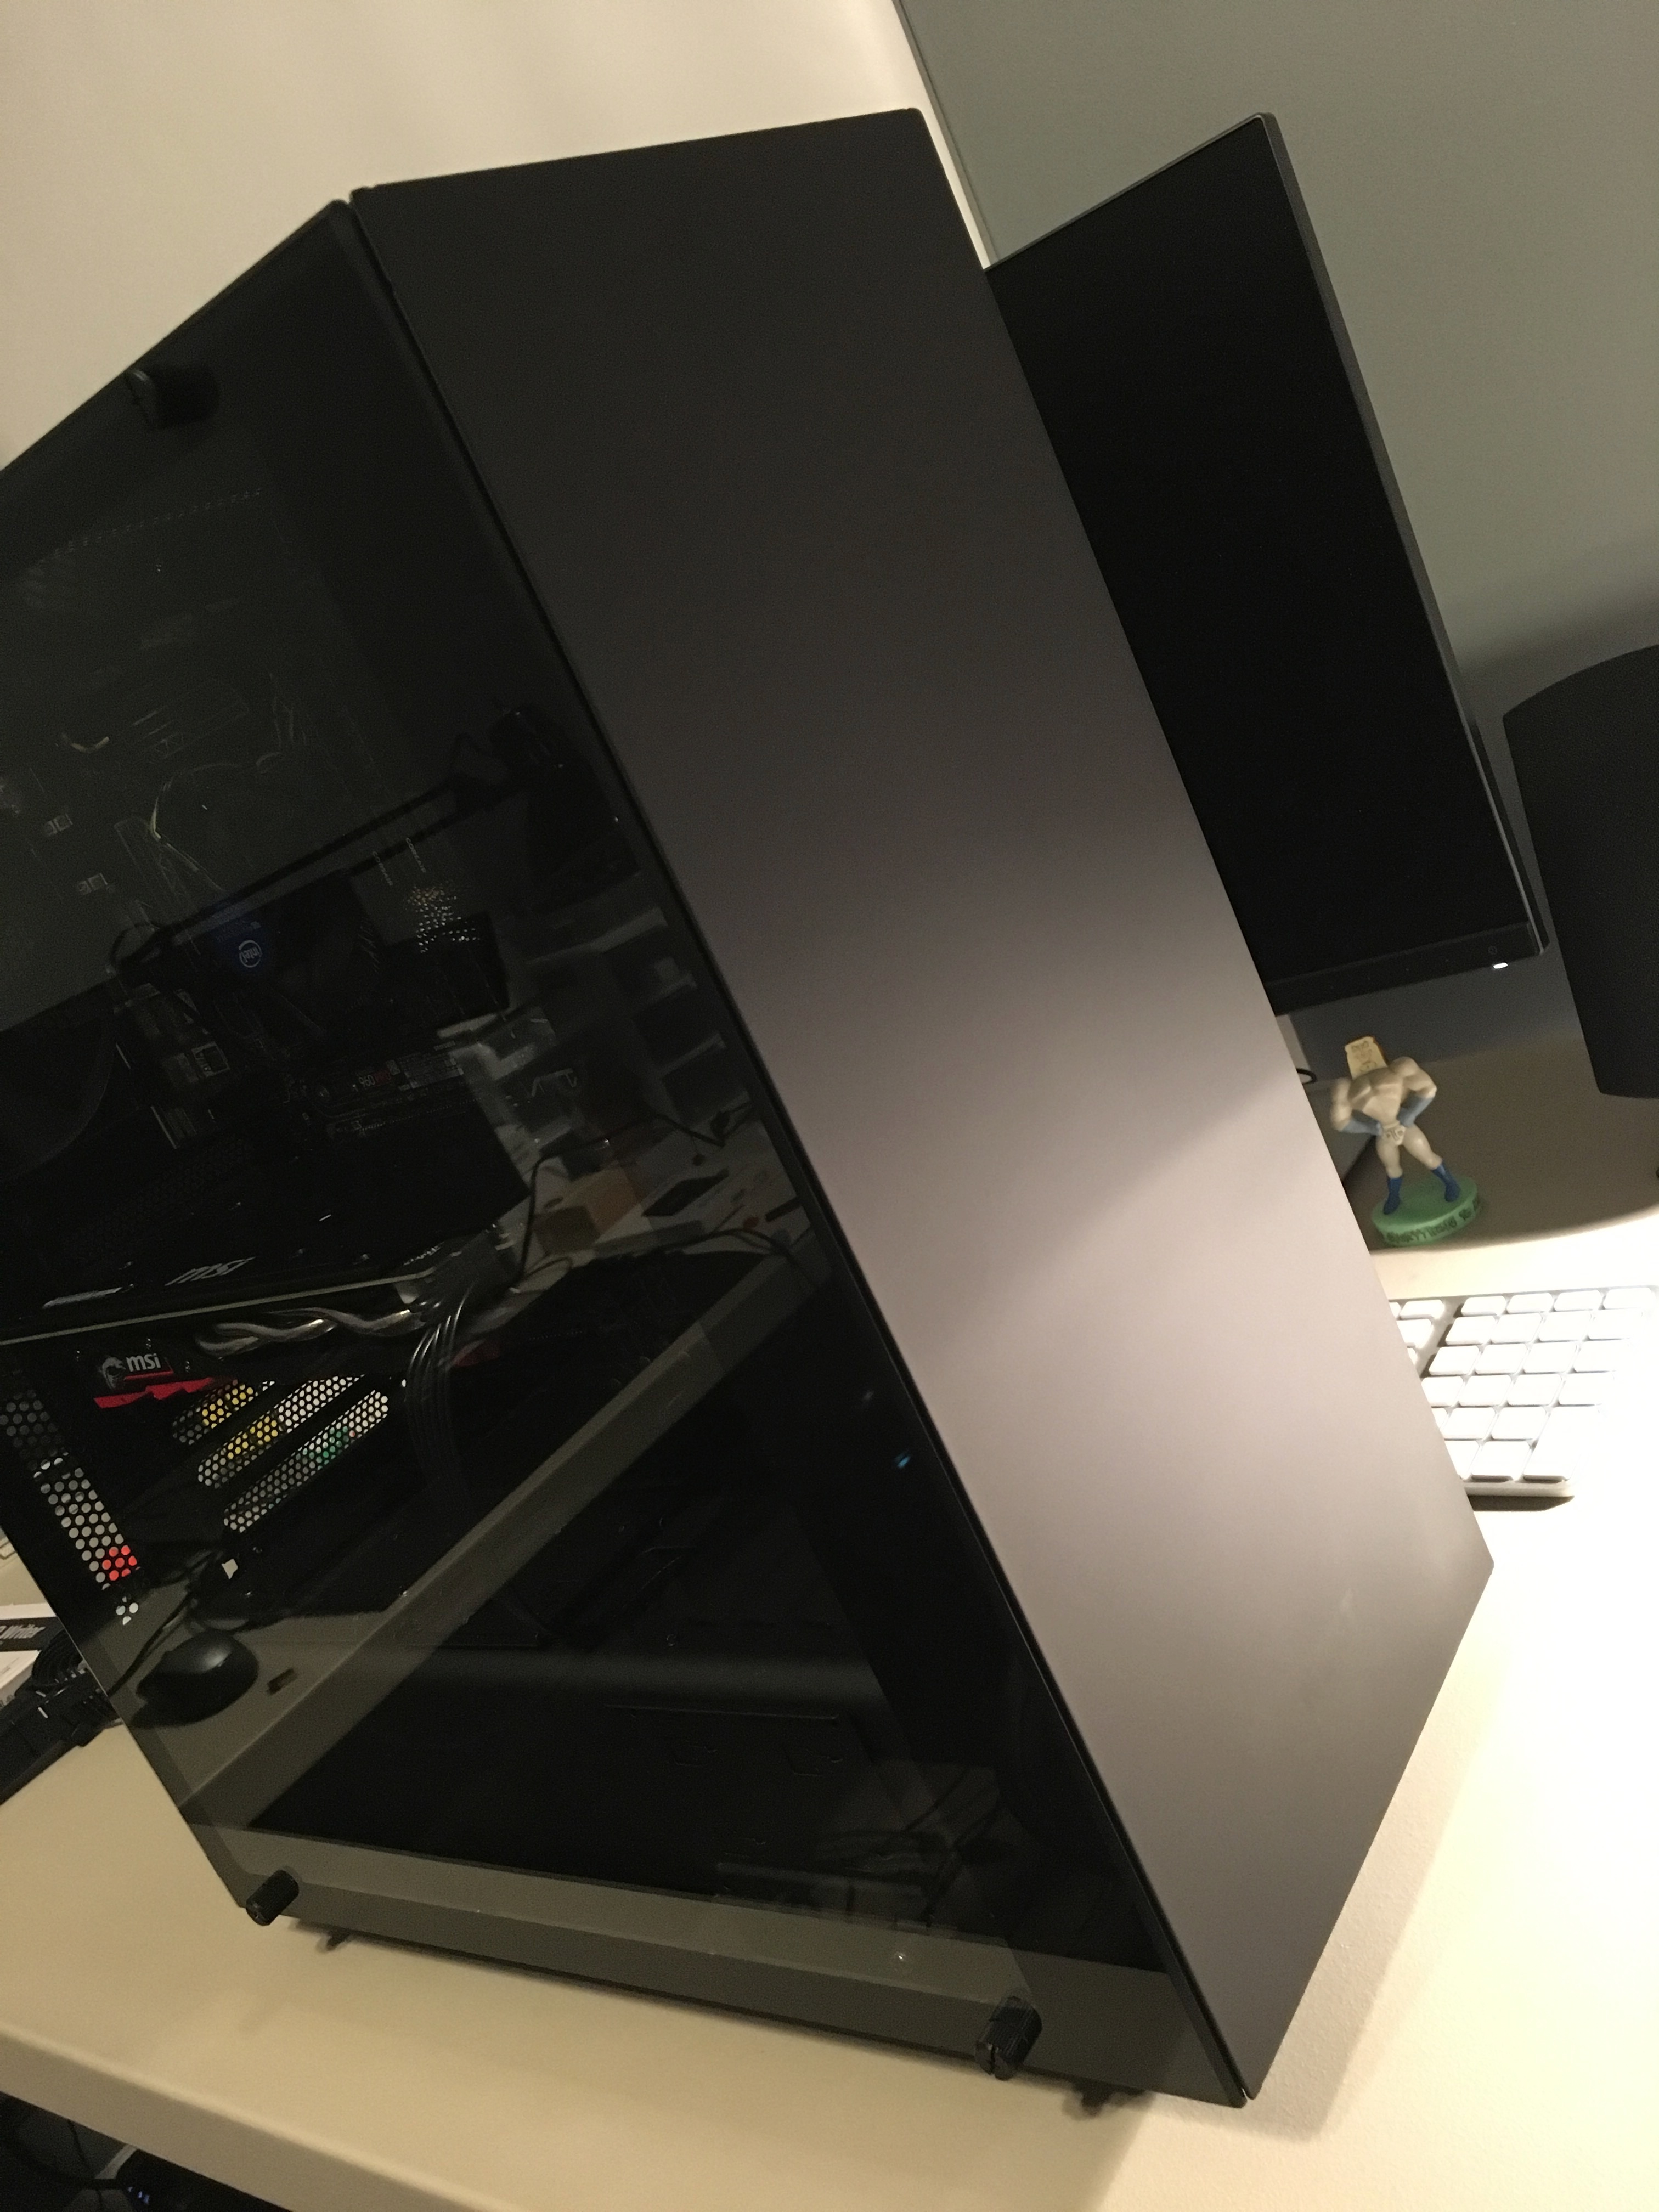
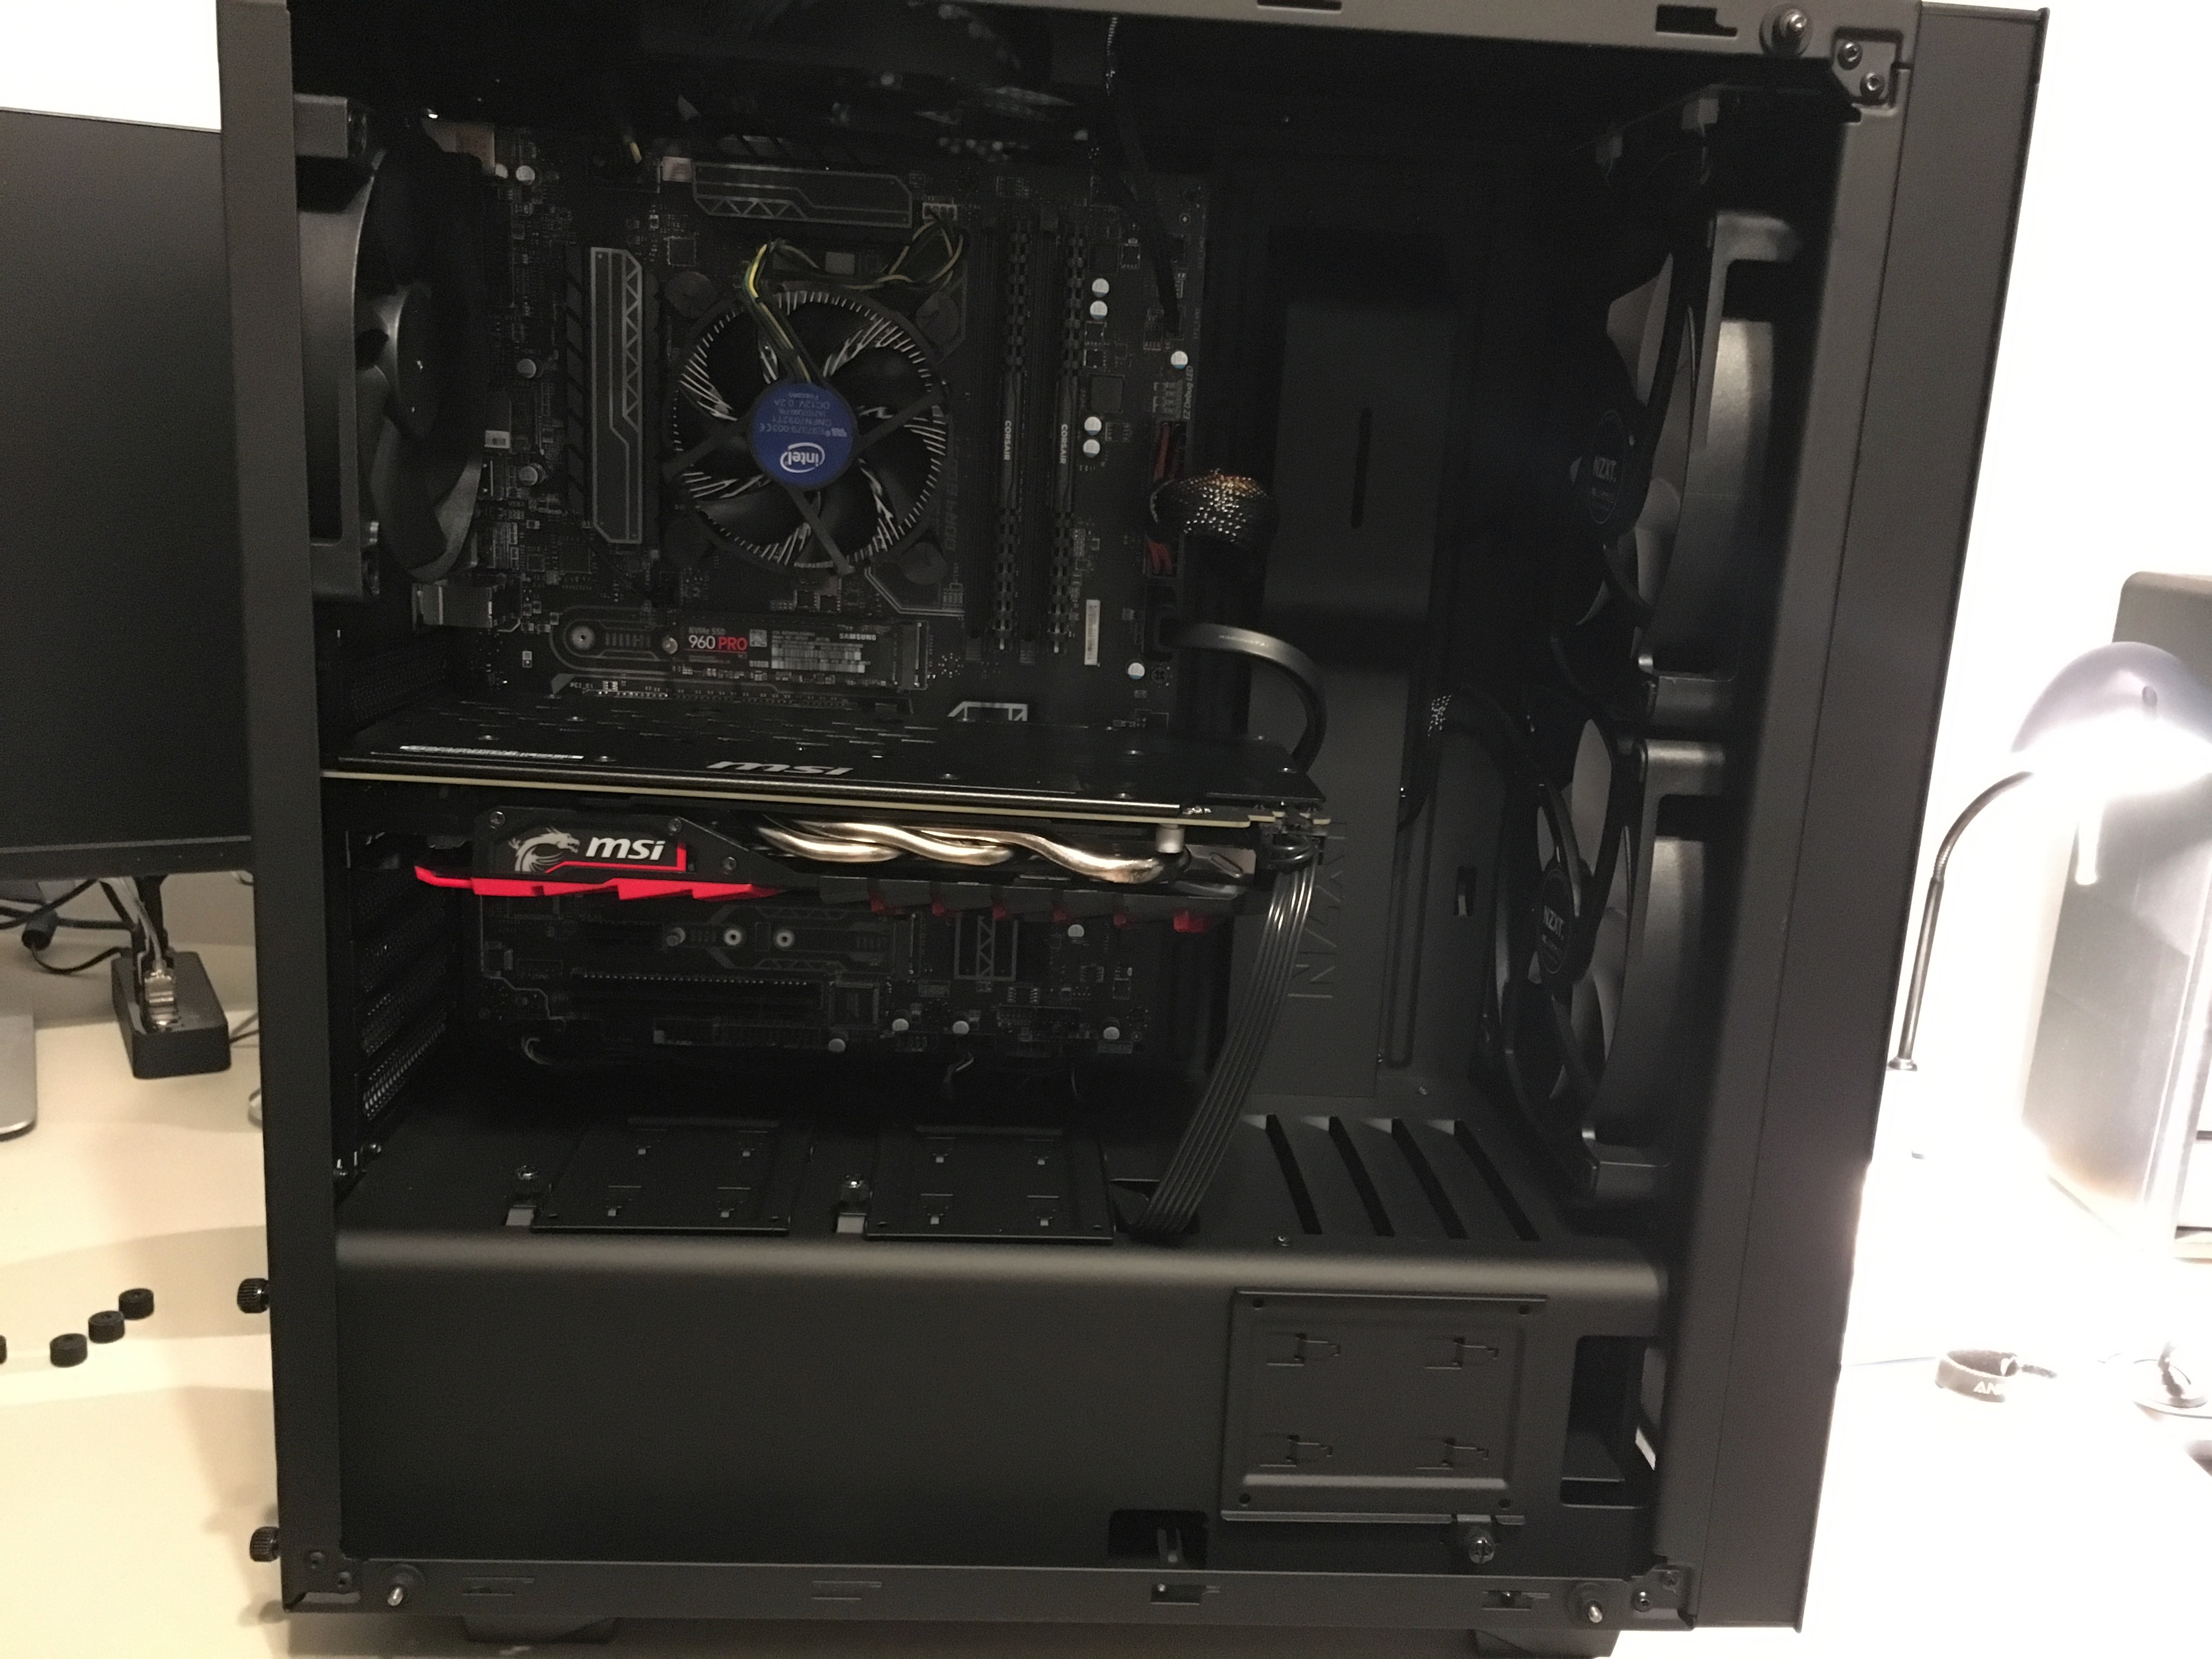
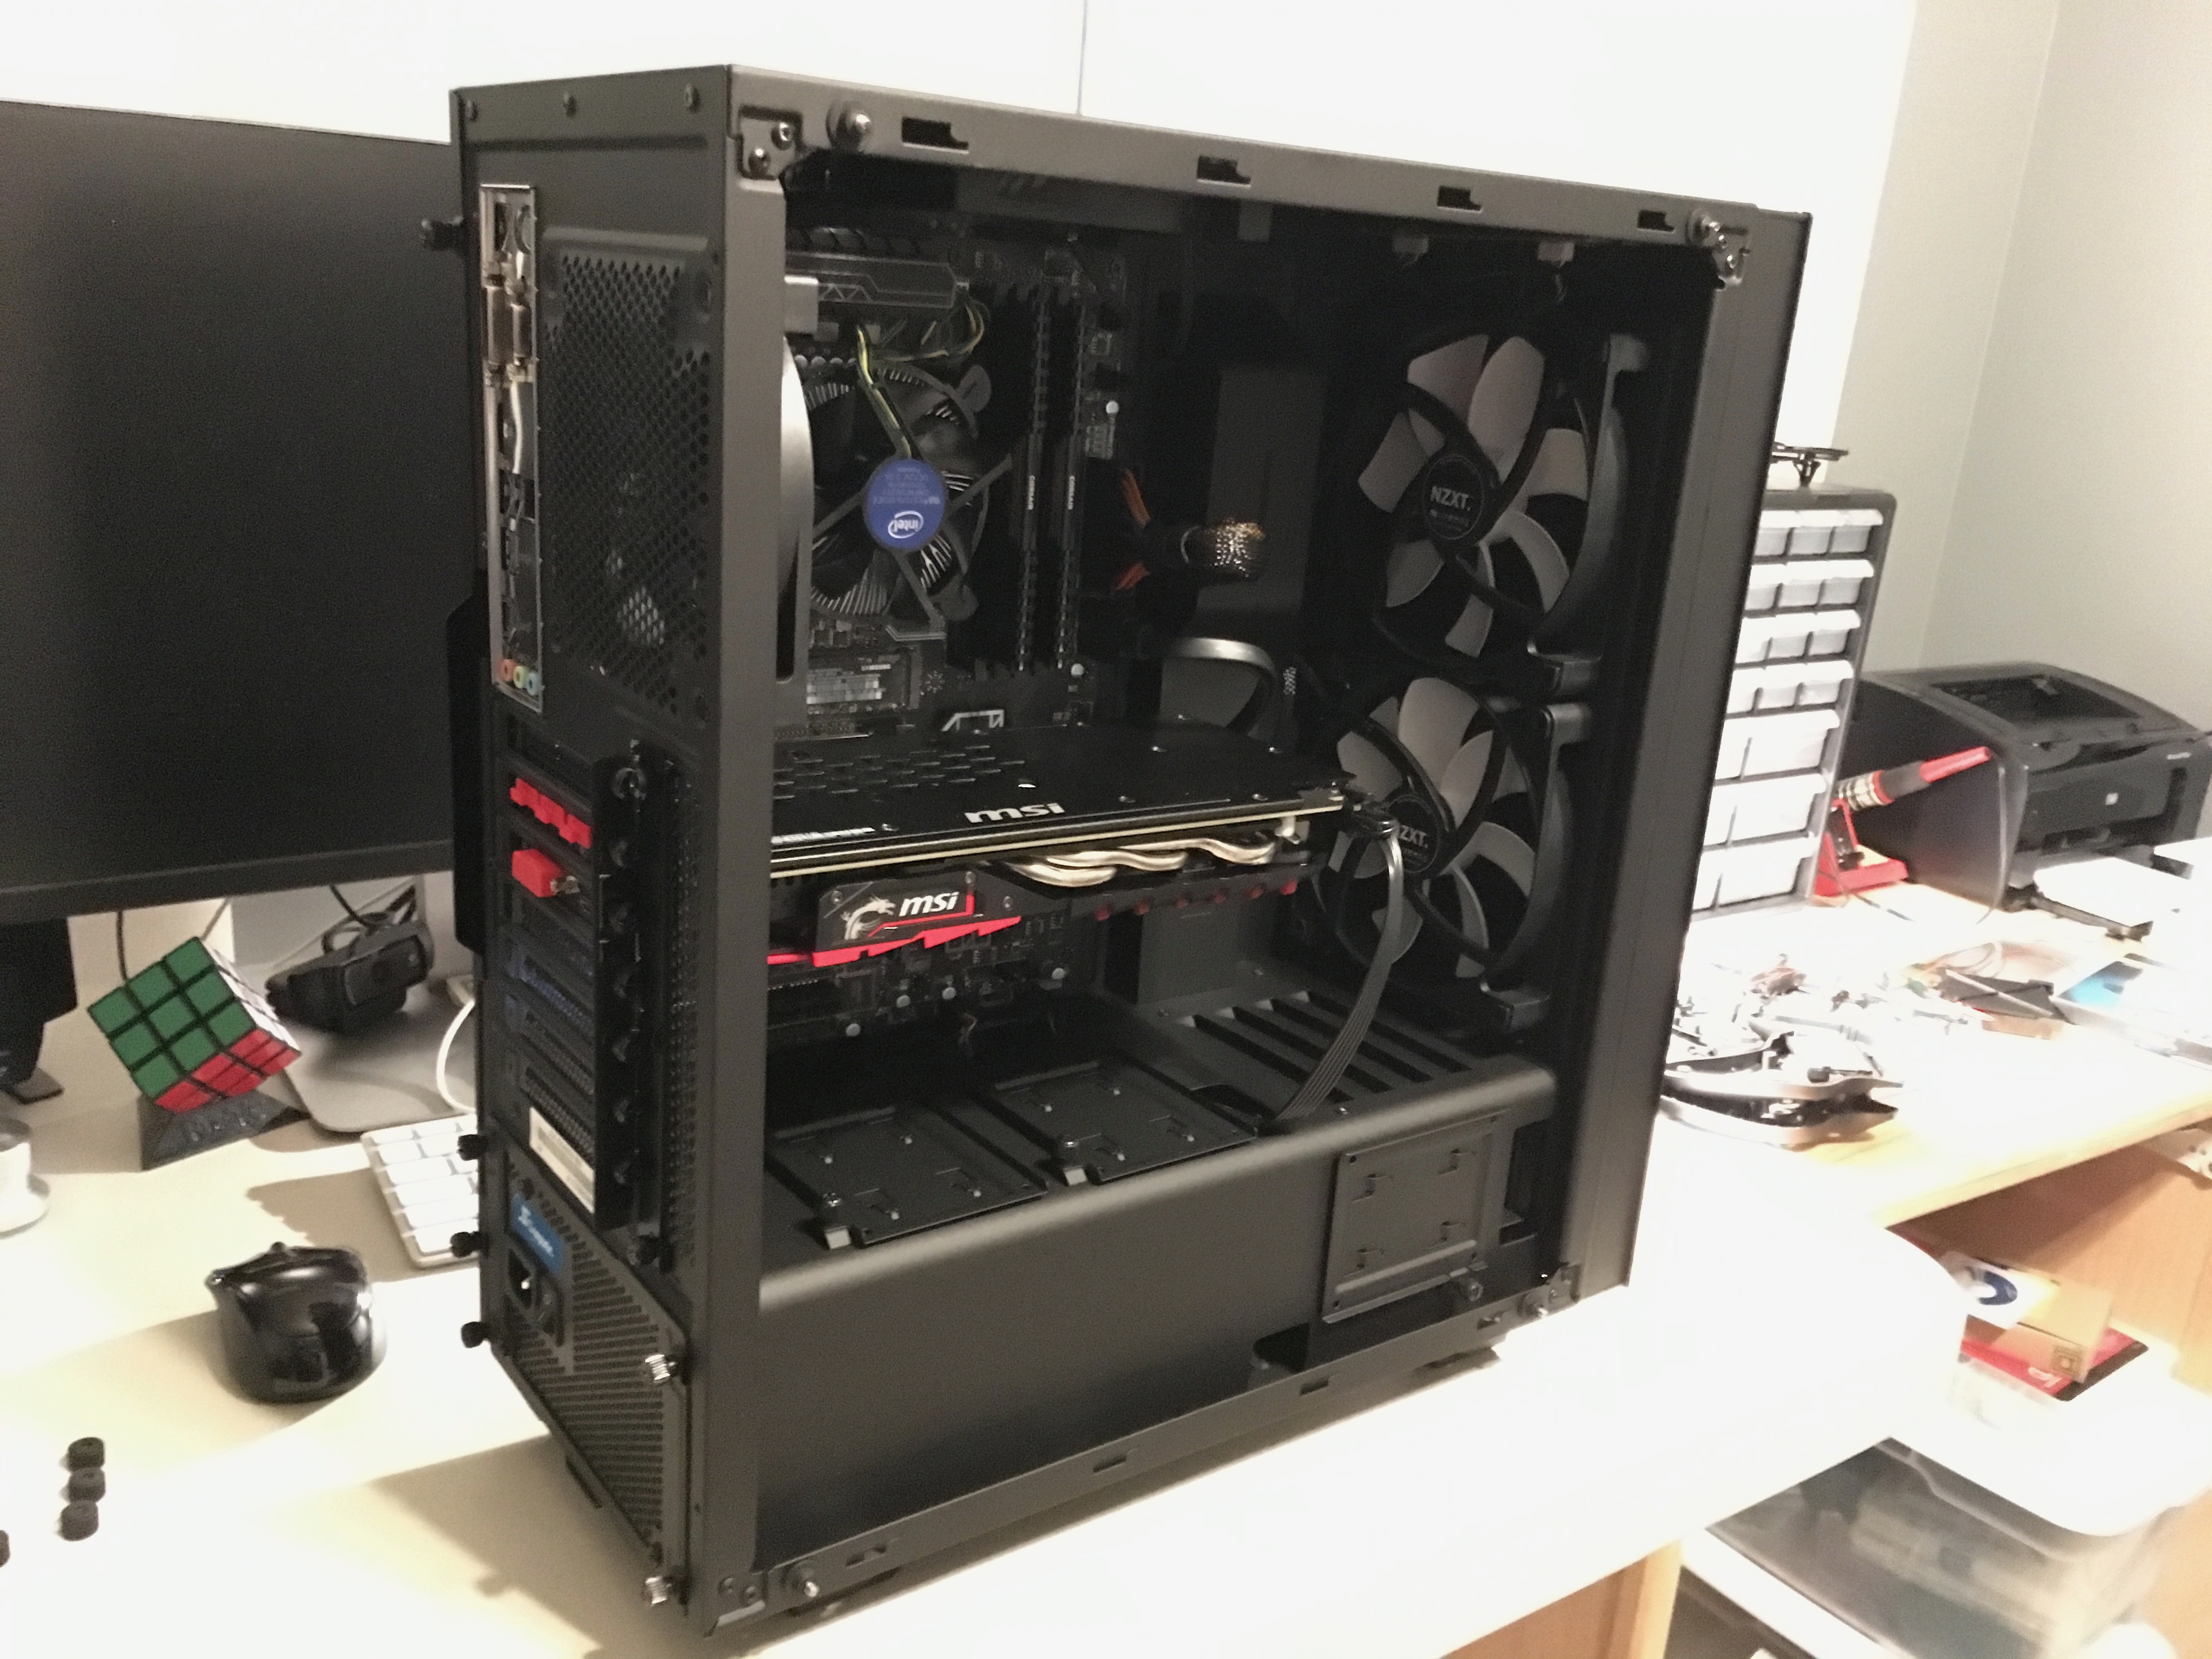
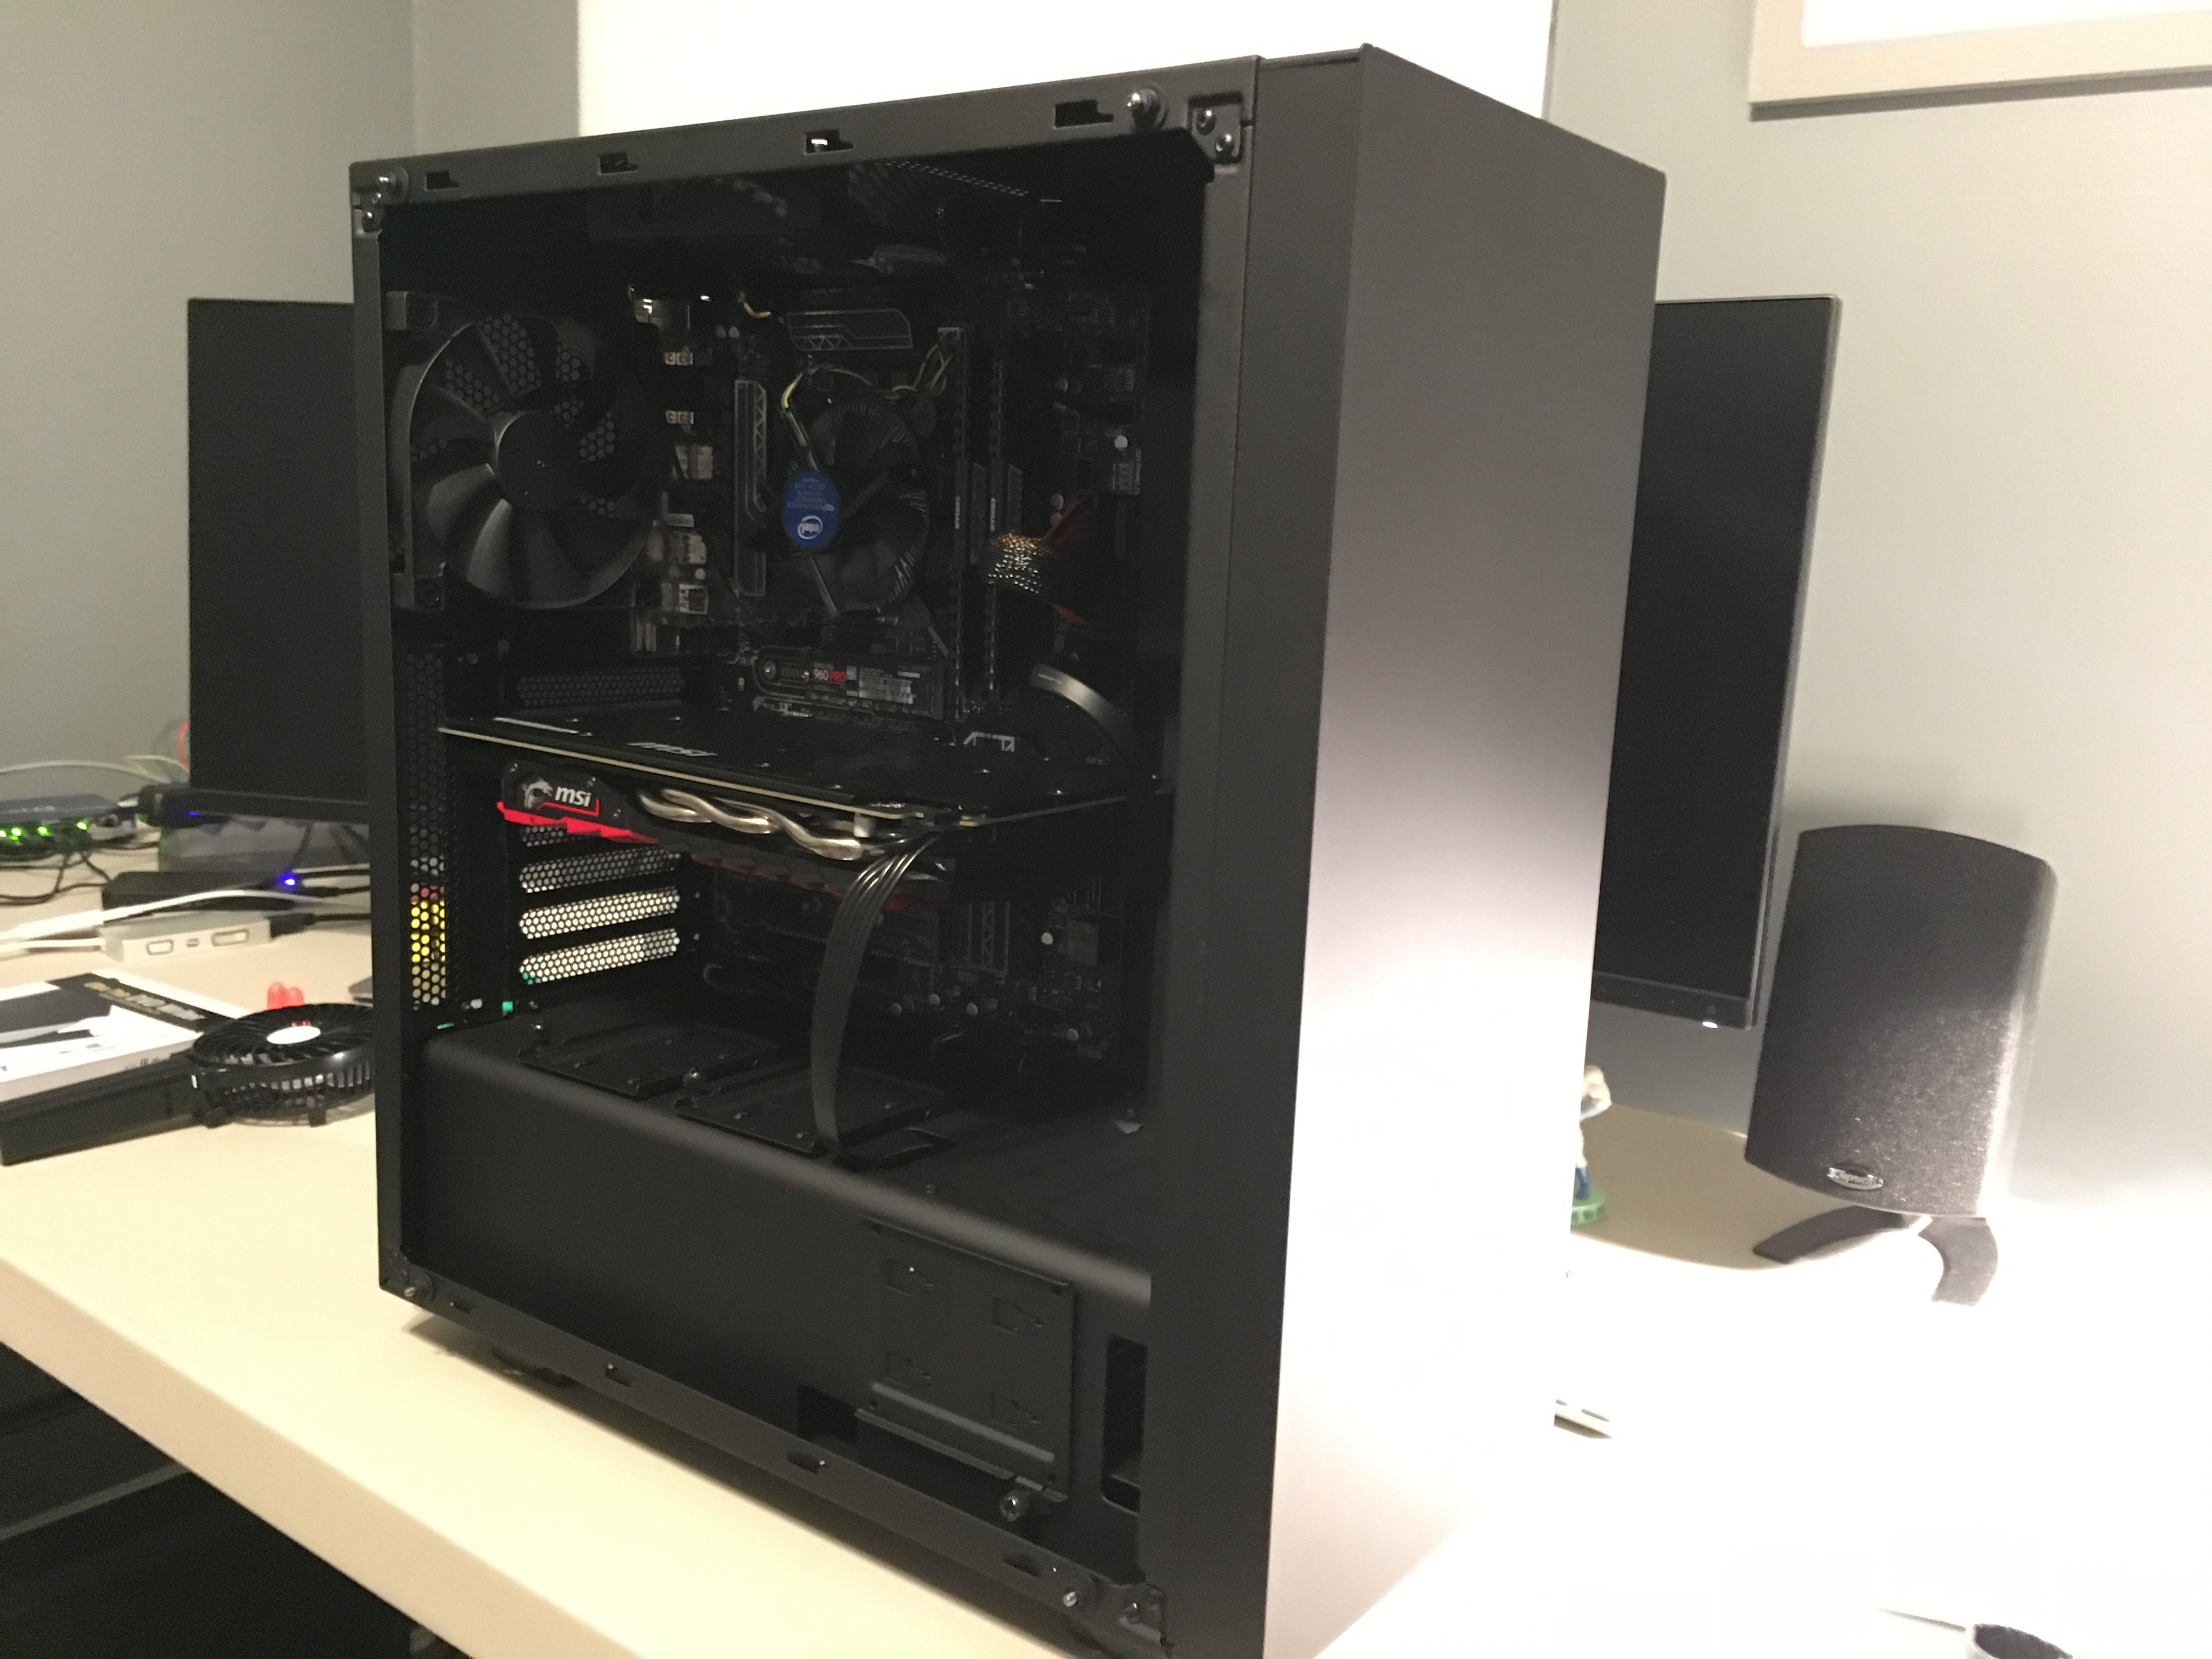
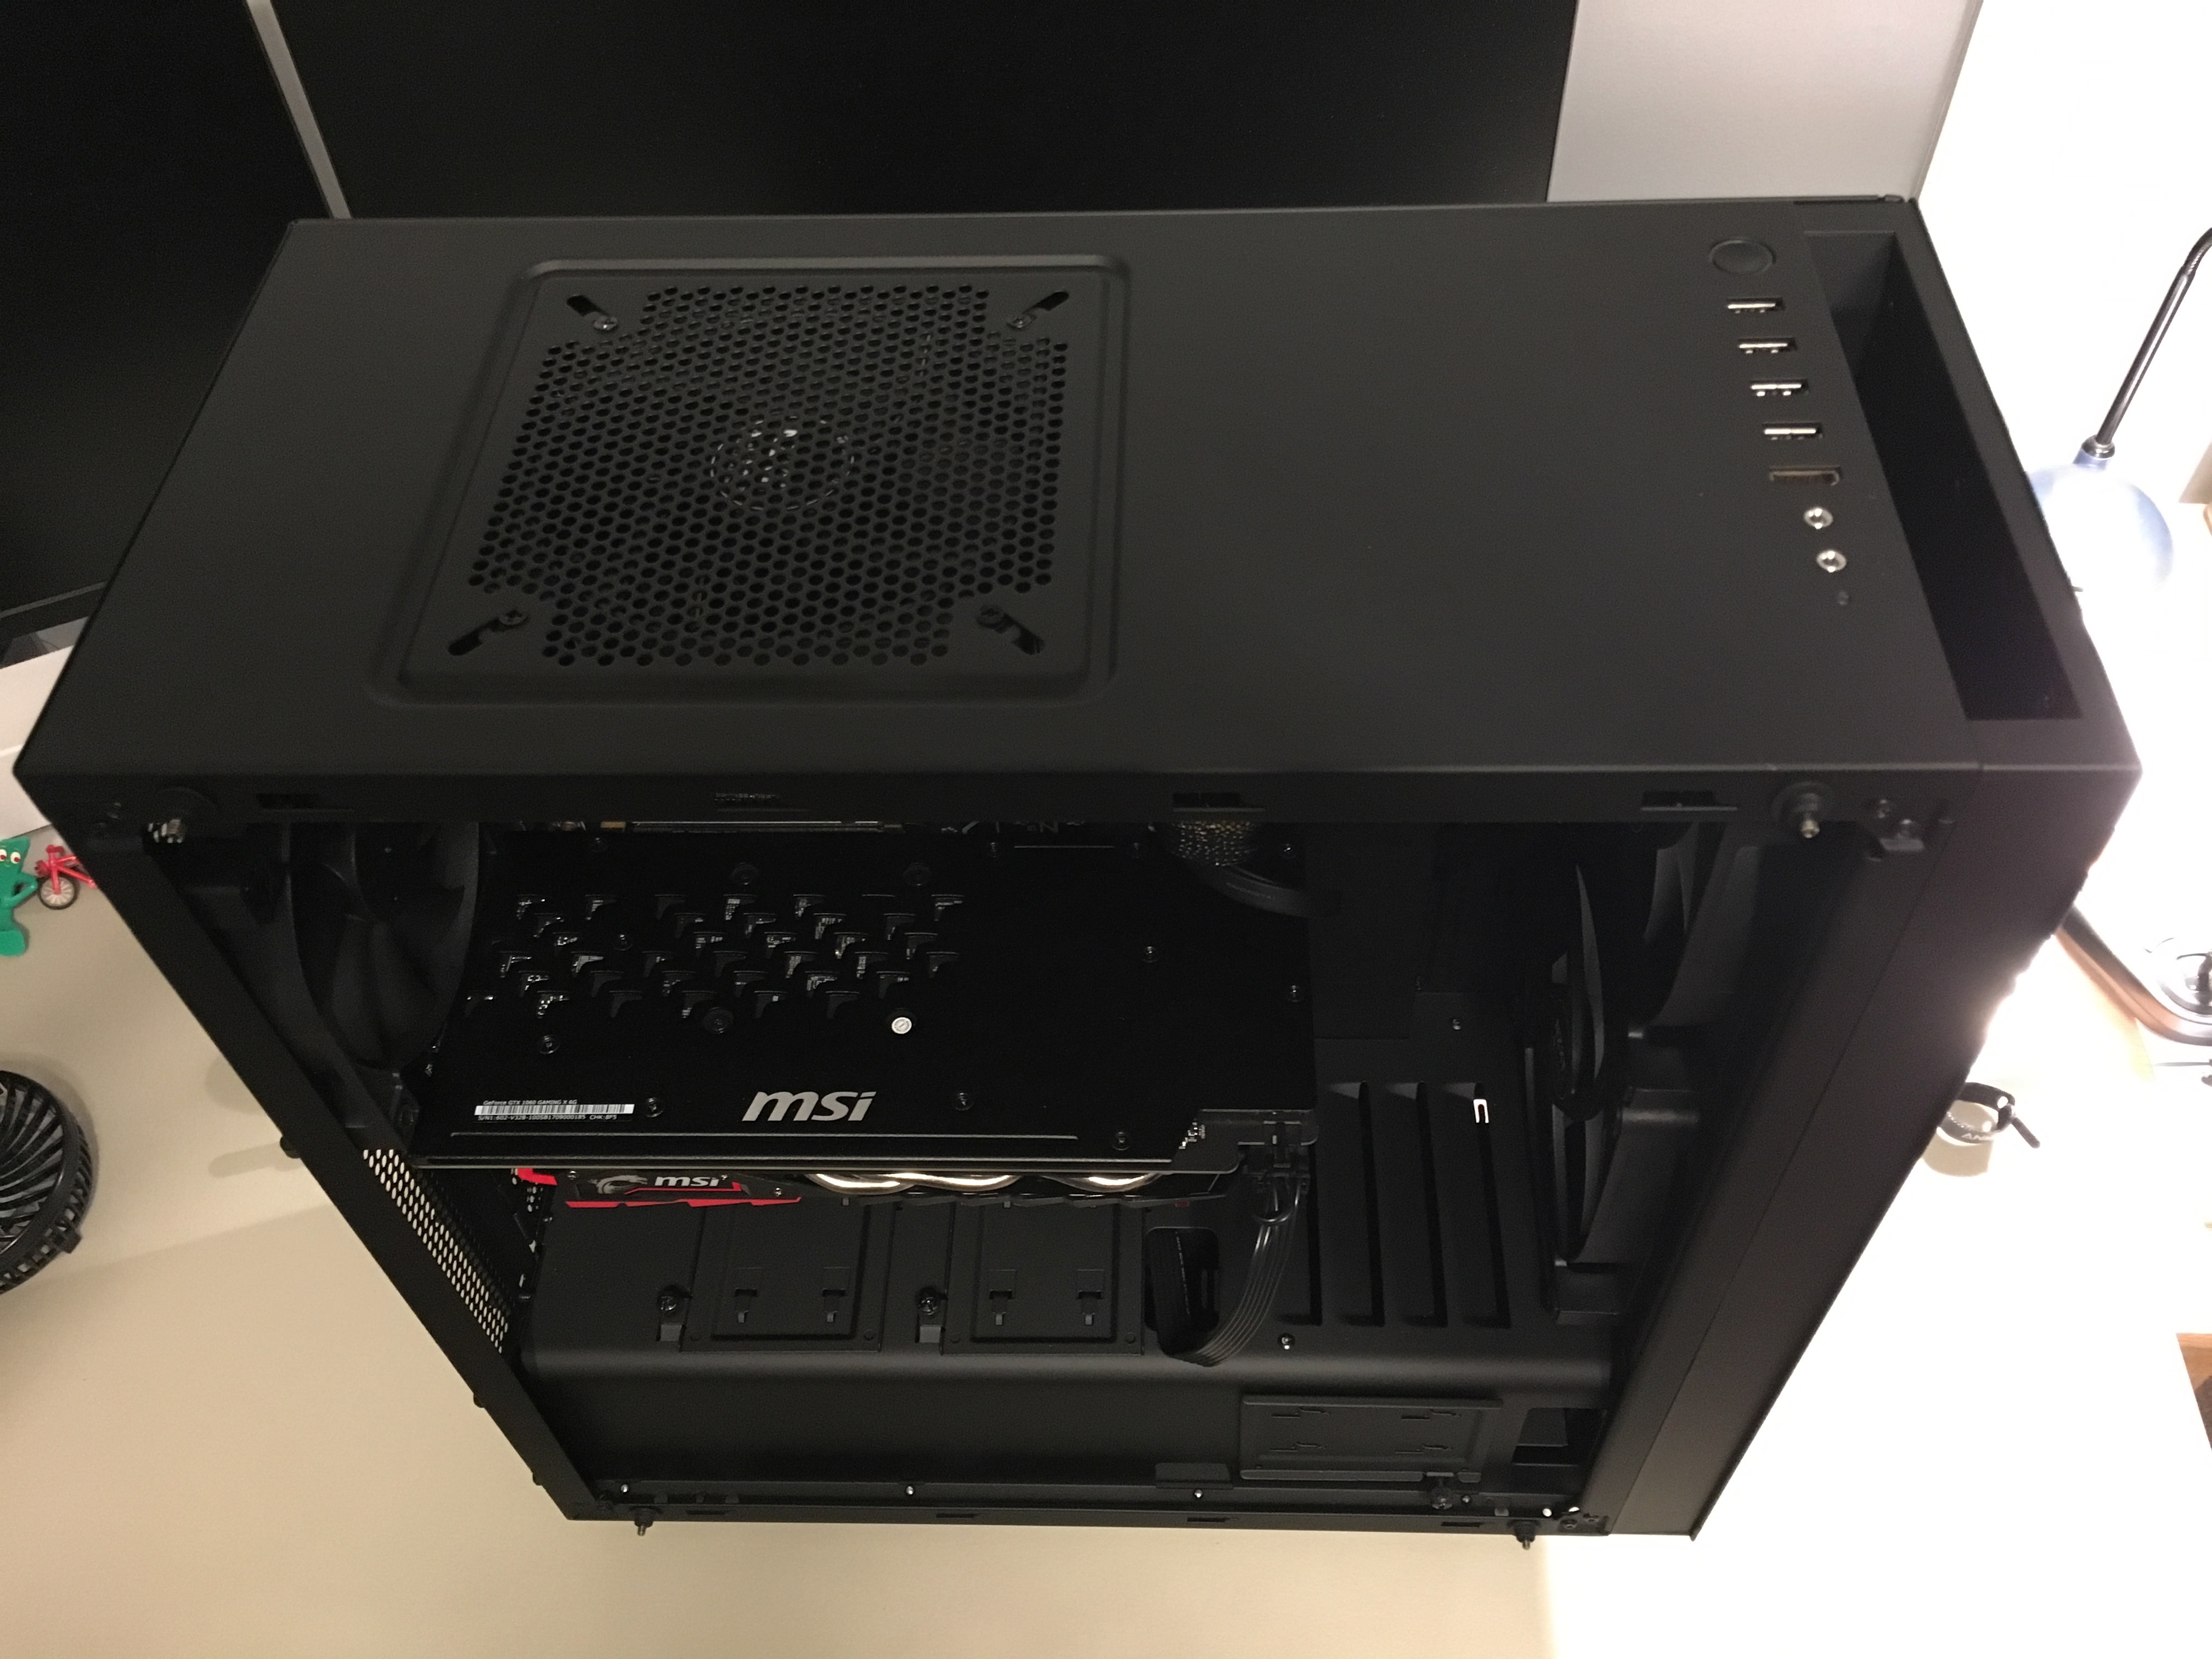
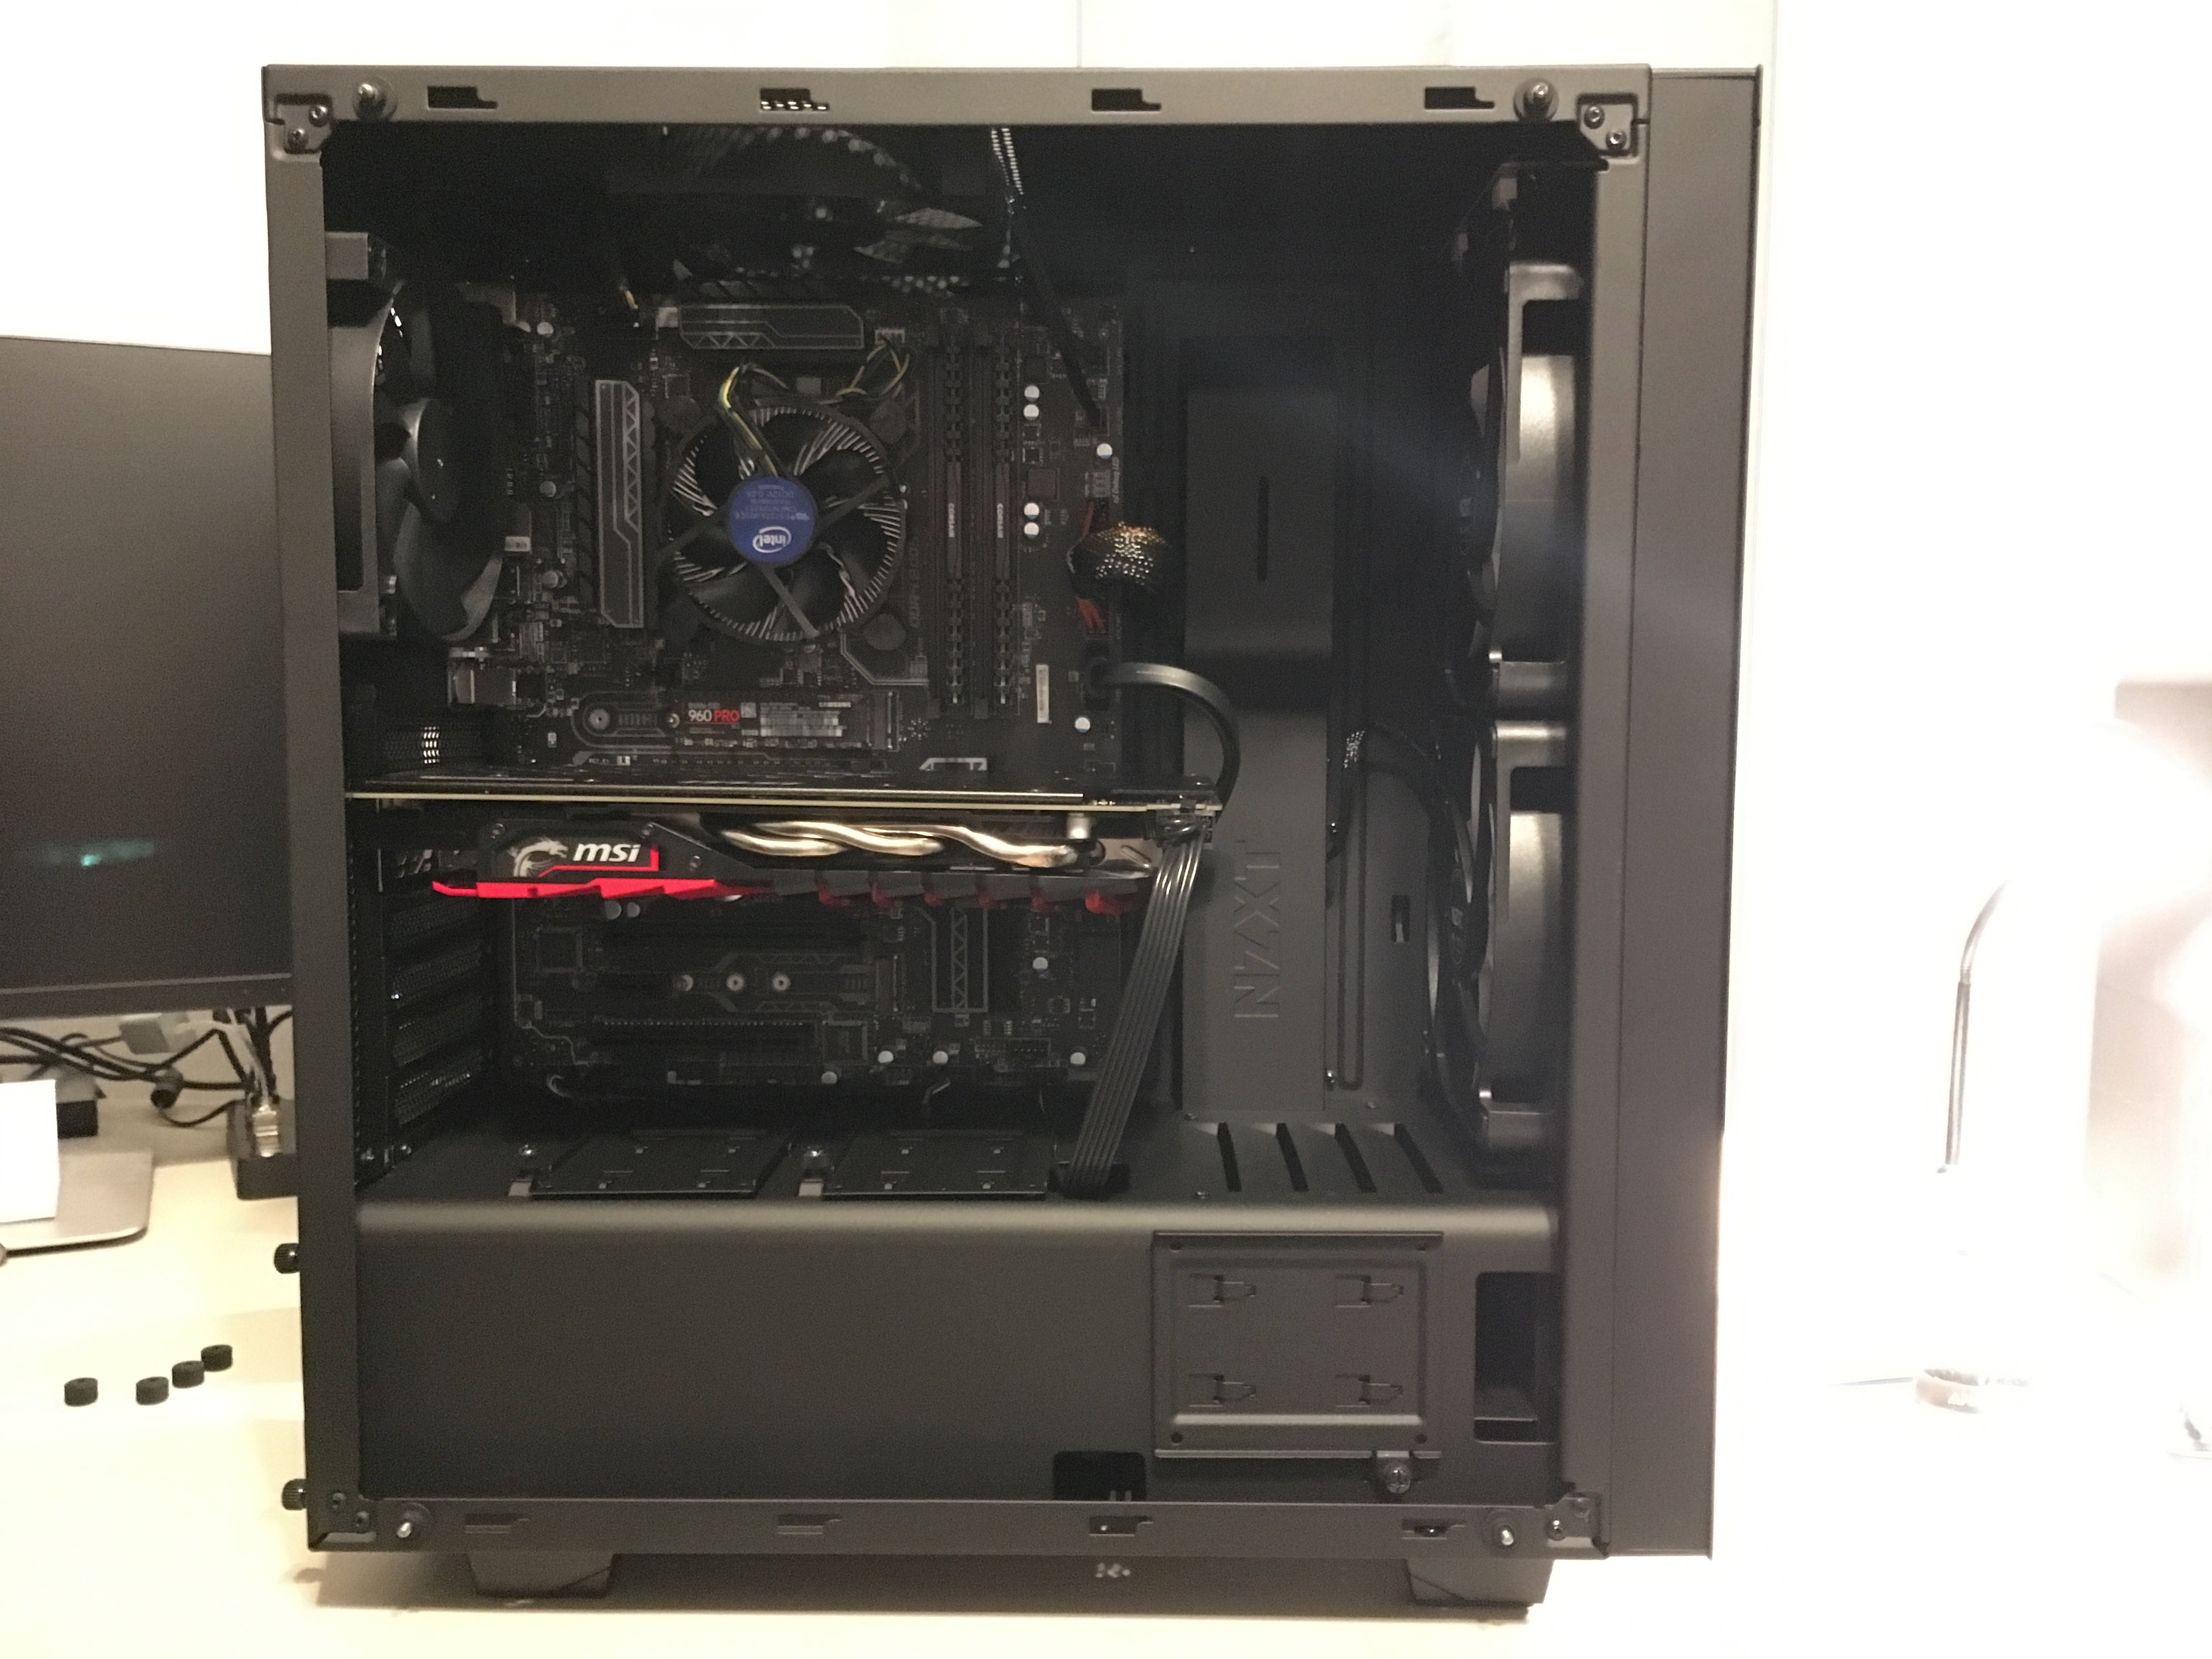
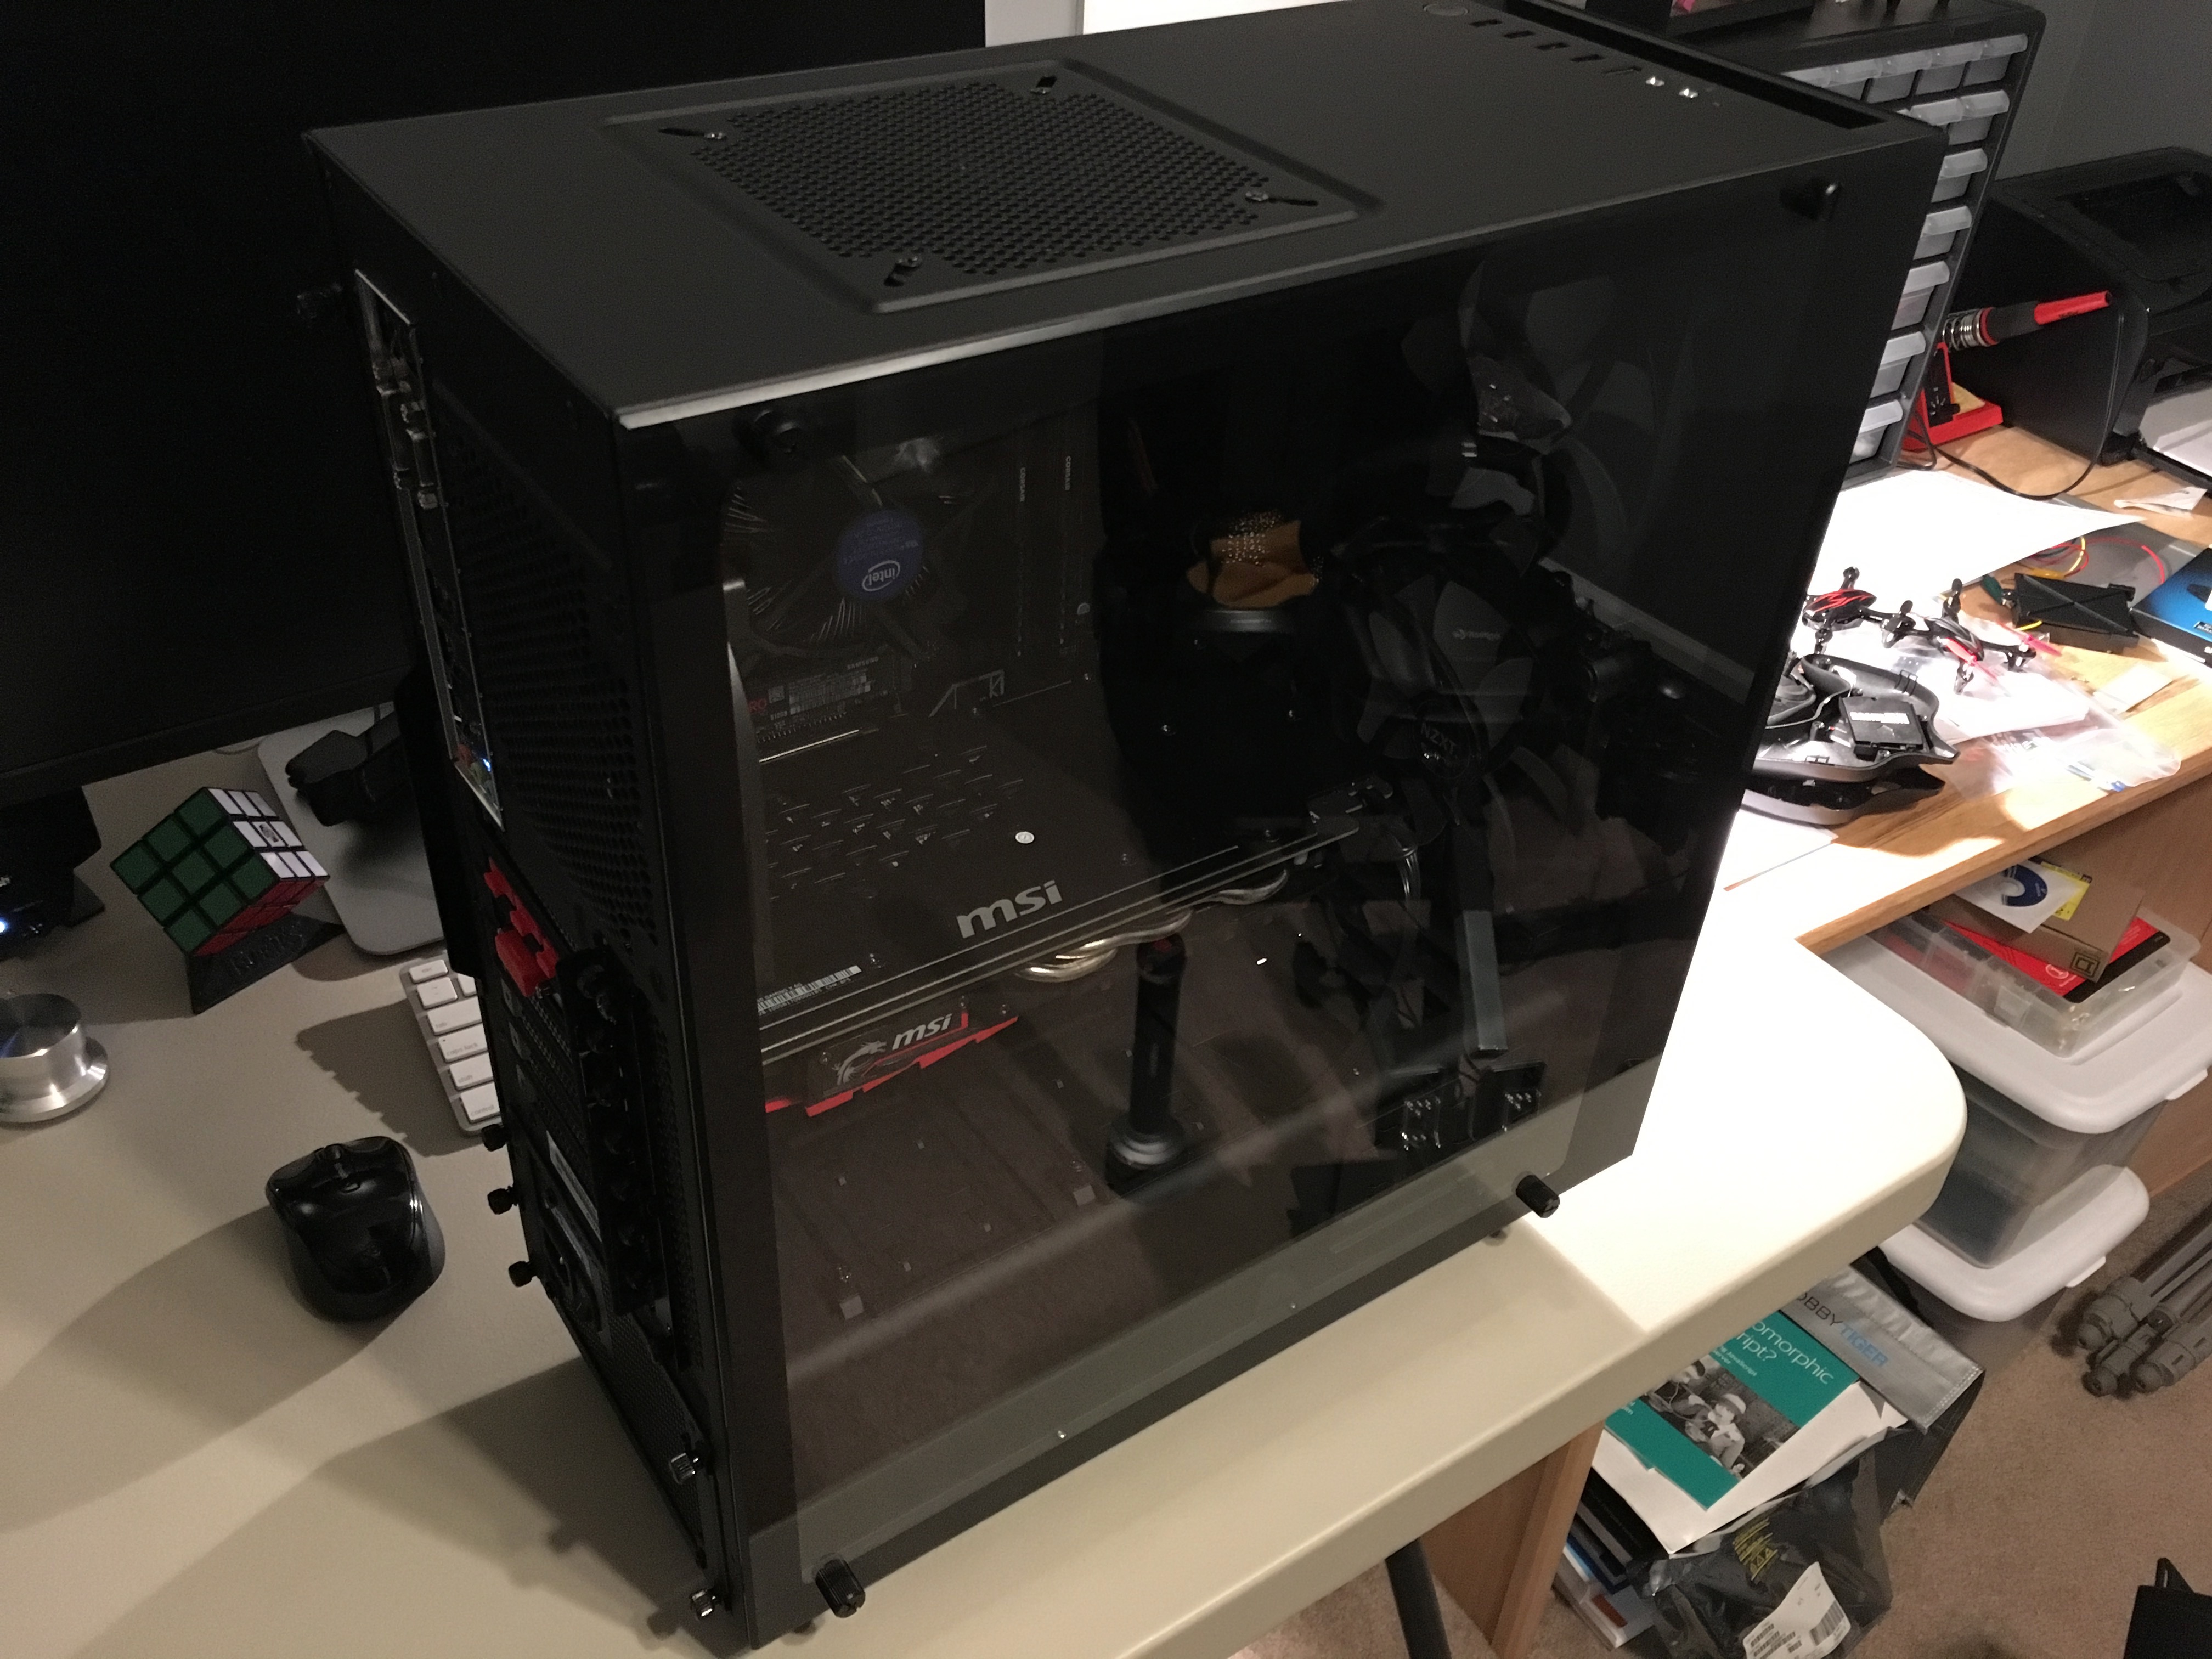
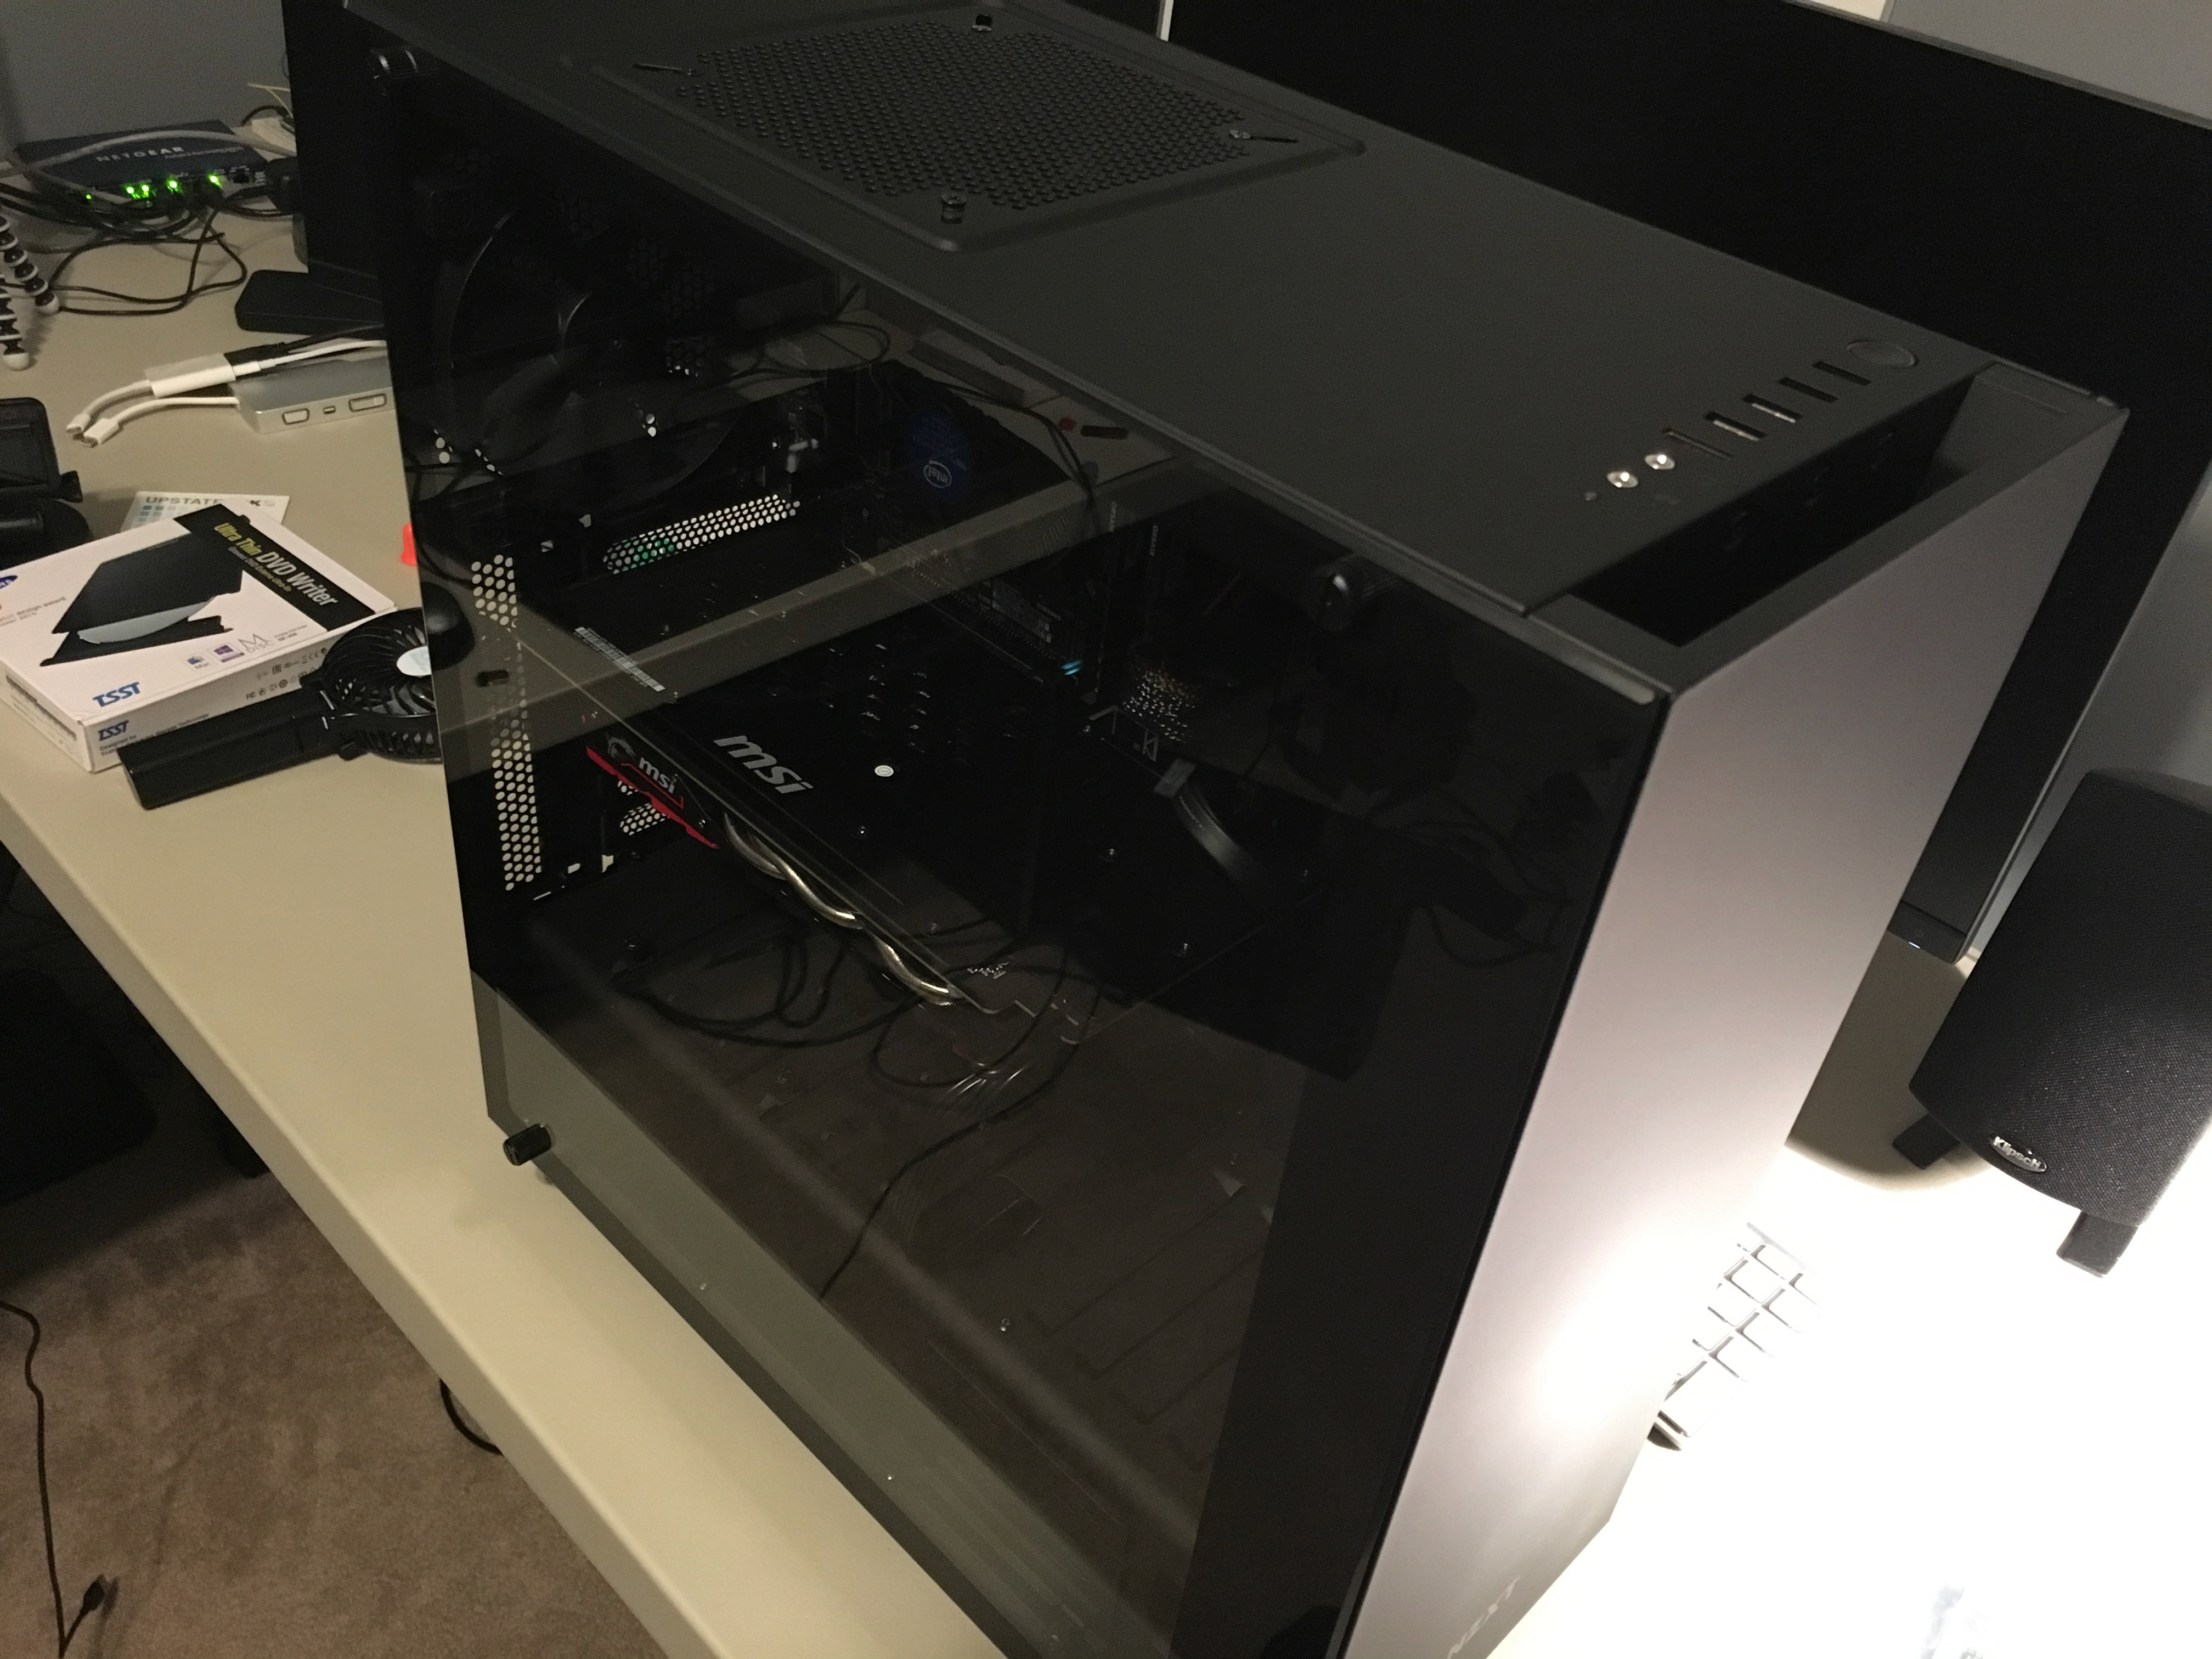
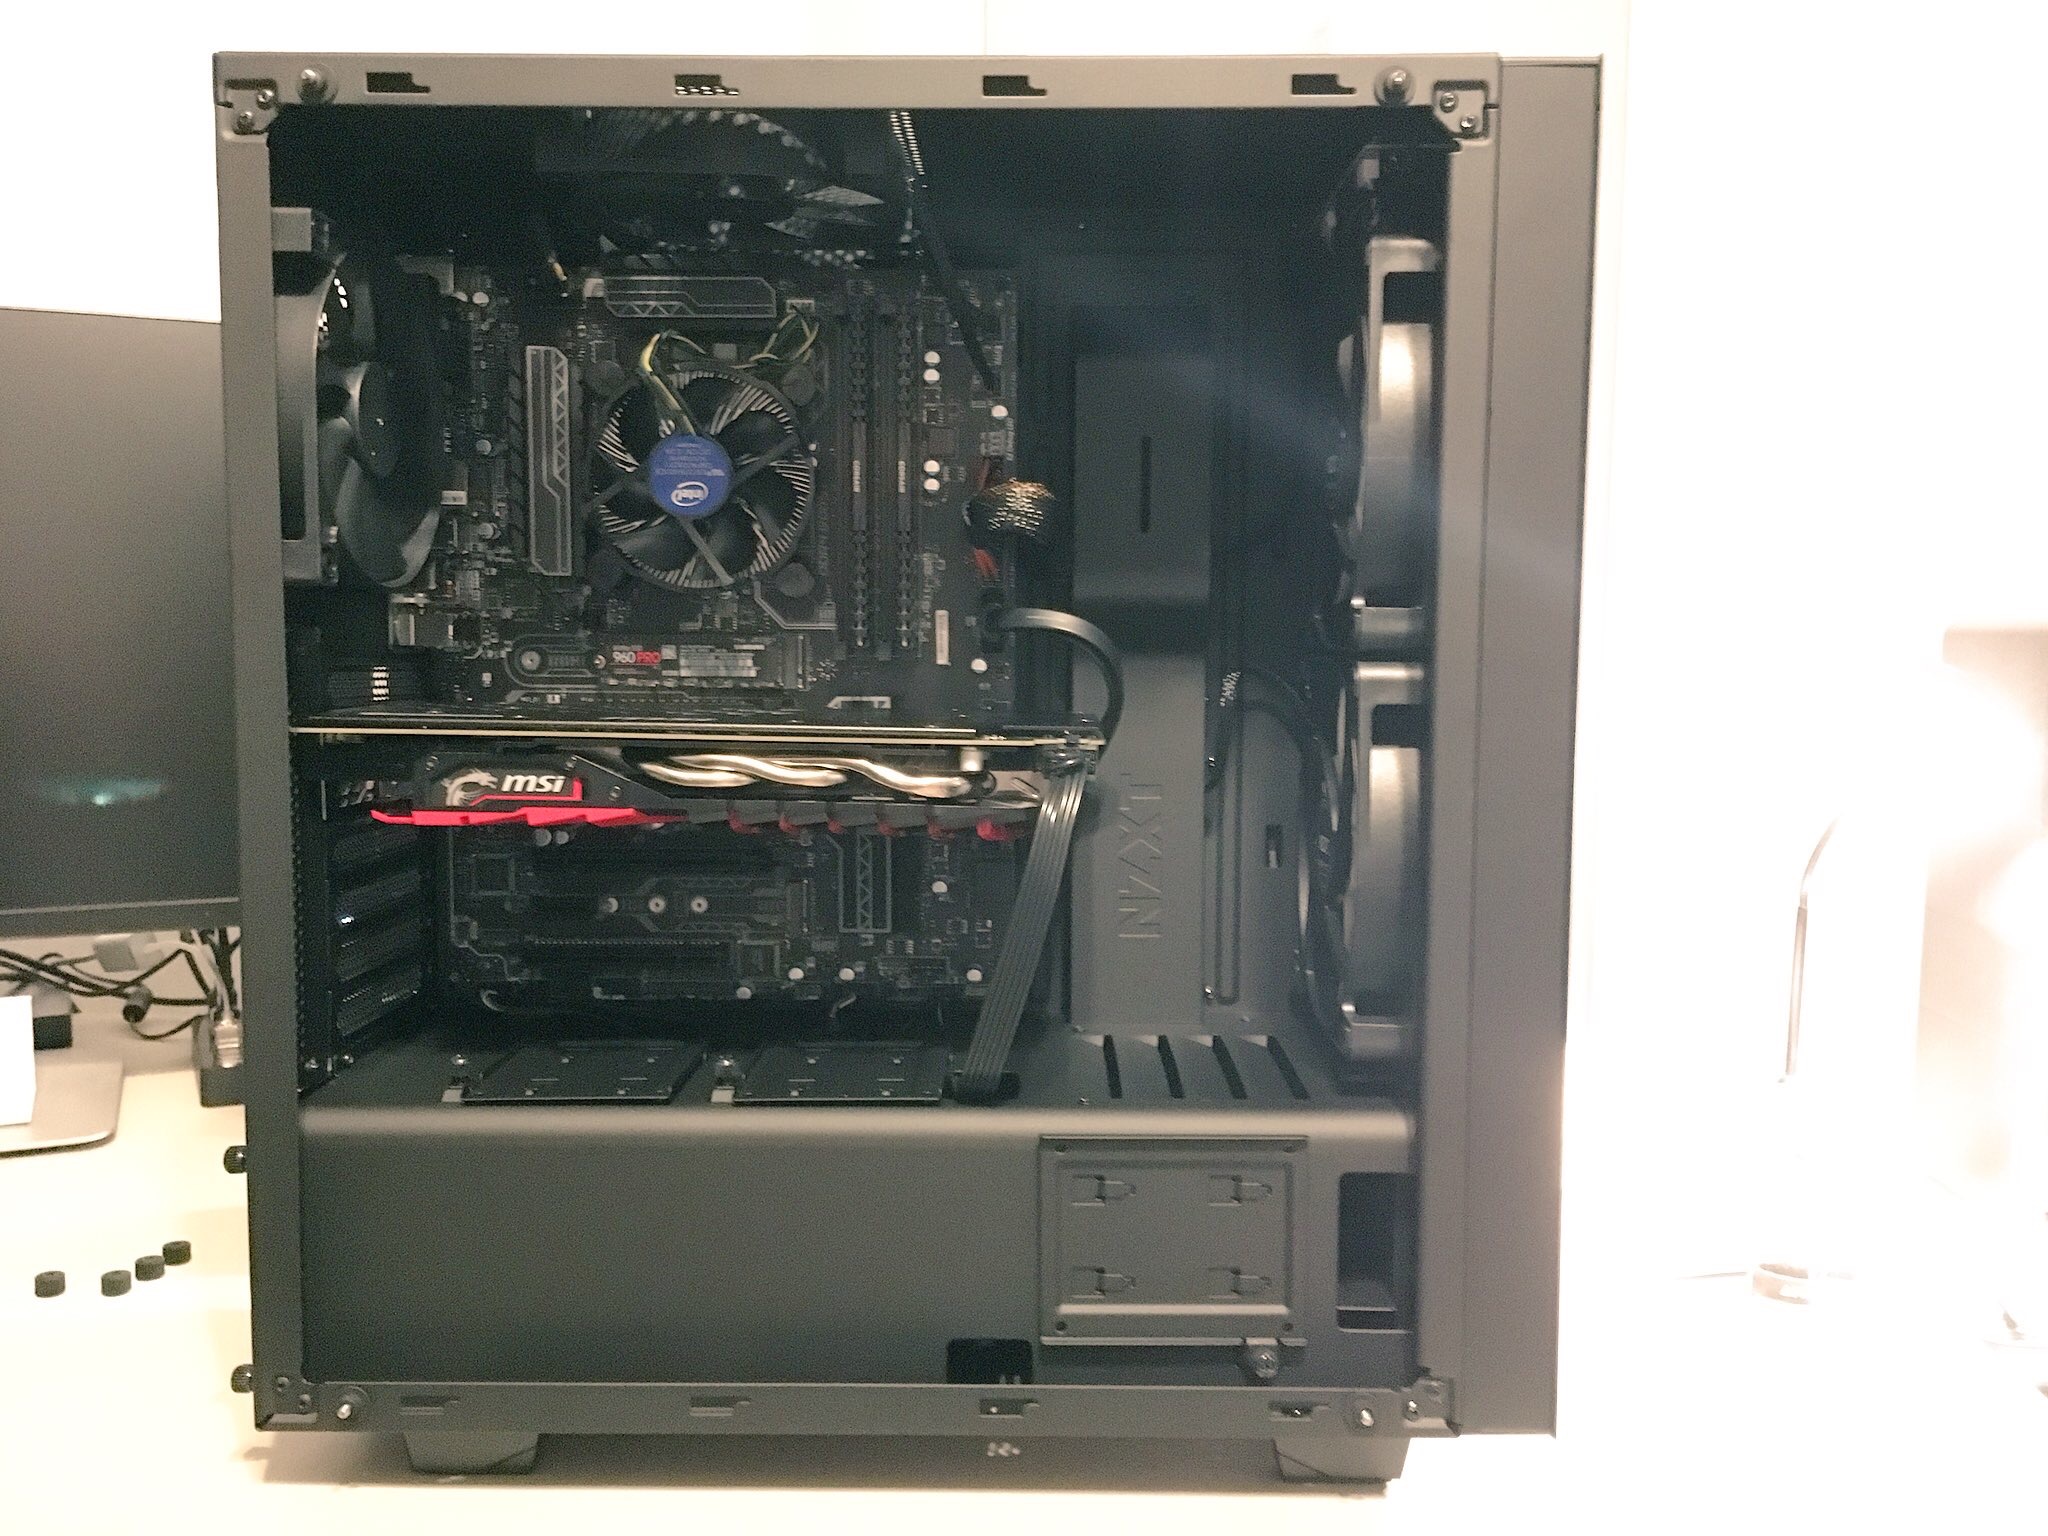
I’m really happy with how this build turned out. It’s been about a decade since I had a new PC, so it’s been a long time coming.
Specs:
Thoughts: