When the app is told to make it snow it adds full-screen non-interactive windows on each display and inside those windows adds a SpriteKit view with a scene inside that contains emitters.
Thanks to Whisper and this awesome port, the tree is responding to spoken words. 🗣🎄
Since the tree itself only has a low-powered MCU, we need another machine to act as a listener.
The architecture is:
A machine in my office runs the Whisper model and listens for words.
If certain keywords are found it finds a corresponding command to run (e.g. do a theater chase sequence in a green color).
It sends that command to the tree over the network.
For now I’m running it from iOS and macOS, so I wrote the current implementation in Swift. The code is currently still in “hack” status, but working well!
Now it’s time to test it when talking to coworkers at Automattic.
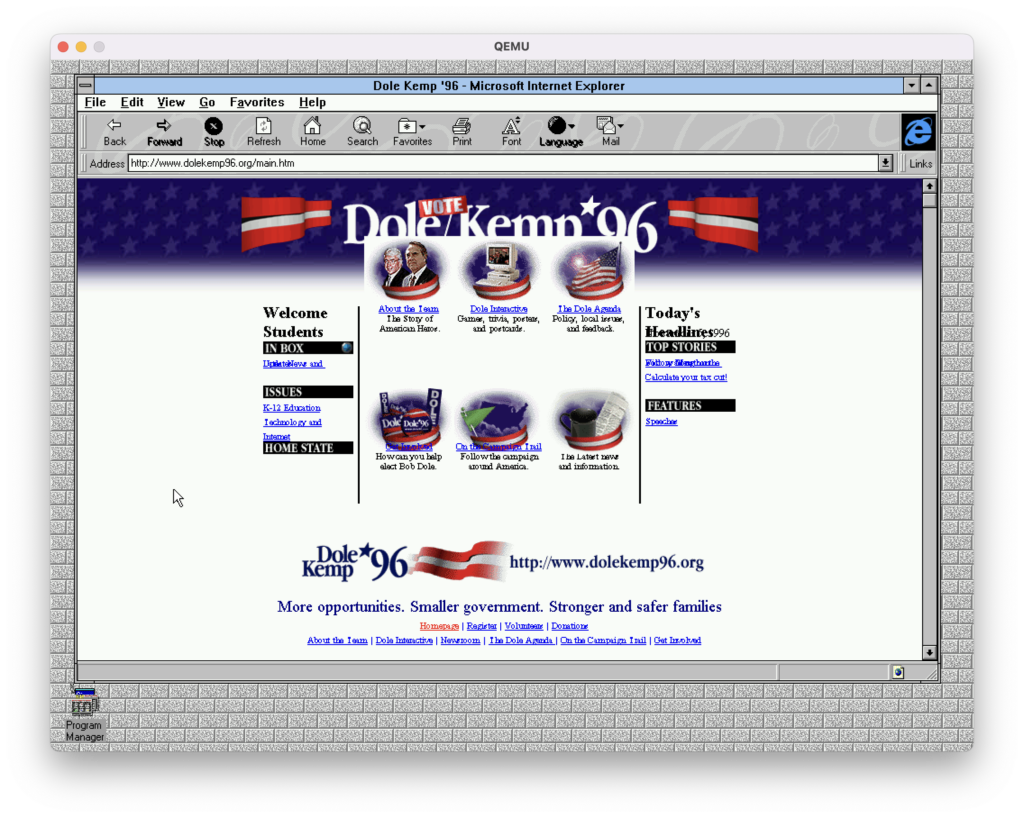
Thanks to this repo you can fire up Windows 3.11 painlessly and even connect to the Internet! Lots of goodies are already installed so it’s a fun virtual trip.
There were some graphical glitches (restarting or dropping down into DOS and back helps) and it crashes when running Netscape, but Microsoft Bob seemed to work fine!
This weekend the NeoPixel tree got many much-needed updates!
Though I have more ideas to implement, the basics of what I wanted to do are complete, like sending commands remotely.
What we can currently do:
Set the brightness
Change the color
Turn the pixels off
Run some built-in sequences, like a nice rainbow
Set repeating color patterns
Set individual pixels
I also threw together a really quick iOS app to set the color with SwiftUI’s built-in ColorPicker view. Thanks to the Rover project (another one that’s been neglected), I had some UDP client code I could borrow to speed up development.
Changing the color of the tree with a SwiftUI ColorPicker view.
Connect it wirelessly to the network (it has an ESP8266, after all)
Run a UDP server on it
Respond to various commands
Write a client that sends UDP packets to it
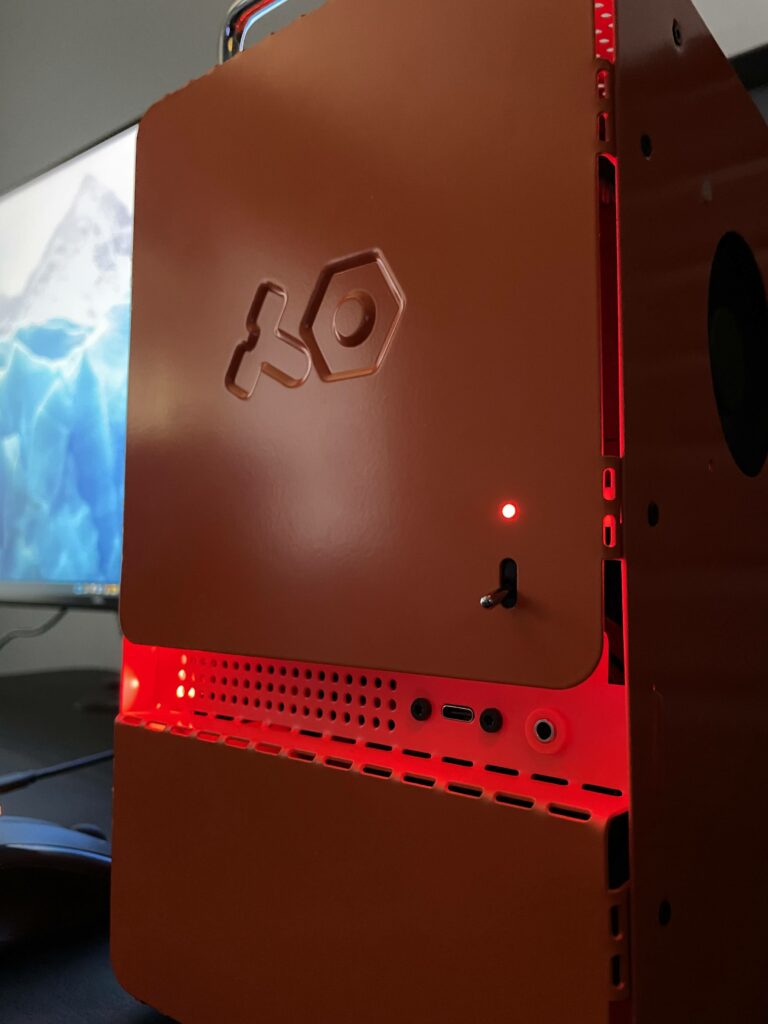
It’s fun to design UX for limited hardware. In this case, the tree starts with an orange pattern that rotates until a WiFi connection is successful. If it fails the tree will go red, otherwise the tree briefly goes green to let the end user know all is well before starting its first sequence.
I have lots to post about related to my recent vintage / retro computing adventures, but in the meantime here’s iPadOS on a CRT.
It’s actually kind of nice! The biggest downside, however, is that the CRT only ran at 1280×1024@60Hz. The resolution is fine, but the refresh rate is quite low for a CRT – my eyes wouldn’t be able to handle it very long. I’ve always been sensitive to rates lower than 85Hz on CRTs.
The hardware to make it work:
A CRT.
An iPad.
An Apple Digital AV adapter which has HDMI output, such as this USB-C one.
An active HDMI -> VGA adapter such as this one (it has to have external power).
A USB hub is nice for wired peripherals, but optional. I have a wired Microsoft Optical mouse with a Keychron C1 (reds) connected in this video.
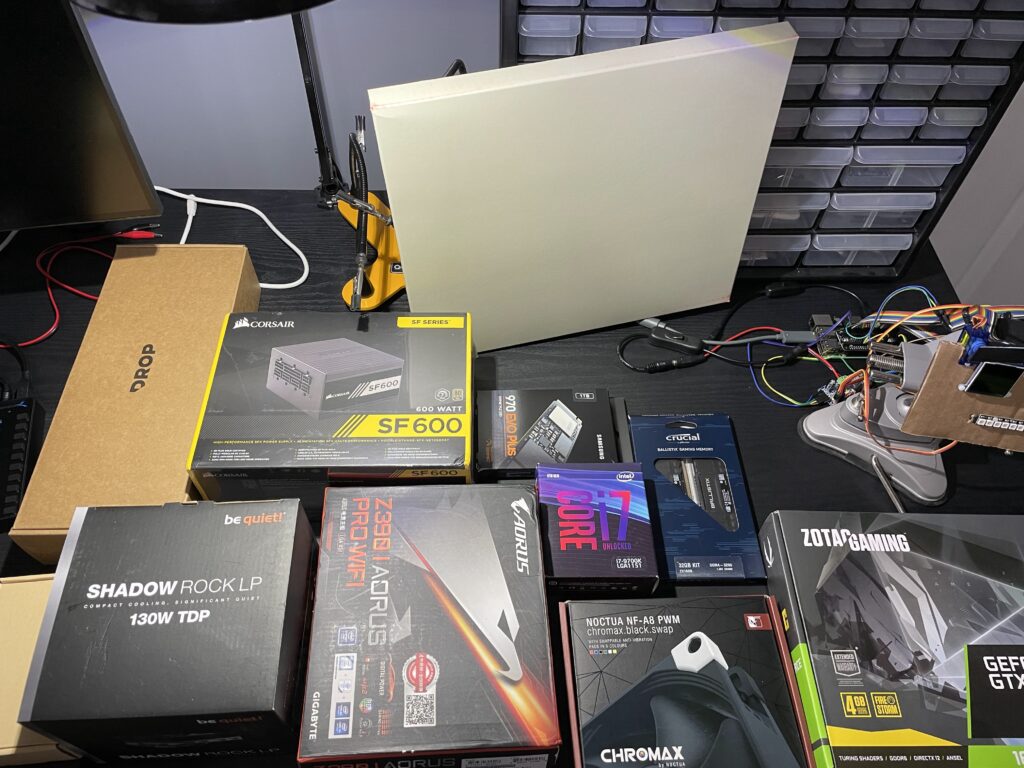
It’s been a few years since I built my previous PC and the Mini-ITX form factor has always been appealing to me for a workstation, so the hankering to do a new build was strong.
Though I’m a long time nerd it may be surprising that I’ve really only built one custom PC until now. This is mostly due to living in Mac-land and not being a hardcore gamer. My Linux servers have either been in the cloud or a leftover prebuilt that was “good enough” because Linux will pretty much run on anything (and that’s part of the fun).
Specs
The parts I went with are modest and didn’t need to be the latest and greatest. The goal for this build was a dependable workbench machine that won’t be my daily driver (iOS development pays the bills), nor replacing my gaming PC.