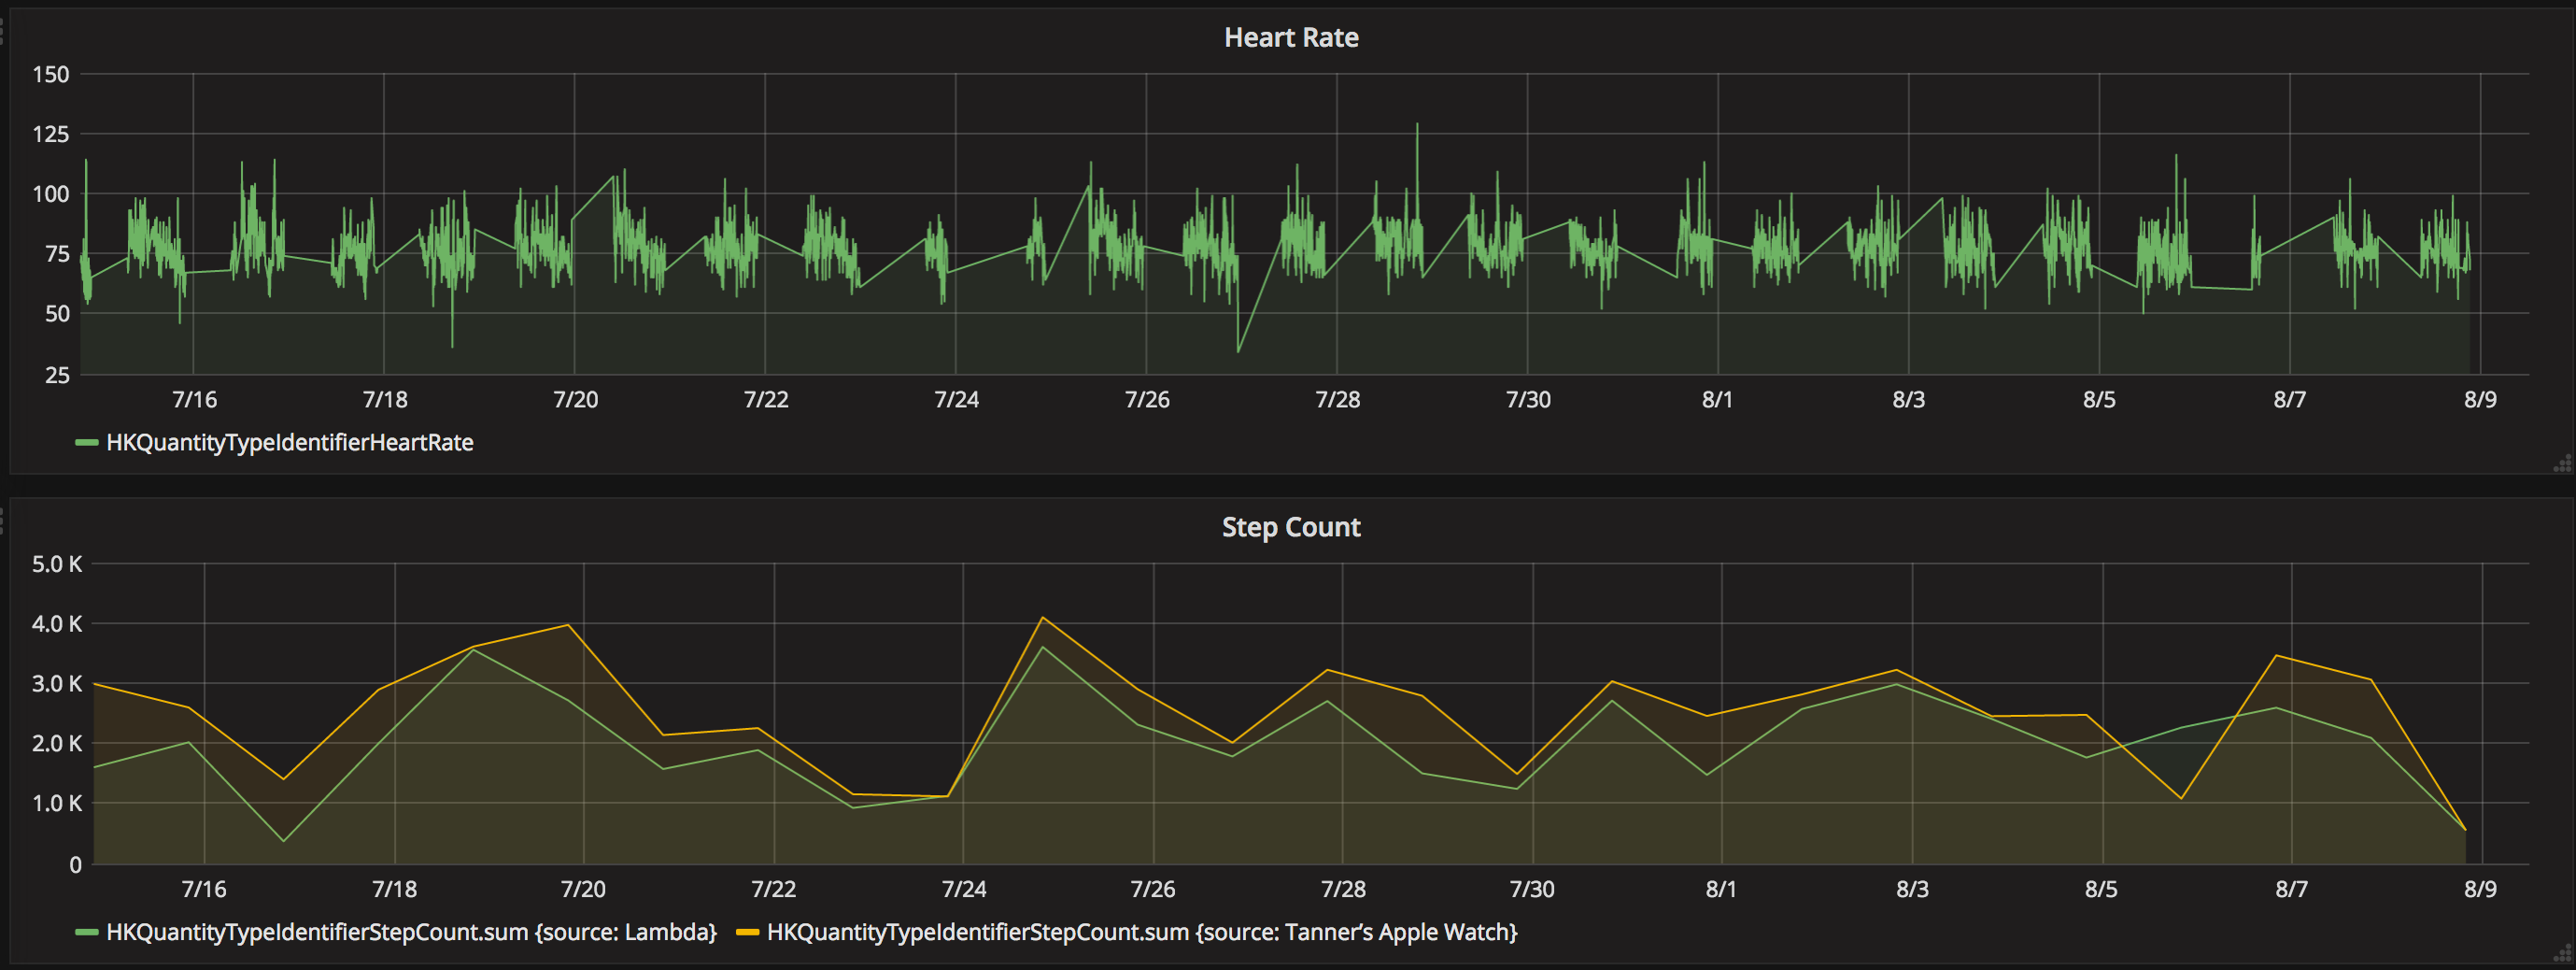
This past weekend I (finally) set up Grafana to visualize information about my machines with the usual stats like CPU usage, memory utilization, network throughput, etc. After reading up on how simple it was to add time-series data to InfluxDB, I pondered how nice it would be to also have my Apple Health data.
I wrote some Python to take the massive file that Apple lets you export (in a clunky, manual operation at the moment) and pull it into InfluxDB so that Grafana could visualize it. Check it out!
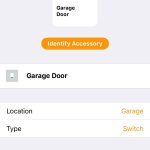
“Because my garage door doesn’t need an operating system”
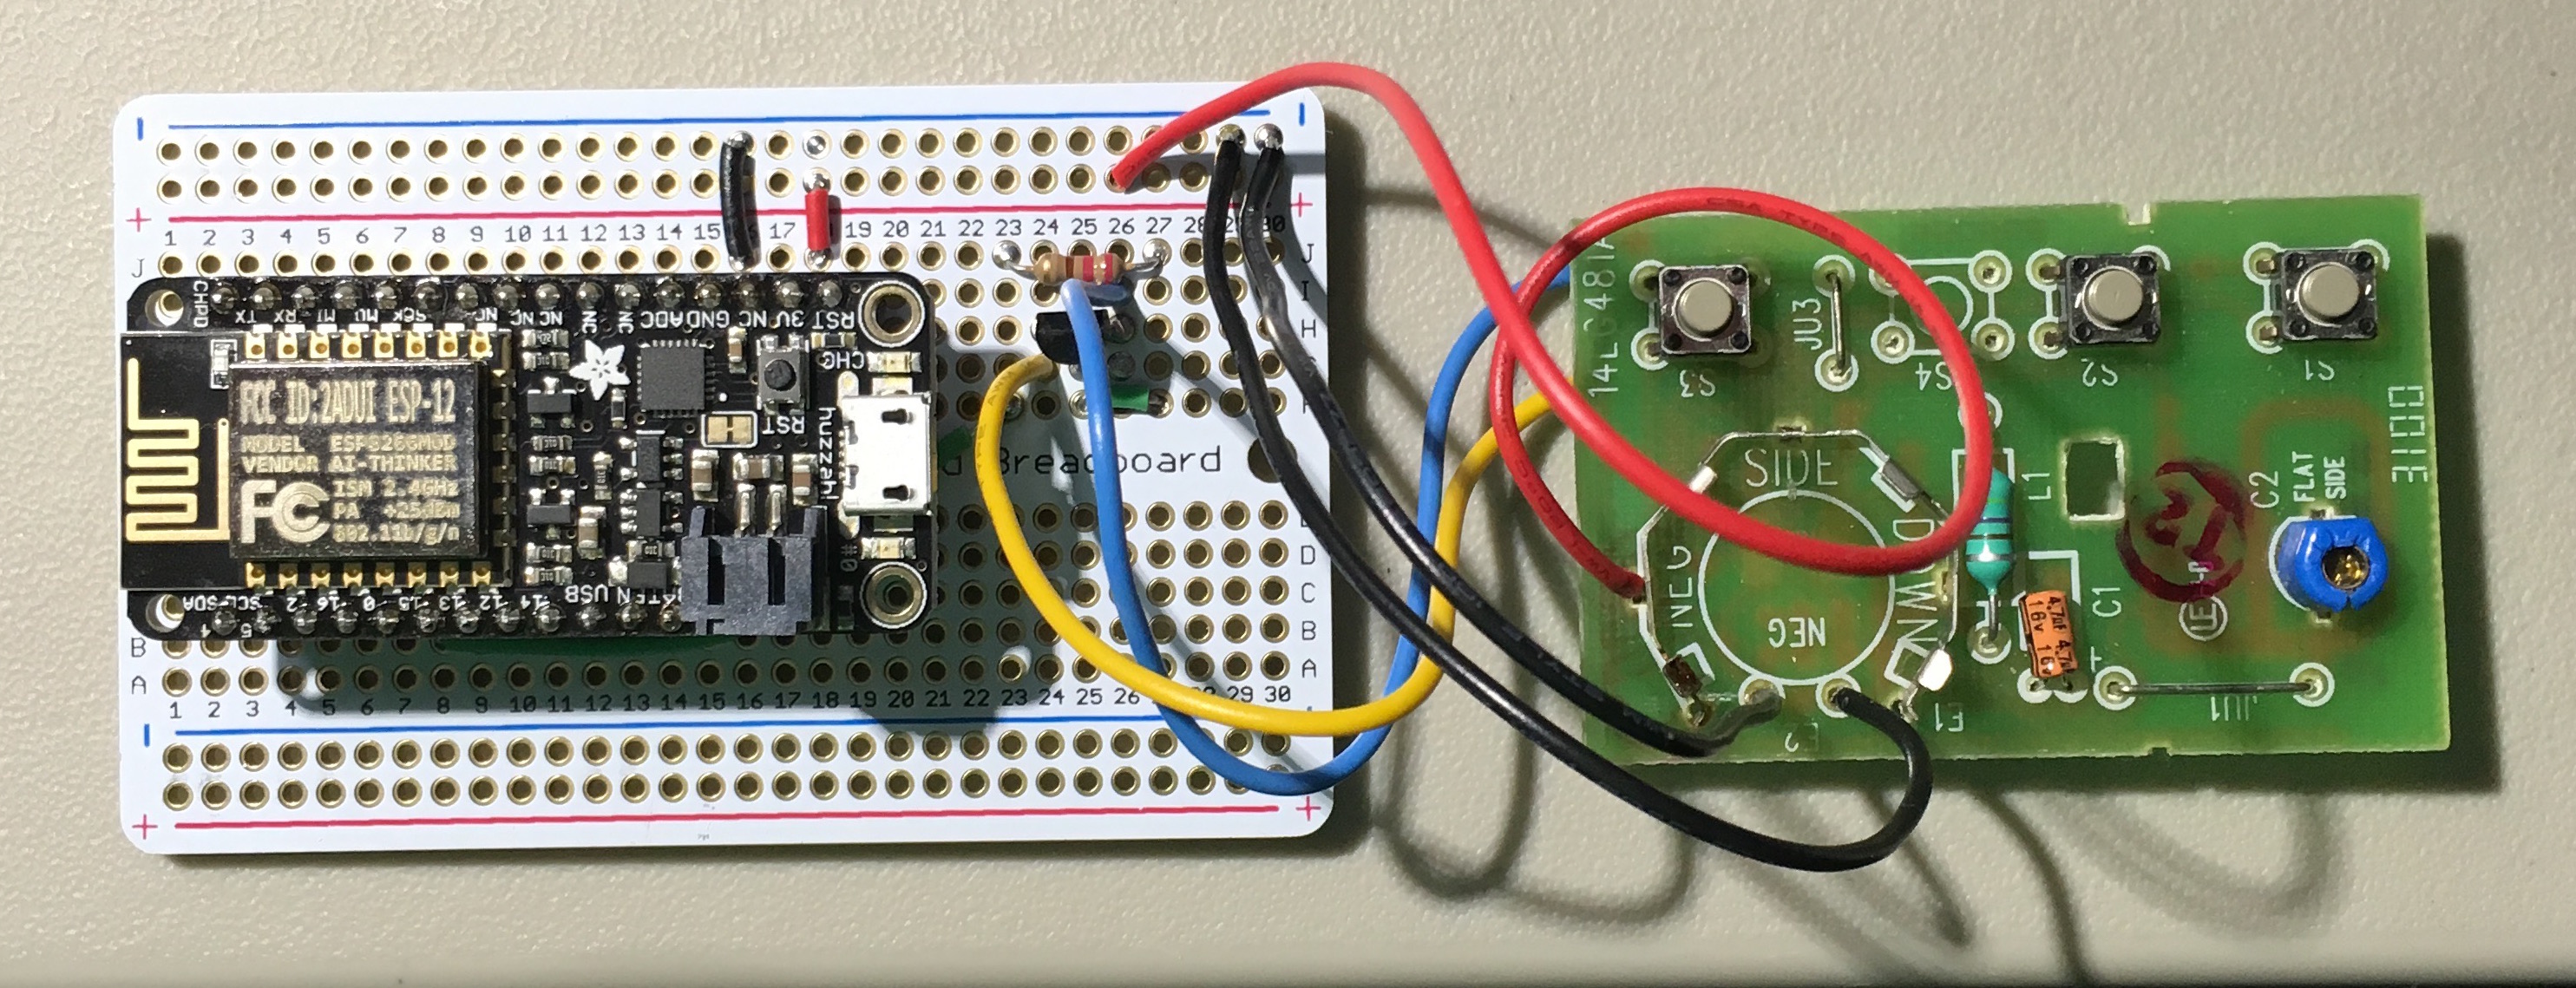
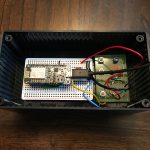
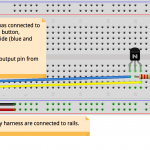
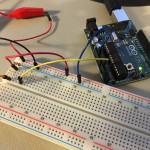
I admit – I went a little overkill with the Raspberry Pi garage door opener. A machine so complex was being used to do something so simple: Perform a button press. Why did it need graphics capabilities? A multicore processor? Cron jobs? It didn’t.
Enter the Adafruit Feather HUZZAH ESP8266. All the right junk in all the right places. A simple HTTP request to the Feather, and we’re good to go.
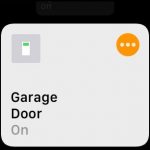
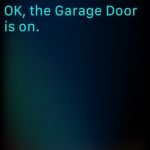
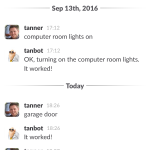
With the recent release of iOS 10 I took it a step further. Could I get this thing to work with Siri? As it turns out, it’s really not that hard:
We’re going to see really cool stuff from this. I was curious if 3D Touch in the new iOS devices provided continuous values, or a few discreet ones (light press, semi press, hard press).
Excitingly, you get a nice float back.
Who’s going to be the first to react to users squeezing their phones in a rage? #canfinallyhitstuffharder
import UIKit
class ViewController: UIViewController {
//@IBOutlet weak var buttonOutlet: UIButton!
override func viewDidLoad() {
super.viewDidLoad()
// Do any additional setup after loading the view, typically from a nib.
}
override func didReceiveMemoryWarning() {
super.didReceiveMemoryWarning()
// Dispose of any resources that can be recreated.
}
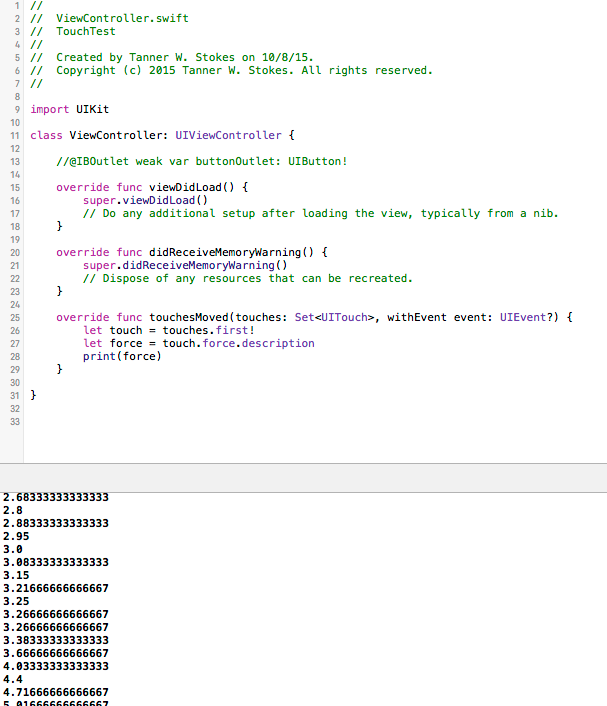
override func touchesMoved(touches: Set, withEvent event: UIEvent?) {
let touch = touches.first!
let force = touch.force.description
print(force)
}
}
Today I got curious if I could solve the issue of high-res images being loaded on small screens with responsive design. Here’s my solution via jQuery plugin.
Basically, I’m detecting the max size of the image by looking at its parent container and comparing that with the grid breakpoints. In my example I used Bootstrap, but I don’t see why any other responsive framework wouldn’t work.
This part expands on that and tackles the issue: ‘How do I know the state of my garage door if I’m not at home?’
Because the code operates no differently than someone pressing a single button on the remote control, you would normally have to look with your own eyes to see if you were closing, stopping, or opening the garage door. This can be an issue when your eyes are nowhere close to it.
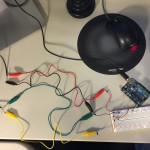
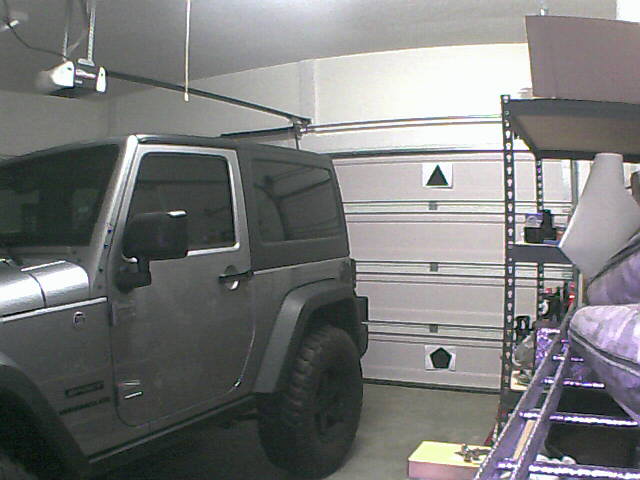
I wanted to come up with a solution that didn’t involve running new equipment such as a switch to detect the door’s orientation. I decided to utilize what I already had in the garage: A camera. Namely, this one: Foscam FI8910W
The idea is to use the camera to grab an image, pipe that image into OpenCV to detect known objects, and then declare the door open or closed based off of those results.
I whipped up a couple of shapes in Photoshop to stick on the inside of my door:
Shapes taped to the inside of the garage door
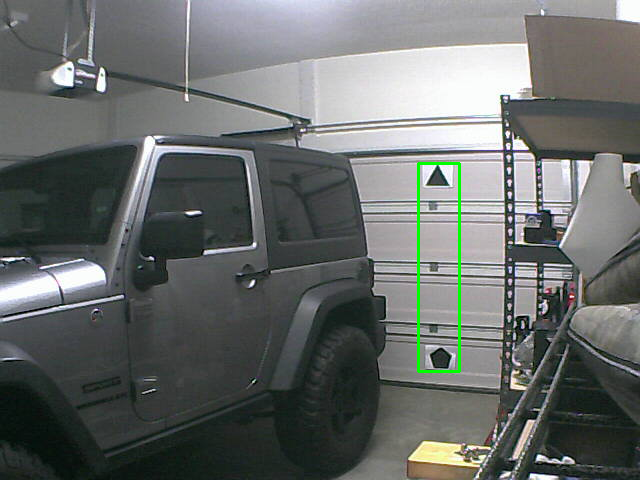
I then cropped out the shapes from the above picture to make templates for OpenCV to match.
The basic algorithm is this:
Get the latest image from the camera
Look for our templates with OpenCV
If all objects (templates) were detected, the door is closed – otherwise it’s open
Shapes successfully detected
To help make step 3 more accurate, I added a horizontal threshold value which is defined in the configuration file. Basically, we’re using this to make sure we didn’t get a false positive – if the objects we detect are horizontally aligned, we can be pretty certain we have the right ones.
I was happy to find that the shapes worked well in low-light conditions. This may be due to the fact that my garage isn’t very deep so the IR range is sufficient, as well as the high contrast of black shapes on white paper.
Currently I have some experimental code in the project for detecting state changes. This will not only provide more information (e.g. the door is opening because we detect the pentagon has gone up x pixels), but is good for events (e.g. when the alarm system is on, let me know if the door has any state change).
I’ve tested running this on the Raspberry Pi and it works fine, though it can be a good bit slower than a full-blown machine. I have a Raspberry Pi 2 on order and it’ll be interesting to see the difference. Since this code doesn’t need anything specific to the Raspberry Pi, someone may prefer to run it on a faster box to get more info in the short time span it takes for a door to open or close.
I’ve created a video to demo the script in action!
The other day an idea popped in my head for a side project that would involve the Gmail API. Whenever this happens, I normally hit up the developer site, find a simple tutorial, and immediately get my hands dirty.
A quick search led me to this page. It’s called a “Quickstart: Run a Gmail App in Python.” Perfect. I’ll run this script and be on my way in no time. Well, not so fast.
This tutorial assumes I’m doing development on my local machine where it can pop open a web browser and authorize the API access. Most of the time I don’t operate that way – I use a remote Linux server of some kind.
To get this quick start guide working on a remote server:
In the Google Developers Console, generate a client ID for a native application (this may work with other types of client IDs, but I know it works with a native one)
Save the client_secret JSON to the script directory
Add the ability to read command line arguments and call the function ‘tools.run_flow()’ instead of just ‘run’
Run the script with “–noauth_local_webserver” as an argument
Now when you run the script, you’ll get a link to copy into any browser to authorize the access. Then, you’ll get an auth code to paste back into your script.
I’ve included both scripts so that you can compare easily. I hope this saves others from frustration and I also hope Google improves the tutorial.